I have been humbled, time and again, by how one never stops learning from other cooks in the kitchen. That has especially been the case with my cooking team at the Mexican Cultural Institute. We are all from different parts of Mexico, with our peculiar twists and spins, influences and very strong opinions, which we love to scream out loud when trying to make what we serve at each event be the best it can possibly be. Though we get a bit stressed when cooking for kitchen outsiders, we really let loose when making lunch for ourselves. We take turns and last week Julio, a former Mexican taquería cook, made his albóndigas. I had been dying to try them since not only he, but his aunt Maricruz, had been raving about them for over two years. “De veras, de veritas Pati” (Maricruz said, which means really, REALLY) “he makes the most delicious albóndigas of them all.”
There are multiple versions of just about any dish in the world. I am always amazed each time I test and play around with a single dish, at the many directions it can be driven to. That said, we have a family albóndigas version at home, which my boys eat happily at least a couple times a month.

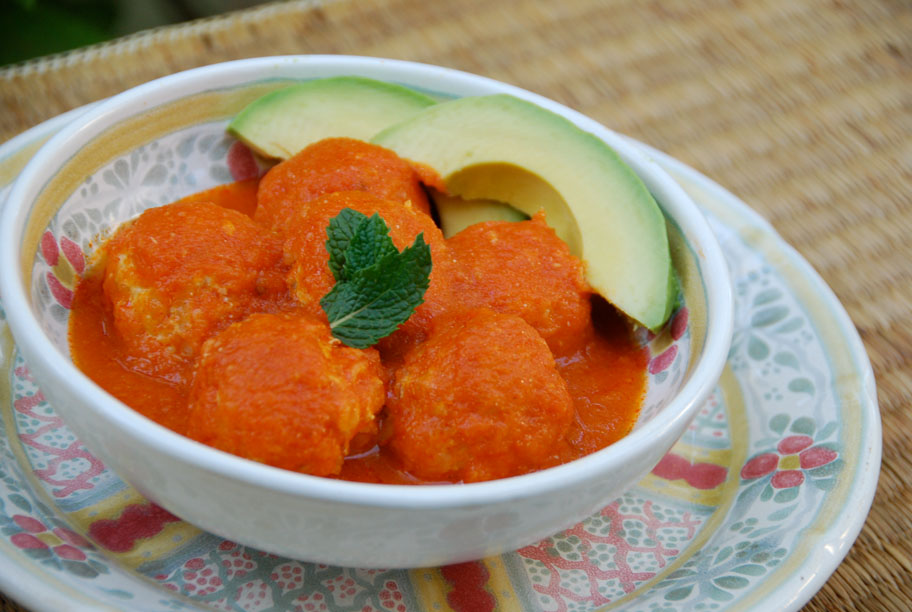
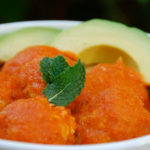
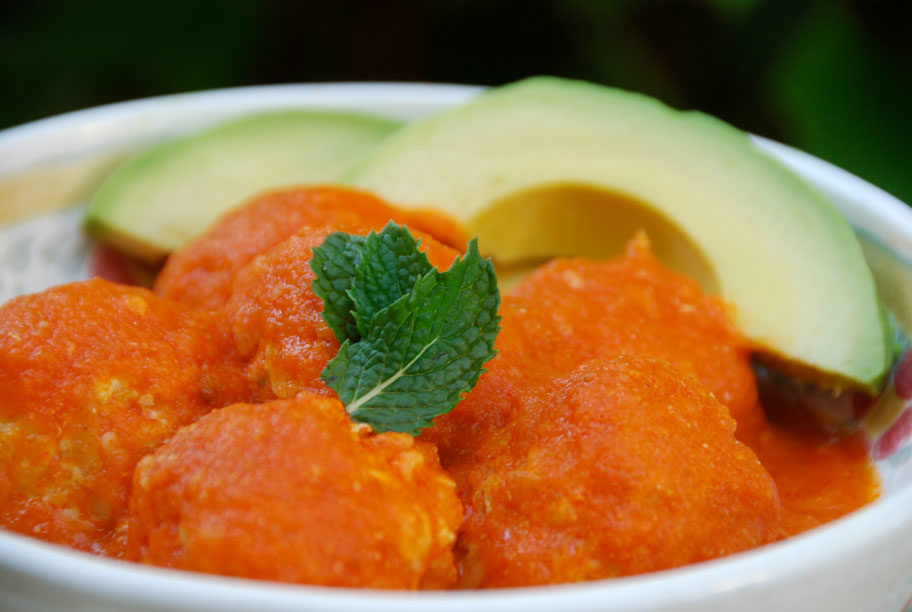
Julio’s Albóndigas with Chipotle and Mint
Ingredients
- 1/3 cup long or extra long grain white rice
- 2 cups water
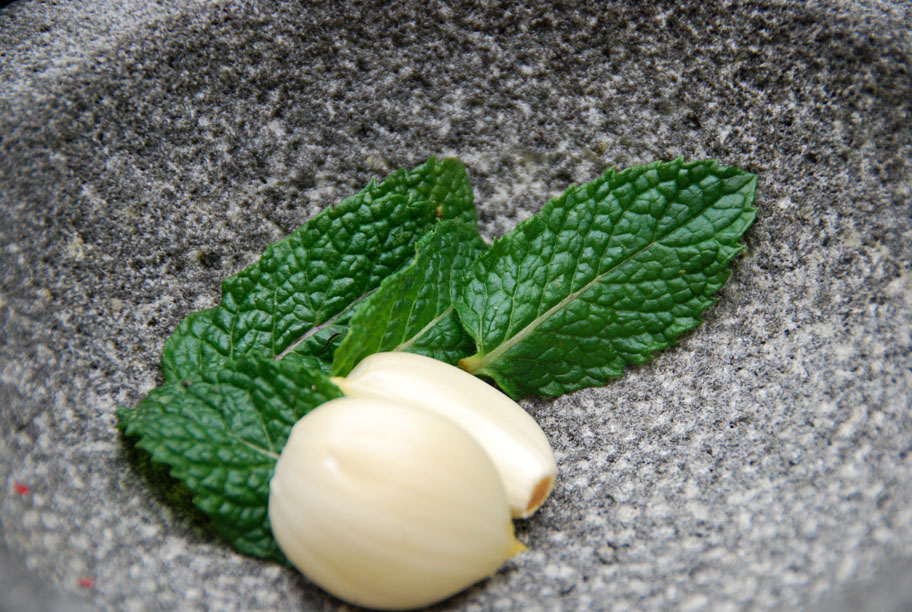
- 2 cloves garlic
- 5 to 8 mint leaves
- 1 1/2 pounds ground turkey chicken breast or a combination of beef, veal and pork
- 2 eggs
- 1/2 teaspoons kosher or sea salt or more to taste
- 1/4 teaspoon black pepper freshly ground, or more to taste
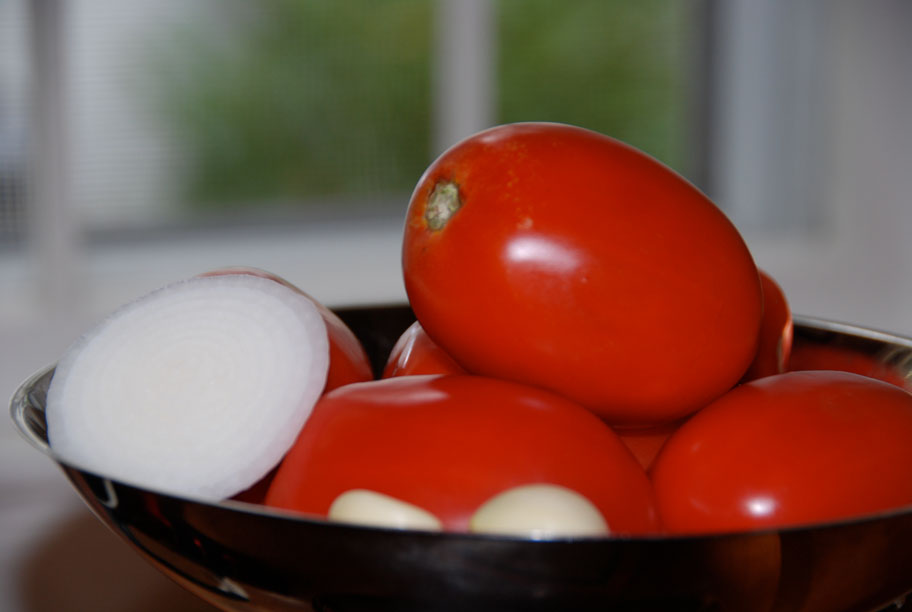
- 2 pounds ripe tomatoes
- 2 cloves garlic
- 3 tablespoons white onion roughly chopped (or a slice to your liking)
- 1 to 2 tablespoons of sauce from chipotle chiles in adobo or to taste
- 1 chipotle chile in adobo seeded, optional
- 2 tablespoons safflower corn or vegetable oil
- 1 cup chicken broth
- 1/2 teaspoon kosher or sea salt or to taste
Instructions
- In a small sauce pan place the rice and cover with 2 cups hot water. Simmer over medium high heat for 6 to 8 minutes, until rice is cooked al dente but not mushy. Drain and let cool.
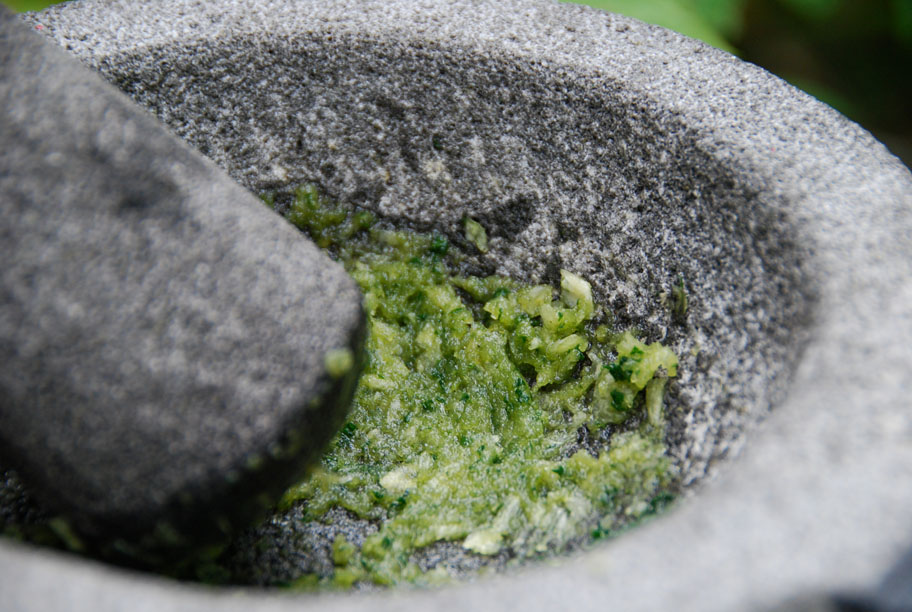
- In a molcajete, mash the mint leaves and 2 garlic cloves with the tejolote until pureed. Alternatively you can use a mortar and pestle or you can simply mince them together.
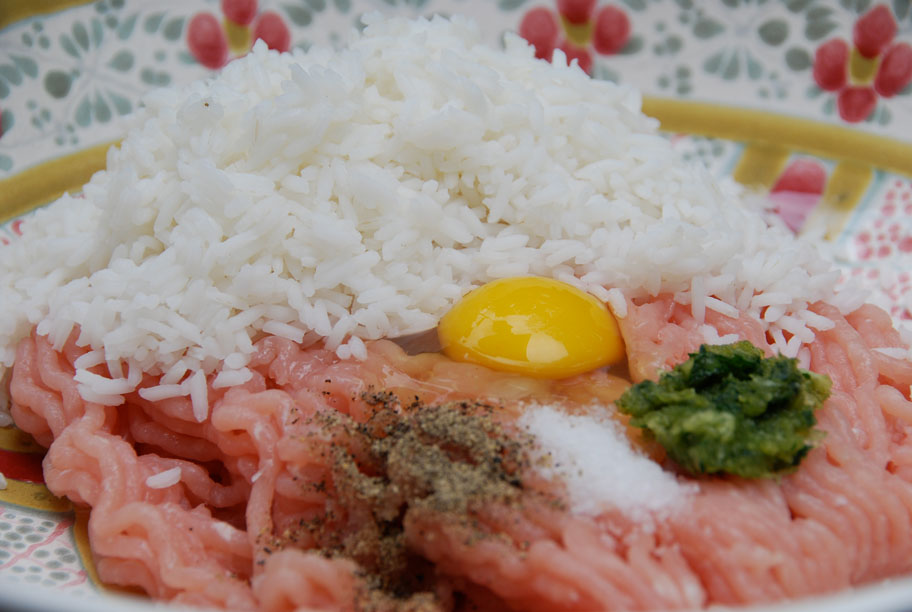
- In a large mixing bowl, combine the ground meat of your choice, the raw eggs, the cooled and drained rice, the mashed or minced garlic cloves with the mint, 1/2 teaspoon salt and 1/4 teaspoon ground black pepper. Mix thoroughly, with your hands or spatula.
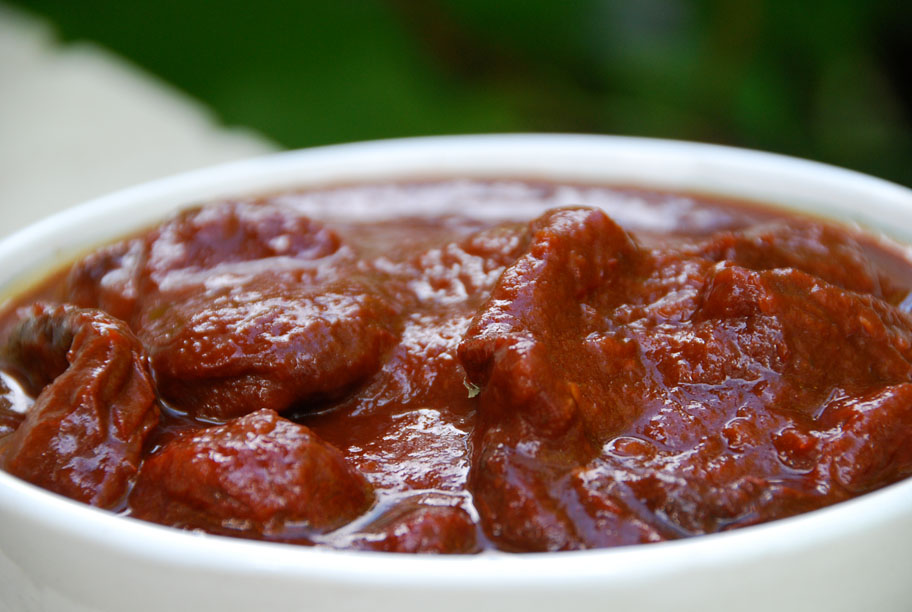
- In a pot, place the tomatoes and cover with water. Simmer over medium high heat for 8 to 10 minutes, until cooked through and mushy. Add the cooked tomatoes along with 1/4 cup of their cooking liquid, 2 garlic cloves, white onion, the sauce from the chipotles in adobo and if desired the chile chipotle in adobo in the blender and puree until smooth.
- Pour 2 tablespoons of oil to a large deep pot and place over medium high heat. Once oil is hot, incorporate the pureed tomato mix. Let it simmer anywhere from 6 to 8 minutes, or until it has changed its color to a deeper red, thickened in consistency and lost its raw flavor. Add chicken broth and 1/2 teaspoon salt and reduce heat to medium low.
- Along the side of the pot with the simmering tomato broth, place a small mixing bowl with about a cup of water as well as the mixing bowl with the albóndiga mix. Start to make the albondigas, one by one, anywhere from 1 to 2" in width and place them gently in the simmering liquid. Wet your hands in the water before you start and after you make a couple of albóndigas so they are easier to shape and the the mix doesn't stick to your hands.
- Once you have shaped all the albóndigas, cover the pot and let them simmer over medium low heat for 20 minutes. If you want the tomato broth to thicken a bit more, uncover the pot and let it simmer for 5 to 8 more minutes.
- Serve hot with a side of freshly sliced avocado, some warm corn tortillas and if desired, frijoles de olla, or cooked beans.


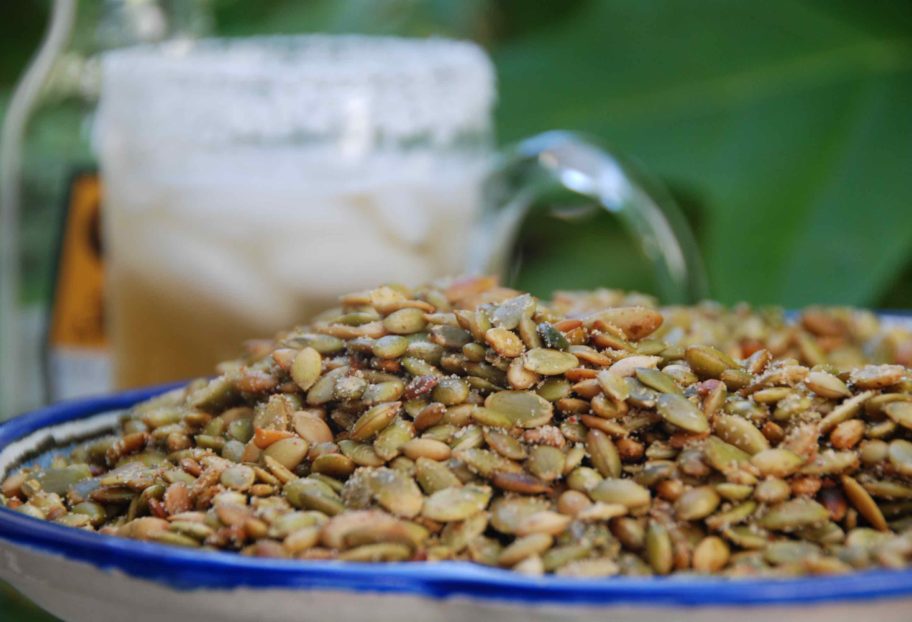
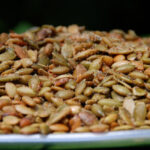
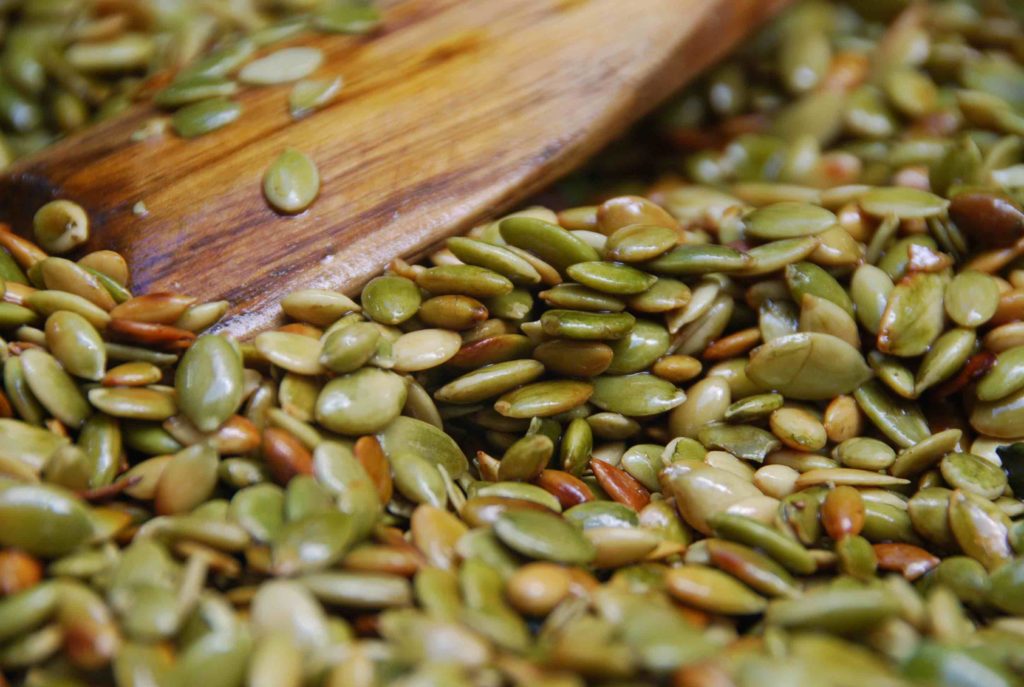 (Pepitas gently frying in my pan, popping and changing from an olive green to a light brown toasted color)