For years, I’ve managed to turn every Mexican vacation into a working trip. As soon as I touch Mexican soil, I set up interviews, plan research tours, library searches, cooking adventures, all the while trying to tweet and instagram. And facebook, pinterest and blog too… My appetite expands outrageously as if giving me a chance to try all that my eyes can see and my mind can gather. Even with the best of intentions to relax and disconnect, they only last so long.
My family had been enthusiastic about it until recently: my husband announced last summer he’s had it. He won’t travel with me to Mexico when he wants us to vacation, together.
So when I suggested we go visit for the December holidays, he said “no, no, no Pati, you can’t control yourself there.” I kept pursuing Mexico because I missed it so bad, seeking out a place where I wouldn’t be tempted to work. San Miguel de Allende sounded like just the spot.
San Miguel is a beautiful colonial town in the state of Guanajuato in central Mexico. It’s artsy, has a ton of history, gorgeous views of the mountains, quaint hotels and shops. There are a bunch of activities to do with the boys. But mostly, to my knowledge, it doesn’t have any regional food specialties to incite me to work. With this, I convinced him it was the perfect place to relax and, when it came to food, just enjoy it for once.
San Miguel is only a few hours by car from Mexico City, where we’d be picking up my mom who’d be joining us for a few days. It was in looking at the map to plan our drive that I noticed the city of Celeya is only a stone’s throw from San Miguel.
Oops!
Celeya is the birthplace of Cajeta: one of the most irresistible of Mexican sweets. I have wanted to go since I was like 5 years old.
Big OOPS!
I tried to contain my very desperate need to go to Celaya the first day we were in San Miguel. As I got out of bed on the second day, the escapade to Celaya was already on the works.
Cajeta is a caramel-like concoction, yet more milky and silky, and with a deep, rustic and almost nutty flavor. It’s Mexico’s version of Dulce de Leche, yet we pride ourselves in that Cajeta came to be long before Dulce de Leche and we tend to make ours with goat’s milk (or a combination of goat and cow’s milk) rather than only cow’s milk and ours has a much more intricate and richer taste.
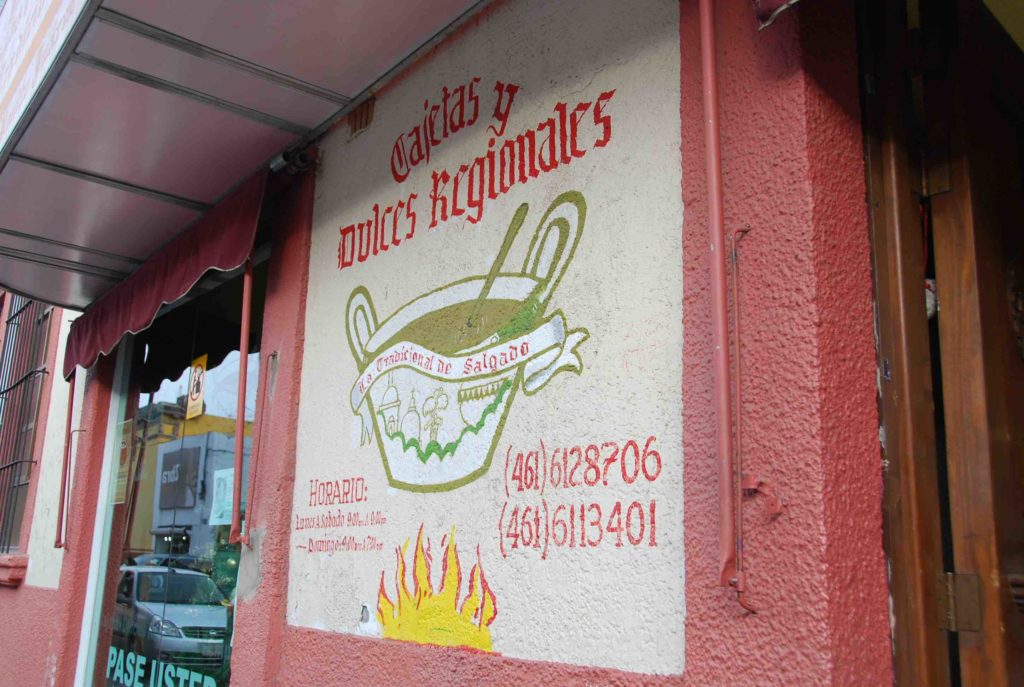
Thankfully, the dynamic woman in charge of San Miguel tourism office has friends and family in Celaya. She knew who to ask and help organize exactly where to go: La Tradicional de Salgado.
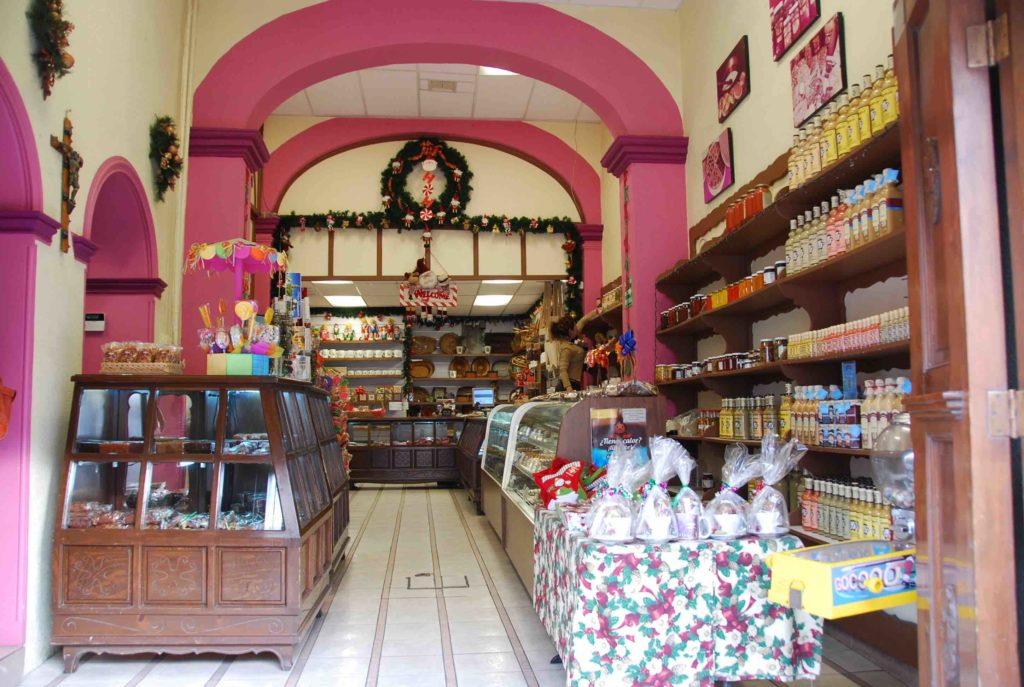
The storefront has sweets made with or combined with Cajeta along with other traditional sweets. The side of the store, is reserved for Cajeta.
At La Tradicional, Cajeta continues to be made the way they started making it in 1860, which happens to be the most traditional way. They make a small quantity, which is sold immediately after, and sometimes even before, it is bottled.
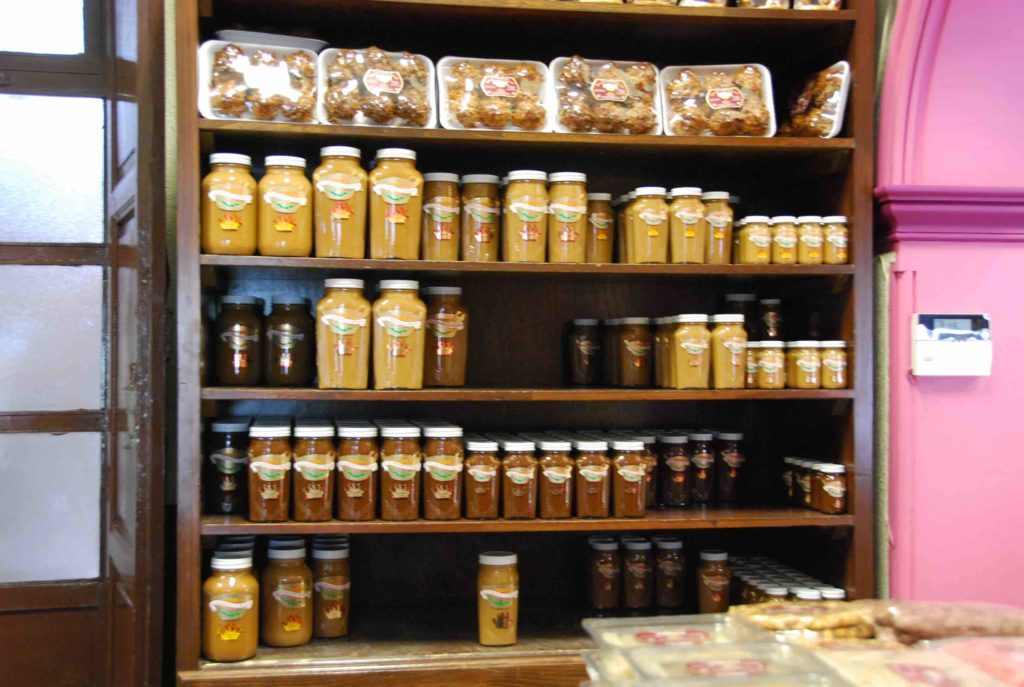
They have Cajeta de Vainilla (vanilla flavored and the lightest in color), Cajeta Quemada (translates to burnt and it is the darkest in color and flavor), and Cajeta Envinada (translates to flavored with wine but rather than wine it is flavored with rum).
As the manager Andrés López explained, all Cajetas at La Tradicional begin the same, yet they don’t end the same.
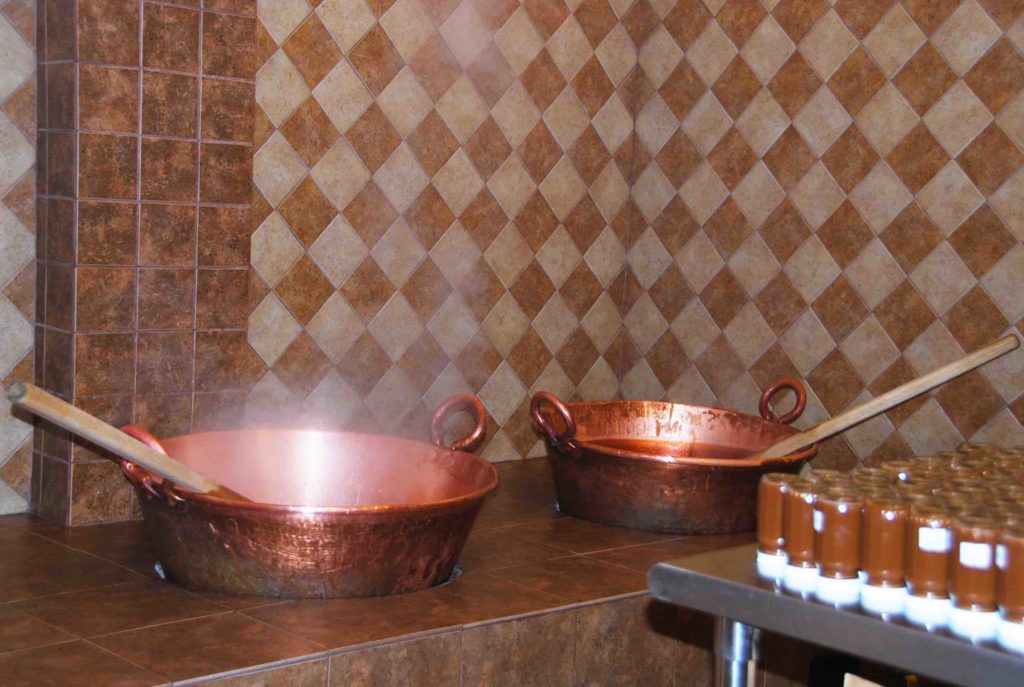
They all start with 40 liters of fresh goat milk poured into a gigantic copper pot and mixed with brown sugar. It is then brought to a steady simmer at 120 degrees for most of the cooking time. If it will be vanilla flavored, then vanilla extract gets added. If it will be Envinada, then a generous splash of rum goes in. If it will be burnt, it is just like the vanilla one, yet it is cooked double the time (about 9 hours instead of 4 or 5), to achieve a much more concentrated flavor and thicker consistency: to the point where if it was left to simmer for a minute longer it would practically burn.
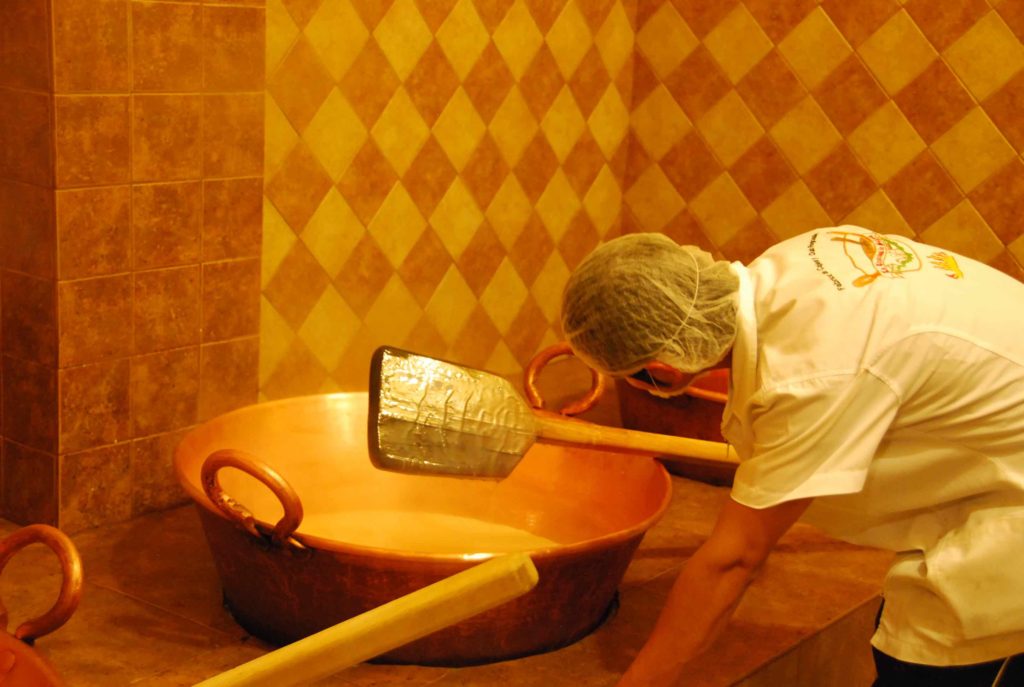
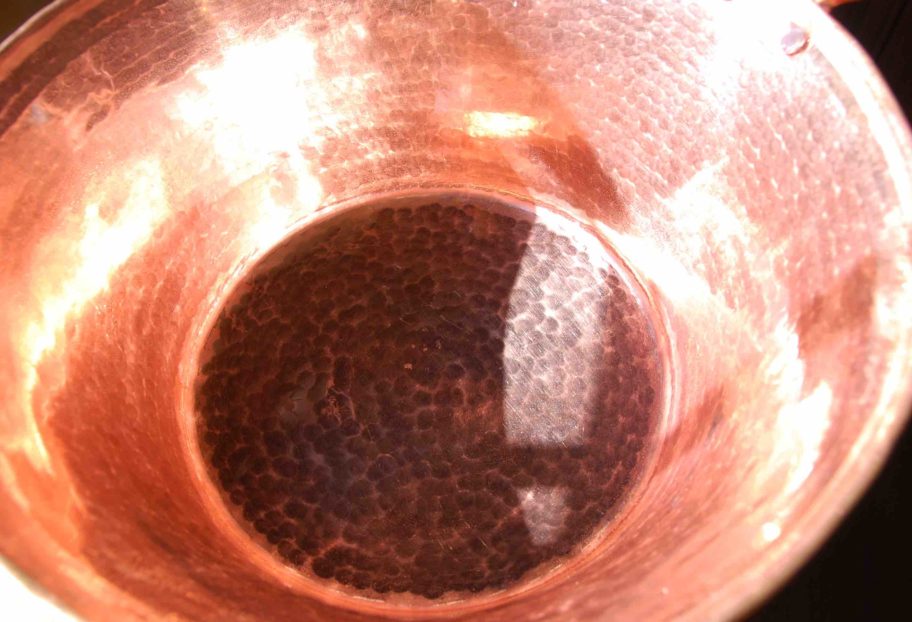
They always use those copper pots that get cleaned after each use and gigantic wooden spatulas. No metal spoons or utensils to stir the milk, as copper is a very reactive material and Cajeta a sensitive product.
Those wooden spatulas are used to stir the milk regularly as it cooks down. The heat is left at a steady temperature to have a consistent medium simmer, adjusting the temperature as the Cajeta reduces.
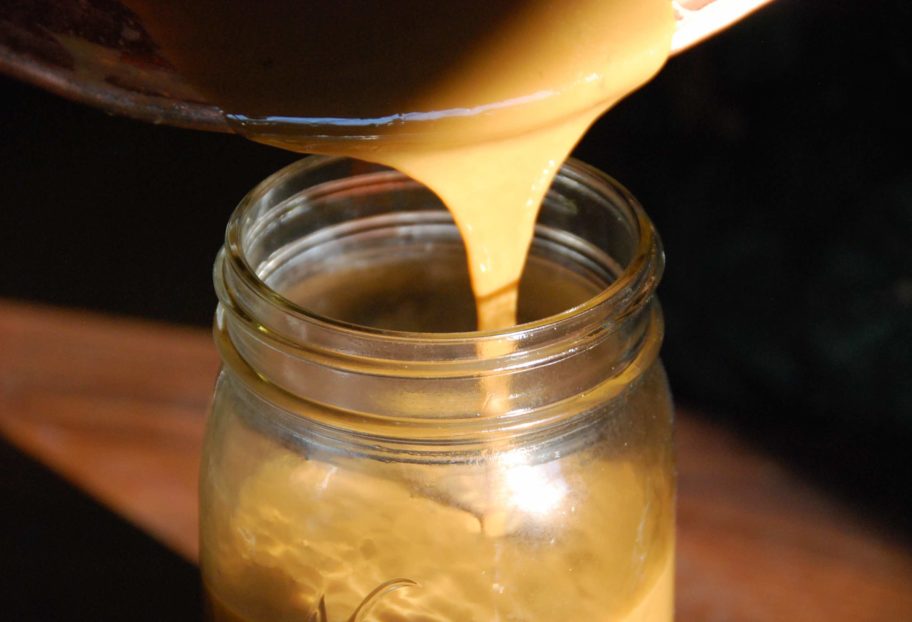
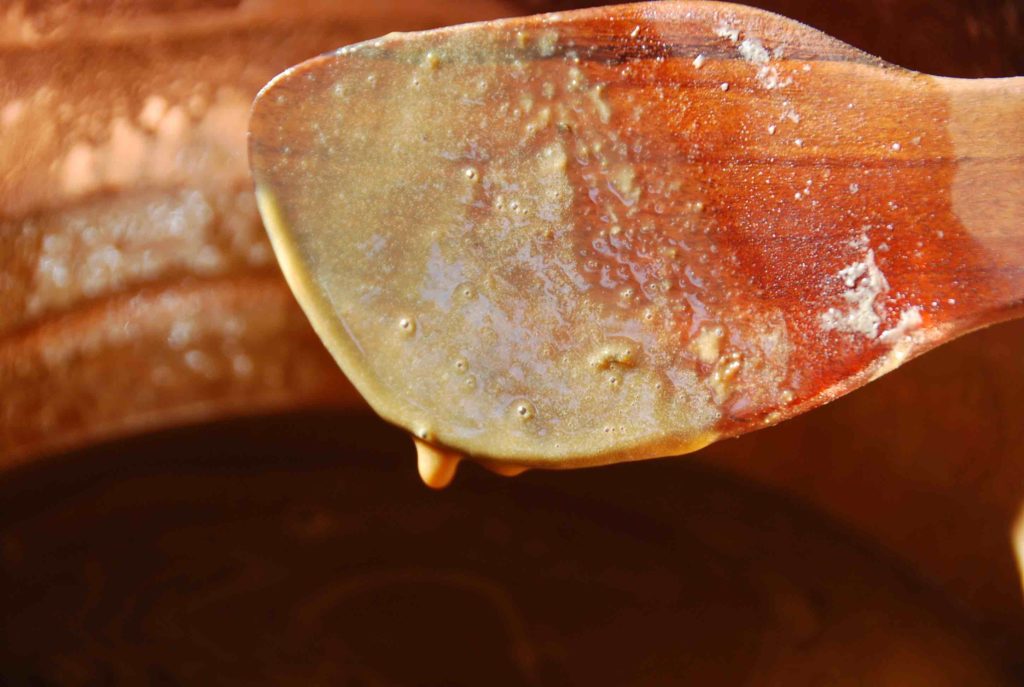
They know Cajeta is ready first, by judging for the design it leaves on the wooden tool: see the waves above? They have to show up after you stir and raise the spatula. Also, the mixture has to be thicker, like caramel! Lastly, as you stir the pot with the wooden spatula, there has to be a delayed trail behind the spatula, that allows you to see the bottom of the pot if only for an instant.
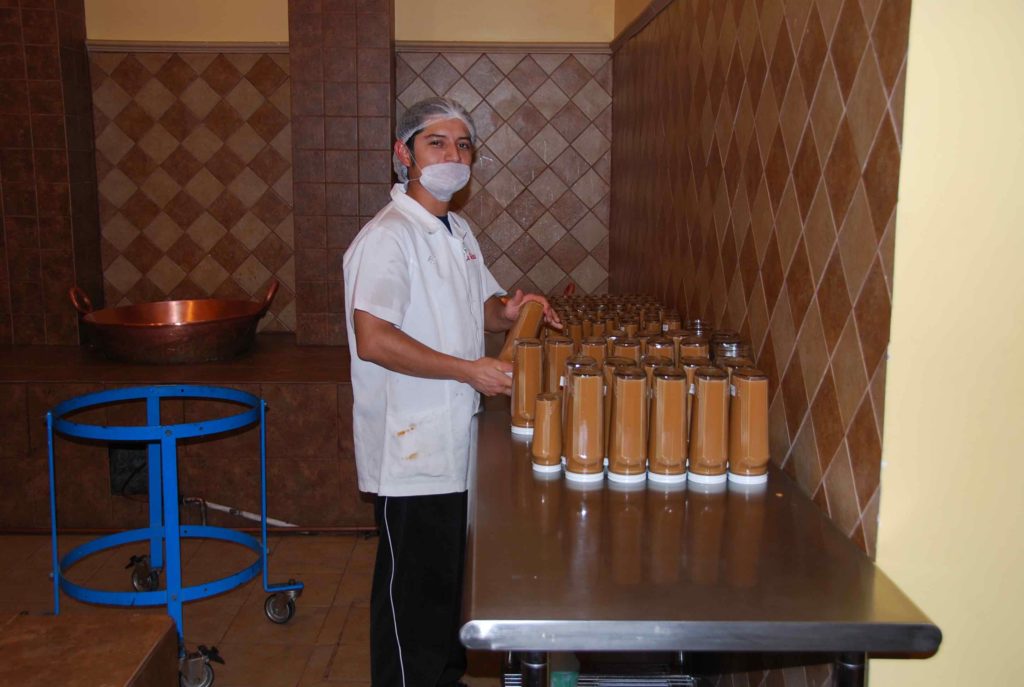
The Cajeta is left to gently cool. The glass jars are filled up, immediately closed and turned upside down. This creates a vacuum seal.
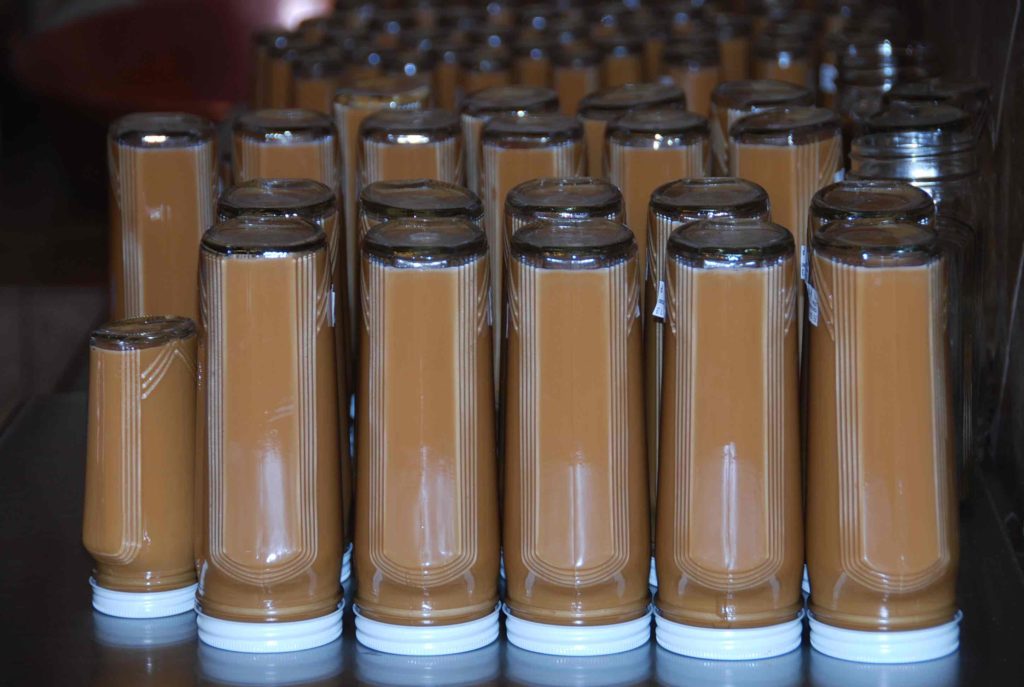
At La Tradicional, they switched the bottle design 30 years ago. It used to be plain and round. They wanted a change that made it look a bit more dressy. I say they look pretty dressed up!

We tasted all the Cajetas and so many sweets. We stirred the pots, with our heads covered in protective nets and talked to everyone in the store. We all came out with our very favorite one and Juju managed to eat an entire small jar of the vanilla kind, by the spoonful.
As we walked outside, we found a city brimming with food wonders. We ate some of the best Empanadas we have ever tried in a place that had, oh, about, 100 people waiting in line: there were about 30 different kinds! Half a block ahead we ate some outrageous Gorditas, thin and large, they were stuffed with either spicy queso fresco or Almidón (which I had never tried: the inner part of the Chicharrón). Our Celaya hosts brought Duraznos Prensados (Sweet pressed apricots) for us to try as well as Pastes (gummy-jelly soft squares) with such exotic flavors as guava and Rompope.
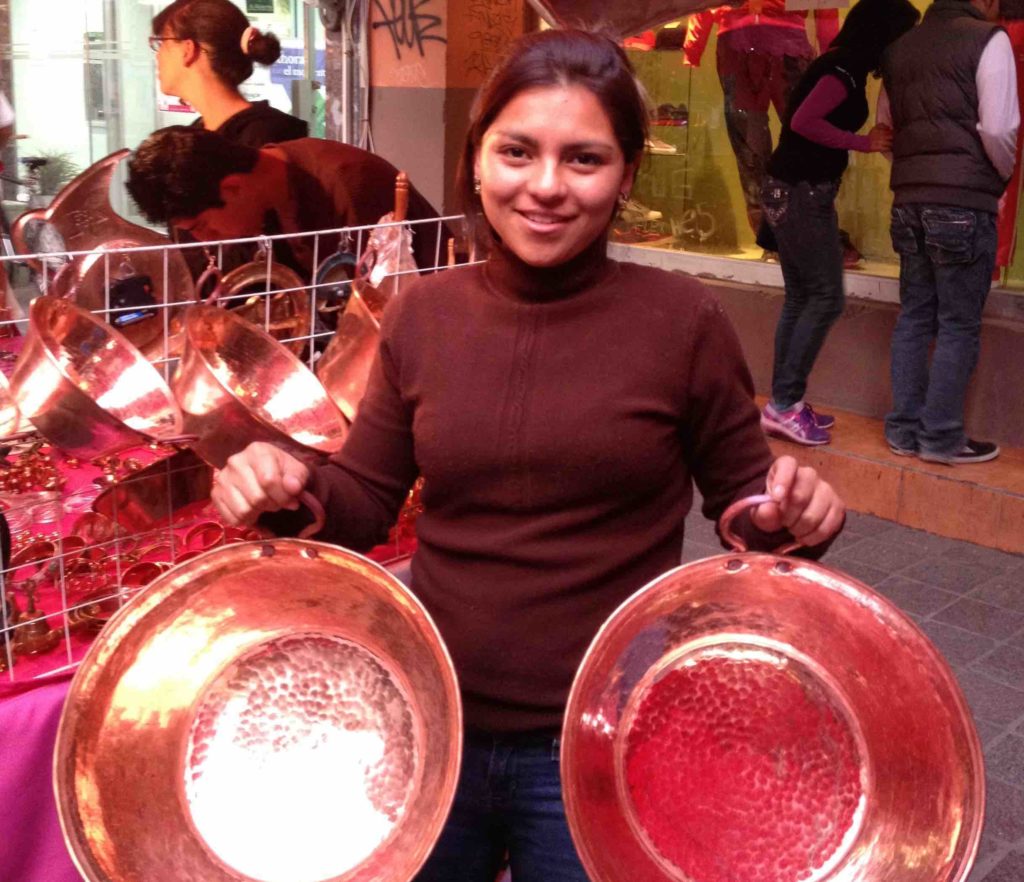
One of the biggest treats: see that red stand in that photo above? The woman in charge was selling Celaya made copper pots, one more beautiful than the other. After much chatting and measuring the different sizes, I bought my very own, which I carried all the way back to DC, to start making this Cajeta below, so that you can also, make your very own.
Here we go!
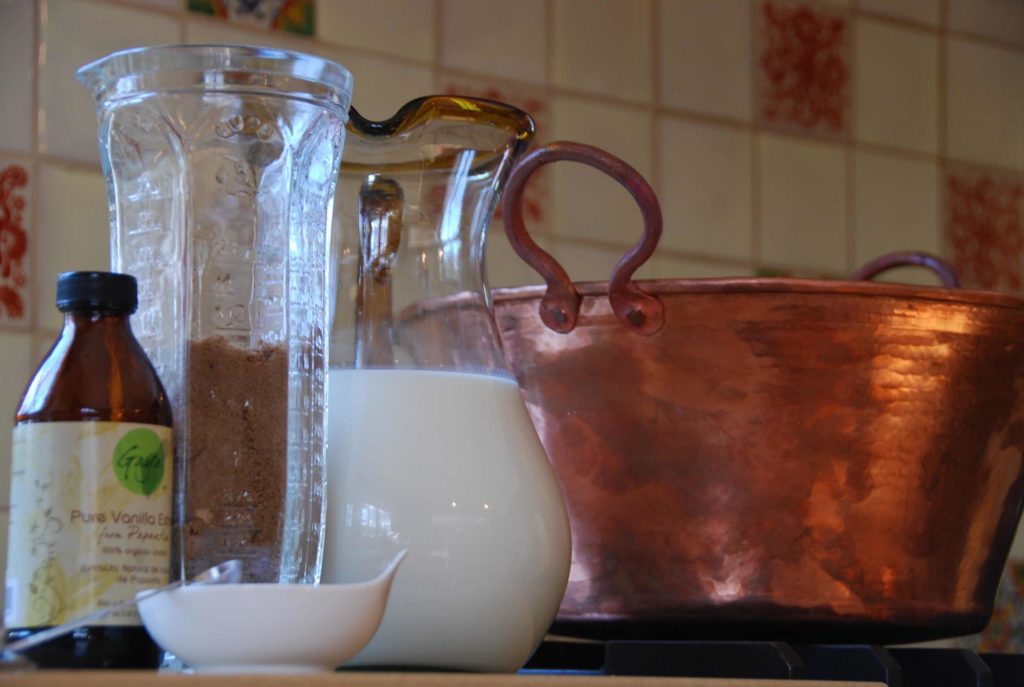
There’s my big copper pot, but you can use any wide bottomed and tall pot. Goat’s milk (you can choose to combine it with or use all cow’s milk, but goat’s milk gives it that delicious musky flavor…), dark brown sugar (or shredded piloncillo) and Mexican vanilla.
Also, add baking soda: it helps the final sweet to not have any lumps and it enhances the brown color. This coloring effect is called a Maillard reaction, as described by Merriam-Webster dictionary, it is “a nonenzymatic reaction between sugars and proteins that occurs upon heating and that produces browning of some foods.”
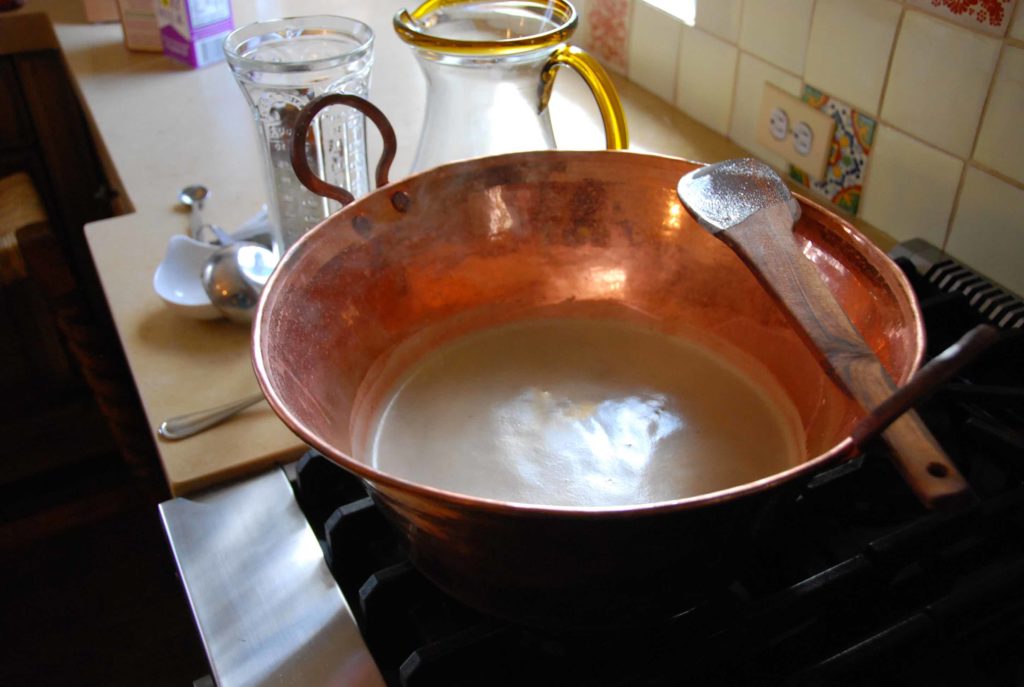
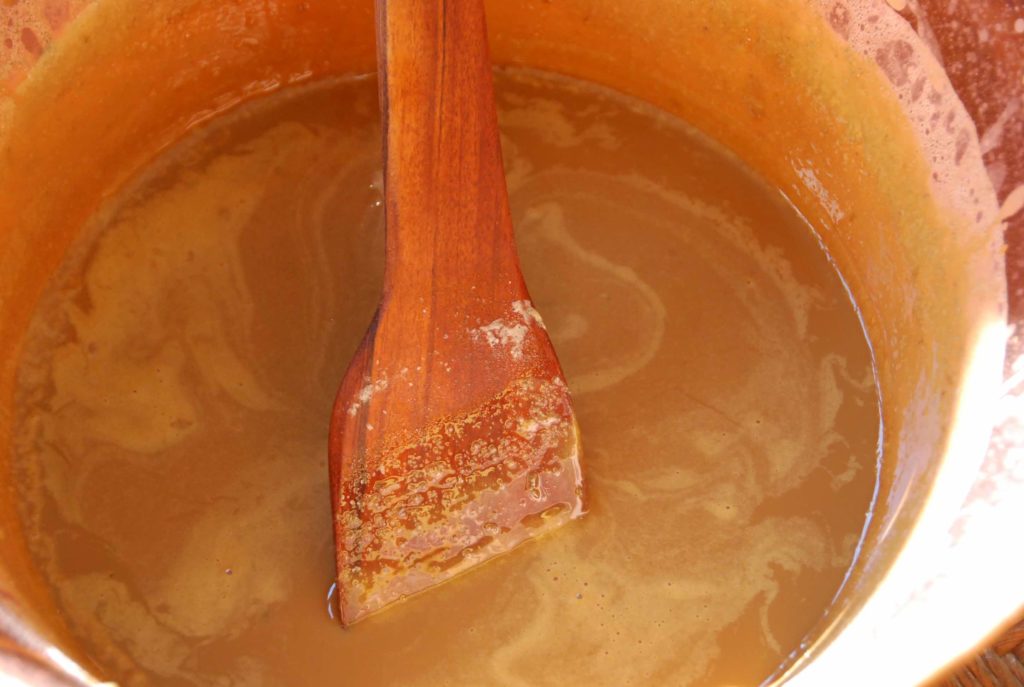
Bring it all to medium simmer, over a steady medium heat. Use a wooden spoon to stir occasionally.
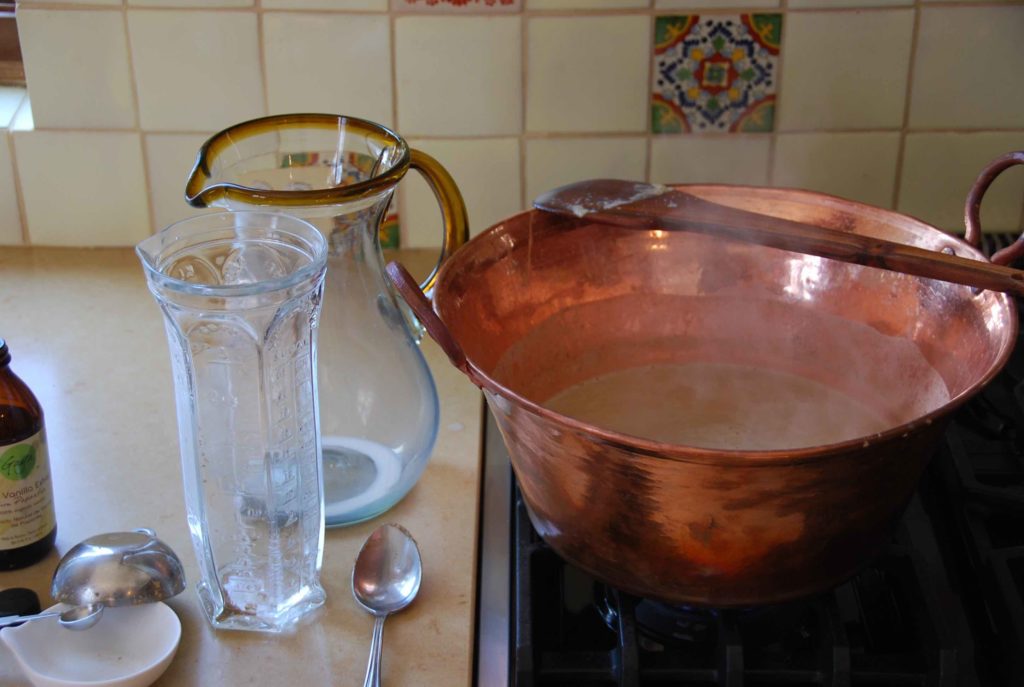
After hours you can see how much the mixture has reduced and the more it reduces the more the simmer will increase even if you maintain it in the same level of heat, so you have to moderate and reduce the heat.
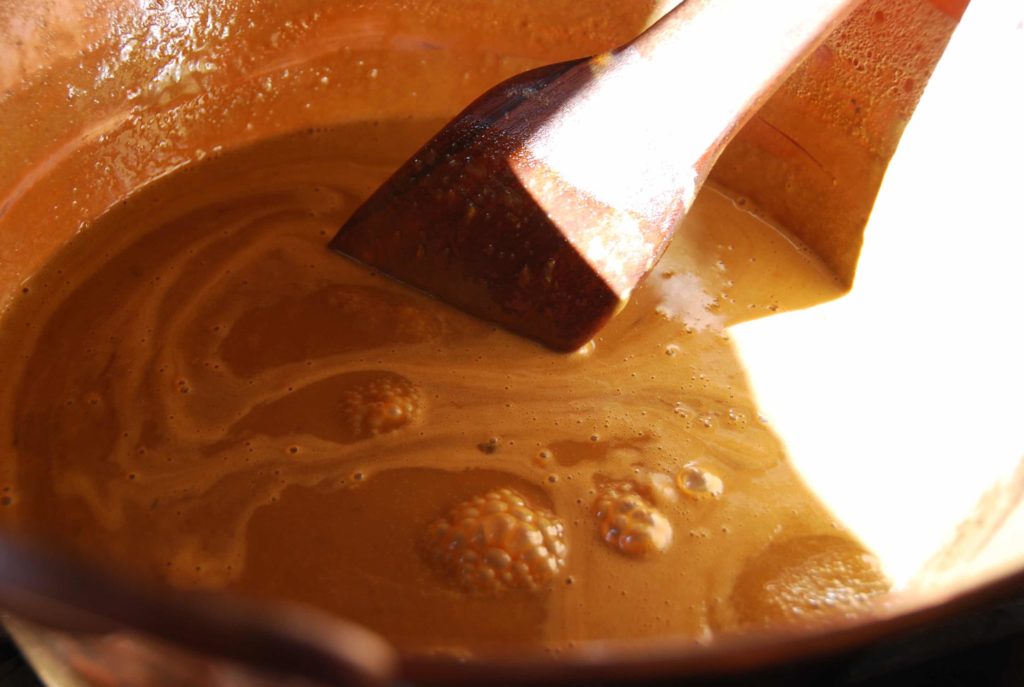
You know when to stop, when the Cajeta has thickened like caramel, its drops take their time to let go of the wooden spoon once it is raised, once you see a delayed trail in the bottom of the pot as you gently move the spoon across the pot and you can see the bottom if only for a second, and the Cejeta leaves wavy marks on the spoon.
Also, your house must be smelling like heaven by now.
Let it cool, and take note that it will thicken as it cools.
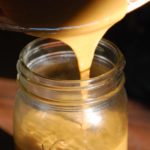
Pour it all in a large jar that will hold at least three cups.
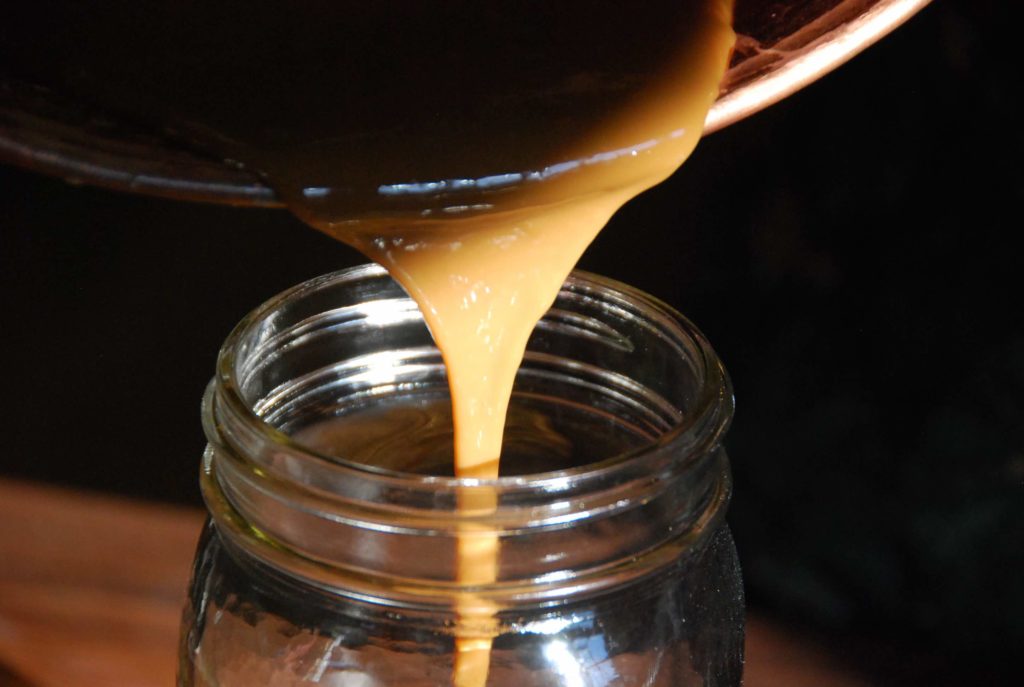
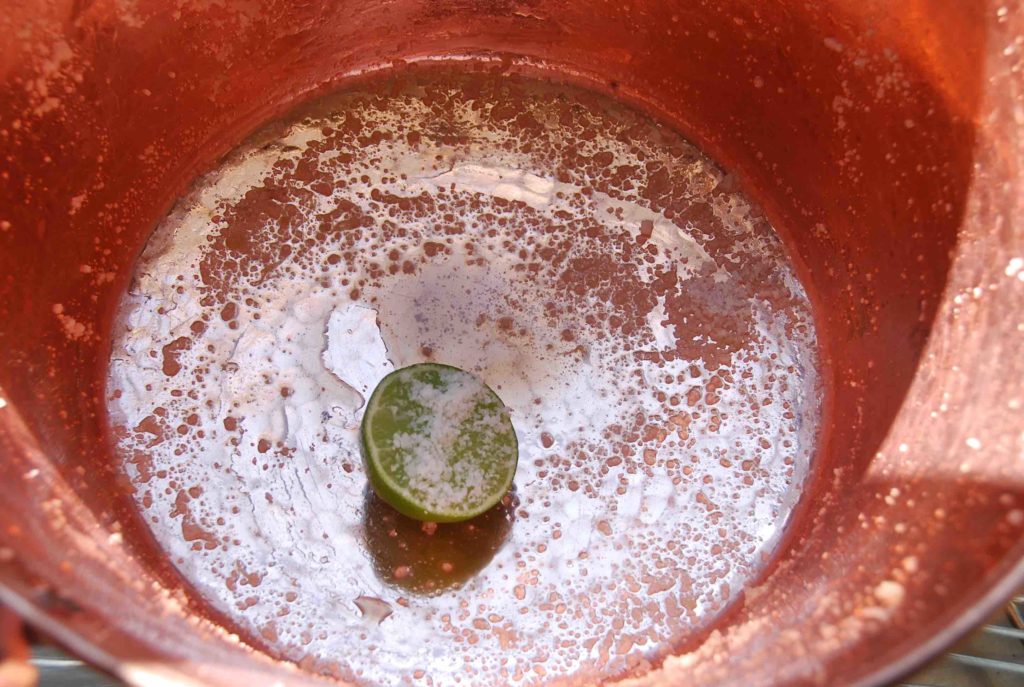
I liked these photos, so I kept taking more and more… see the color of the sun hitting the pot and the Cajeta? The light couldn’t have been more generous that afternoon…
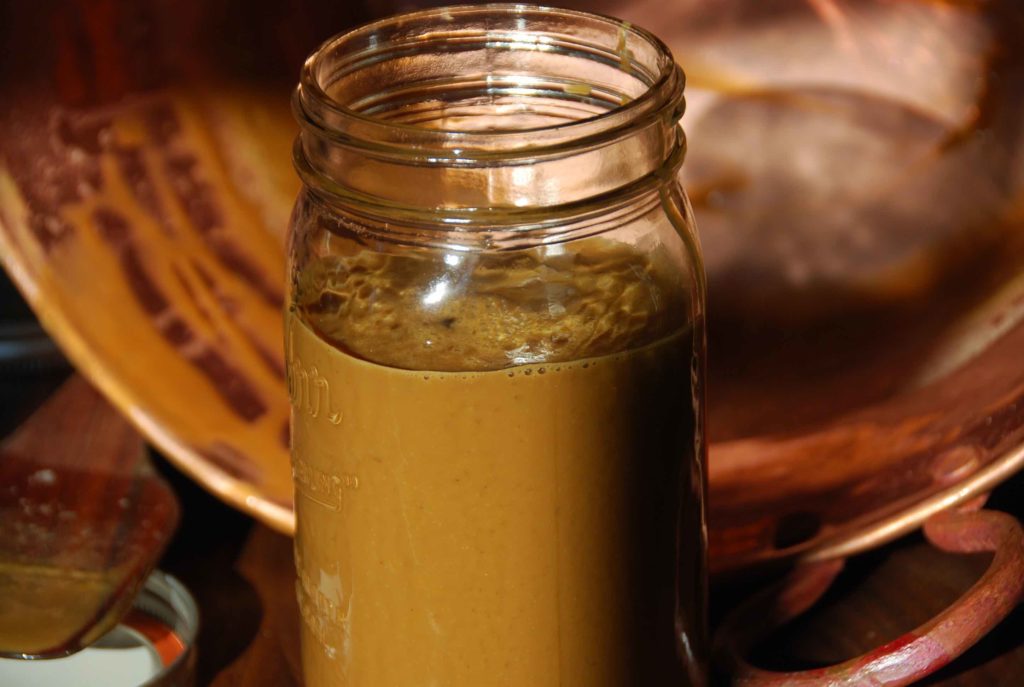
And there you go…

Cajeta is not only decadent, luxurious, with a perfectly balanced sweetness and a silky texture, it is also ideal for using with… everything! Crepes, chocoflan, to smear on pound cake, to dip fruit such as strawberries or bananas in. Wait! There’s more! You can make cute little cookie sandwiches (with Maria cookies, graham crackers or vanilla wafers, you can make smoothies and milk shakes, ice creams and glazes. The best way of all: just dip a big tablespoon and lick it off.
And now that I remember, our friends in Celaya told us about some cookies made with Cajeta called Dulce Anhelo (translates to sweet yearning). And since I didn’t get to try them, what a sweet yearning it has become. Celaya: wait for me, I will be back for more.
p.s Don’t want to make your cajeta? Buy it at the store! There is also another way to make Cajeta starting with a can of sweet condensed milk, I will post that one with photos soon…
Homemade Cajeta
Ingredients
- 8 cups (or 2 liters) goat's milk you can substitute or combine with cow’s milk
- 2 1/2 cups dark brown sugar or shredded piloncillo
- 1 tablespoon vanilla extract
- 1/2 teaspoon baking soda
Instructions
- Place a large pot (I use my new copper one!) over medium heat. Pour milk, vanilla, sugar and baking soda, give it a good stir and let it come to a simmer. Keep it at a steady medium simmer for about one hour and a half, stirring occasionally, every 15 to 20 minutes or so, with a wooden spatula or spoon. The mix will gradually thicken and darken.
- After about an hour and a half, the liquid will have thickened and reduced and the simmer will become stronger. Reduce the heat to medium low, to keep it at that constant medium simmer. You want active bubbling, but not over the top angry bubbles. Stir a bit more frequently, as you don’t want the bottom to develop a thicker layer.
- You know the Cajeta is ready when: It achieves a caramel brown color; it is thick as liquid caramel or syrup, much like a chocolate syrup consistency; it envelops the back of the spoon; when you gently stir across the pot with your wooden spoon, a slightly delayed trail behind the spoon appears, revealing the bottom of the pot if only for a few seconds; as you slowly lift up the wooden spoon or spatula, Cajeta takes it’s time to drop and lastly, the sides of the pot show how the Cajeta has cooked down and if you run your spoon across that side, you get a fudgy (and delicious) residue.
- Turn off the heat and let cool (it will thicken considerably as it cools).
- Place in a glass jar, cover tightly with a lid. It will keep in refrigerator for up to 6 months.