I do love the change of seasons in the Eastern United States. The fall leaves change to different shades and make fluffy mountains where the boys jump a thousand times in a single day. I also like the smell of winter winds waiting around the corner as our home heating starts to warm up. And I have so much fun getting all of us coats and hats and gloves, something I never did growing up.
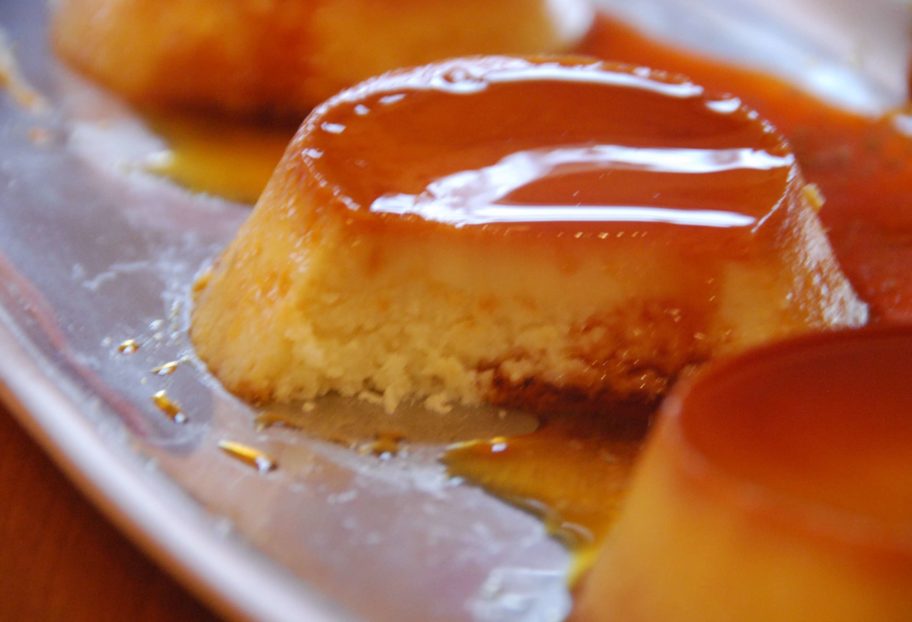
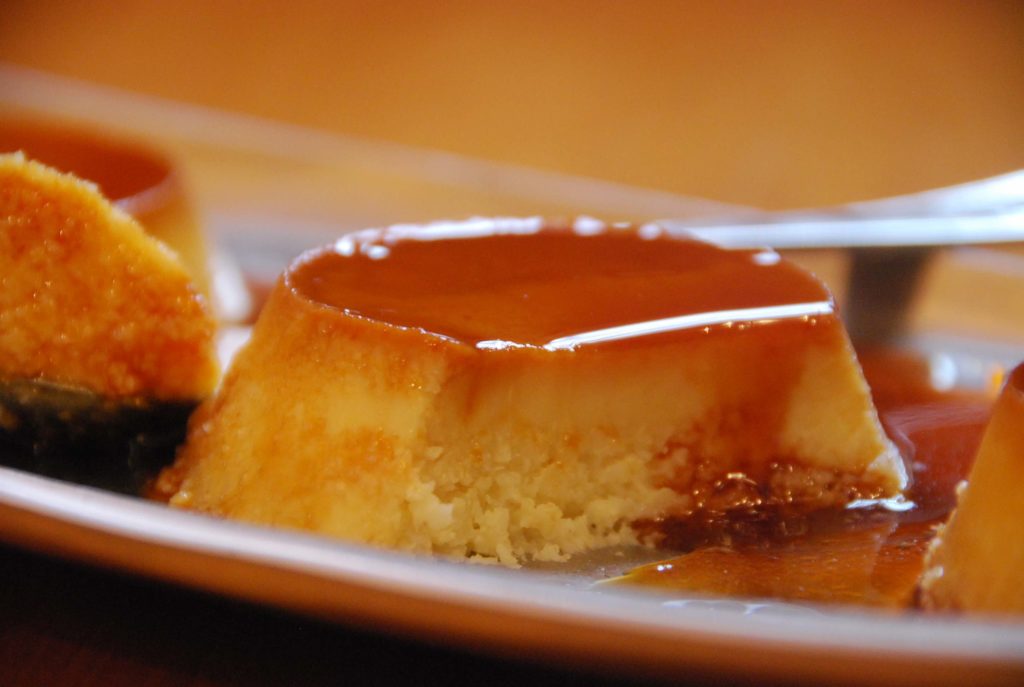
But I do miss my piece of beachside coconut flan. The one I used to have in Acapulco, many Decembers ago, growing up. My favorite was from Pipo’s, a restaurant in “la Costera”, an old neighborhood along the beach. It has a creamy and smooth layer on top that blends into a bottom layer of softened and nicely chewy coconut. I have tried a couple versions and the best one is also the simplest one.
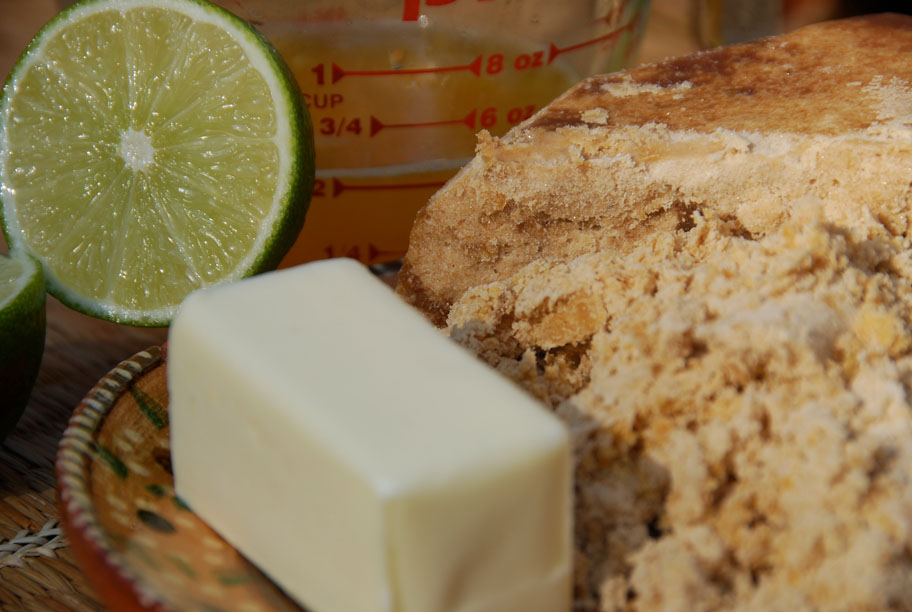
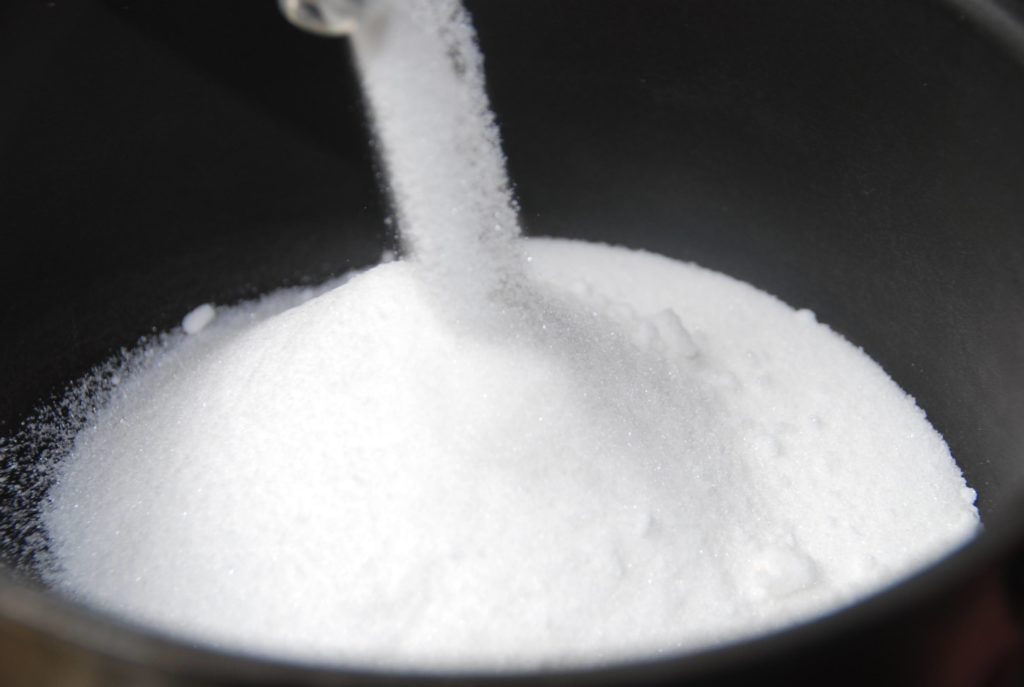
First, make homemade caramel. Some cooks like to make caramel mixing sugar with lime juice or water, I prefer the most straightforward way: plain sugar over low-medium heat. Simply pour sugar onto a saucepan and gently tilt the pan, here and there, as the sugar starts to melt.
You need to be a bit patient, as the caramel is jealous: if you leave it unattended it will burn and taste bitter.
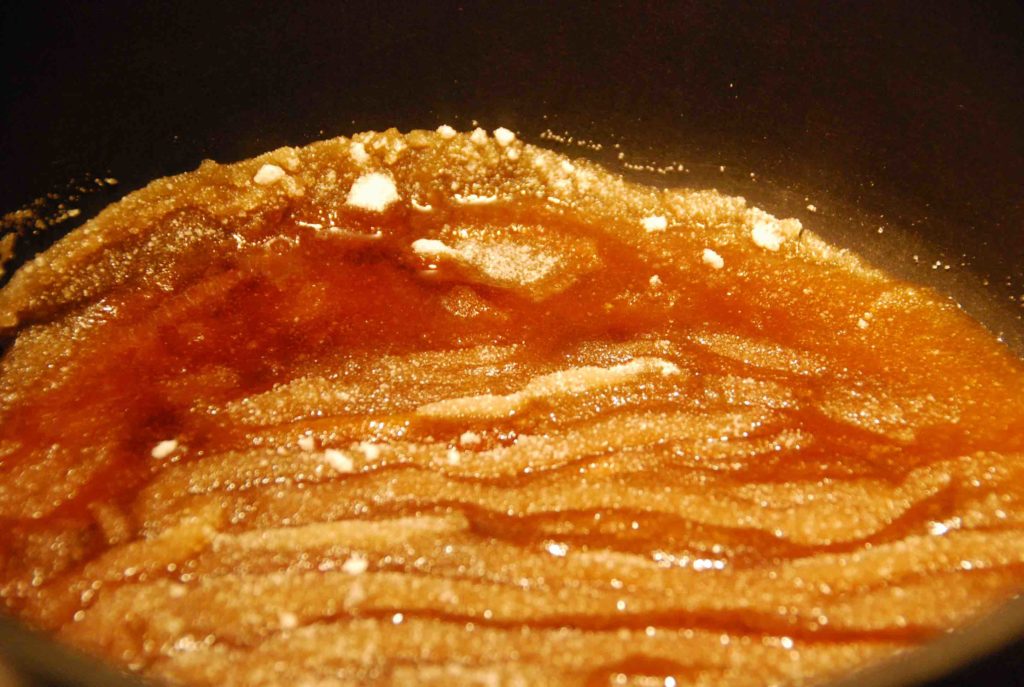
As it starts to melt it will look like this… glorious mountain shapes of sugar starting to caramelize… Once it becomes liquid you have choices. The lighter the color of the caramel, the mellower the taste. If you let it brown it will gain a deeper flavor, more nutty and strong. However, if you let it brown too long, it may taste bitter. And that can happen fast.
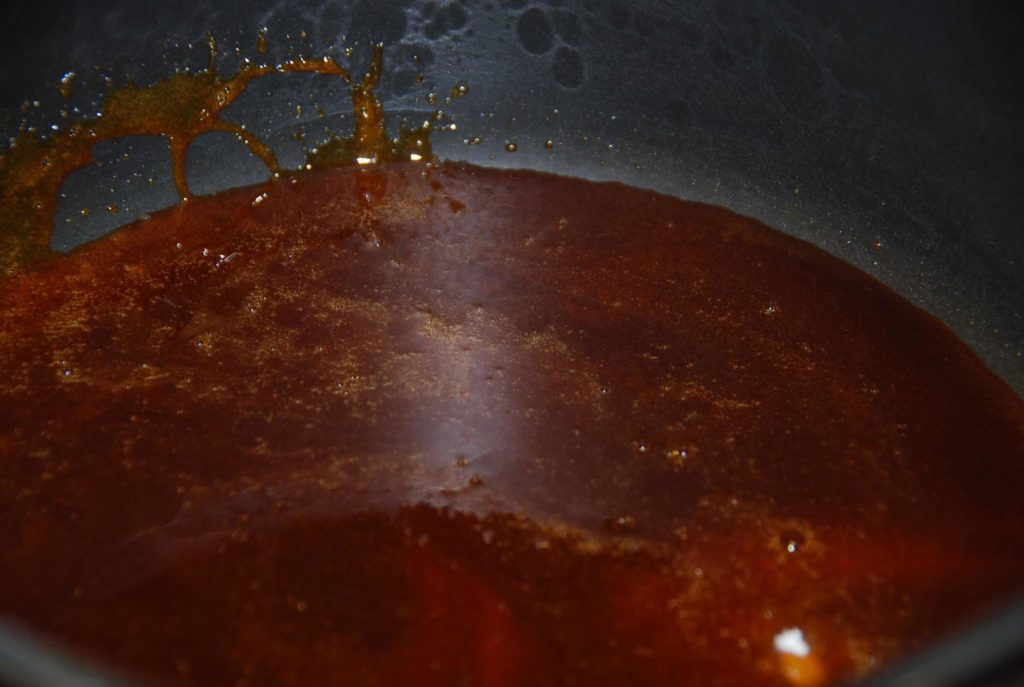
This is the color I like. It is rich, with a lot of personality and makes a great combination with the sweet and mellow flan. 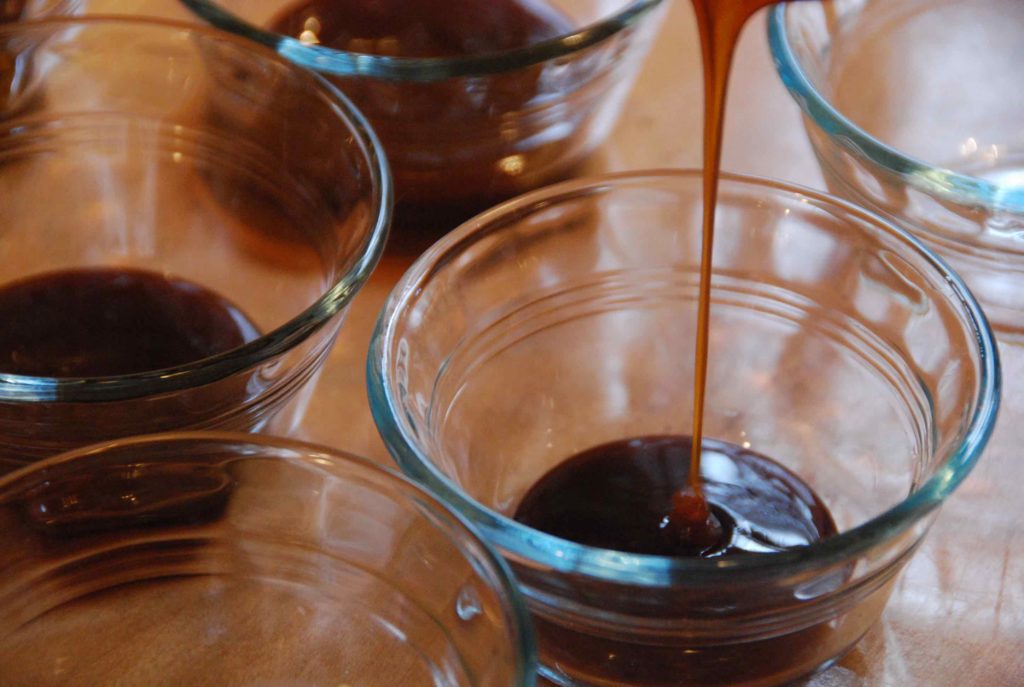
Quickly pour it into individual molds or round tube pan, it does harden fast.
Now it’s time to make the flan. As much as you had to be patient and careful with the caramel (after you make it a couple times it becomes an easy task) making the flan requires a minute of mixing a couple things in the blender.
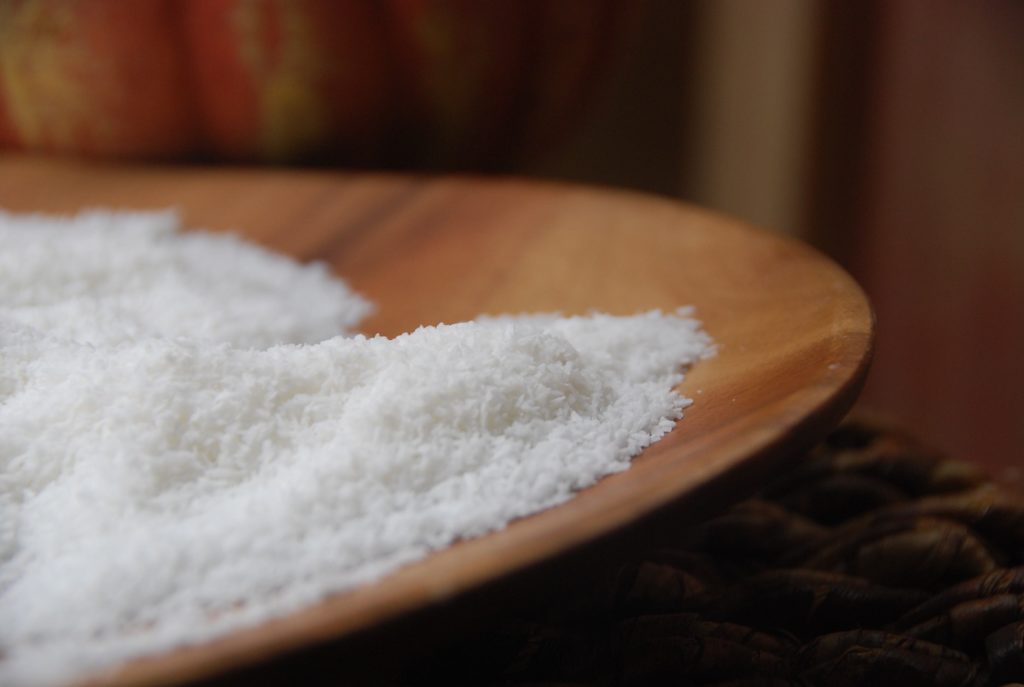
The secret to this coconut flan is to use unsweetened dried shredded coconut, now found in many stores like Whole Foods or Trader Joe’s. It sounds redundant, but sweetened coconut makes it too sweet and gives the flan a shallow taste.
Pour a can of sweetened condensed milk, a cup of water, a couple eggs and the coconut in the blender. Puree until smooth and pour over the hardened caramel. 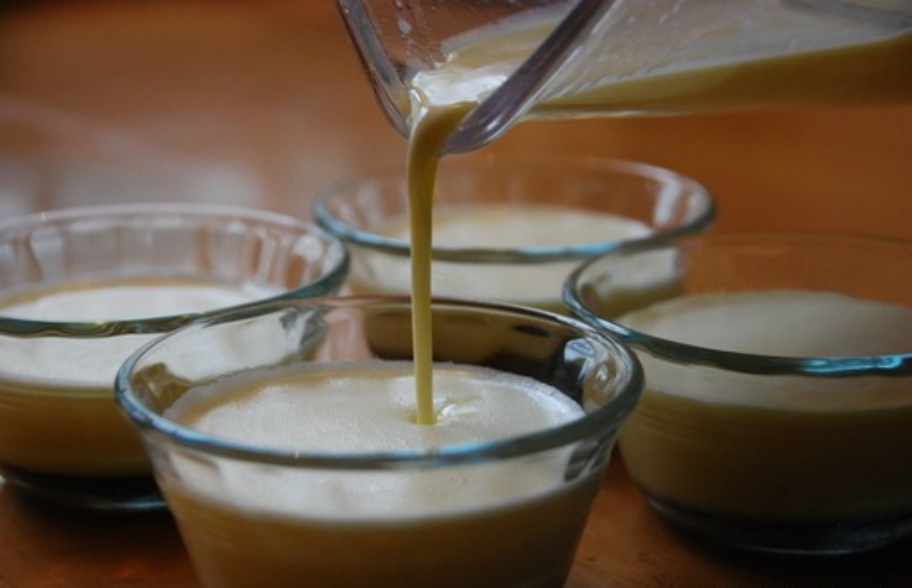
Place it in a hot water bath, a baking dish filled with hot water up to at least half the height of the molds, and place it in the oven, about 35 minutes later, you have your flan.
Now, everyone has their favorite flan. As far as I have tried there’s orange, chocolate, rum, cajeta (similar to dulce de leche), rompope (eggnog), pine nut, pecan, and ancient style.
As the Fall and Winter colors and sounds make their way into your home this year, you may want to try a piece of beachside flan. It will bring you a couple steps closer to the beach, the ocean breeze, nice warm comfort, and why not, fresh coconut from those shady palm trees.
Beachside coconut flan
Ingredients
- 1 cup sugar
- 1 cup sweetened condensed milk
- 1 cup water
- 2 eggs
- 1 1/3 cups unsweetened dried and shredded coconut
- Optional garnishes slices of fruits, or if you want to go wild, drizzle chocolate syrup or whipped cream on top
Instructions
- In a saucepan heat sugar over medium-low heat until it achieves caramel consistency. You may need to tilt the saucepan as the sugar starts to dissolve. Once it has melted, decide how dark/strong you want the caramel. The lighter the color, the lighter the flavor. But be careful because if it gets too dark it can burn and taste bitter. Remove from the heat and pour onto the bottom of a flan/round tube mold or into 10 individual custard cups. Do so quickly, since caramel hardens fast.
- Preheat oven to 360 degrees.
- Place sweetened condensed milk, 1 cup water, eggs and coconut in the blender and puree the mixture for 1 minute or so. Pour mixture on top of the hardened caramel in the mold or individual molds. Place the molds in an already hot water bath, a baking dish already filled with hot water which should come up to at least half the height of the molds, into the oven.
- Remove once flan has set and top has achieved a nice golden to brown tan, about 35 to 40 minutes. Let them cool and serve or cover and refrigerate. They will keep in the refrigerator for a week.
- To unmold, remove them from the refrigerator at least 10 minutes before serving, so the caramel will soften. Run the tip of a knife around the flan and turn onto a plate. Drizzle the caramel on top. Serve it with fresh fruit of your liking, or go wild and add chocolate syrup or whipped cream on top.