Do we celebrate Halloween in Mexico? Yes, more so in the big cities, but Halloween is a growing holiday throughout Mexico. However, what is predominately celebrated around this time of year is Day of the Dead. I had a wonderful time speaking with Lynne Rossetto Kasper about the iconic festivities of Day of the Dead, including the many things we do with pumpkins.
Make Pan de Muerto at Home!
I wouldn’t be caught dead without Pan de Muerto during Day of the Dead.
One of the most meaningful, colorful and delicious of Mexican celebrations, Día de Muertos has this bread as one of its trademark treats. It may sound strange to eat fluffy sugared up bread in the shape of bones, but then again, we also eat calaveritas, candies in the shape of skulls. This shows how crucial food is for Mexicans but also how it gets infused with our sarcastic sense of humor, generous spirit and gutsy attitude.
Not that Day of the Dead is such a big occasion here in the United States, but I notice an increased awareness. Teachers are starting to talk about it in schools, sugar skulls and decorations are popping up in stores…It’s becoming trendy. As it happens right on the tail of Halloween, elements from both celebrations seem to cross paths. They both include graveyards and a lot of eating, but they are quite different.
Day of the Dead, which is not one but two days, November 1st and 2nd, is when those departed have a license to come back and visit the ones they’ve left behind. And hey, if they are coming back from another world, it better be a feast worth the trip! Altars are decorated, filled with the visitor’s favorite foods and drinks, candles and flowers placed throughout, to help illuminate for a safe journey back home. There are visits to the cemetery, too, but of a different nature than Halloween: Day of the Dead is a bittersweet, sad and joyous time for gathering, feasting and remembering.
Pan de Muerto, has to be one of the sweetest sides of it, eagerly awaited by all.
Those who have tried it want it, as it is really irresistible. But there are not that many panaderías that make it outside of Mexico.
Well, guess what? Wait no more, you can make your own.
It is simple to do; the only downside is, it takes time. The dough needs to rise…four times, and one of them is overnight in the fridge. So if you want your Pan de Muerto for Friday, start it on Thursday.
First make your starter: a small leavened mix. I make mine by mixing dry yeast (oldest versions of Pan de Muerto use Pulque, a fermented drink) with lukewarm milk, not too hot and not too cold, to make it easy for the yeast to react. Fully dissolve and add a bit of flour, to get the yeast going on stronger. When it puffs up and has bubbled on the surface, about 20 to 30 minutes later, you have your starter.
That’s the first rise.
Then make your dough in the mixer with butter, sugar and eggs. I add orange blossom water, as is traditional in many parts of Mexico and the old fashioned way. It makes it fragrant and light. I also add a bit of orange zest and anise seeds, which perfume it even more. Once mixed, beat in the starter. Cover it and place it in a bowl.
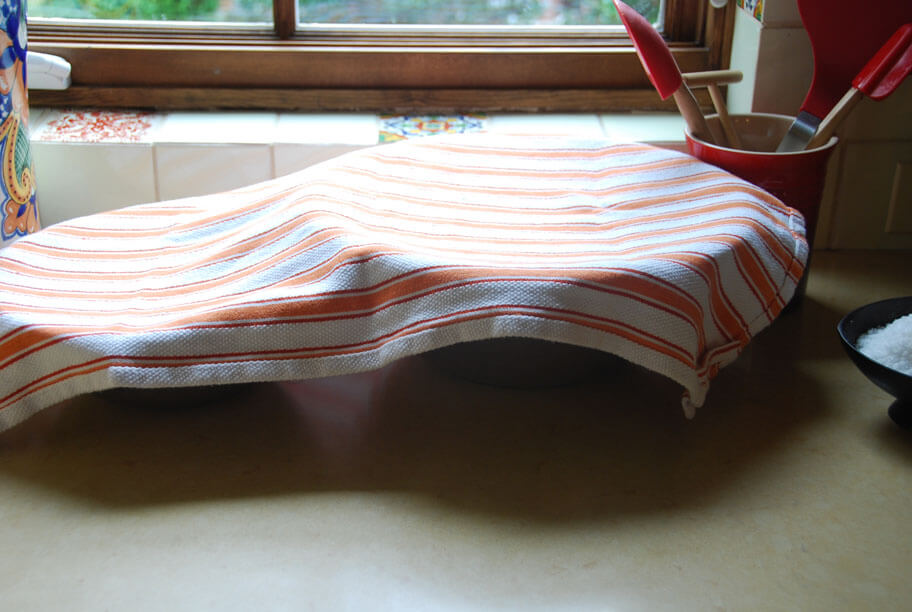
It’s better if you leave it in a warm area of your kitchen where there are no drafts, close to the oven or burners is a good idea, too. Leavened bread likes warmth and moisture, so much so, that I have gotten into the habit of placing a bowl with boiling water right next to the bowl with the dough and then cover it all together (in case you were wondering about the two bowls under the kitchen towel above).
Then leave it to rise.
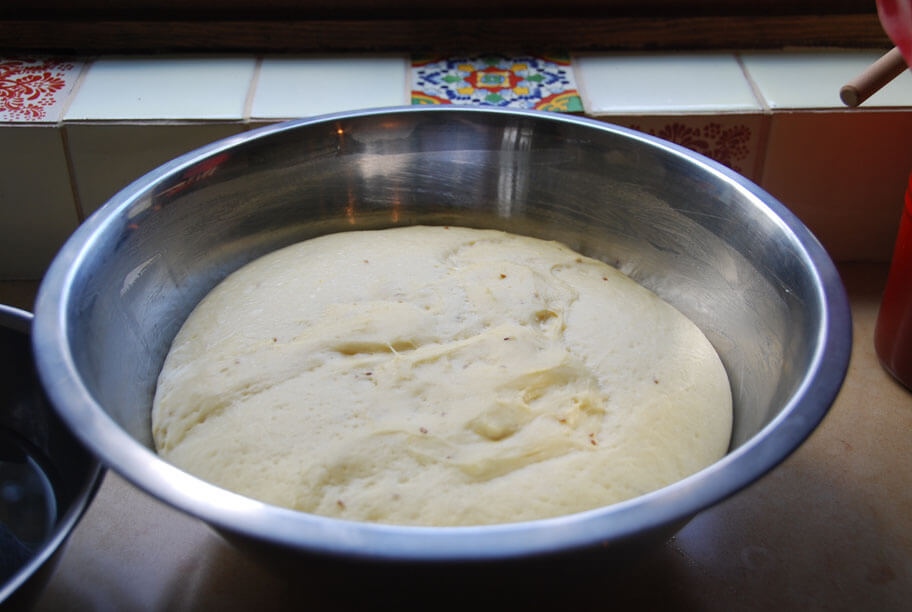
See how it puffed up in photo above? Almost tripled its volume.
That’s the second rise.
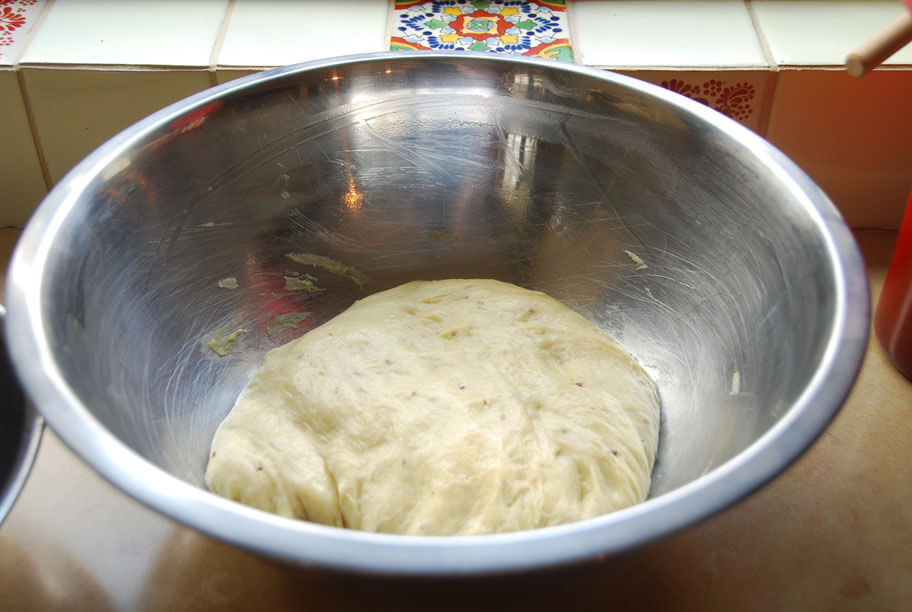
Then punch it back down. Just like that, make some fists and punch it twice.
Cover it with plastic wrap and place it in the refrigerator so that it will slowly but surely rise again, overnight. While you sleep, that dough will be getting ready for you.
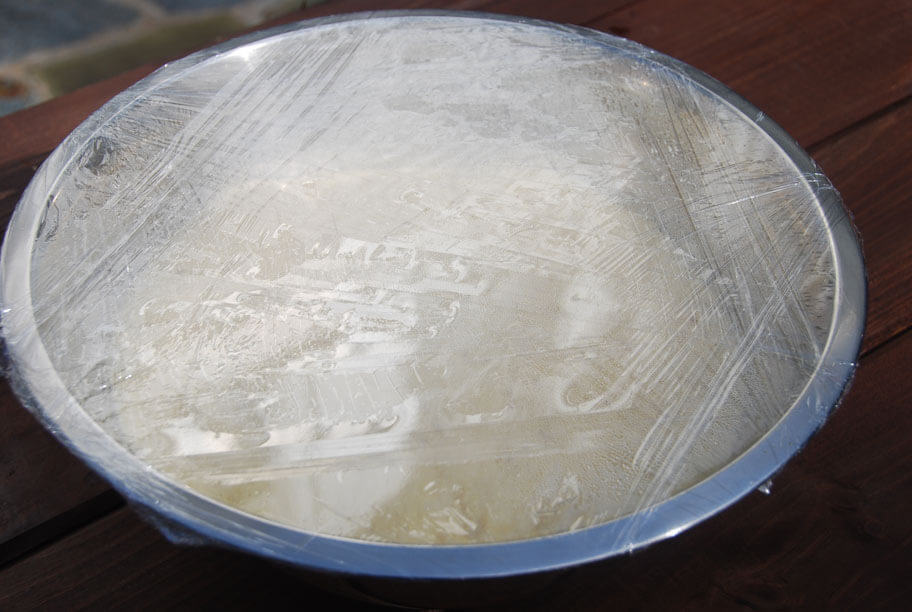
See below?? Look how it rose again!
This time it was even bubblier and a bit stringy.
This is the third rise. Next day, morning sun.
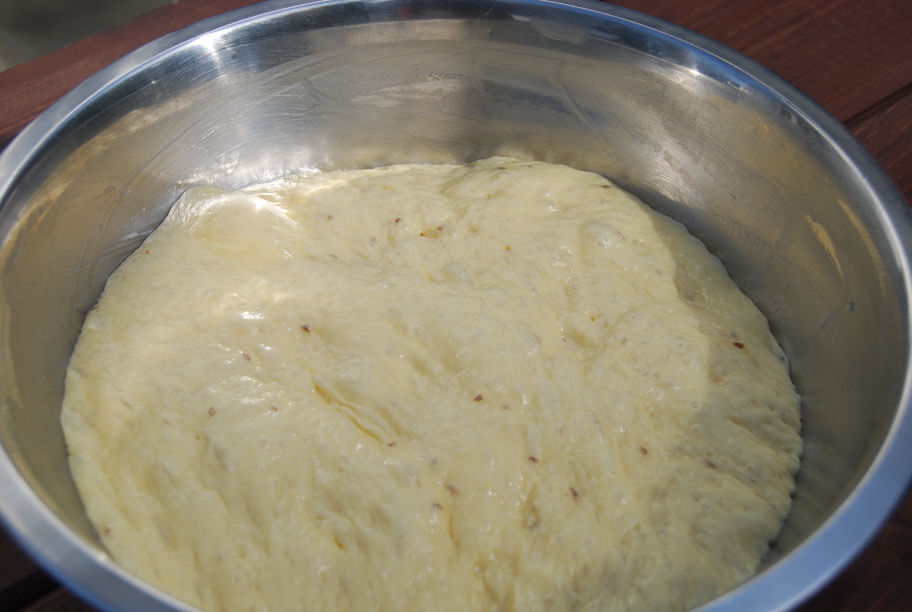
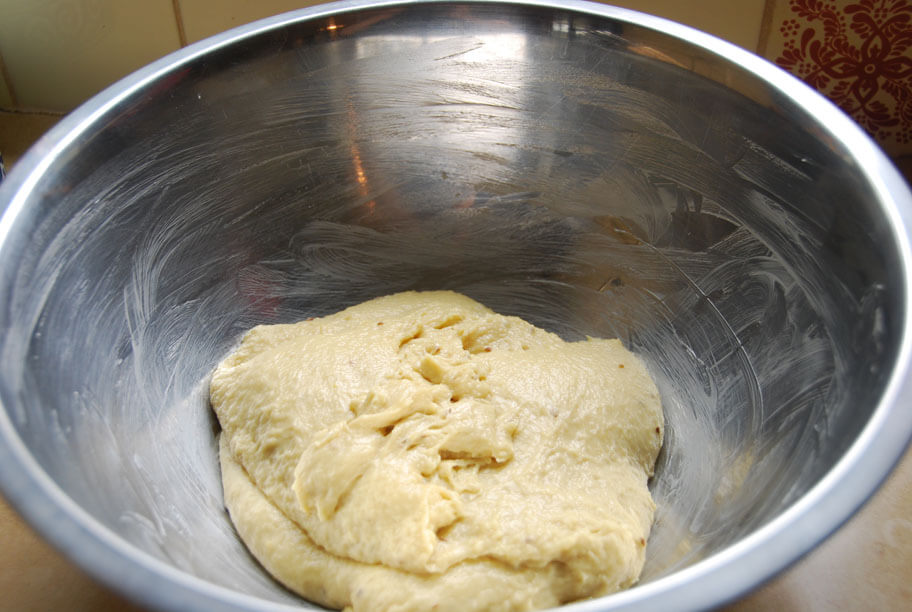
Then as you gather it into a ball, it will deflate in size, but you can see below how the dough has transformed and strands of dough are trying to stick to the bowl.
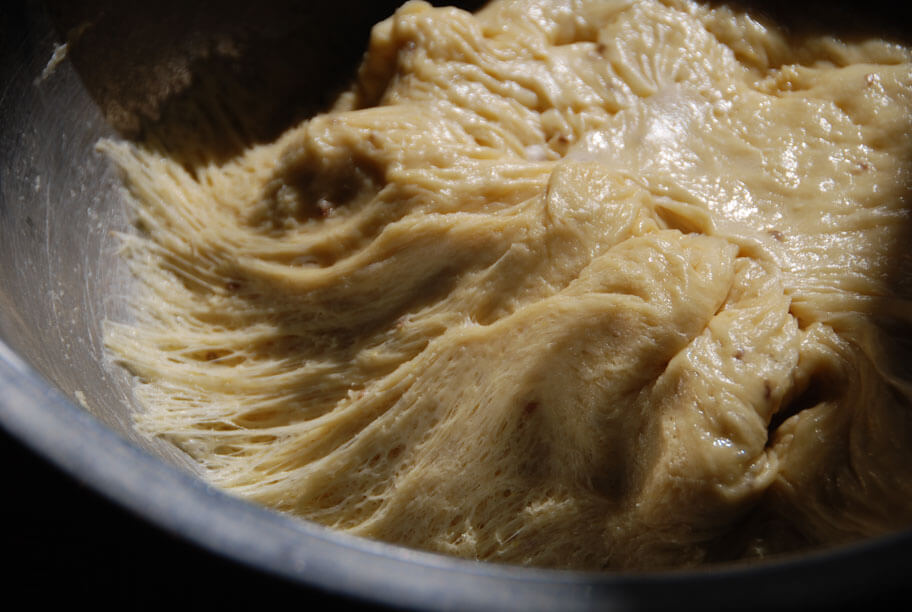
The dough ends up being shinny, sticky, compact…
Grab two thirds to shape like a ball and place it over a buttered or oiled surface. I like using this pizza stone.
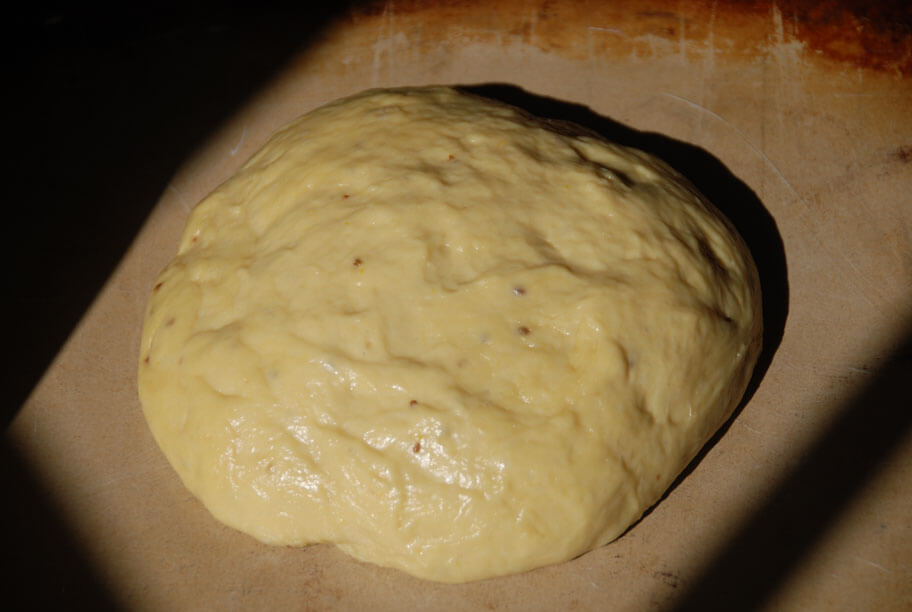
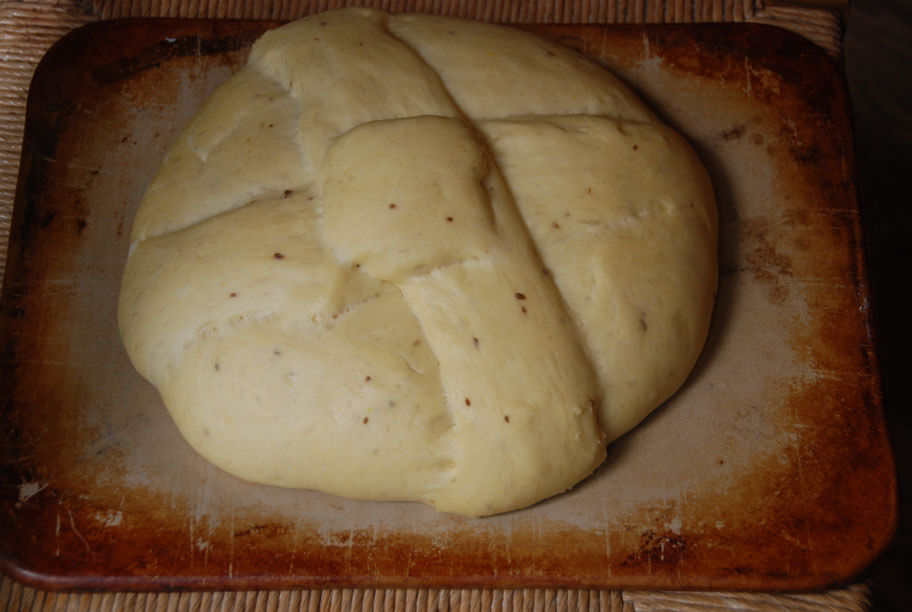
You leave a third of the dough apart, to decorate the ball with a couple of ropes and a ball on top. And then.. you cover it and let it rise again under a towel.
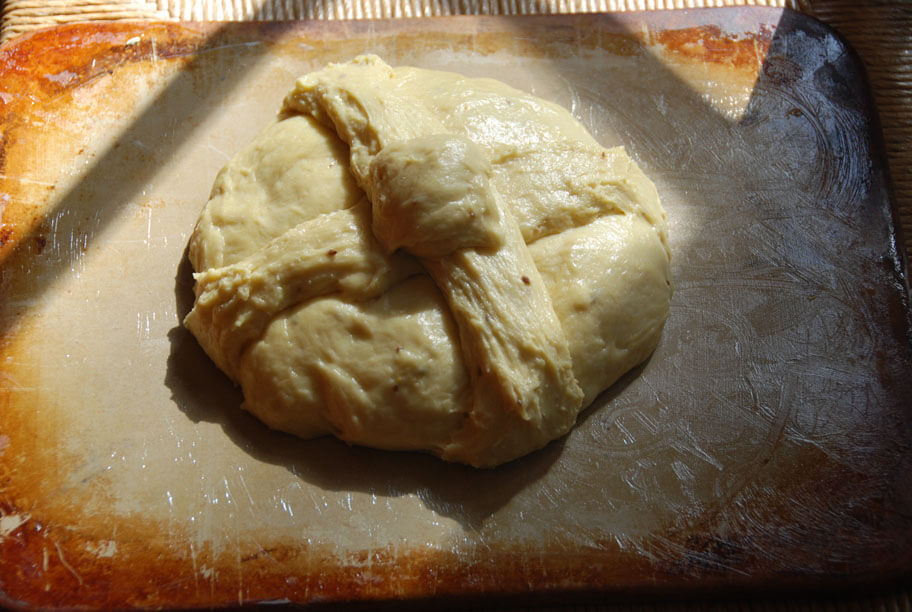
And so it rose, under the towel!
In the oven it goes.
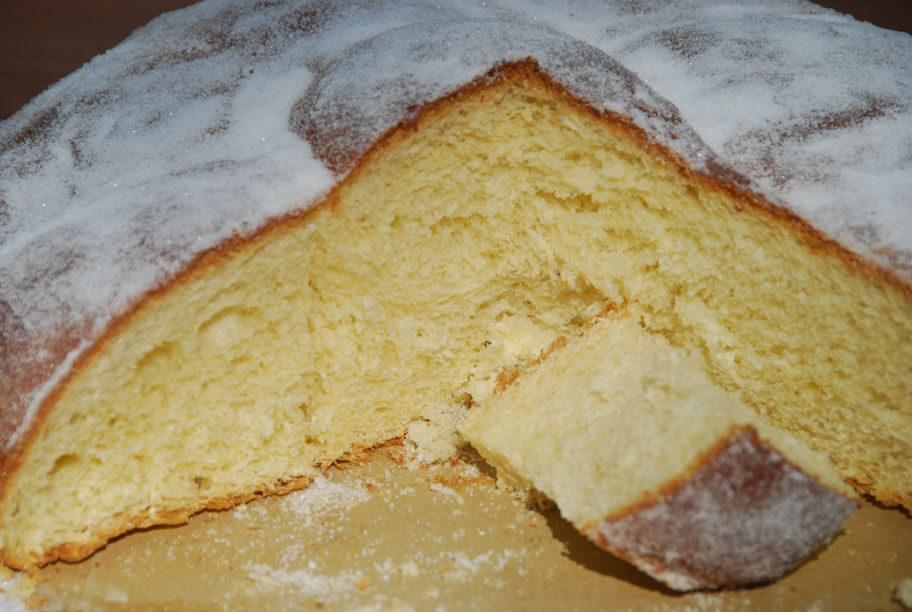
Lastly, when it comes out, it is entirely brushed with melted butter and covered in sugar. Some people add more complex decorations, like colored sugar or make intricate shapes. I like it straightforward with plain granulated white sugar and a round shape.
By mid morning the next day, you will have a Pan de Muerto ready to slice.
So, yes, it takes time, it has to rise many times, but every time it rises again you will feel a huge sense of accomplishment and satisfaction… And as you bake it, maybe you will find like me, that whoever is around in the house will start lurking in the kitchen to eat whatever it is that has such an irresistible aroma.
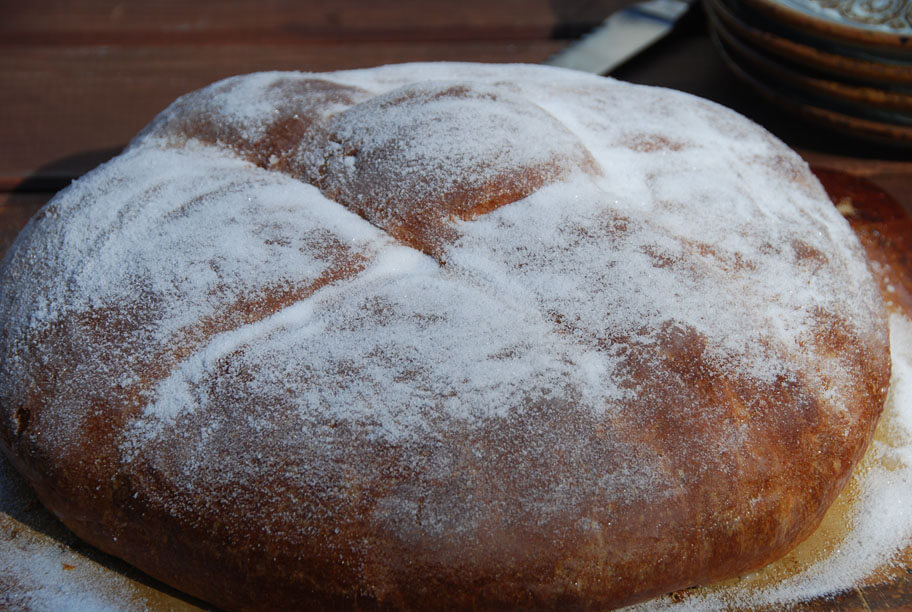
Maybe you will find, also like me, that it was well worth the wait.
Pan de Muerto
Ingredients
- 1/2 cup lukewarm whole milk
- 2 packages active dry yeast (1/4 ounce each) or about 4 heaped teaspoons
- 1/2 cup all-purpose flour plus 3 1/2 cups for later on
- 1/4 cup unsalted butter at room temp plus more to grease the bowl
- and 2 tablespoons to melt and brush on top
- 1/2 cup granulated sugar plus 1/2 cup for dusting the bread
- 6 large eggs at room temperature
- 2 tablespoons orange blossom water or plain water
- 1 teaspoon anise seeds optional
- 1 teaspoon orange zest optional
- Pinch kosher or coarse sea salt
Instructions
To make the starter:
- In a small bowl, pour the lukewarm milk - making sure that it is not hot nor cold or the yeast will not react - and stir in the dry yeast granules. Give the yeast a couple minutes to sit in the liquid, and stir with a spatula until it is thoroughly and evenly dissolved. Give it time: stir a little, pressing gently on the yeast that has not yet dissolved with the spatula, give it a bit more time to sit in the milk, stirring again, press again. Once it has completely and evenly dissolved, add ½ cup flour. Mix it combining thoroughly, until it has no lumps. It will be gooey, runny and sticky. Leave it in the warmest area of your kitchen, for about 20 to 30 minutes, until it puffs up (to about doubles or triples its volume) and has bubbled on top. I like to place a sauce pan or cup with boiling hot water right next to it, but it's not necessary.
To make the dough:
- In the bowl of a mixer, over medium low speed, beat the butter until soft. Add the sugar and beat until combined and fluffy. Add one egg at a time. Once eggs are incorporated, add the milk and yeast mixture. Then adding ½ cup at a time, add the rest of the flour (3 ½ cups). Stir in the orange blossom water if using and if not, add plain water. Also add the anise seeds and a pinch of salt. The dough will look wet, runny and sticky, but continue beating anywhere from 7 to 10 minutes, until all the dough comes off the sides of the mixing bowl. It will be elastic and sticky, but it will hold itself together.
- Butter a large mixing bowl that can hold the dough, and will be able to hold it as it doubles or triples its volume. Place the dough in the bowl, cover it with a cloth or clean kitchen towel and leave it in the warmest area of your kitchen, that is draft free, making sure that it is not next to a window or door that gets opened. Leave it to rest and puff up anywhere from 2 to 3 hours, until it doubles its volume at least.
- Punch the dough with your fist, flip it over, cover with plastic wrap and place in the refrigerator over night. The next day, remove the plastic wrap, place a cloth or kitchen towel on top and let it to come to room temperature.
- Take off a third of the dough to make the bread decorations: make a 1 to 2-inch ball and use the rest to make 2 ropes. They need not be smooth nor perfect, as the dough is quite sticky, and no need to worry they will look beautiful once the bread is baked (and covered with sugar).
- Butter a baking sheet or a bread or pizza stone, and make a ball with the rest of the dough. Place it in the center of the baking sheet and flatten it a bit on top. Place the dough ropes making a criss-cross -Mexican bakers usually shape the ropes to resemble bones, having thicker and thinner parts- and the ball on the top, right where they cross. Cover the bread with a cloth or kitchen towel, and let it rise and puff up again, for 1 to 2 hours.
- Preheat the oven to 350. Bake the bread for for about 35 minutes. Halfway through baking, after about 20 minutes, cover the loaf with parchment paper or aluminum foil to prevent it from browning too much.
- When they are ready, they sound "huecas", or hollow, if you hit the bottom of the bread.
- Melt the butter and brush all over the bread. Sprinkle sugar all over until completely covered.
Purslane or Verdolagas
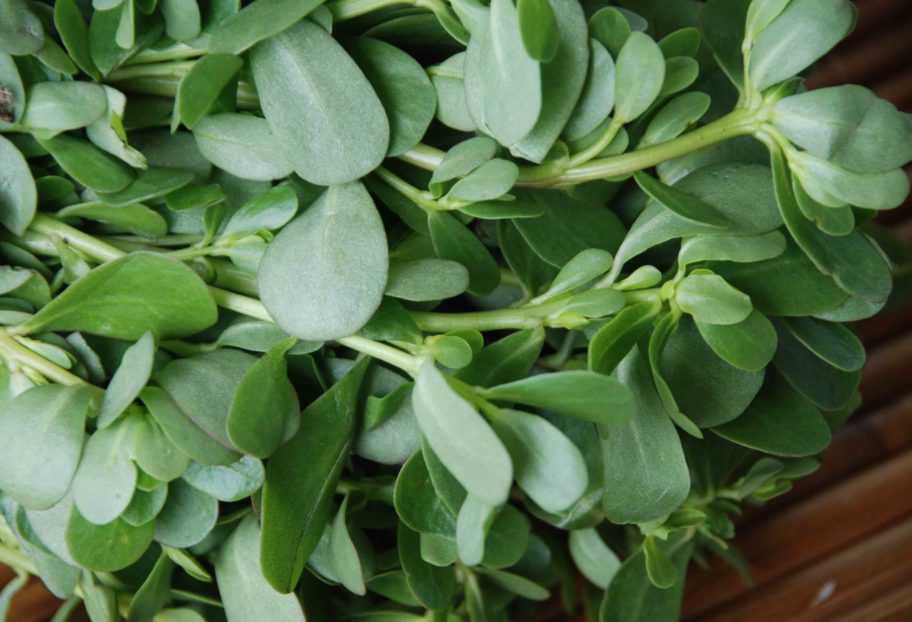
Purslane or verdolagas, one of those ingredients that Mexicans hanker for when outside of Mexico, is likely to be growing in your backyard. In Mexico, it is considered one of the quelites or edible herbs. It is nutritious and succulent, yet it has long been considered a weed in the United States. Indeed, once it grows roots, it spreads and grows fast.
It is essential to the cuisine of Central Mexico, where it is most commonly added to Puerco con Verdolagas: my favorite way of eating them. There, slowly braised pork is finished off in a seasoned salsa verde and verdolagas are dropped in almost when it’s done.
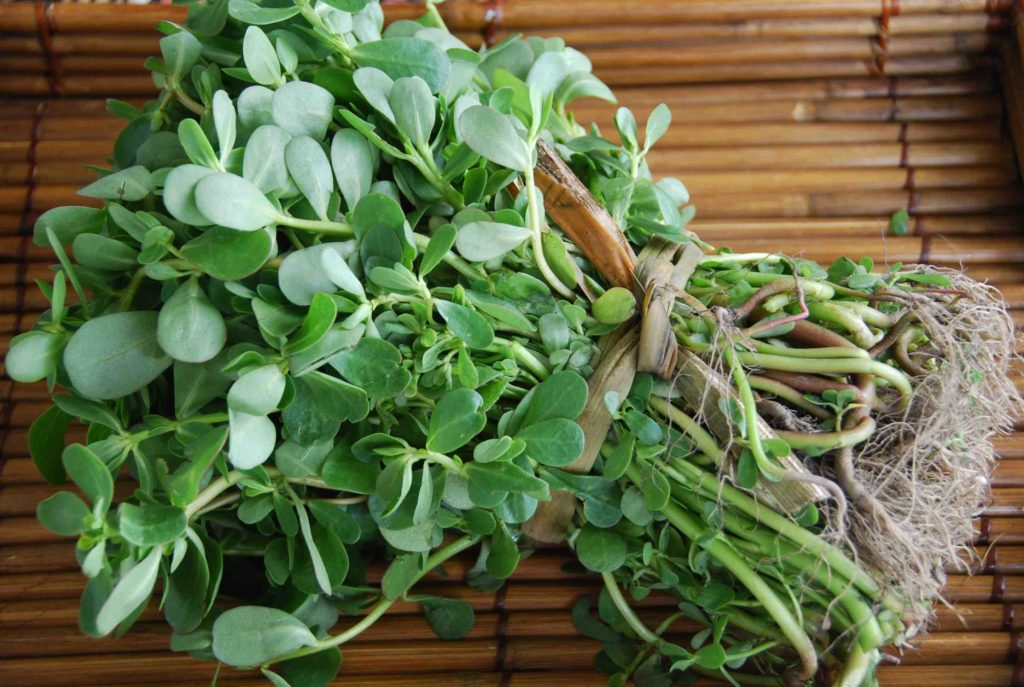
From purslane, almost all is eaten. Only the very lower part of the stems and the roots are removed. The further you go down the chubby stems, the lighter the green color becomes and it can sometimes fluctuate to violet or red.
The leaves are thick and crisp and the stems are crunchy. Both leaves and stems are very juicy and meaty. With a light bitter flavor, a bit lemony and a bit peppery, altogether, punchy and refreshing.
Just like tomatillos, purslane’s tartness pairs well with other ingredients typical in Mexican cooking such as tomatoes and chiles. It is a great complement to salsas and taco fillings. Not native to Mexico, but as you can see, it is an ingredient that over ceturies has grown deep roots.
Though my favorite way to eat them is cooked in that famous pork stew and in vegetable soups, verdolagas are also wonderful in hearty salads. Think watercress, but thicker, crisper, yet more defined and “vegetable” like. They can be prepared just like you would spinach or watercress too. So the options go from soups, casseroles and stews, to salads which can be simply coated with a generous squeeze of fresh lime juice, olive oil and sea salt. You can tuck them into a sandwich and feel like the most interesting sandwich-eating person on your block.
Because studies have shown it to be the richest in omega-3 fatty acids of any leafy green, purslane is increasingly being cultivated in the United States and is often available at farmers’ markets. You may find it under one of its popular nicknames pursley, pigweed or little hogweed. Or look closely, they may be closer to home. If you find them in your yard: cook them up!

