Insanely practical, that’s what these empanadas are. Perfect to make ahead for gatherings, as you can eat them hot or not. And they are oh, so, comforting: think of a tuna casserole in the good old style, but revamped with great Mexican flair and then flipped and turned into individual size. They withstand hours of travel and will remain delicious until you are ready to take a bite.
With that in mind, I made a full batch last Saturday to bring to a friend’s house. So thrilled were the boys, and I, with the packets as they came out of the oven (crispy on top, soft layers of barely sweet dough as you get close to the middle and a rich tasting filling) that by the time we put our jackets on, and I went back to the kitchen to transfer the empanadas from the baking sheet to a platter, I gasped at the sight of the only two remaining…

Lessons learned:
1. Make a double batch.
2. If you don’t, refrain from telling your friends about the fabulous thing you prepared but couldn’t bring because you finished it before hopping in the car. They won’t like it.
A simple way to describe an empanada is a turnover-looking packet stuffed with one or another kind of filling. The story goes that they’ve existed since the Spanish Crusades as they were perfect travel food. It was the Spaniards who brought them to Mexico.
From the Spanish word “empanar,” which can translate as “the act of covering something with bread or bread dough,” aside from practical, they are also versatile. They can go from mini to giant, from savory to sweet, from a tasty appetizer or funky main meal to a sweet bite, depending on the fillings.
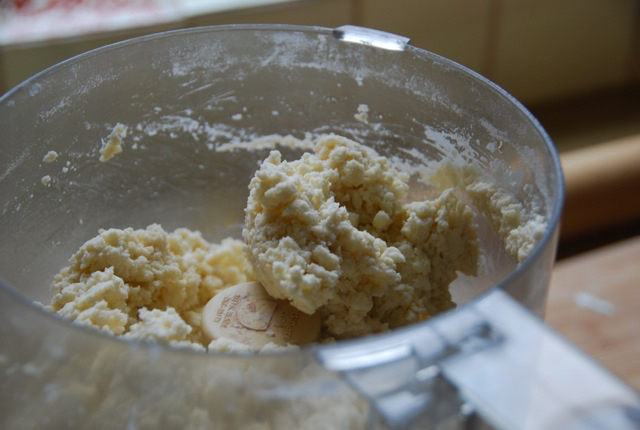
I can think of three things that distinguish empanadas from quesadillas. First, whereas quesadillas are made with flour or corn dough (or flour or corn tortillas) empanadas are made with flour dough. That doesn’t make empanada variations limited. Oh no. There are as many fillings and as many flour doughs as one can think of. One of the fluffiest ones are made with puff pastry, called hojaldre in Spanish.
Delightful, because as it bakes, the seemingly flat dough develops its multilayered structure: paper-thin layers of dough puff up with air, and delicious butter, in between them.
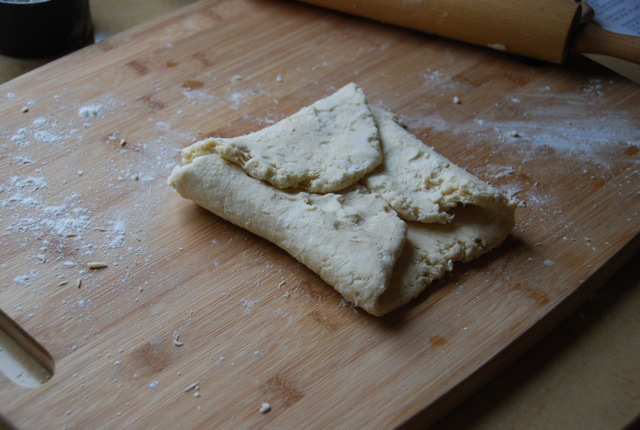
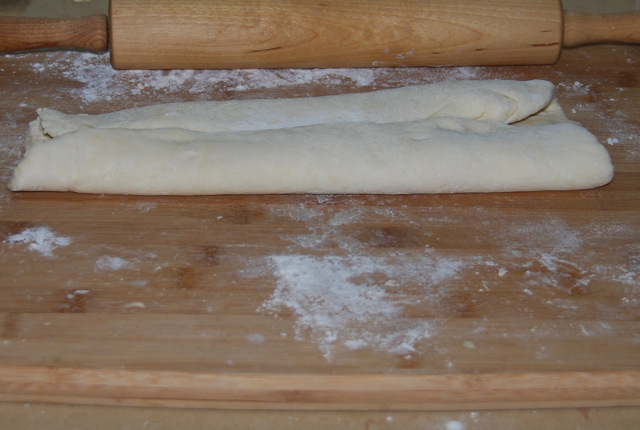
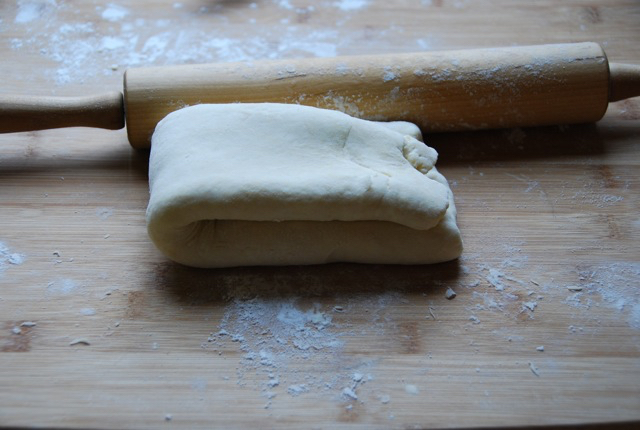
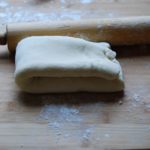
You can make your own puff pastry or simply buy it at the frozen section at the store. Just be sure to thaw before you roll out.
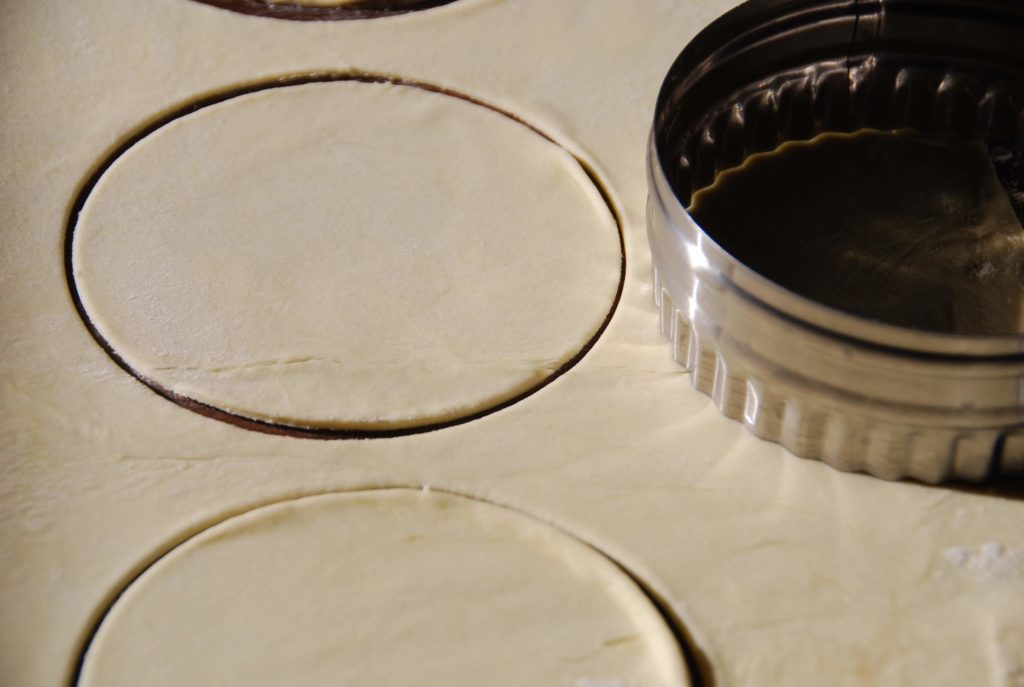
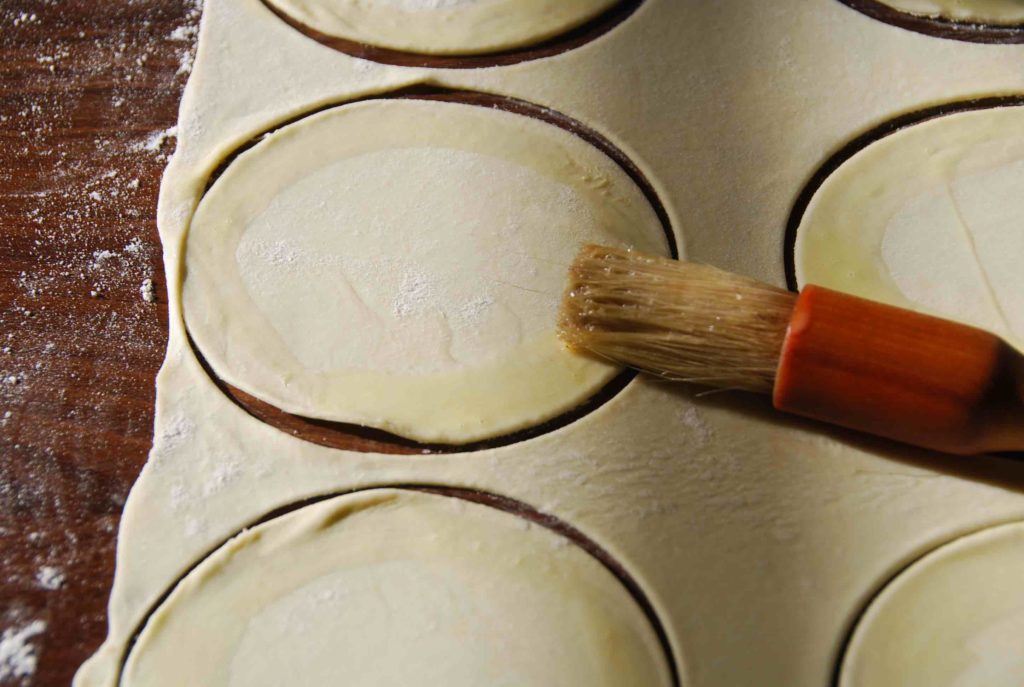
Then make rounds. You can make them as big or as little as you like. Here I am cutting 5” rounds. Brush with egg wash (just a beaten mix of egg and water) around the edges. Then add the filling.
A second difference between empanadas and quesadillas is that it is pretty hard to find a quesadilla that is sweet, for a good reason. Whereas not only are there plenty of sweet empanadas but even when they are savory, they have a sweet element to them, like the Tuna Minilla that is going in here….

Minilla is a very popular way of cooking fresh fish and also canned tuna along the Mexican Gulf Coast, especially in Veracruz.
It is so tasty and its flavor shows the impact that kitchens in Veracruz received from it being a port of entry to the Spaniards. It has a base of cooked onion, garlic, plenty of tomatoes, pickled jalapeños, along with the capers, olives, raisins and herbs the Spaniards brought. Pretty much like the Fish a la Veracruzana style. The sauce gets cooked until moist and the flavors have been completely absorbed and combined.
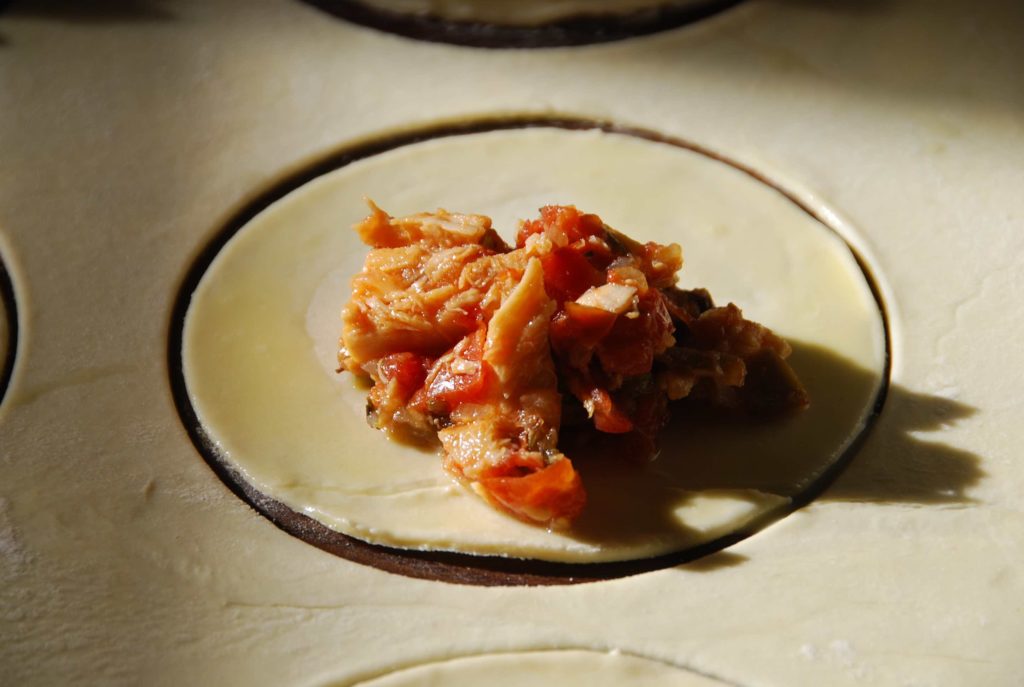
You can eat Minilla as a main dish on top of rice. You can use it to make sandwiches or tortas. But my favorite way to use it is inside of empanadas. And I like to add generous amounts…
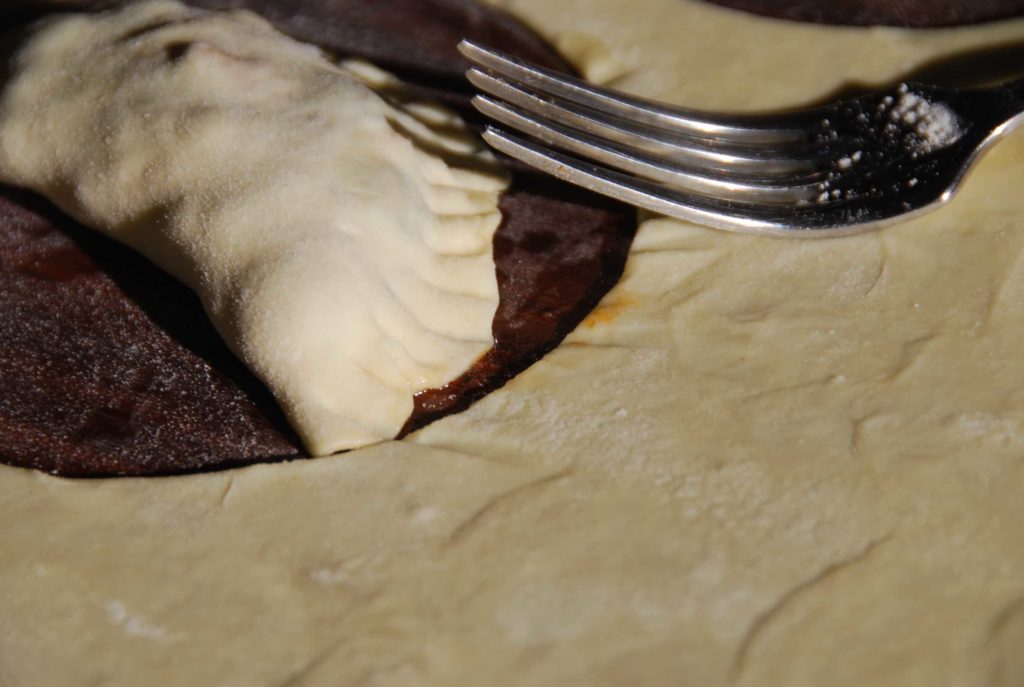
Then seal the empanadas by folding the circle over the filling. Then use a fork to not only decorate the edges but to seal them even better. In Mexico, many cooks know a fancy technique of decorating and sealing the edges of the empanadas so they look like encaje or embroidery. I go with the good old fork….
The third thing that distinguishes empanadas from quesadillas, is that empanadas are mostly baked. Not fried or cooked over the stovetop on a comal or skillet.
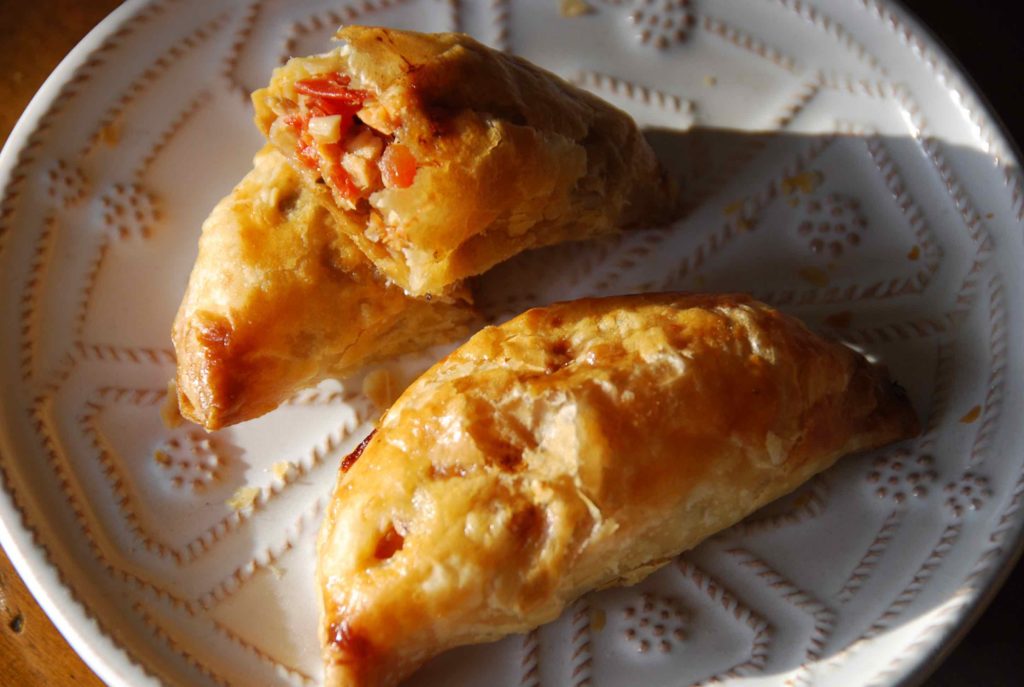
Once in the oven, the puff pastry layers do what they must… puff and puff and puff, the top crisps, the middle gets moist, and the filling bonds with the packet.
Off you go!

Tuna Minilla Empanadas
Ingredients
For the filling:
- 1/4 cup vegetable oil
- 3/4 cup chopped white onion
- 1 clove garlic finely chopped
- 1 1/2 pounds chopped ripe tomatoes or about 6 roma tomatoes
- 2 7-ounce cans tuna drained and shredded
- 2 bay leaves
- 1 teaspoon brown sugar
- 1/2 teaspoon dried oregano
- 1/2 teaspoon dried thyme
- 1/2 teaspoon kosher or sea salt or to taste
- 1/4 cup roughly chopped raisins
- 1/4 cup roughly chopped manzanilla olives stuffed with pimientos
- 1/4 cup seeded and roughly chopped pickled jalapeño chiles store bought or make your own, more to taste
- 1 tablespoon capers
- 3 tablespoons chopped Italian or flat-leaf parsley
To form the empanadas:
- 1 egg
- 2 tablespoons water
- 1 1.2 pound package frozen puff pastry thawed, or homemade puff pastry
Instructions
- In a large skillet, heat the oil over medium heat. Once hot, but not smoking, stir in the onion and cook until it is soft and translucent, about 5 minutes. Add the garlic, stir, and cook until fragrant, about 1 minute. Stir in the chopped tomatoes and cook, stirring often, until completely cooked, softened and mashed up and pasty looking, about 15 minutes.
- Toss in the tuna and with a spatula or fork, mix it well with the tomato mix, making sure there are no big chunks. Add the bay leaves, sugar, oregano, thyme, salt and mix well. Add the raisins, olives, pickled jalapenos, capers, fresh parsley and mix well. Cover the skillet and reduce the heat to medium-low. Cook for about 10 minutes, the mixture should be very moist but not too watery. Taste for salt and add more if needed. Remove the bay leaves and set aside.
- Line two baking sheets with parchment paper. Preheat oven to 350. In a small mixing bowl beat the egg along with the water.
- Gently flour your countertop and rolling pin and roll out one thawed sheet of pastry to about 1/8” thick. Cut out 5” to 6” rounds with a cookie cutter or anything that can act as a mold. With a pastry brush, brush the edges of the rounds with the egg wash. Spoon about 2 tablespoons of tuna in the center of each round, fold as a turnover or quesadilla to make a half moon, pushing the tuna inside of the empanada at the same time as you press the edges of the dough to seal it. Gently press the edge with the tip of a fork, this will act as decoration but also help seal the edges. Place the empanada on a lined baking sheet and repeat with the rest of the rounds and the second sheet of puff pastry. When all empanadas are formed, brush their tops with the remaining egg wash.
- Place them in the oven and bake for about 30 minutes, until crisp, puffed up and golden brown.