What to do with a couple cans of sardines? Do what the people from landlocked Aguascalientes do: make the tastiest empanadas.
Over the past dozen years, I have been amazed by so many things, as I’ve ventured into a deep exploration of Mexico’s cuisine to share it with the world – or whoever will listen. Its richness, its diversity, its depth, its accessibility, its generosity… One thing that has also stood out, everywhere, is the resourcefulness of its people.
You know the saying, if all you have are lemons, make lemonade. That exponentially applies to the Mexican spirit.
Take the state of Nuevo Leon that is so rich in oranges. You will find everything from orange cake, orange cookies, orange drinks, orange chicken, orange candy, to amazing orange preserves.
Aguascalientes is a place deeply inland, with no water outside its borders and no water within its borders – no lakes, no rivers. Bien tierra adentro, as we say. Historically, the only fish and seafood that has been available there, for the most part, is that which can be preserved: salted, dried, pickled, or canned. Hence, these sardine empanadas, a dish that truly embellishes the sardines.
I was intrigued when I stumbled upon this recipe as a specialty of the region. It jumped out at me like a jack-in-the-box screaming: test me please! See, I inherited a deep taste for sardines. A funny ingredient to dig, I know. Pretty basic and not much glamour about them…
Oh, but it’s the lightly salty, oily, peculiar rich taste and kind of pasty consistency to them that I grew to appreciate from two men I love. My father, whose favorite torta – and he is a heck of a torta maker – has sardines, avocado, onion and pickled jalapeños. And my grandfather, my father’s father, who was an angel that happened to land on earth – ok, fine, he was a Polish man fleeing persecution, who found refuge in Mexico when he was merely a teen – loved eating sardines on saltine crackers smeared with butter.

Turns out, you really only need basic ingredients to make these empanadas. And they end up gorgeous, inside and out.
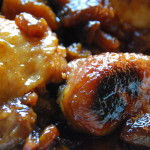
Here is a bird’s eye view of the empanadas.
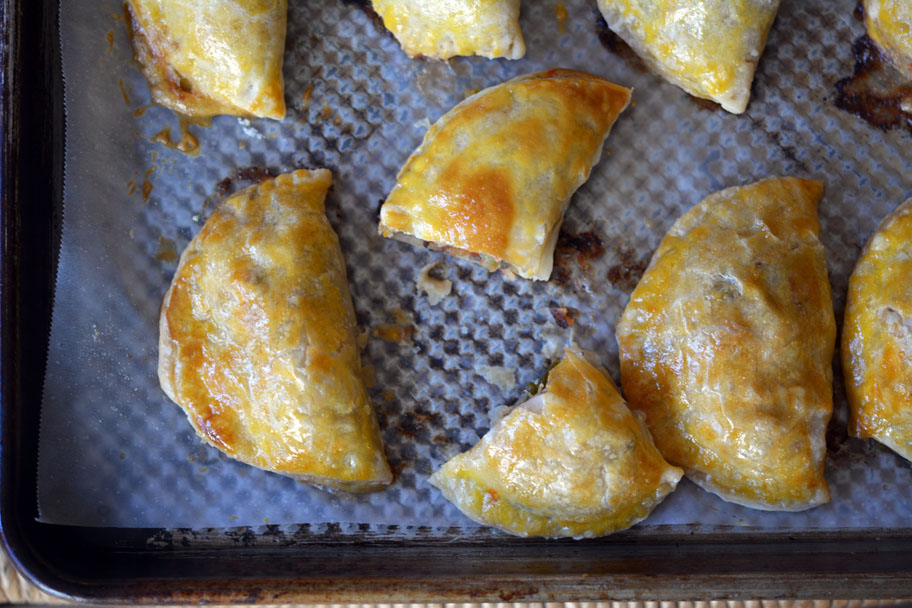
You know why they have such deep and shimmering golden brown color on the top? Because in Aguascalientes, they brush the empanadas with only the egg yolks. No worries, you won’t waste the egg whites. You can use them to help seal the inner seam of the empanada.
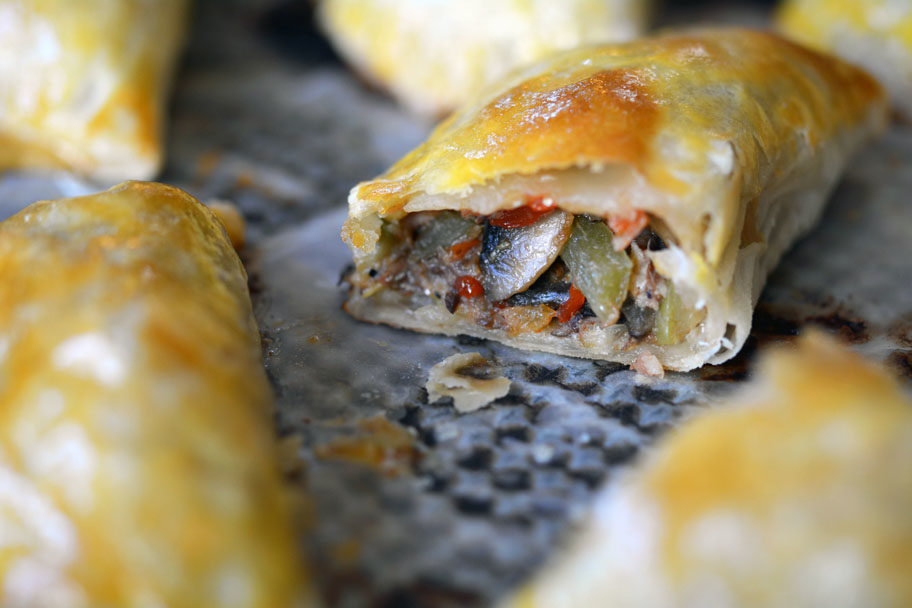
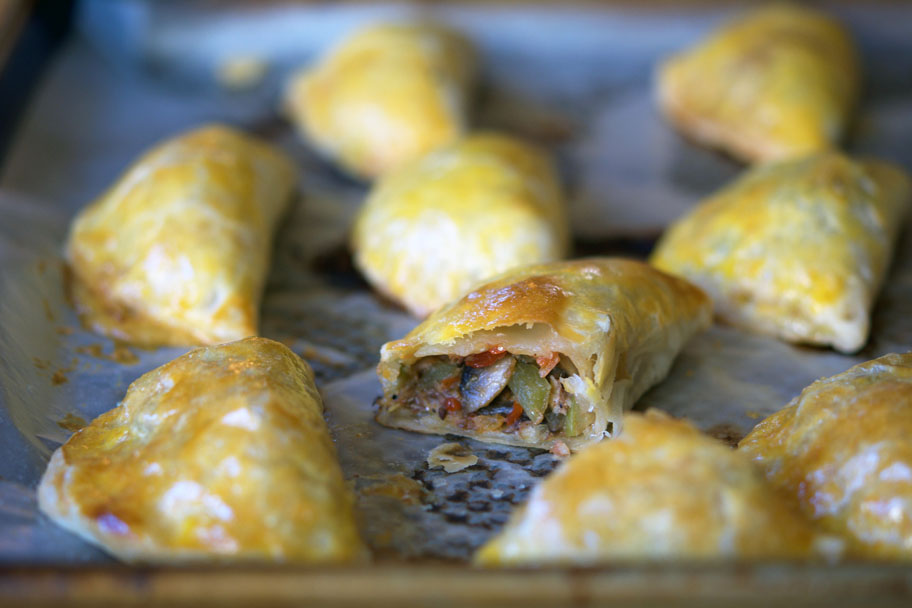
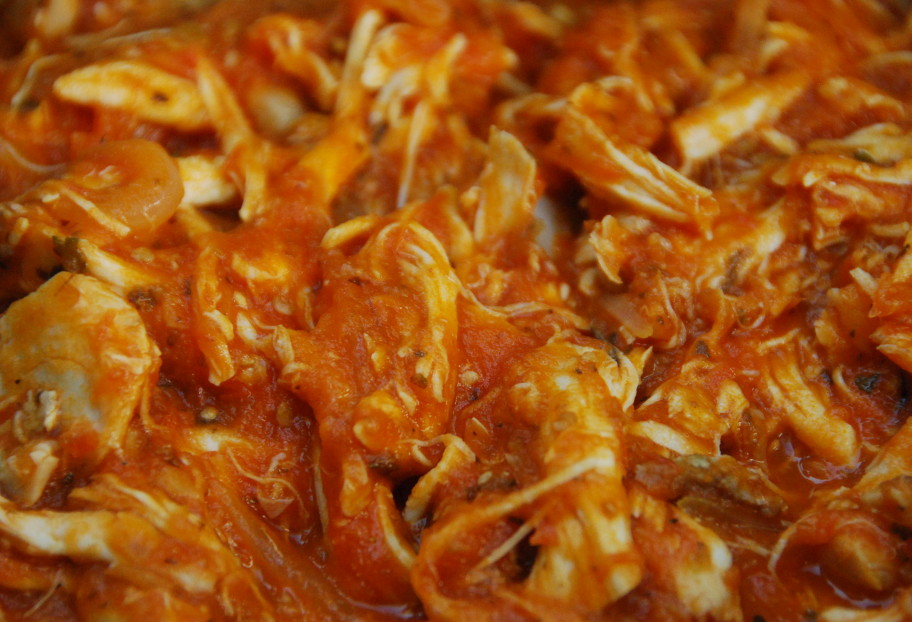
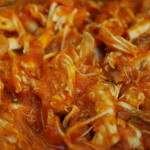
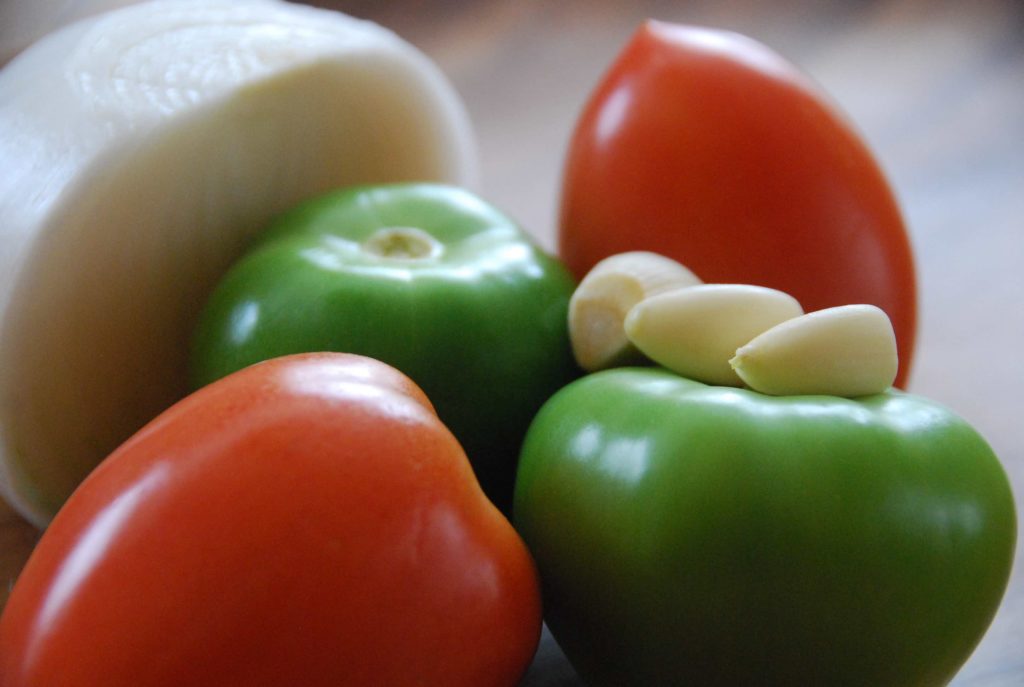
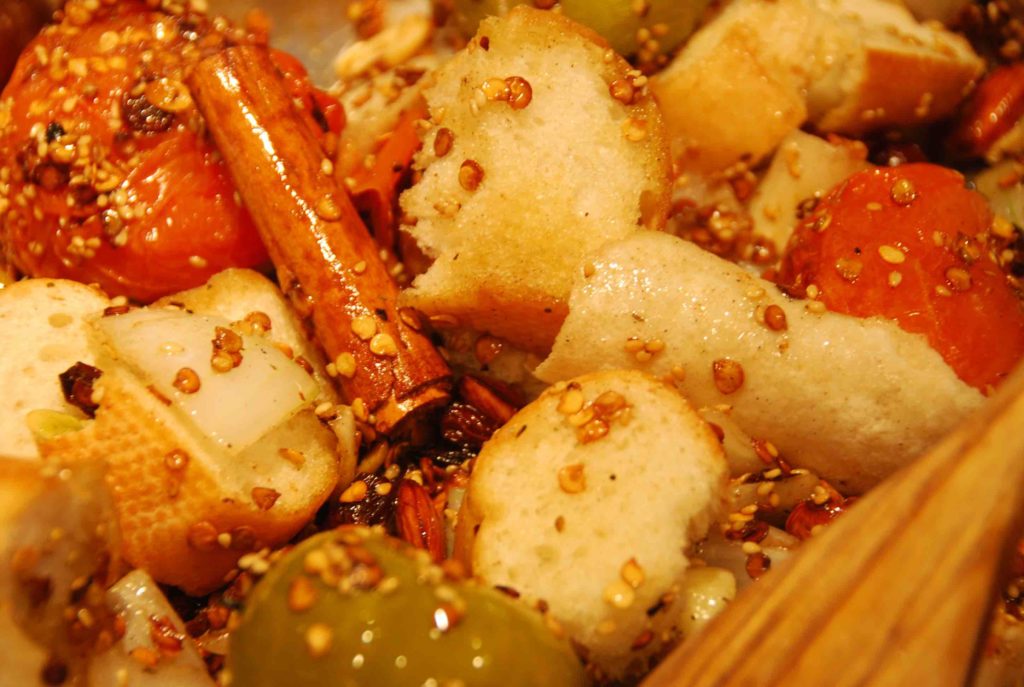
As far as the filling: Sardines are combined with mushrooms that are seasoned and browned over softened onions and mixed with mushy cooked tomatoes, olives and pickled jalapeños. The sardine flavor is nuanced by the combination, yet not hidden. It is embellished in a way.
The mushrooms are a non-competing companion that makes the filling more substantial and adds a nice soft bite. The puff pastry becomes the perfect wrapping to envelop the savory, lightly spicy, teasingly rich mixture.
Ok, here is an inside photo, so you can see the chunky and moist filling too.
You can make them for lunch or dinner and eat them with a green salad on the side. You can also make them mini and have them as appetizers. You can eat them hot, right out of the oven. Or you can eat them at room temperature. And you know I am going to say this: they are actually also delicious cold.
The best thing is, if you have leftovers, everyone will have a delicious to-go lunch for school or work.

Sardine Empanadas
Ingredients
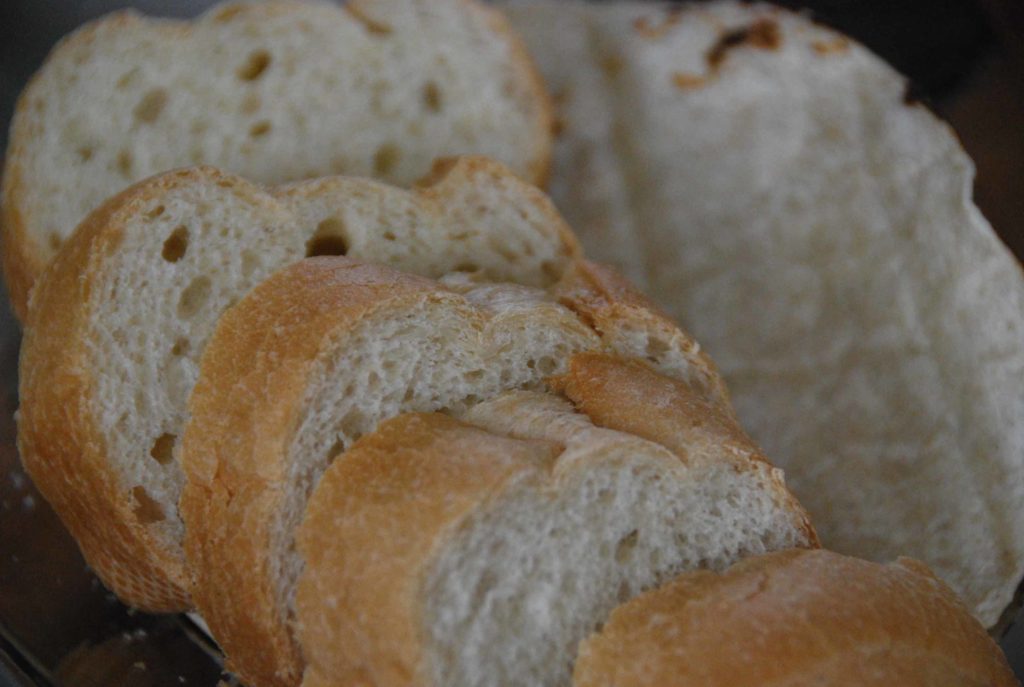
- 1 pound frozen puff pastry
- 2 tablespoons vegetable oil
- 1/2 cup white onion chopped
- 2 cups white button mushrooms cleaned and diced 8 ounces
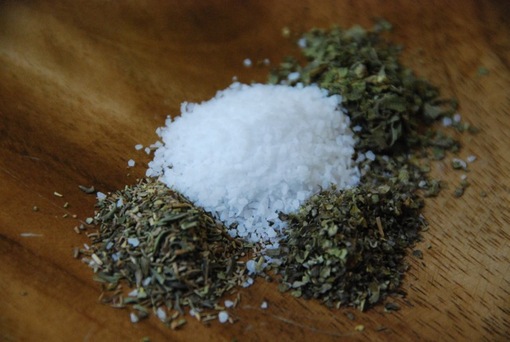
- 1/2 teaspoon kosher or sea salt
- 1/4 teaspoon ground black pepper
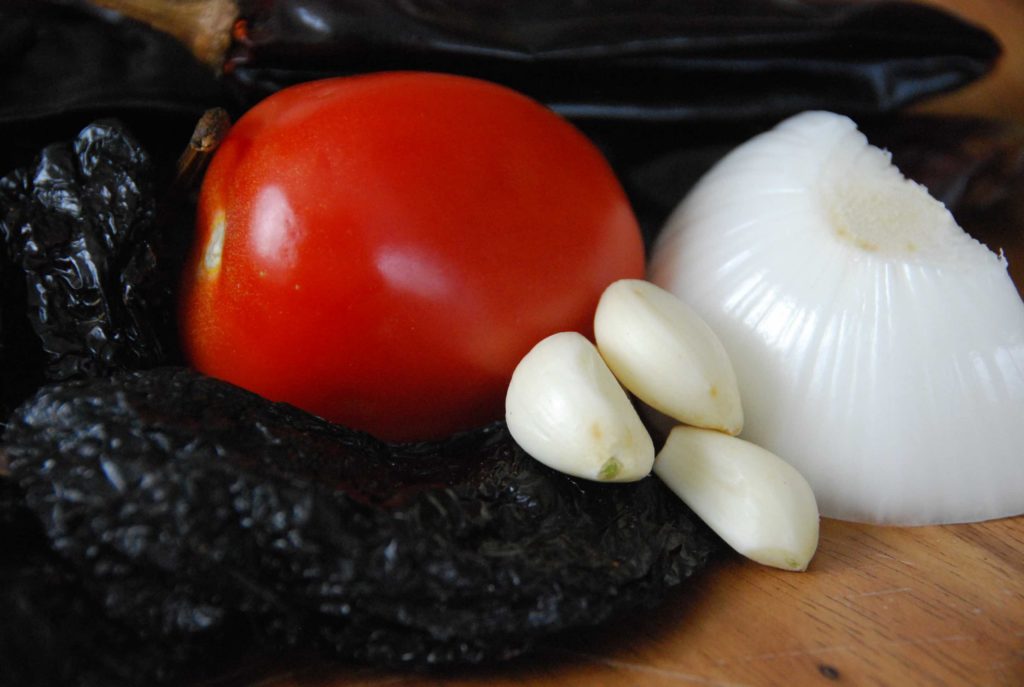
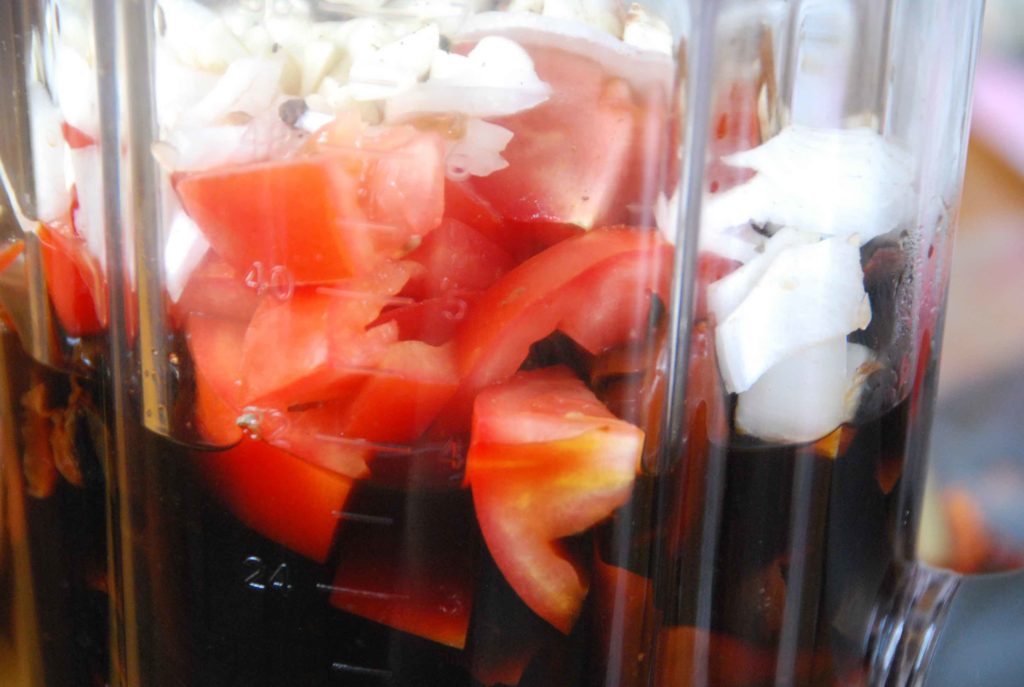
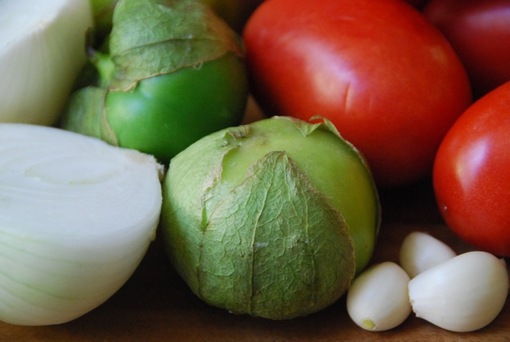
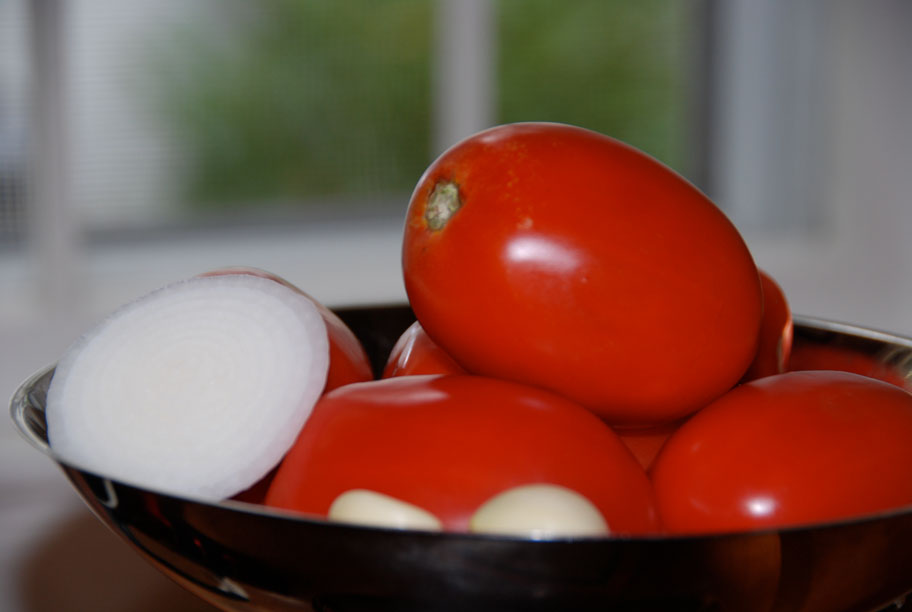
- 1 cup ripe Roma tomatoes chopped about 1/2 pound
- 1/2 cup manzanilla olives stuffed with pimientos chopped
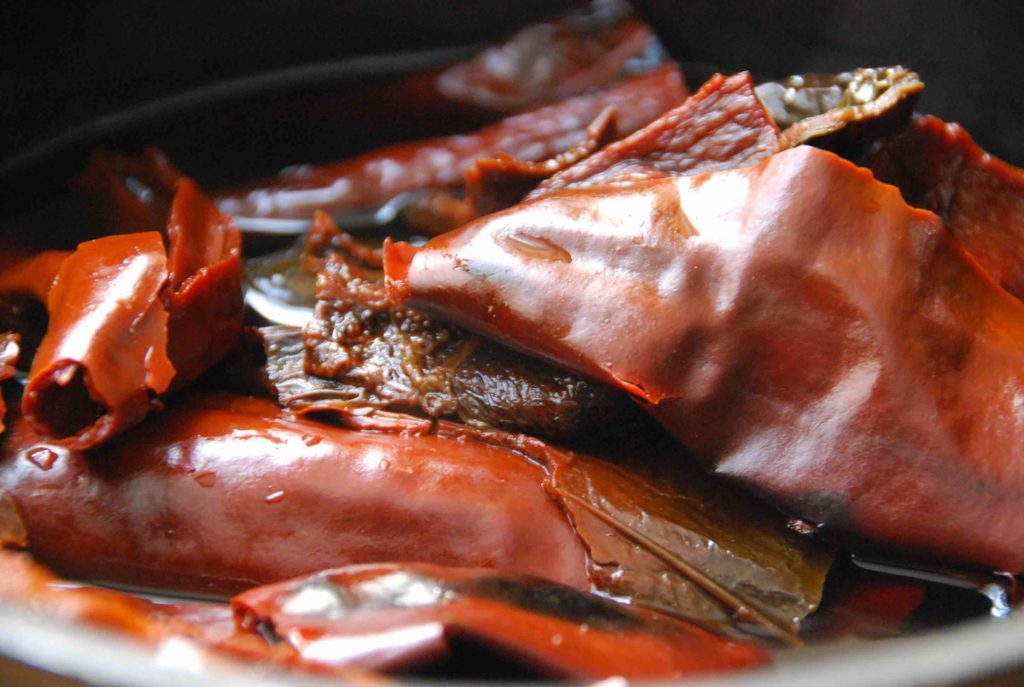
- 1/4 cup pickled jalapeños chopped
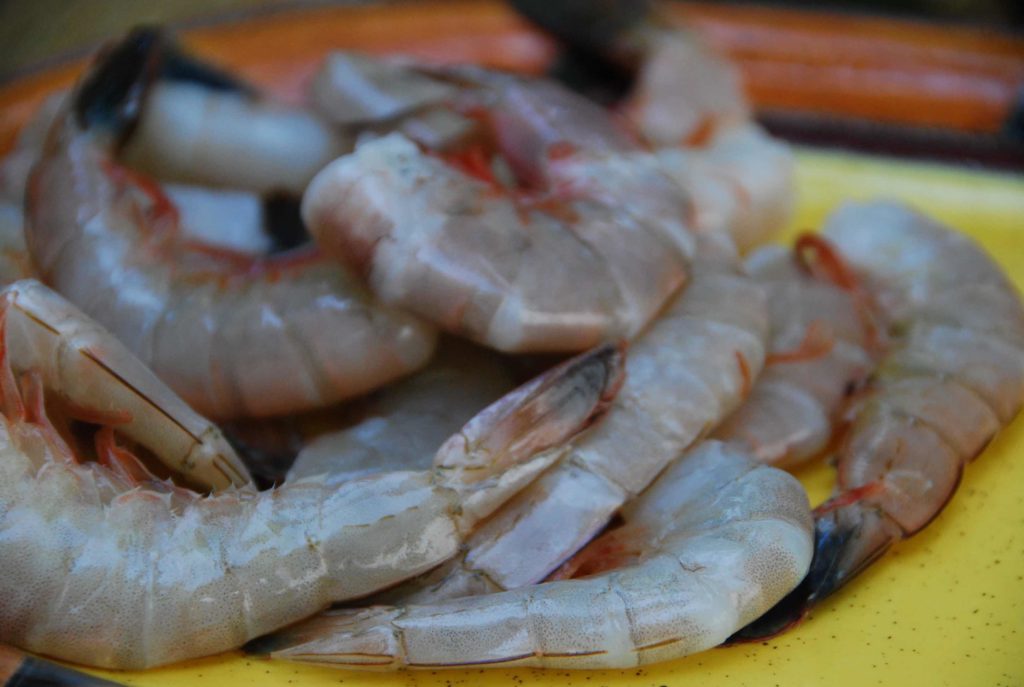
- 2 cans (3-4 ounces) of sardines in oil broken into chunks
- 2 eggs separated
- All-purpose flour for rolling out puff pastry
Instructions
- Remove the puff pastry from the freezer and let it thaw on your countertop.
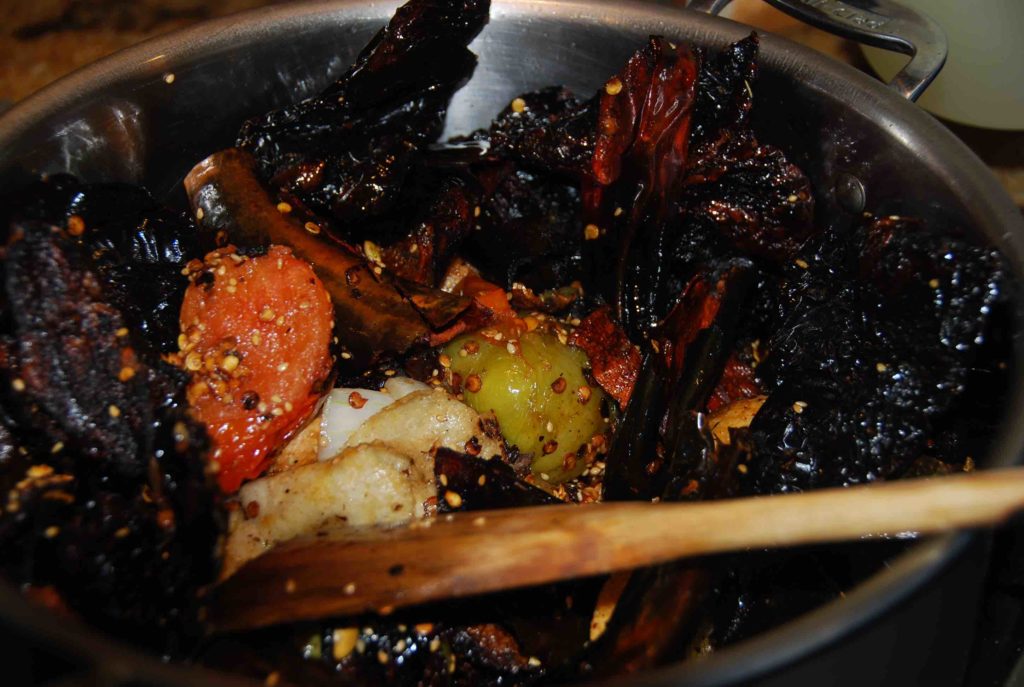
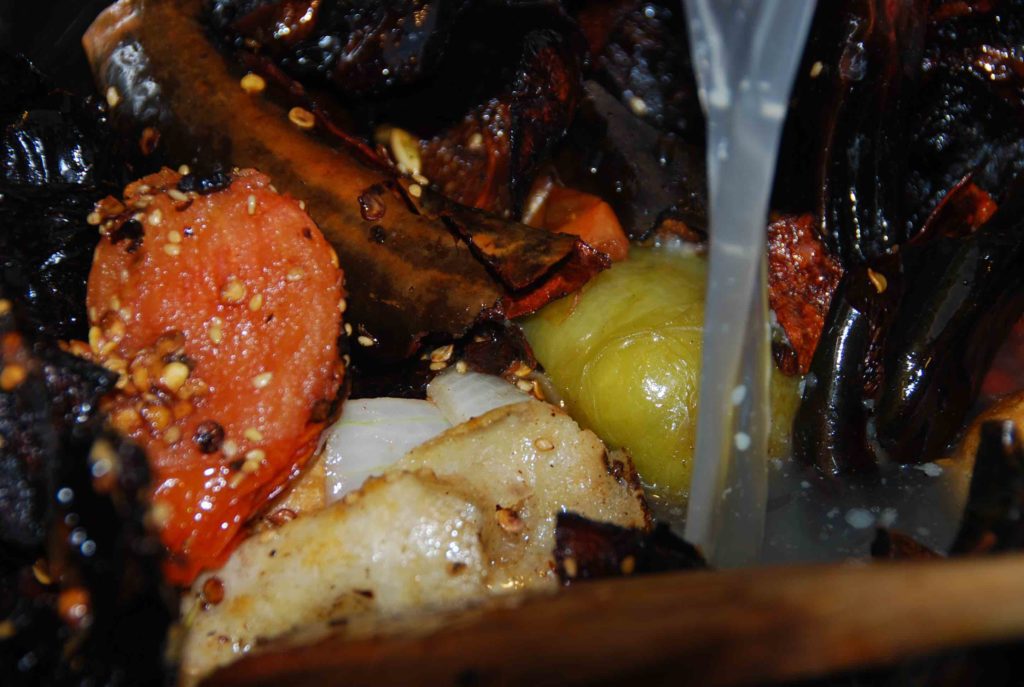
- Heat the oil in a medium casserole or a sauté pan set over medium heat. Once hot, cook the onion for 3 to 4 minutes until it softens. Incorporate the mushrooms, sprinkle in the salt and pepper, and cook for another 5 to 6 minutes, until the juices come out and they begin to dry out, and the mushrooms start browning a bit. Add the tomatoes and cook for 6 to 7 minutes, until they start breaking down and becoming mushy and soft. Add the olives and jalapeños, mix well, and cook for another minute.
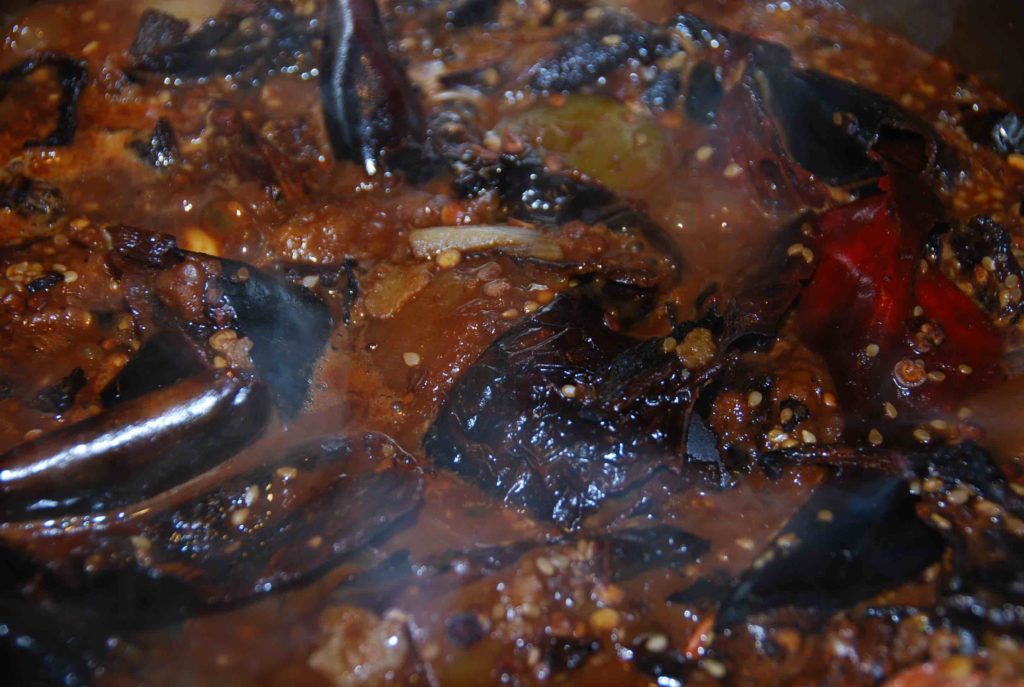
- Remove from the heat, add the sardines, combine well and set aside.
- Separate the egg whites from the egg yolks in two small bowls. Use a fork or a whisk to beat them separately.
- Place the racks in the lower and upper thirds of the oven. Preheat the oven to 400 degrees Fahrenheit. Line a couple of baking sheets with parchment paper.
- Lightly sprinkle flour on the countertop and rub some on the rolling pin. Roll out the puff pastry to thinner than 1/4-inch and use a 4-to-5-inch round mold to cut circles. Add a generous tablespoon of the sardine filling in the middle of each round. Brush a bit of the beaten egg white around the edges each round. Fold each one into a half moon shape and press the sides.
- Using a fork, press the side of the empanada to help seal and decorate it. Brush the egg yolk on top of the empanadas and place them on the prepared baking sheets. Place the empanadas in the oven. Bake anywhere from 20 to 22 minutes, until the tops of the empanadas have puffed and are a shiny golden brown.


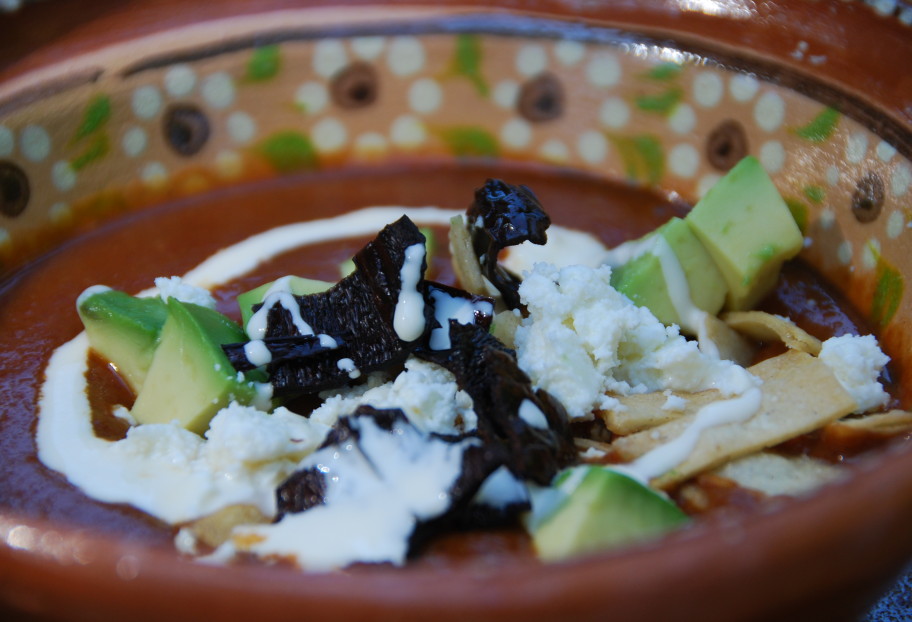
 (One of the views inside of Hacienda San José)

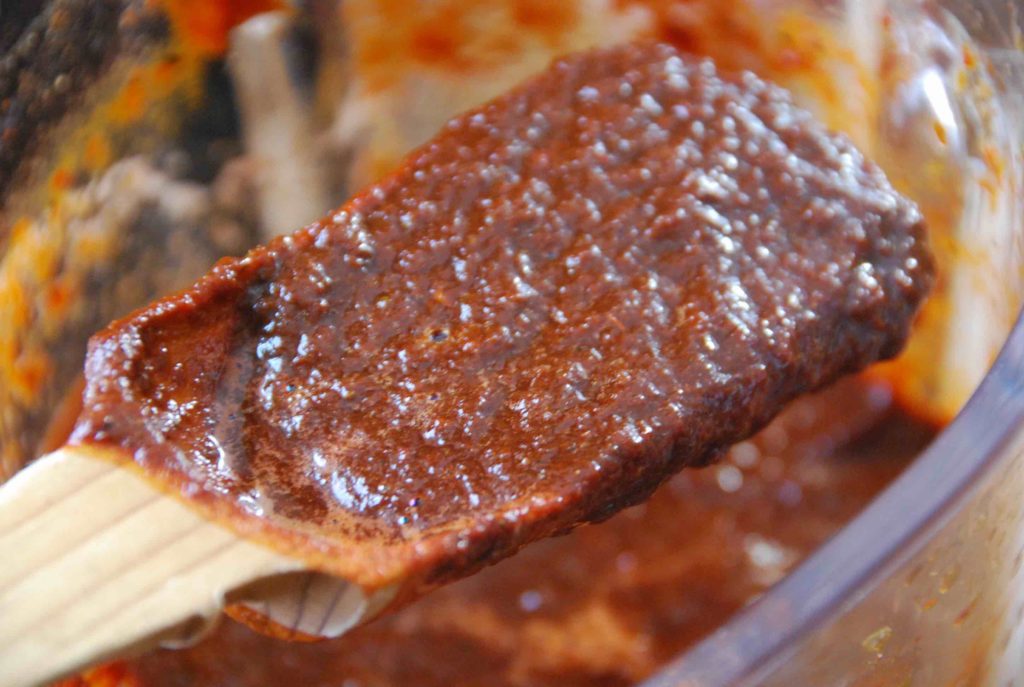
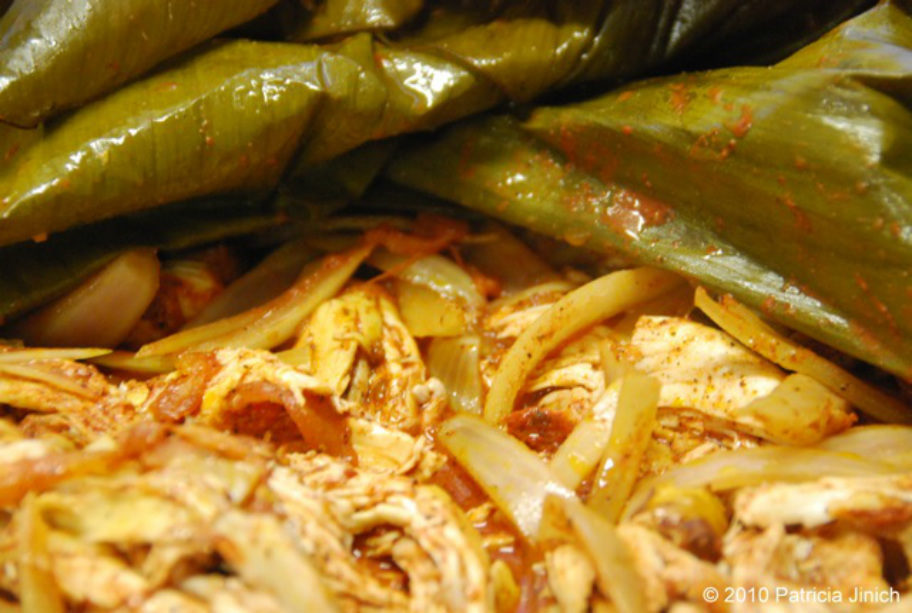
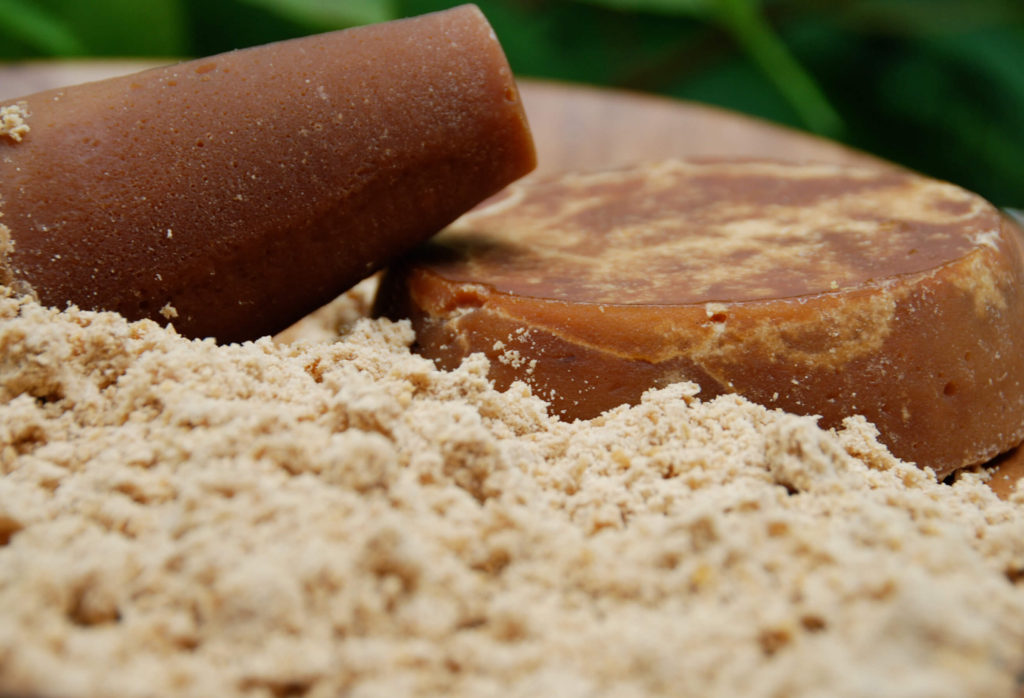
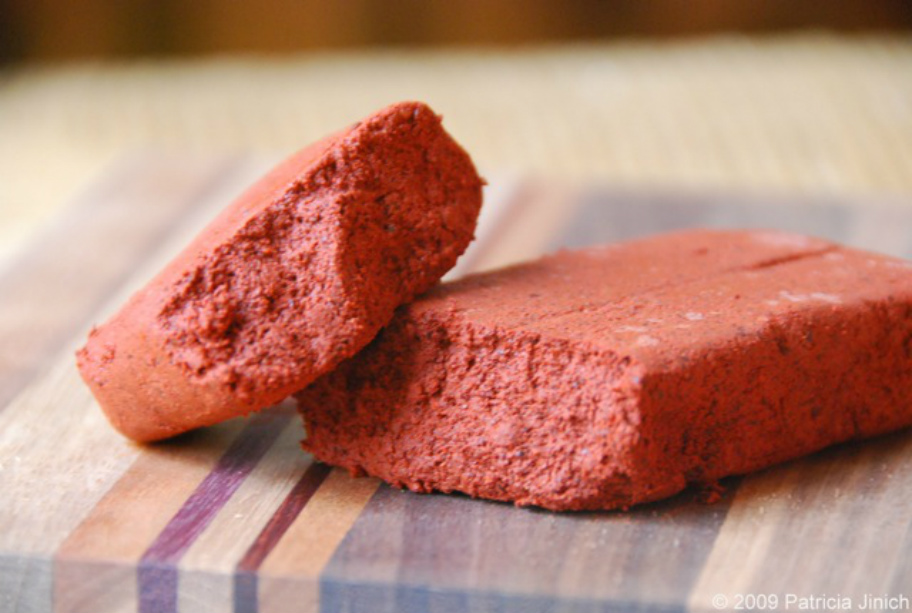 (A freshly opened bar of achiote paste, posing for my camera so you can take a look)
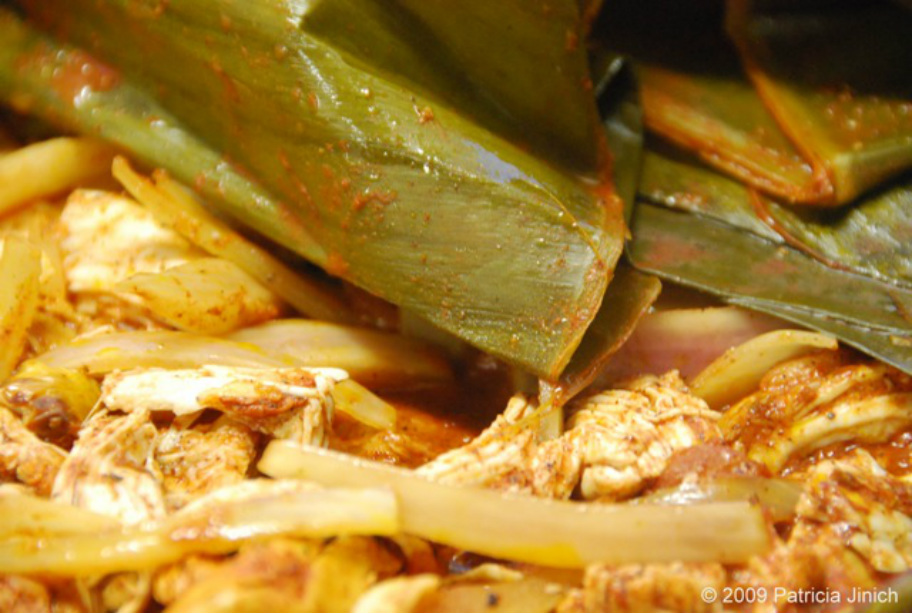


