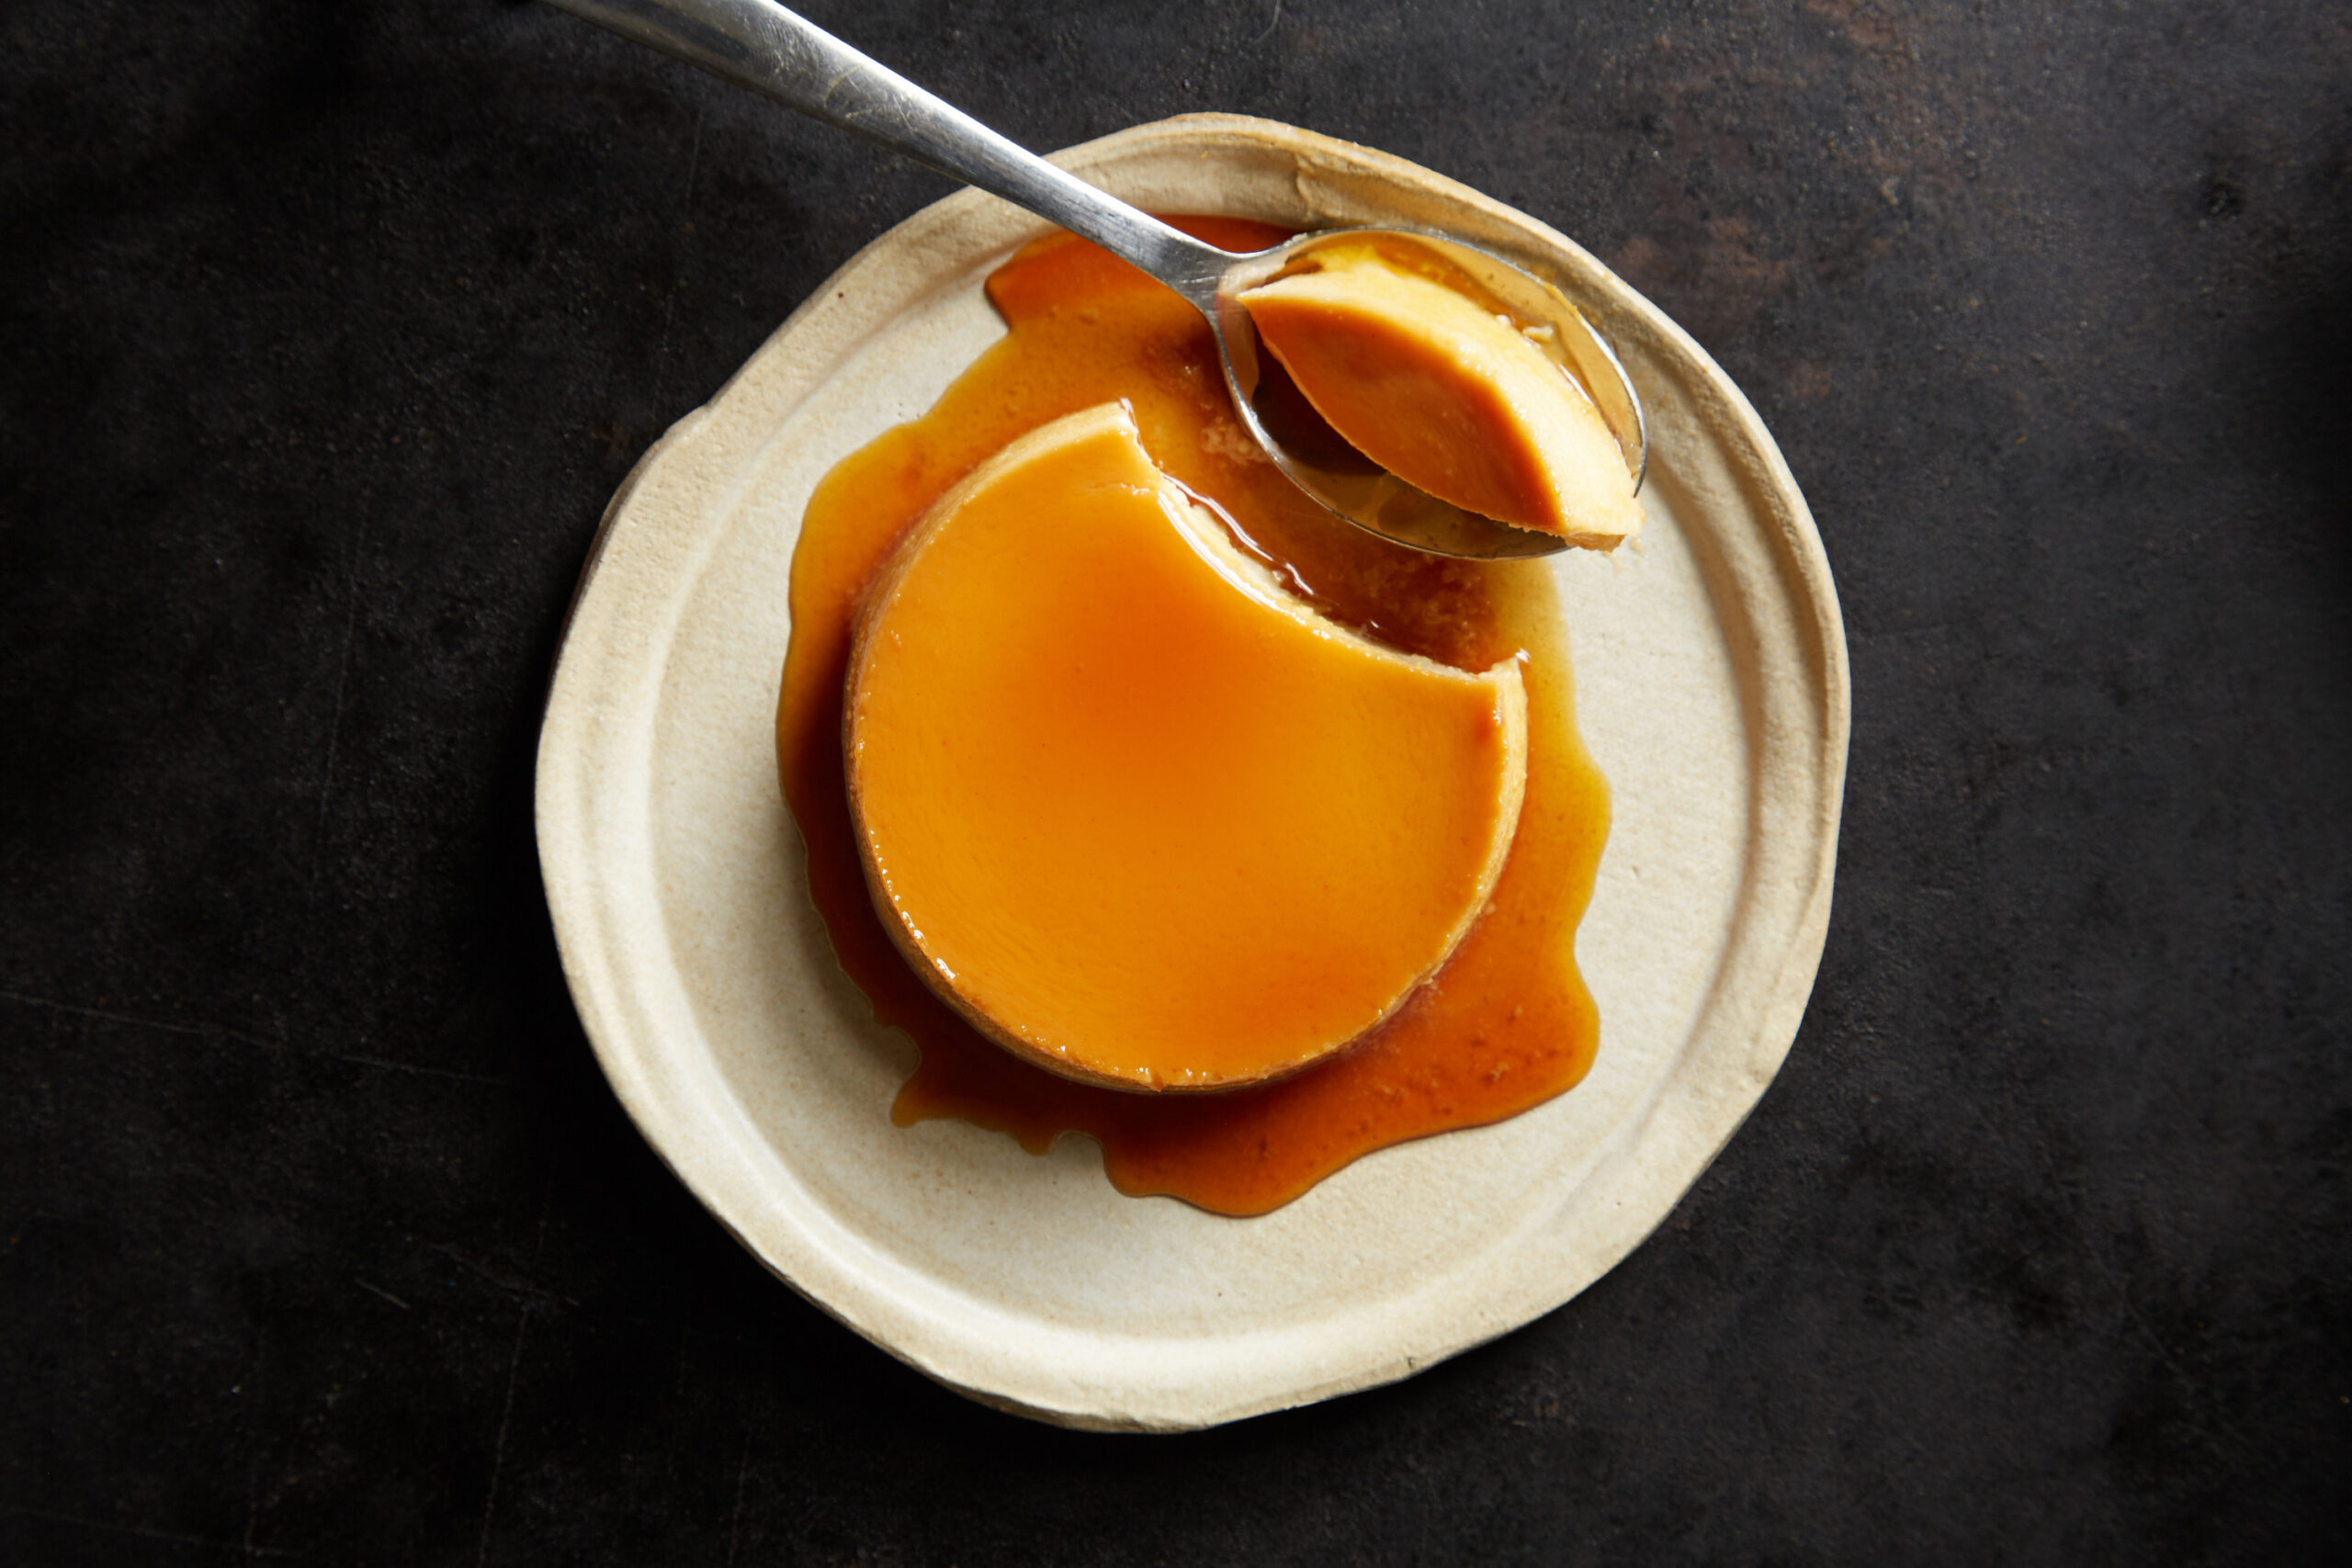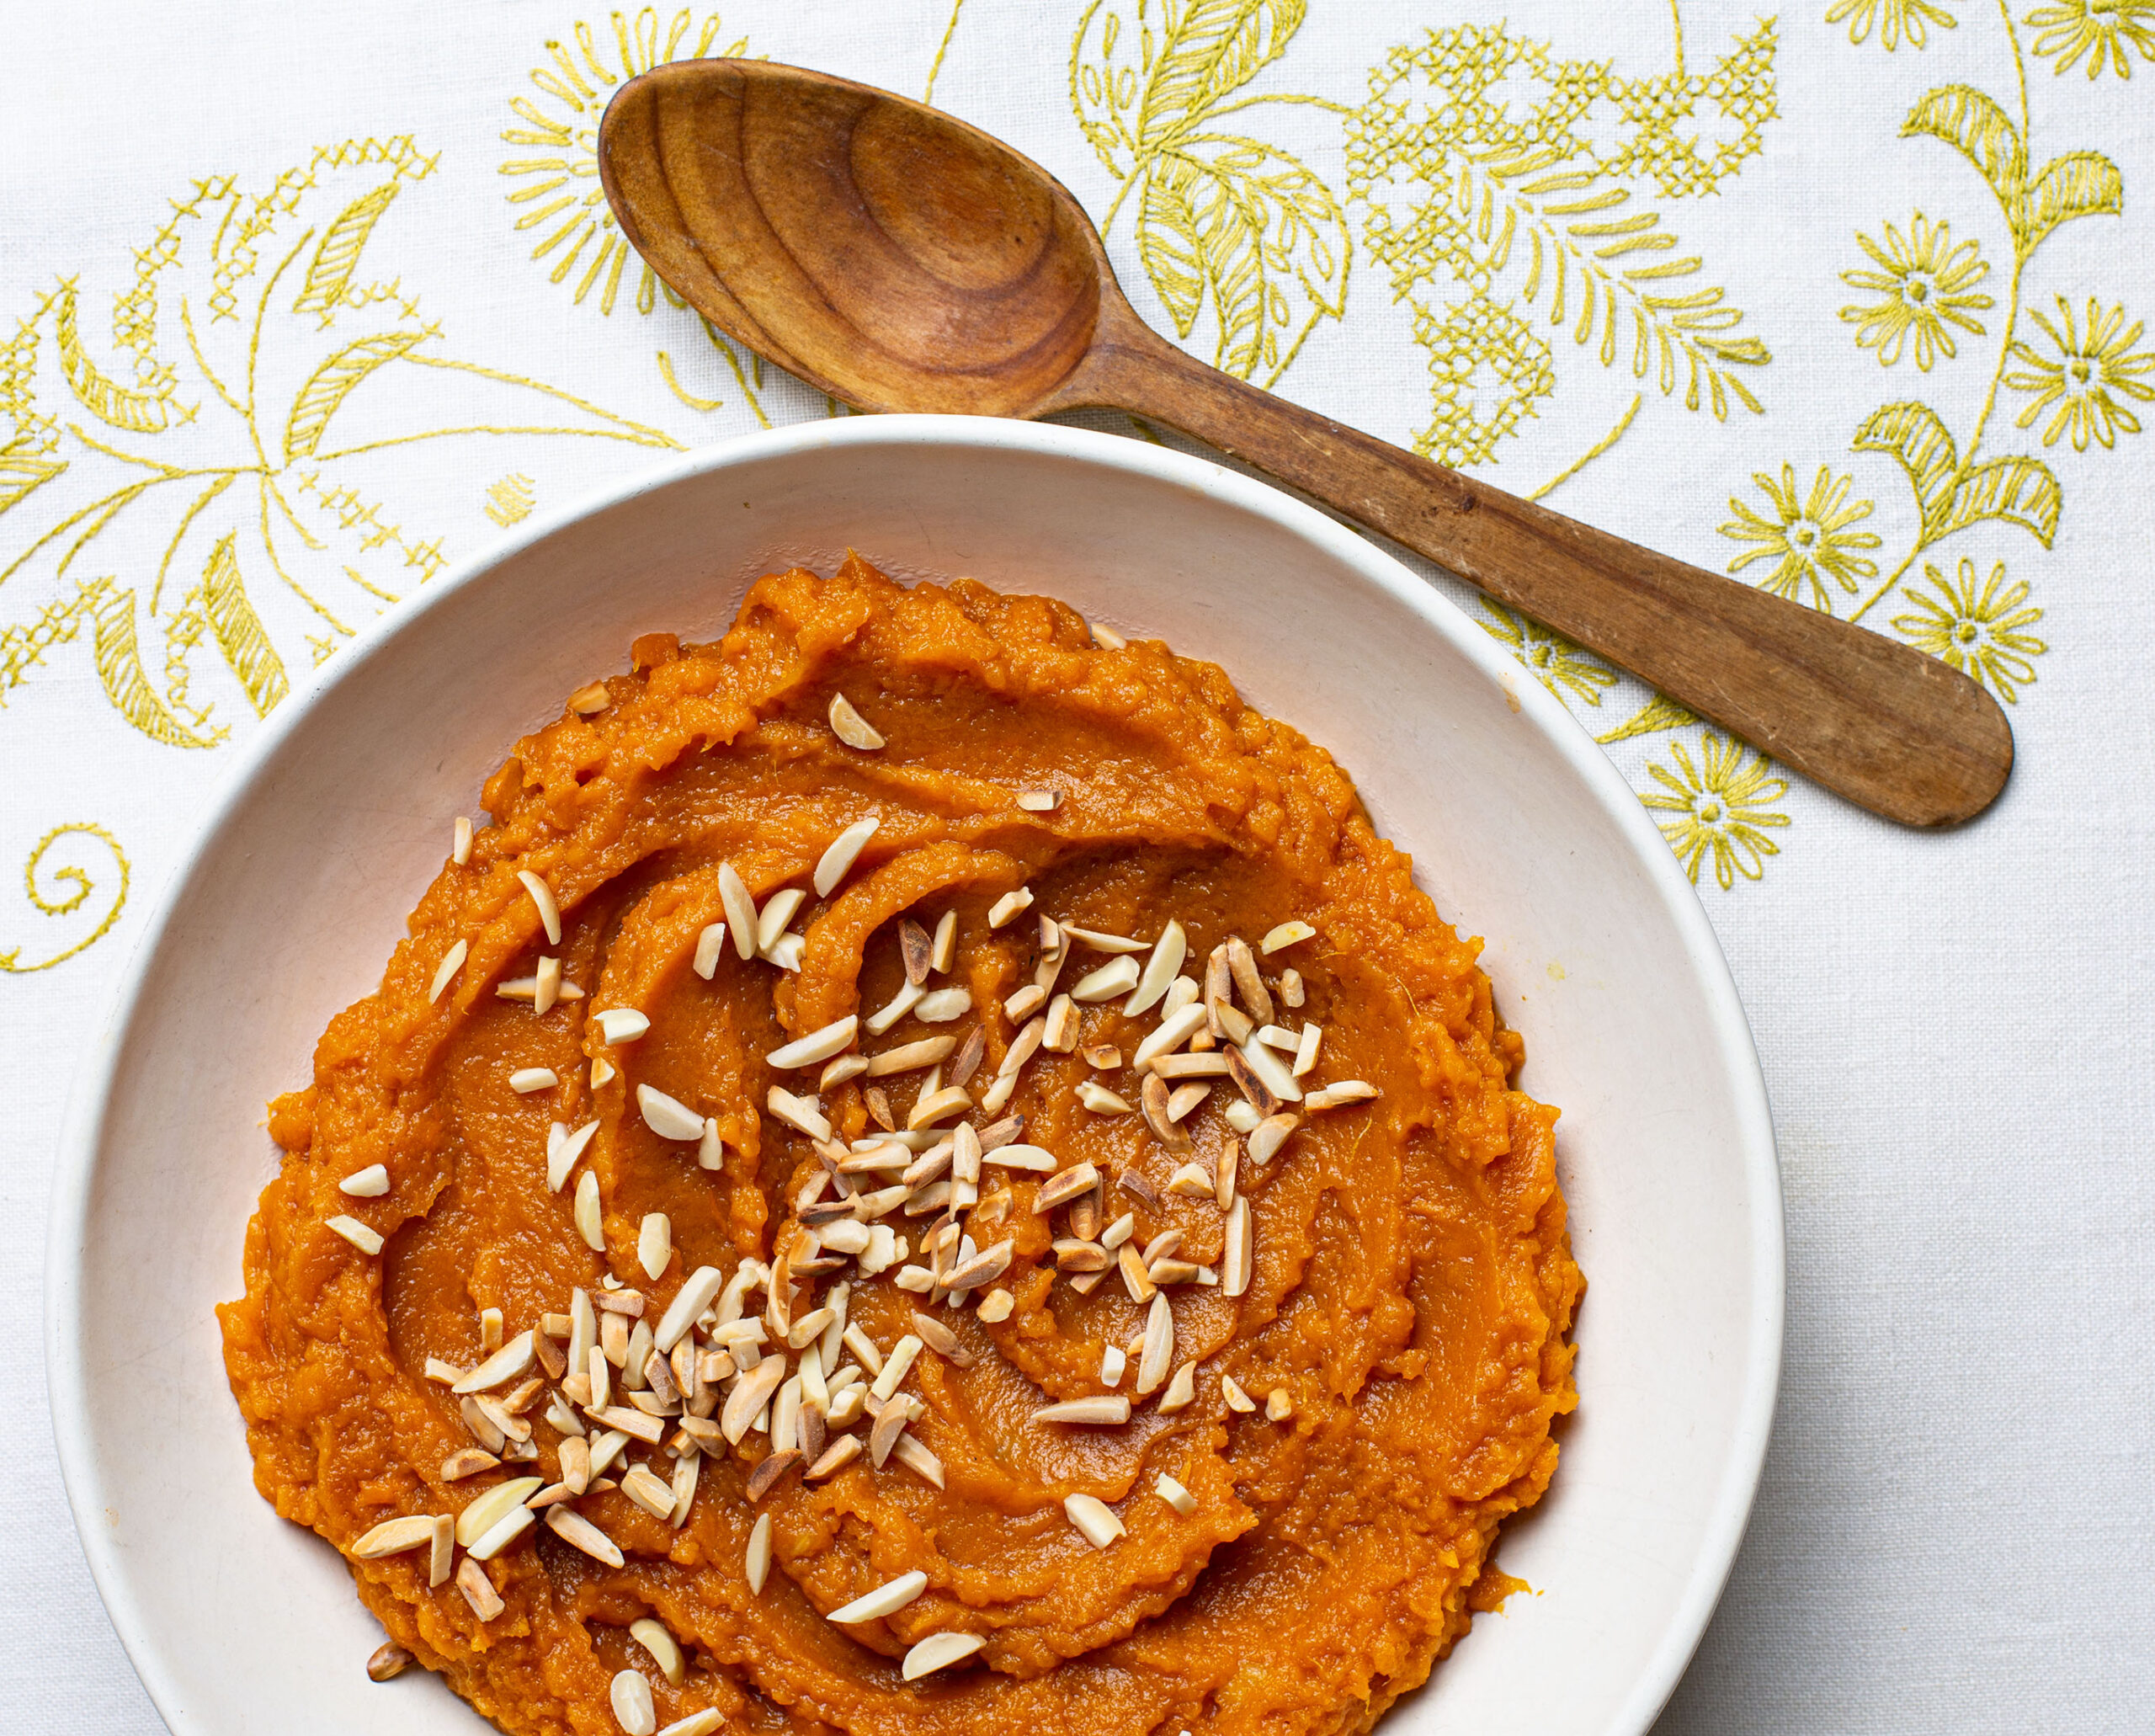

Mashed Sweet Potatoes with Caramelized Pineapple
Dulce de camote, candied sweet potatoes mashed with fruit and topped with toasted nuts, is a cherished dish throughout Mexico, eaten for breakfast with coffee and for dessert.
Servings: 8 servings
Ingredients
- 4 pounds sweet potatoes scrubbed
- 1 medium-to-large pineapple peeled, cored, and diced, with its juice
- 3/4 cup packed dark brown sugar or grated piloncillo
- 1/2 teaspoon kosher salt
- 2/3 cup pine nuts or slivered almonds
Instructions
- Preheat the oven to 425℉, with a rack in the middle. Cover a baking sheet with foil or parchment paper. Prick the sweet potatoes 5 or 6 times each with a fork or the tip of a paring knife and arrange on the baking sheet.
- Bake the sweet potatoes for 50 minutes to an hour, depending on the size, until they are very soft, with juices beginning to ooze and caramelize on the baking sheet. Remove from the oven and let cool until you can handle them.
- Carefully remove the skins from the sweet potatoes. Place the potatoes in a large bowl and mash with a potato masher or fork until very smooth.
- Place the diced pineapple with all of its juice in a blender, and puree until smooth. Transfer to a large saucepan or Dutch oven, add the brown sugar, and bring to a simmer over medium heat. Attach a candy thermometer to the side of the pan and simmer until the mixture thickens, caramelizes, and reaches 210℉, usually 12 to 15 minutes. Stir in the sweet potatoes and salt and mix together thoroughly with a sturdy whisk. Cook for another 5 to 6 minutes, stirring and folding until you have a rich puree.
- Meanwhile, toast the pine nuts or almonds in a small skillet over medium-low heat for a couple of minutes, stirring or shaking the pan, until lightly toasted and fragrant. Immediately remove from the pan.
- Scrape the sweet potatoes into a serving bowl, garnish with the toasted nuts, and serve.
Notes
Dulce de Camote con Piña