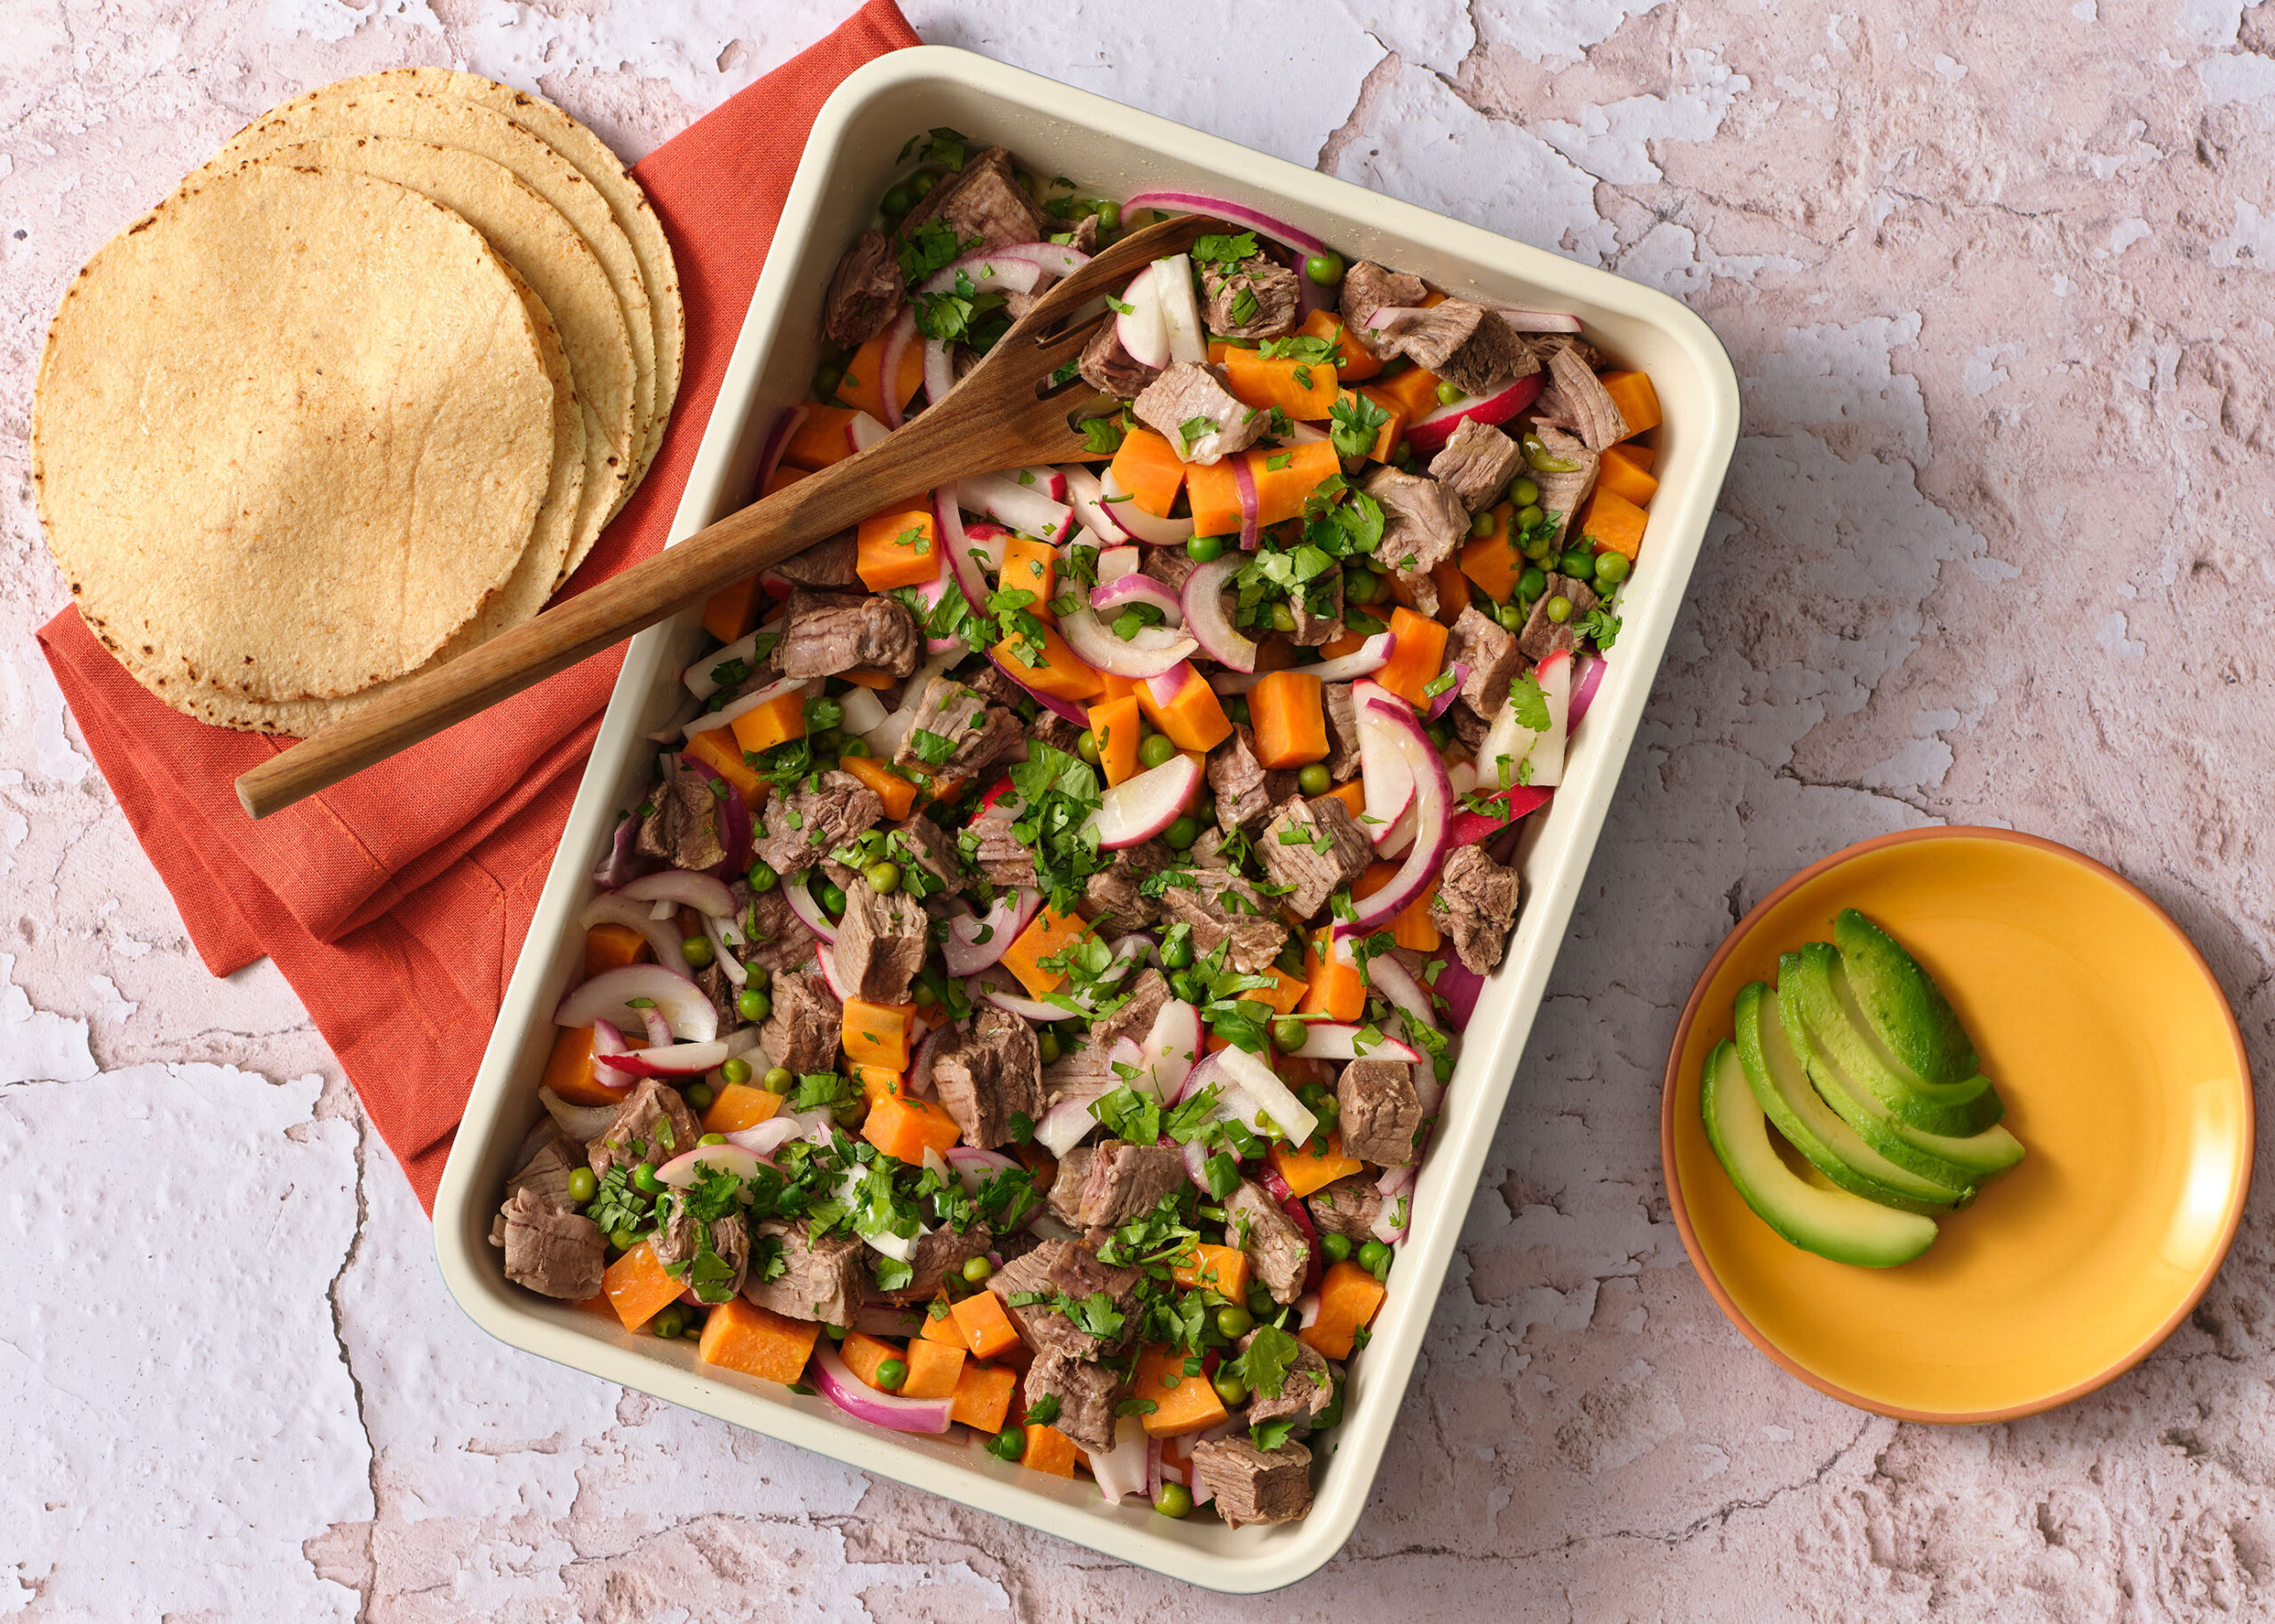

Sweet Potato and Meat Salpicón
Sweet Potato and Meat Salpicón recipe from Pati’s Mexican Table Season 12, Episode 10 “A Mayan League of their Own”
Servings: 4 to 6 servings
Ingredients
For the meat:
- 2 pounds flank steak cut into 1 1/2” to 2” chunks
- 1 white onion peeled
- 3 garlic cloves peeled
- 2 bay leaves
- 2 teaspoons kosher or coarse sea salt
For the vinaigrette:
- 1 cup bitter orange juice or 1/3 cup each orange, lemon and lime juice
- 3 tablespoons white distilled vinegar
- 1/4 cup extra virgin olive oil
- 1 teaspoon kosher or coarse sea salt
- 1/2 teaspoon coarsely ground black pepper
- 1 red onion slivered
For the salad:
- 1 1/2 cups fresh or thawed from frozen peas
- 2 pounds sweet potatoes cut into 1/2” dice or bite sized pieces
- 2 cups radishes cut into sticks
- 1/2 cup coarsely chopped cilantro leaves and upper part of the stems plus more for garnish
To serve:
- Warm corn tortillas or corn tostadas
- Ripe avocado slices optional, for topping tostadas or tucking into tacos
Instructions
To cook the meat:
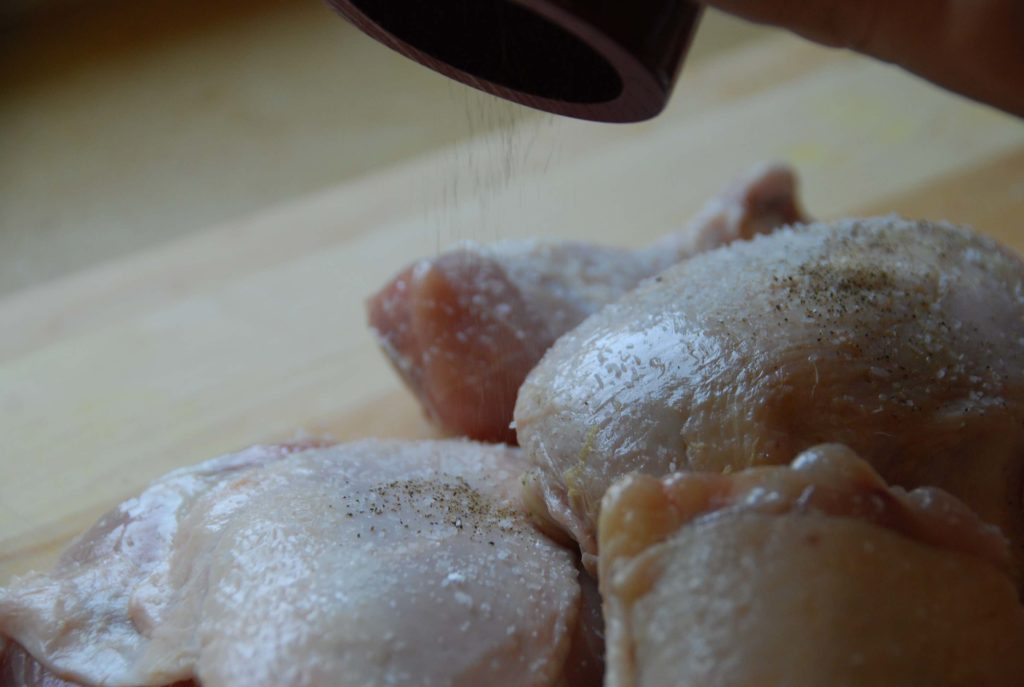
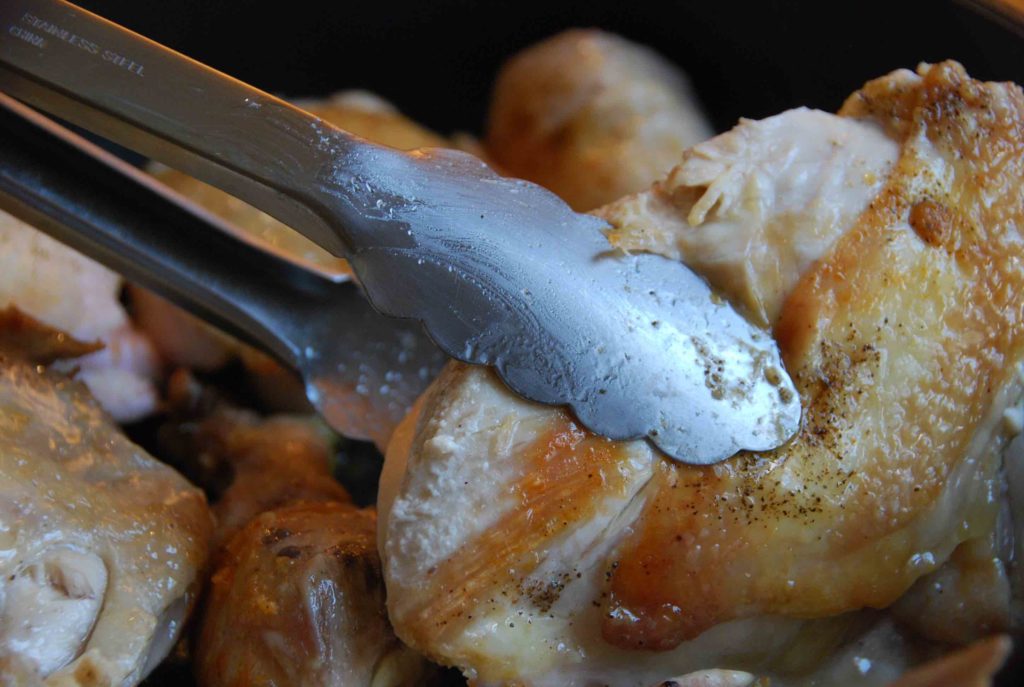
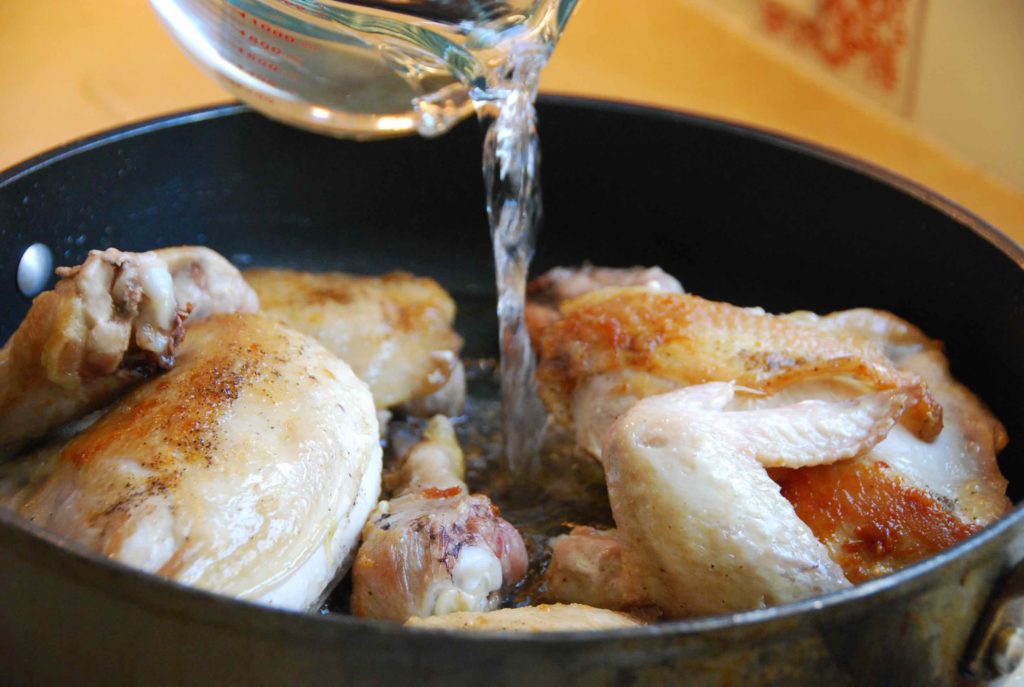
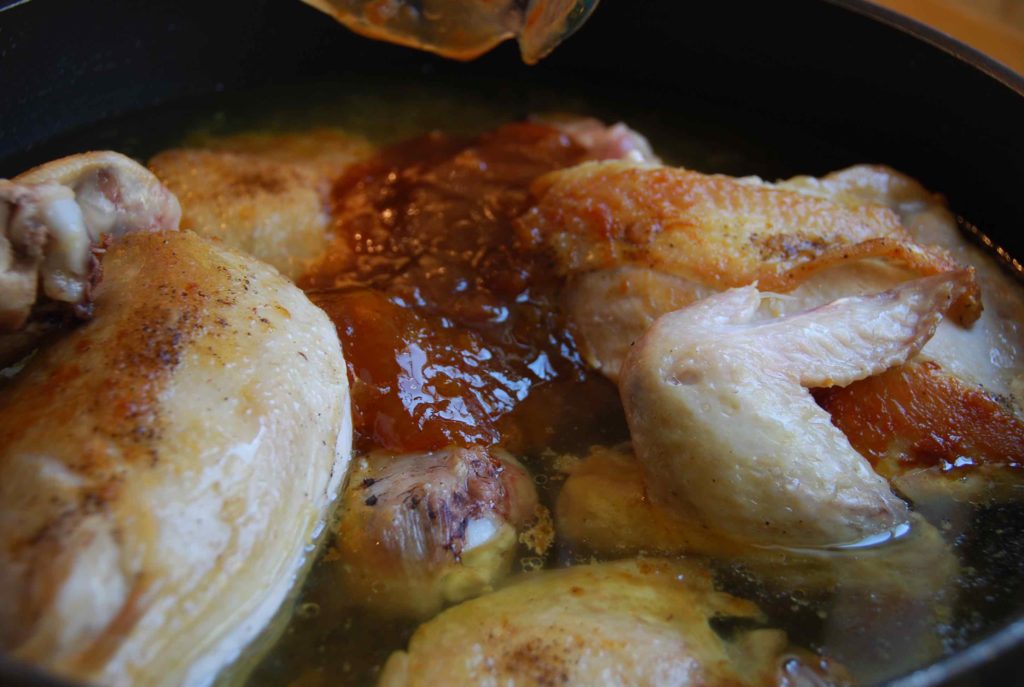
- Combine the flank steak, onion, garlic, and bay leaves in a large soup pot or casserole and cover generously with water. Bring to a boil, remove any foam that may have risen to the surface, and add the salt. Stir, lower the heat to medium low, cover, and cook for 1 1/2 hours, or until the meat is so tender it comes apart easily when poked with a fork.
- With a slotted spoon, transfer the meat to a bowl. Strain the broth and reserve for another use. When the meat is cool enough to handle, shred it and set aside.
To make the vinaigrette:
- In a medium bowl, mix the bitter orange juice or its substitute, vinegar, olive oil, salt and pepper, and whisk until emulsified. Incorporate the red onion and let sit for at least 15 minutes, for the onion to macerate a bit.
To assemble the salad:
- Bring salted water to a boil in a medium saucepan. Cook the peas for one minute, remove with a slotted spoon, and set aside in a bowl. Cook the sweet potatoes for 4 to 5 minutes, until cooked and soft but not falling apart. Remove with a slotted spoon and transfer to a bowl to cool slightly.
- Mix the vinaigrette with the meat and toss until it is all covered. Incorporate the radishes, the cilantro, and the peas, and toss. Lastly add the sweet potato cubes. Gently mix well. You can garnish with a bit more cilantro.
- Eat along with warm corn tortillas or tostadas and avocado slices.
Notes
Salpicón de Carne con Camote


 (One of the views inside of Hacienda San José)

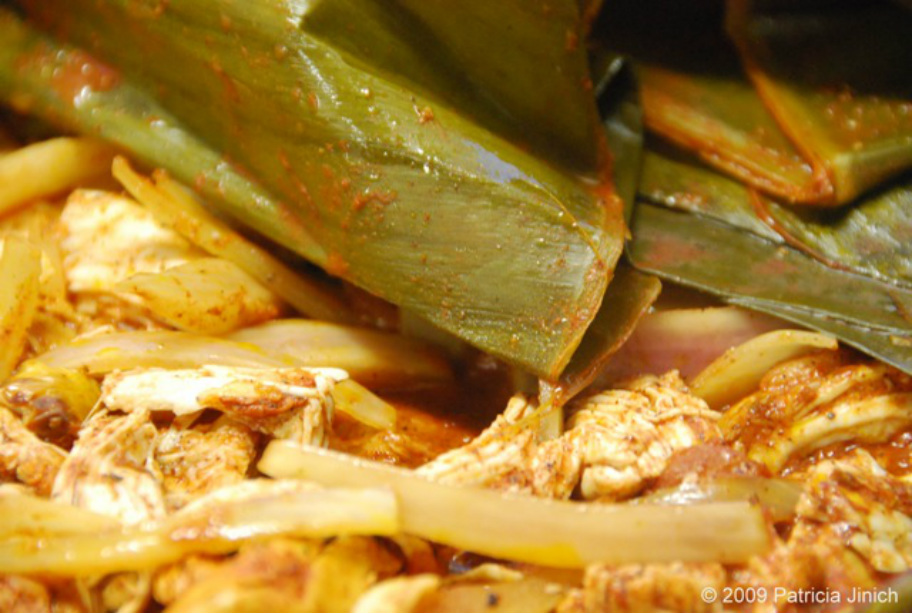
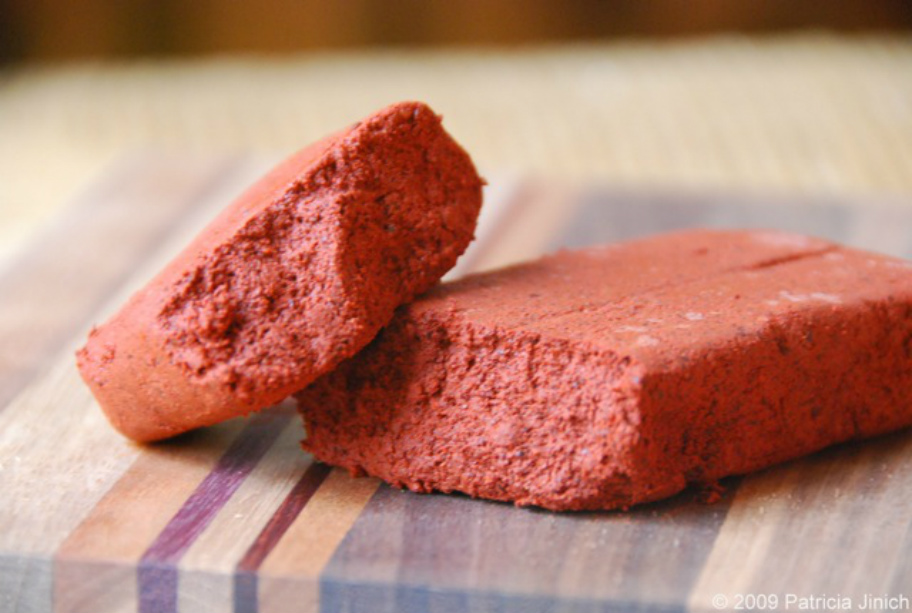 (A freshly opened bar of achiote paste, posing for my camera so you can take a look)