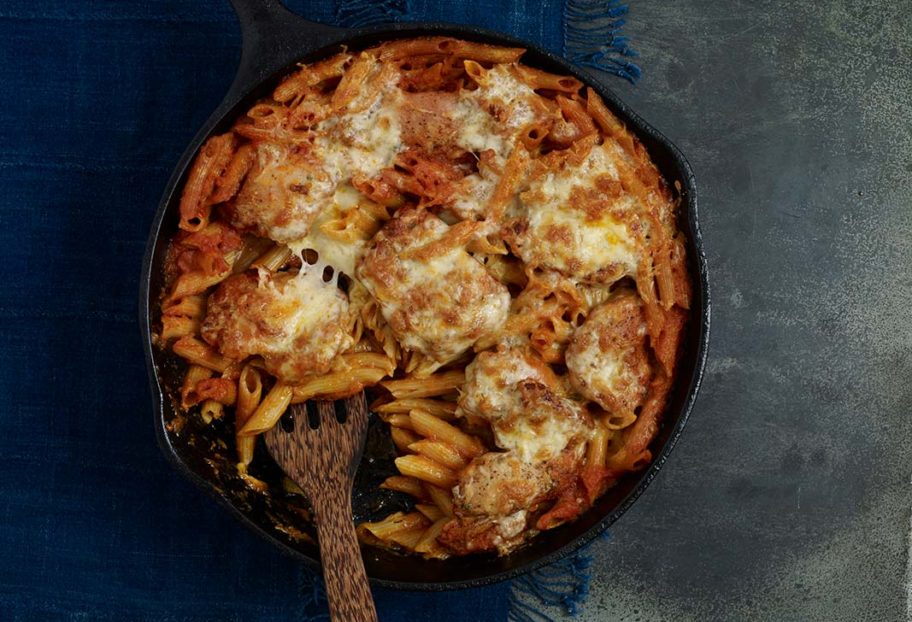
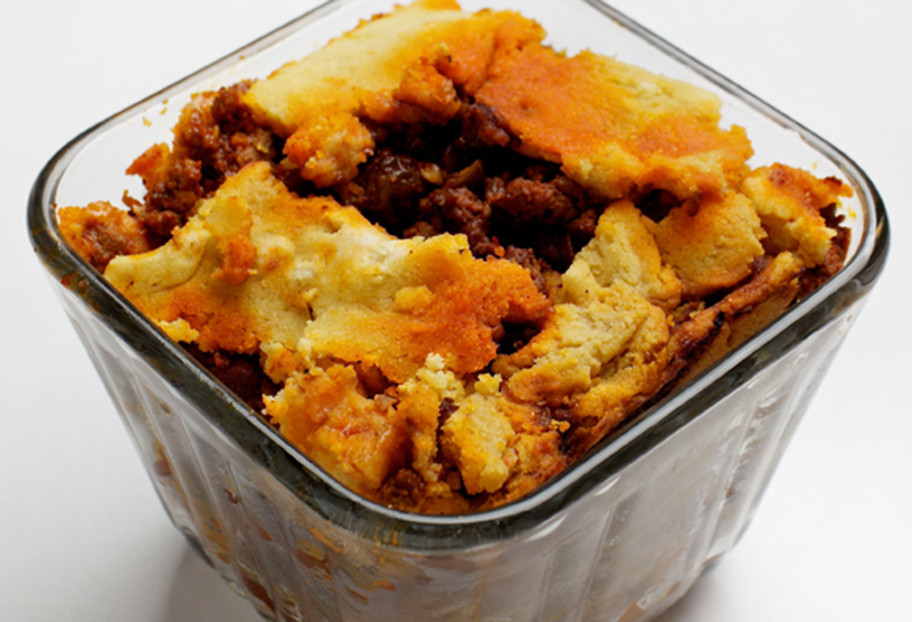
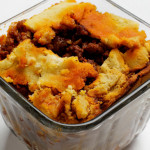
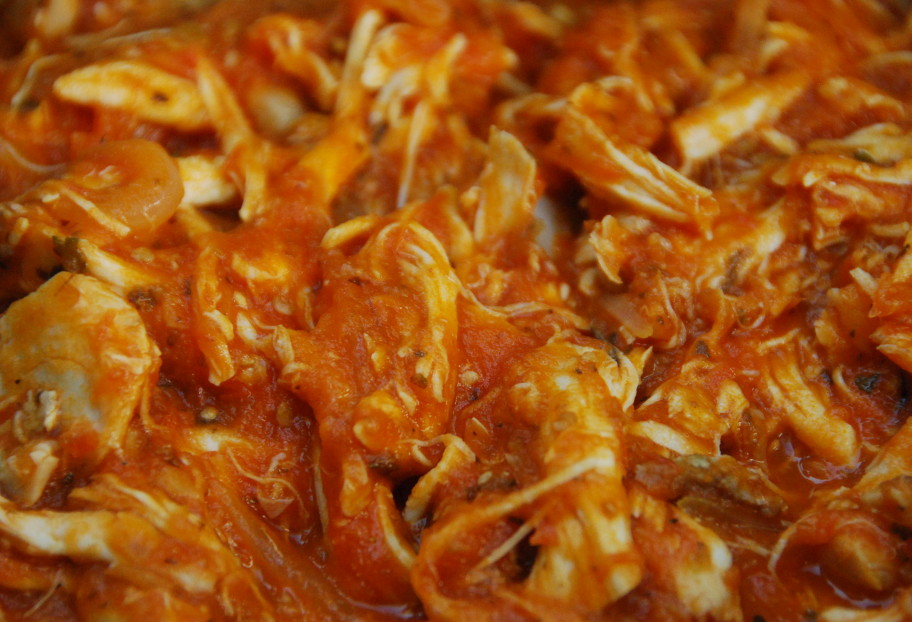
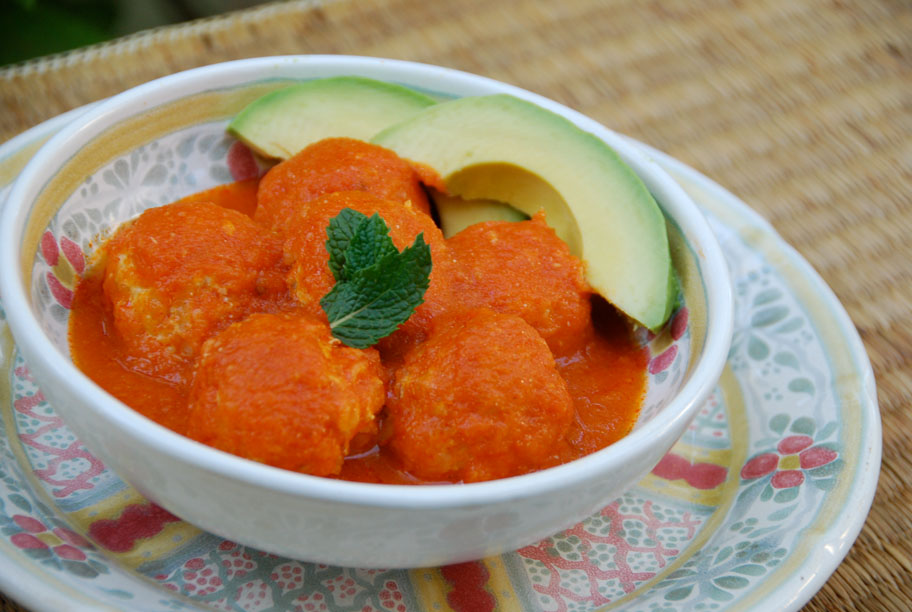
Chipotle Chicken Pasta Casserole
Chipotle Chicken Pasta Casserole recipe from Pati's Mexican Table Season 4, Episode 7 “Cooking with the Fans”
Servings: 6 to 8 servings
Ingredients
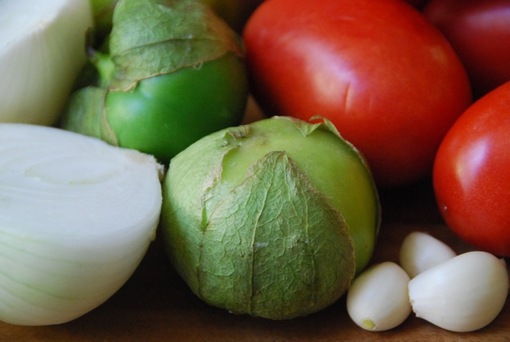
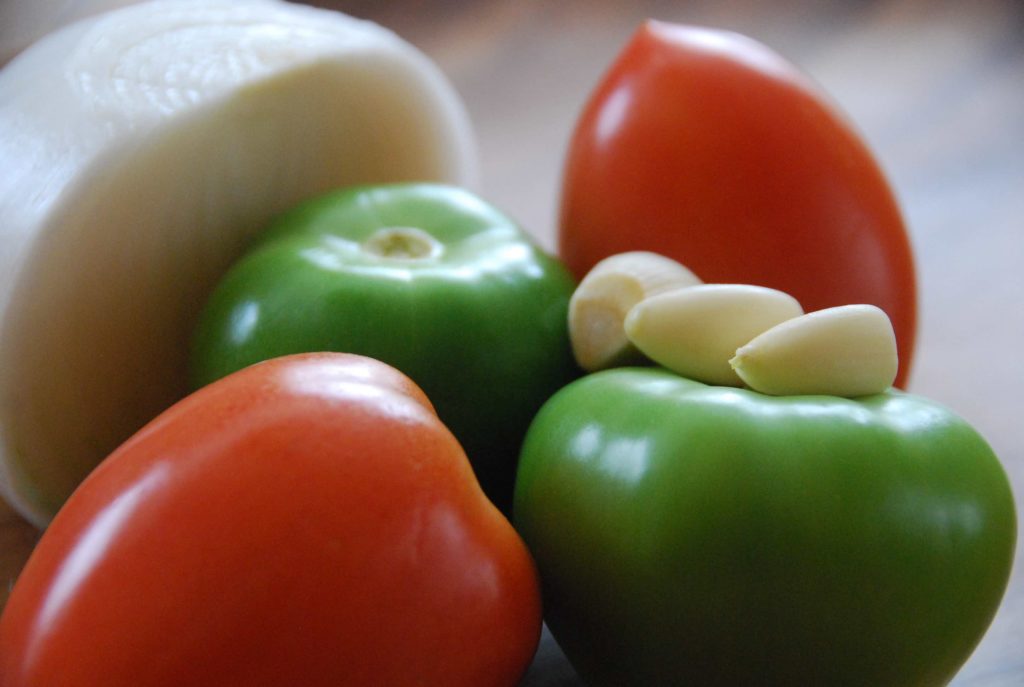
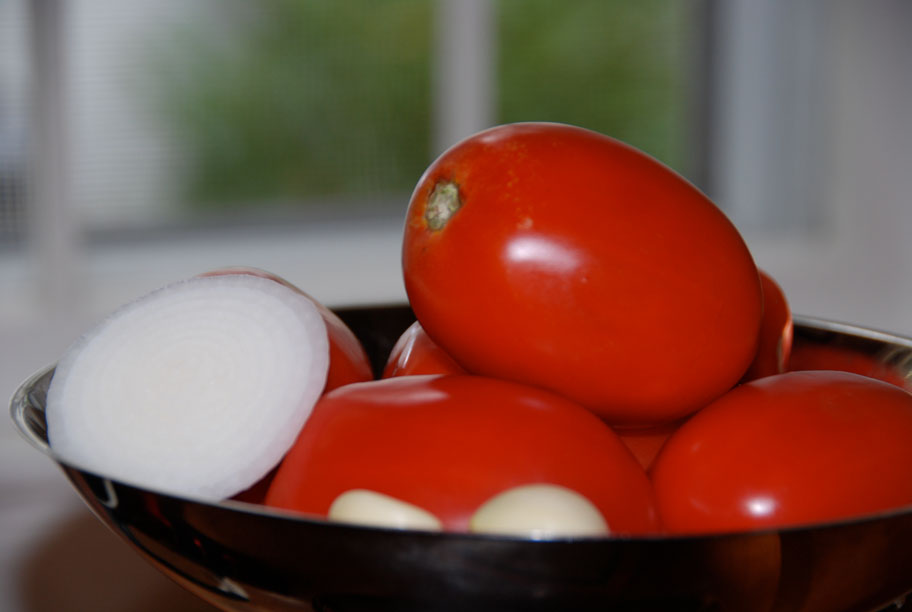
- 1 1/2 pounds ripe tomatoes
- 2 cloves garlic
- 1/2 cup coarsely chopped white onion
- 1 teaspoon kosher or coarse sea salt divided, or to taste
- 1/4 teaspoon freshly ground black pepper plus more to taste to season chicken
- 2 tablespoons sauce from chipotles in adobo or to taste
- 1 chipotle chile in adobo sauce seeded, or to taste, optional
- 1 1/2 pound boneless skinless chicken thighs
- 1 teaspoon dried oregano
- 6 tablespoons vegetable oil divided
- 1 pound penne or elbow pasta
- 3 cups chicken broth homemade or store bought
- 2 cups grated melty cheese such as Oaxaca, Monterey Jack or mozzarella, 8 ounces
- 1 ripe Mexican avocado halved, pitted, meat scooped out and cut into slices (optional for garnish)
- Mexican crema Latin-style cream, crème fraiche or sour cream (optional for garnish)
Instructions
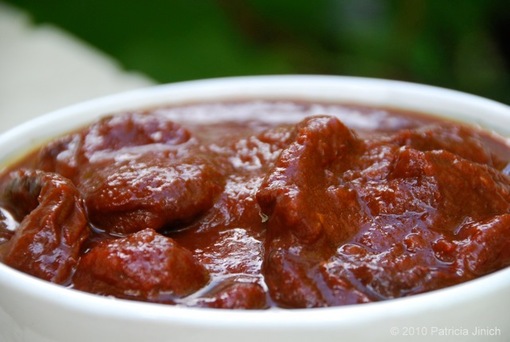
- Place the tomatoes and garlic in a medium (3-quart) saucepan and cover with water. Set over medium-high heat and simmer until the tomatoes are thoroughly cooked and the skins have started to come off, about 10 minutes. Transfer the tomatoes and garlic, along with 1/2 cup of the cooking liquid, to a blender or food processor. Once it has cooled slightly, add the onion, 3/4 teaspoon of salt, 1/4 teaspoon of pepper, adobo sauce, and chipotle chile if using, and puree until smooth.
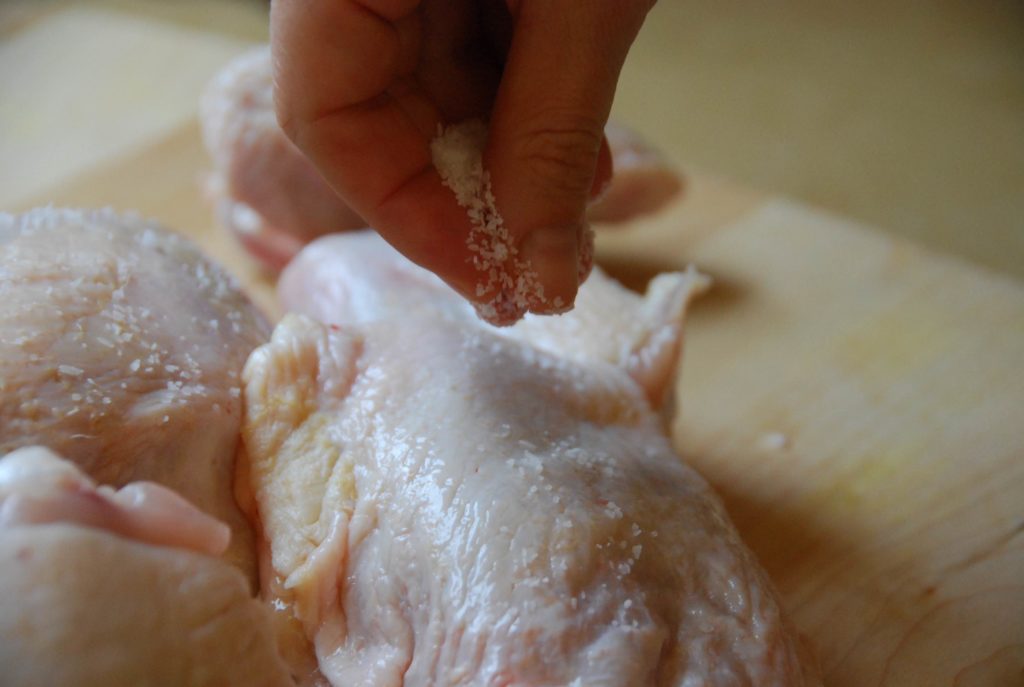
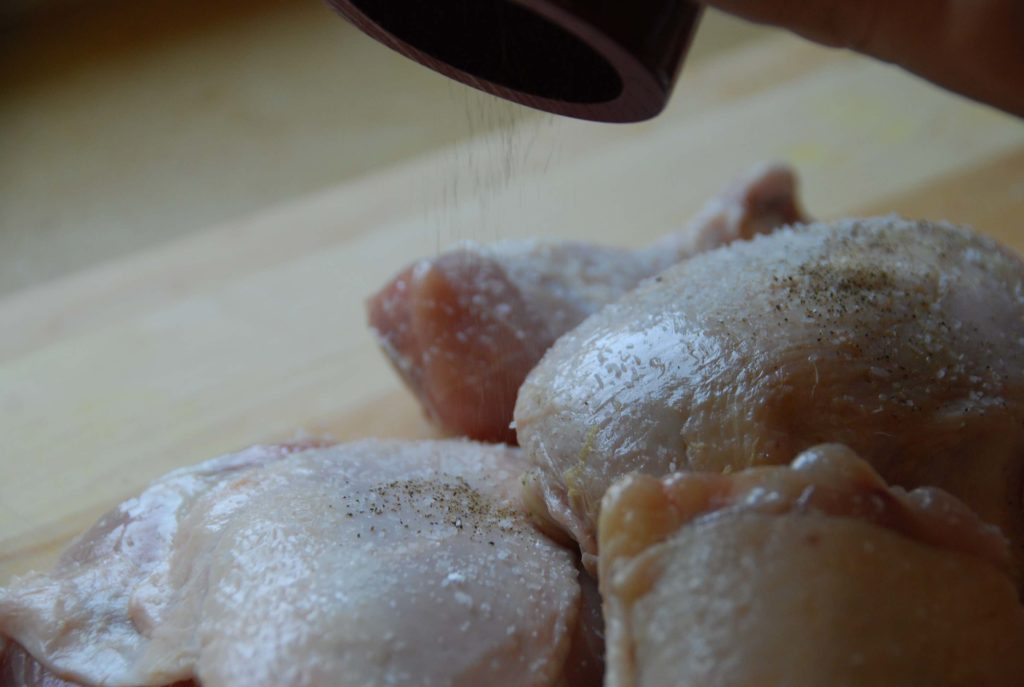
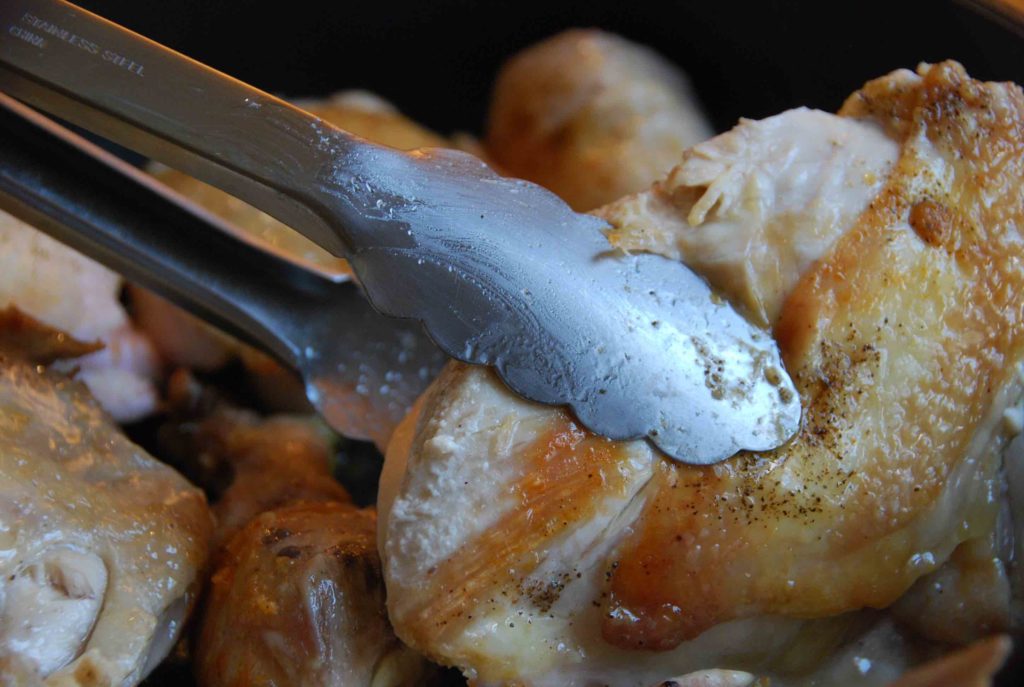
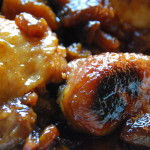
- Sprinkle chicken with oregano, 1/4 teaspoon of salt, and pepper to taste. Heat 4 tablespoons oil in a large, deep and thick casserole or skillet set over medium-high heat. Once hot, sear the chicken thighs about 2 to 3 minutes per side until browned. Remove from skillet, reserve in a bowl.
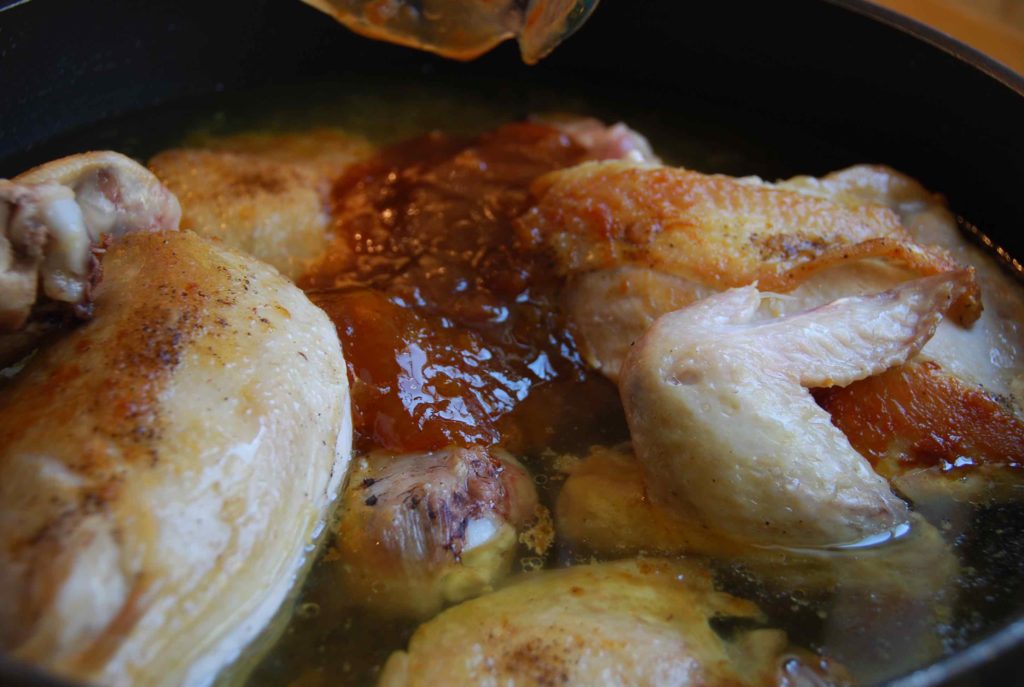
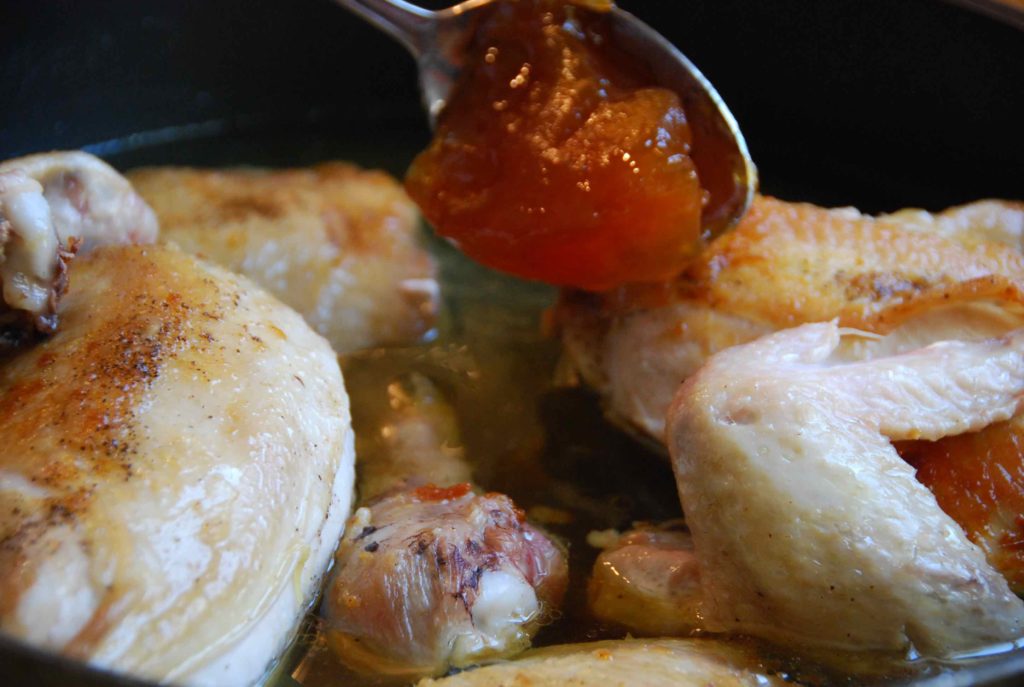
- Pour the remaining 2 tablespoons of oil into the casserole, set over medium-high heat. Once hot, add the pasta. Fry the pasta for a few minutes, stirring constantly, until browned, but not burnt, and it smells toasty. Pour the tomato puree over the pasta. It will jump all over the casserole, so you may want to use the lid as a shield over the casserole. Stir, cover partially and let the sauce cook for about 5 minutes, stirring occasionally, until it darkens and cooks into a thick puree consistency.
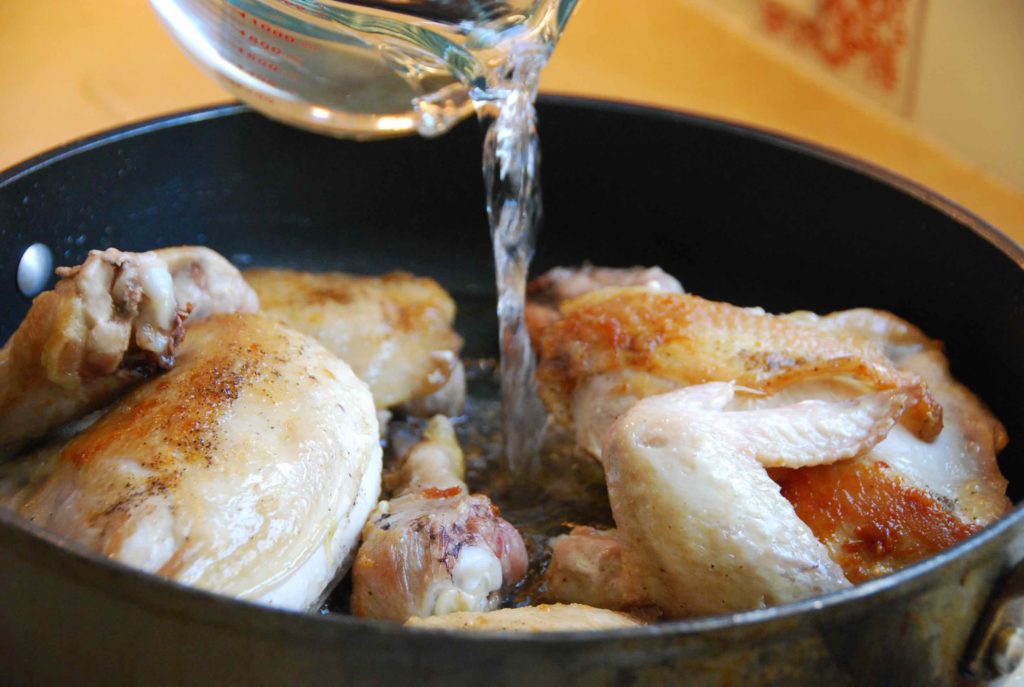
- Nest the browned chicken thighs in the pasta, pour the chicken broth on top, stir gently, cover tightly, reduce heat to low and cook for 25 minutes.
- Preheat the oven to 400°F.
- Remove the lid, sprinkle the cheese all over the pasta and place the casserole uncovered in the oven. Bake anywhere from 10 to 12 minutes, or until the cheese has completely melted and begun to lightly brown. Serve hot. You may garnish with avocado slices and Mexican crema. Cut into thick slices and serve as you would a cake, since there will be a light crust on the bottom and sides and top.
Notes
Cazuela de Pasta con Pollo y Chipotle


 (One of the views inside of Hacienda San José)
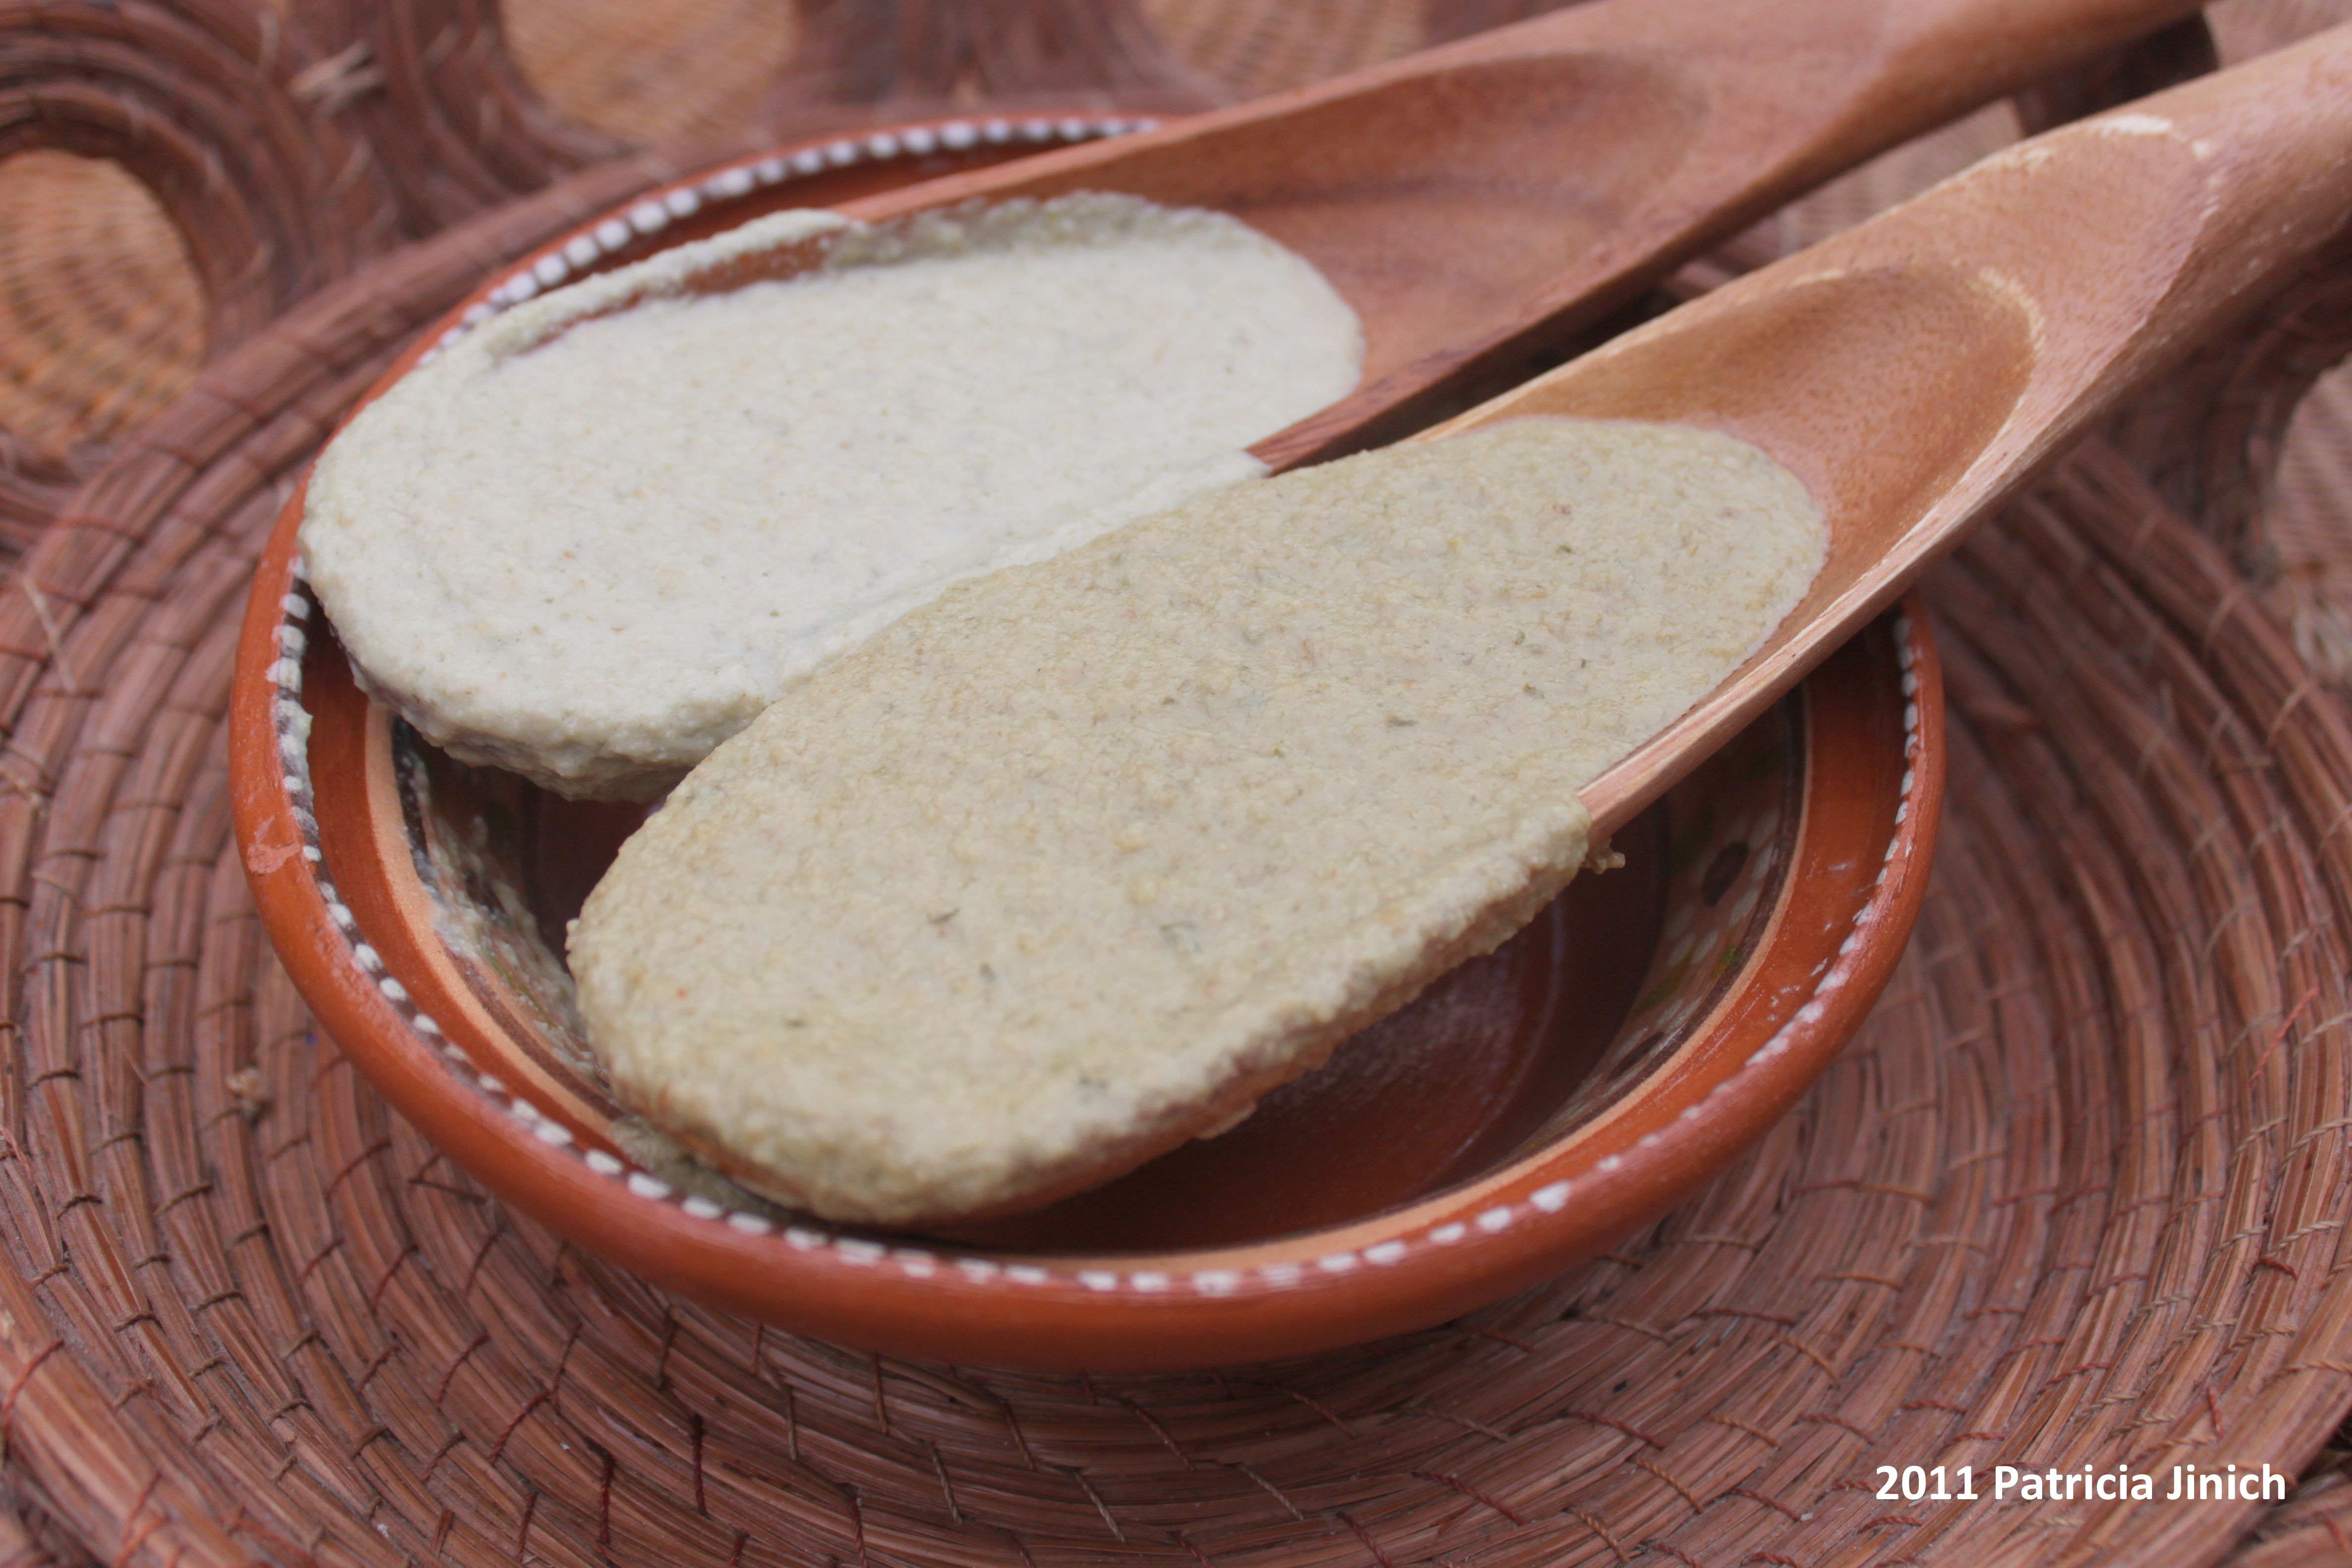
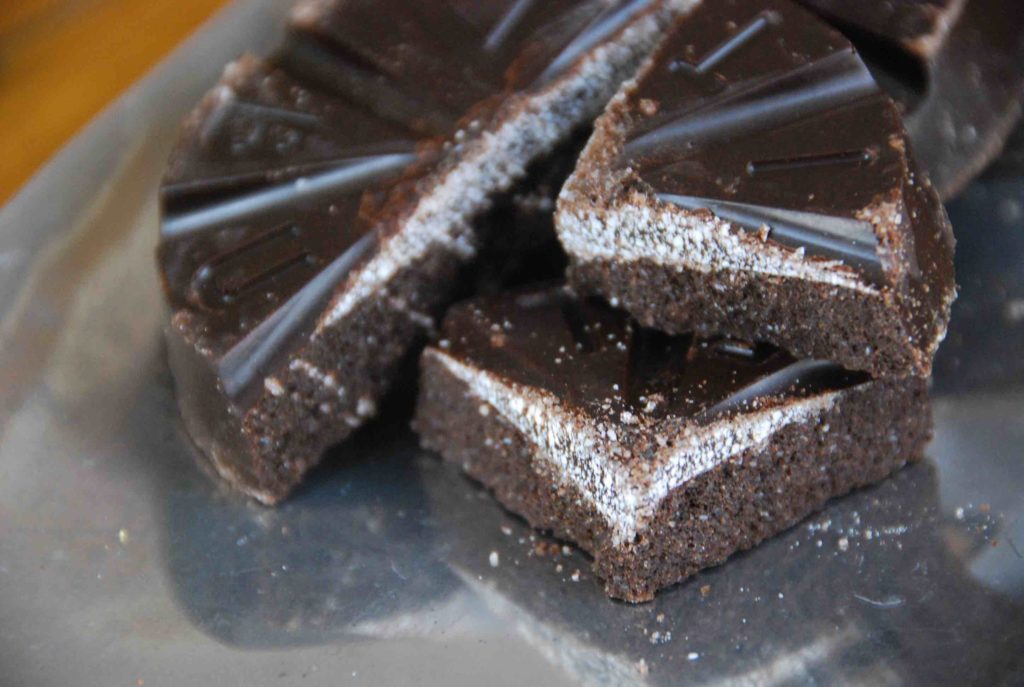
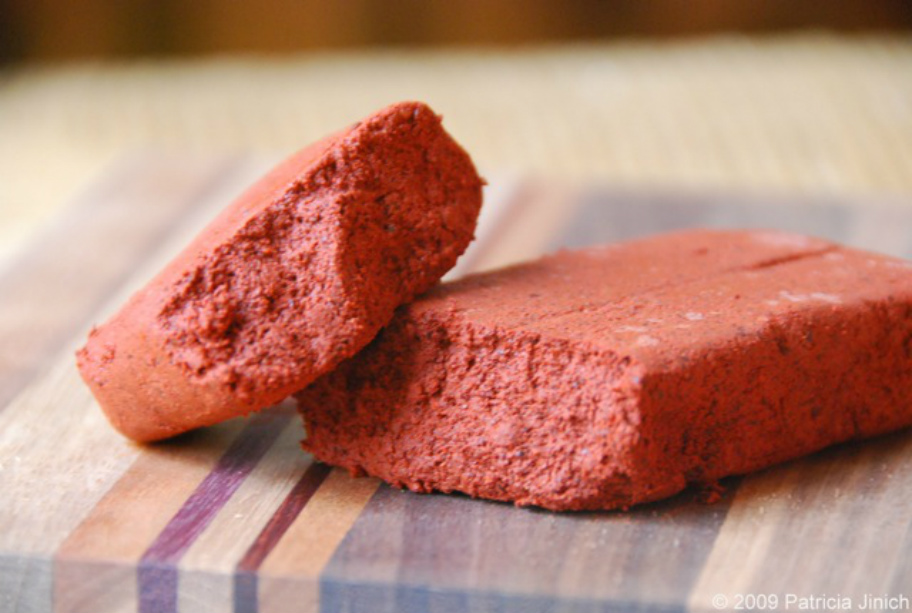 (A freshly opened bar of achiote paste, posing for my camera so you can take a look)
