
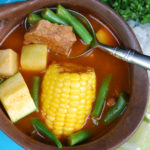
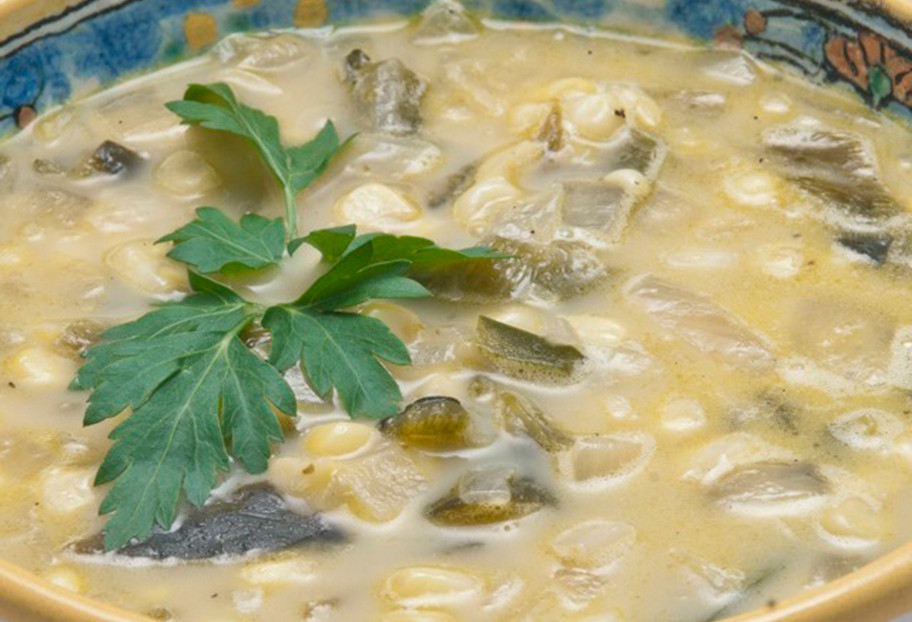
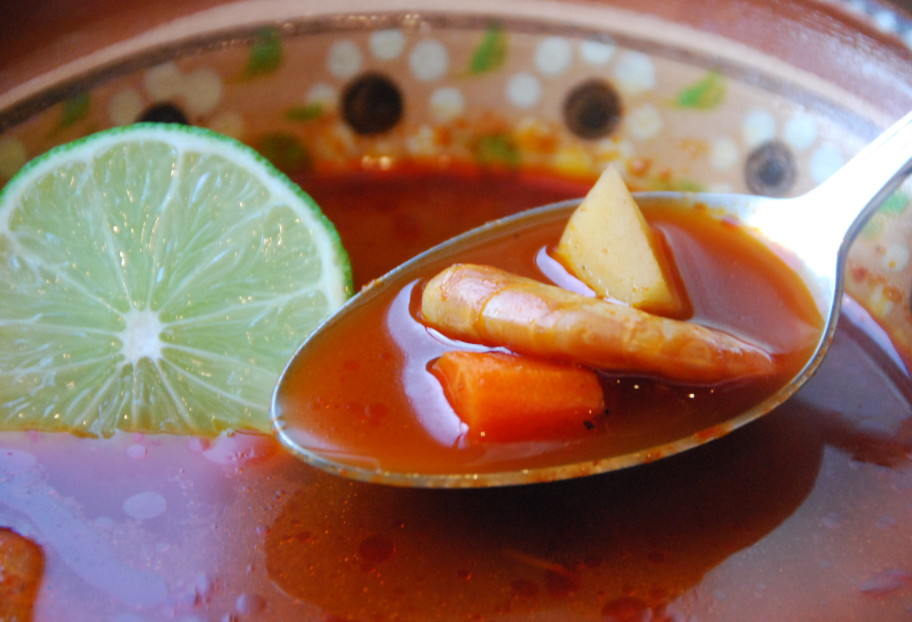
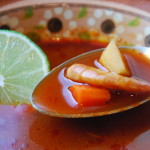
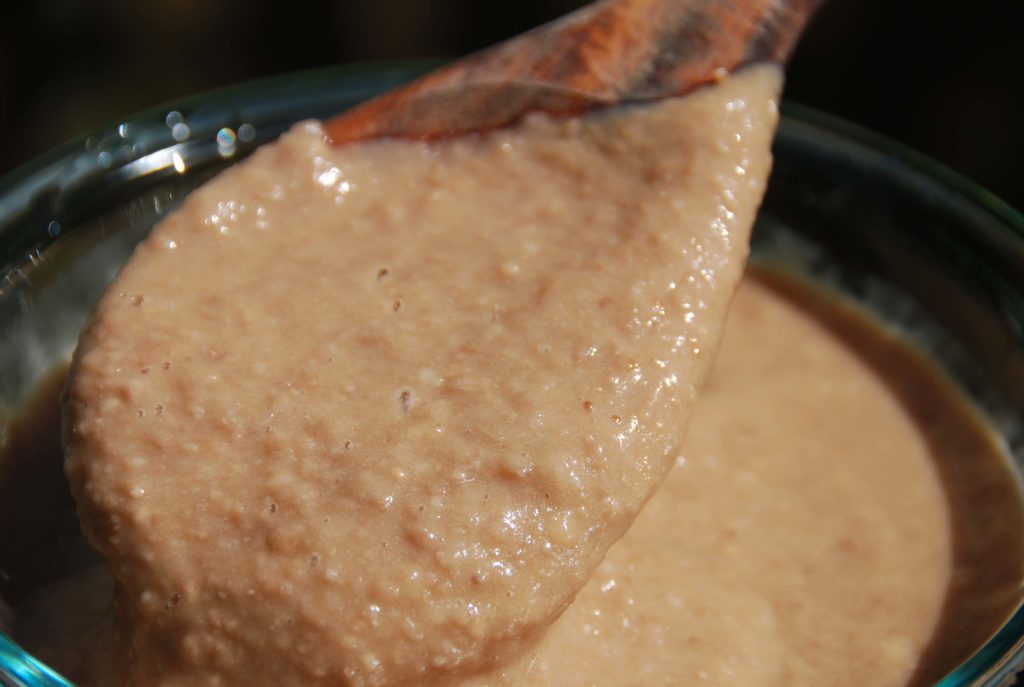
There is no bear in this soup. Nor is the soup named after any bear. In fact, there are zero bears to be found in the state of Chihuahua, where this soup comes from. Yet, I admit Pepe was right, it is a spectacular soup, and it is called caldo de oso (or bear soup).
I met Pepe a few months ago at a Telemundo news interview, while on book tour in Denver. He was the producer. As he walked me out of the building, we got caught up in a long, detailed conversation about soup, even though I was in a hurry to catch a plane. I don’t know what hooked me more in wanting to know every little thing about this soup: its curious name, how much he seemed to adore it, or the fact that I’ve never tried it although I’ve been to Chihuahua many times.
Well, here we go again. Another story, out of hundreds and hundreds of incredible stories and recipes I have learned while traveling the US. It turns out, each and every single Mexican I have met here is as passionate as I am about the Mexican food we grew up with. We are all a bunch of nostalgic food fanatics.
Anyway, back to the soup.
It turns out caldo de oso is insanely popular in Chihuahua. The thing is, it is not to be found in restaurants, but in homes. One reason I may have missed it all the times I visited. And considering how dearly loved it is, it makes the origin of its name even funnier.
Here goes the true story:
Almost a century ago, workers building the La Boquilla Dam, on the Conchos River in Camargo, used to make a fish soup every day with catfish, which were bountiful in that river. After eating it so often, instead of calling it caldo de pescado (or fish soup), they started calling it caldo odioso, which translates to hateful soup.
From saying caldo odioso again and again, the soup got the nickname caldo de oso – from the shortened odi-oso to oso. It is a common Mexican practice to make words smaller and use them in their diminutives or cute nicknames. And the name stuck: caldo de oso! However, other than the workers at the dam who ate it everyday, people in Chihuahua absolutely adore this soup.
So, Pepe gave me some tips, and he told me in detail how his mom makes it. I thoroughly researched it and tested it in my kitchen. And let me tell you, caldo de oso is totally worth the heavy nostalgia for it that Pepe carries around.
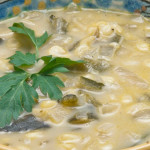
Bear Soup
Ingredients
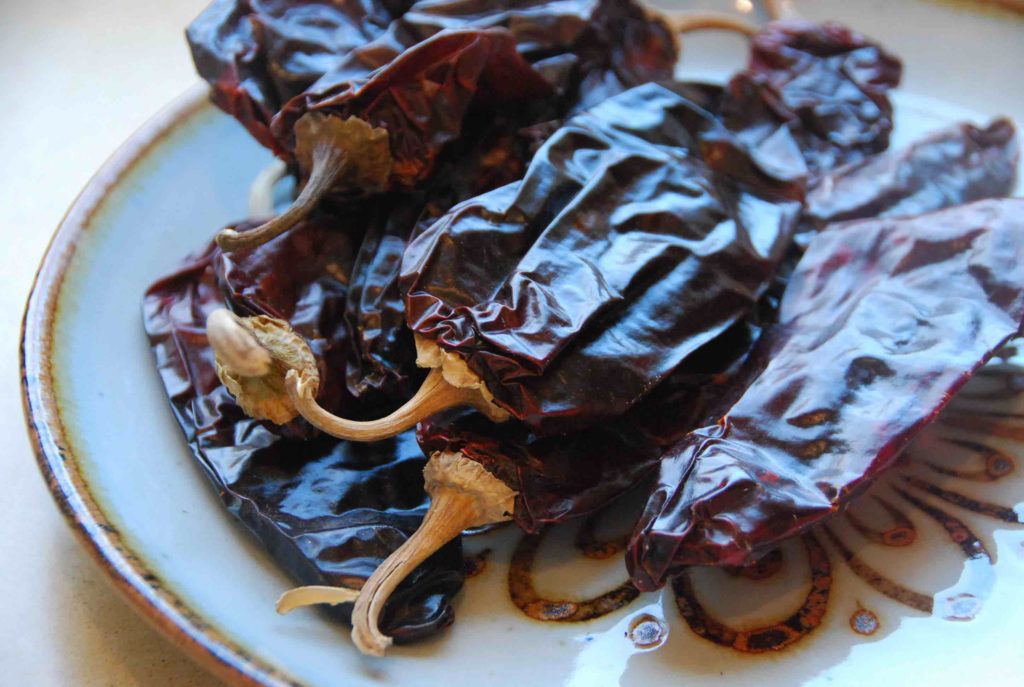
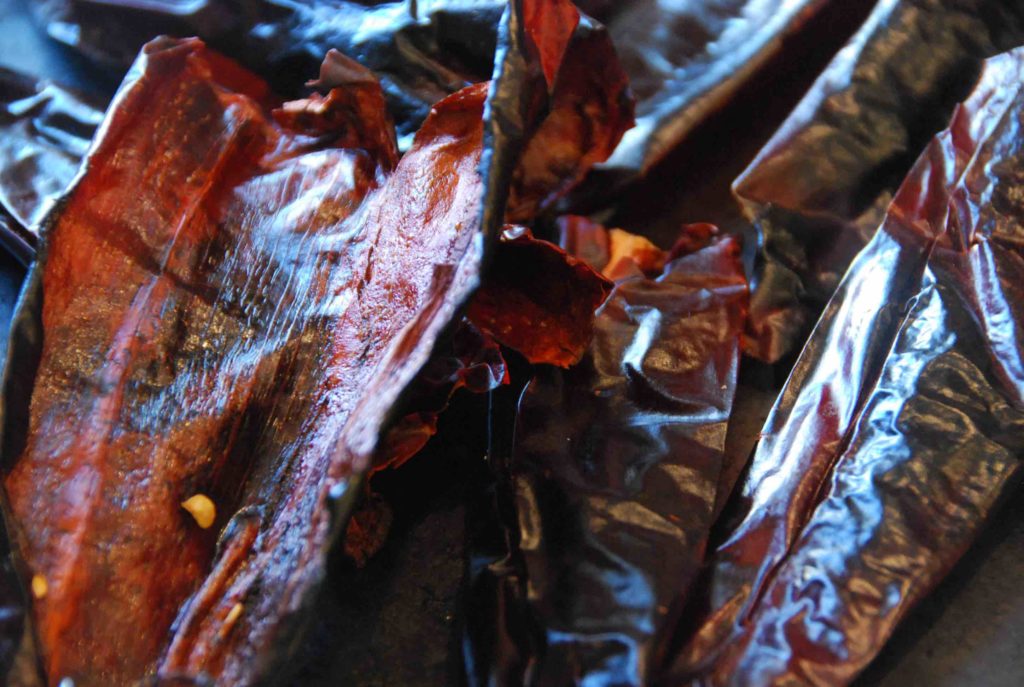
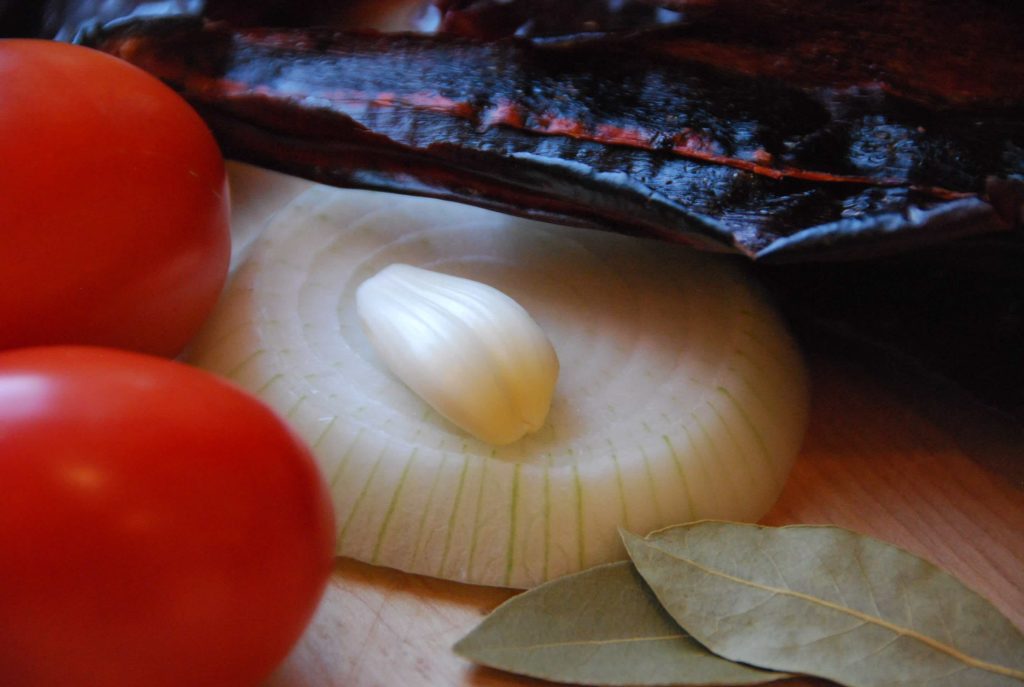
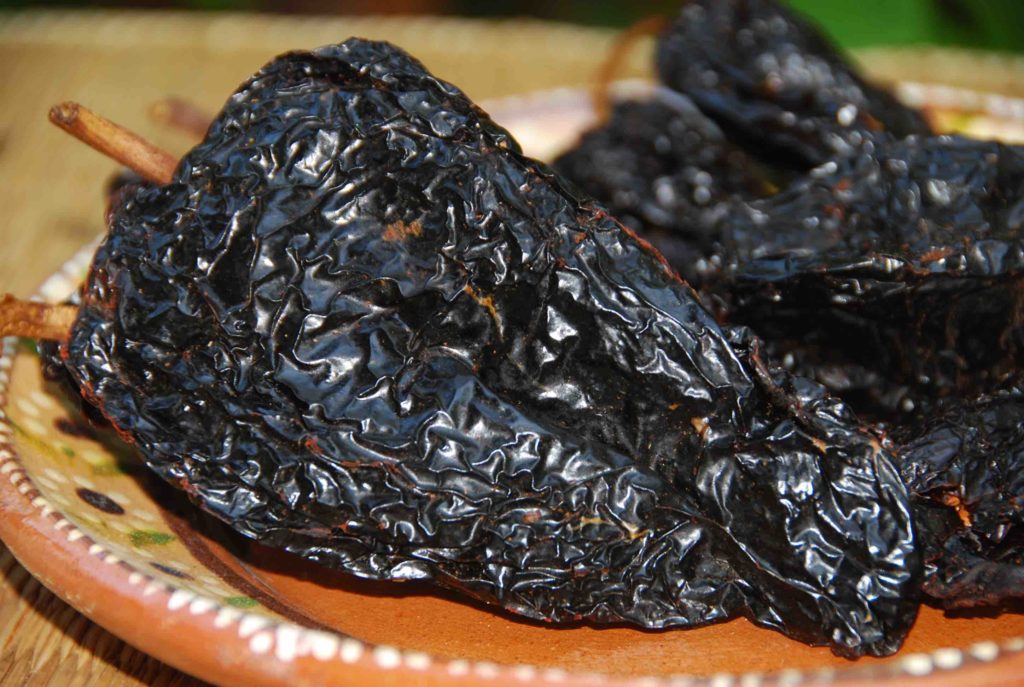
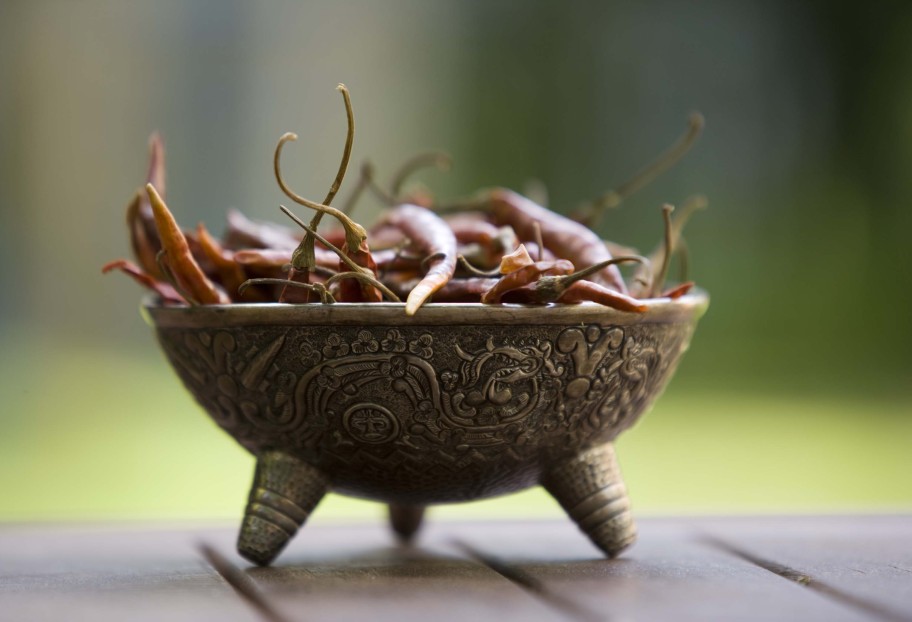
- 2 dried ancho chiles stemmed and seeded
- 3 tablespoons unsalted butter
- 3 tablespoons vegetable oil
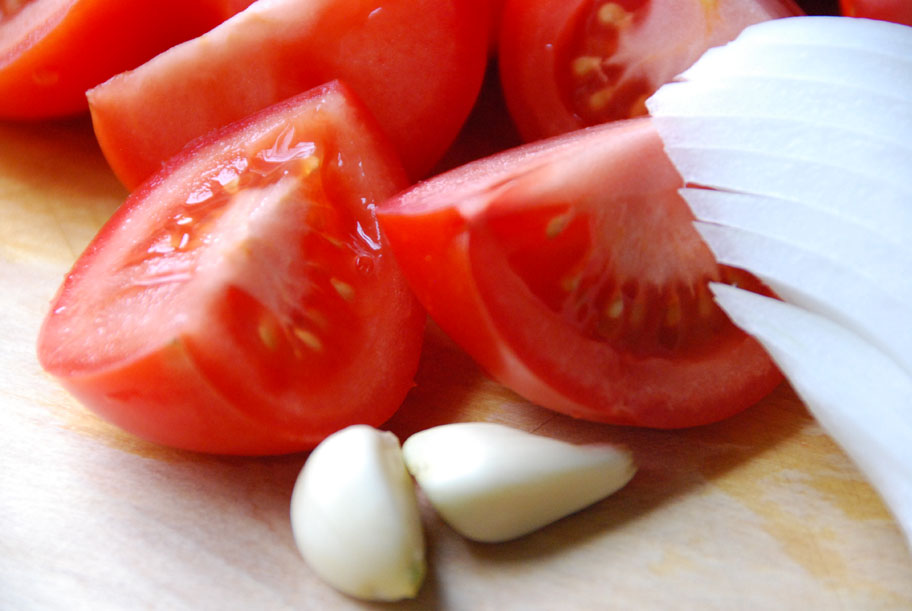
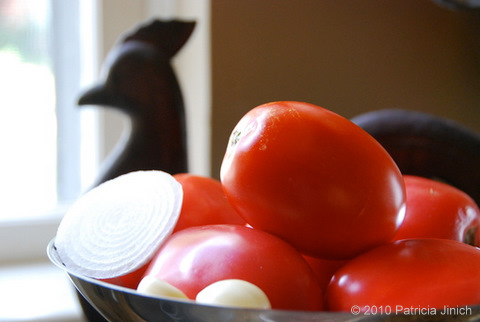
- 2/3 cup white onion finely chopped
- 3 cloves garlic finely chopped
- 2 pounds ripe Roma tomatoes chopped
- 3 tablespoons all-purpose flour
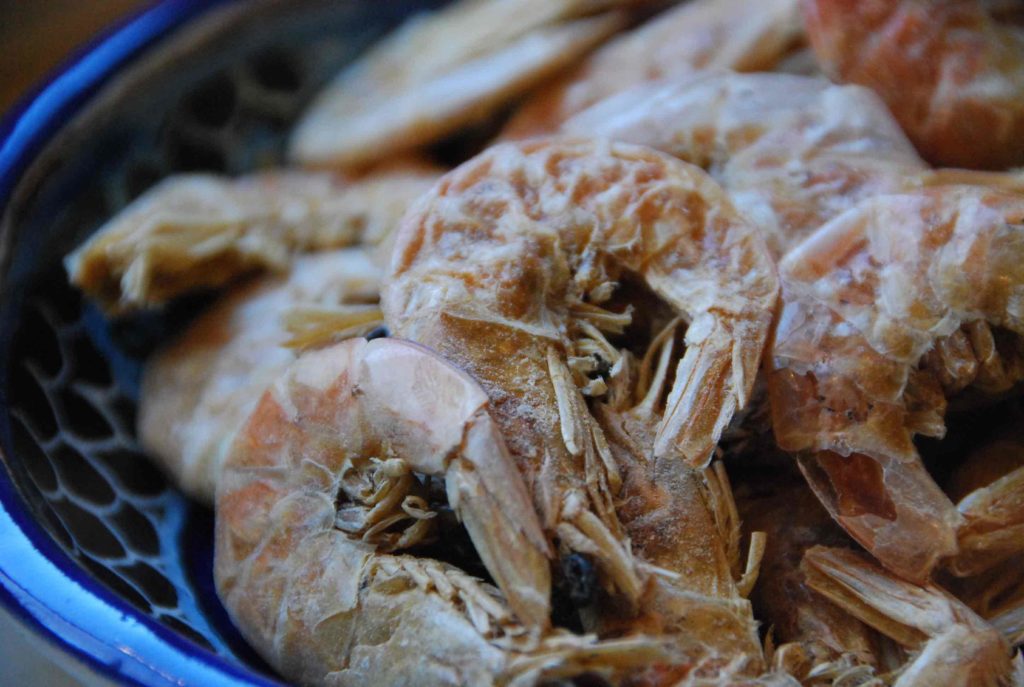
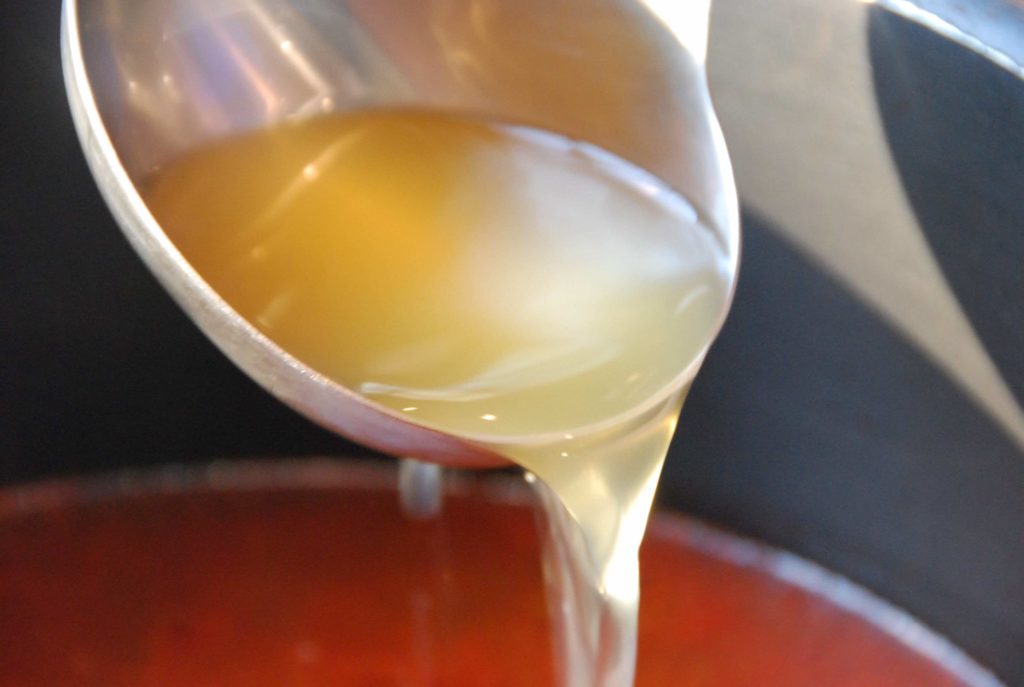
- 8 cups seafood or fish broth or water
- 1/2 teaspoon dried thyme
- 1/2 teaspoon dried marjoram
- 1/2 teaspoon dried oregano
- 1/4 teaspoon ground cumin
- 1 bay leaf
- 1 teaspoon kosher or coarse sea salt or to taste
- 1/2 teaspoon freshly ground black pepper
- 1 whole pickled jalapeño diced
- 2 tablespoons vinegary sauce from pickled jalapeños
- 2 cups carrots peeled and diced
- 2 cups potatoes peeled and diced
- 2 pounds catfish fillets cut into 2" pieces
- 2 limes cut into wedges, to serve
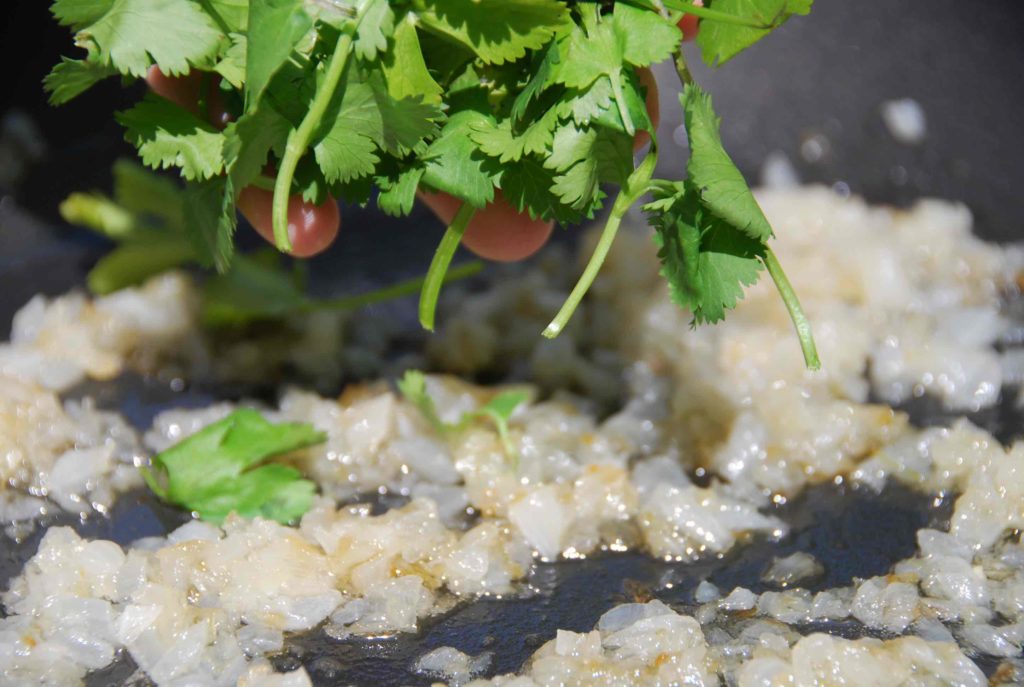
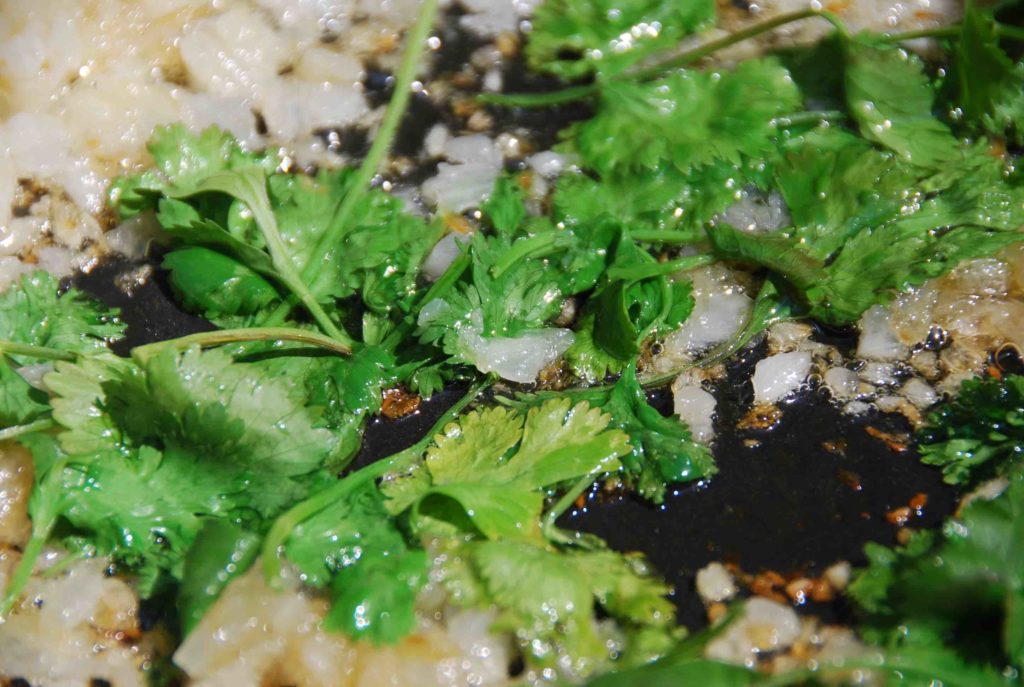
- 1/4 cup cilantro roughly chopped, to serve
Instructions
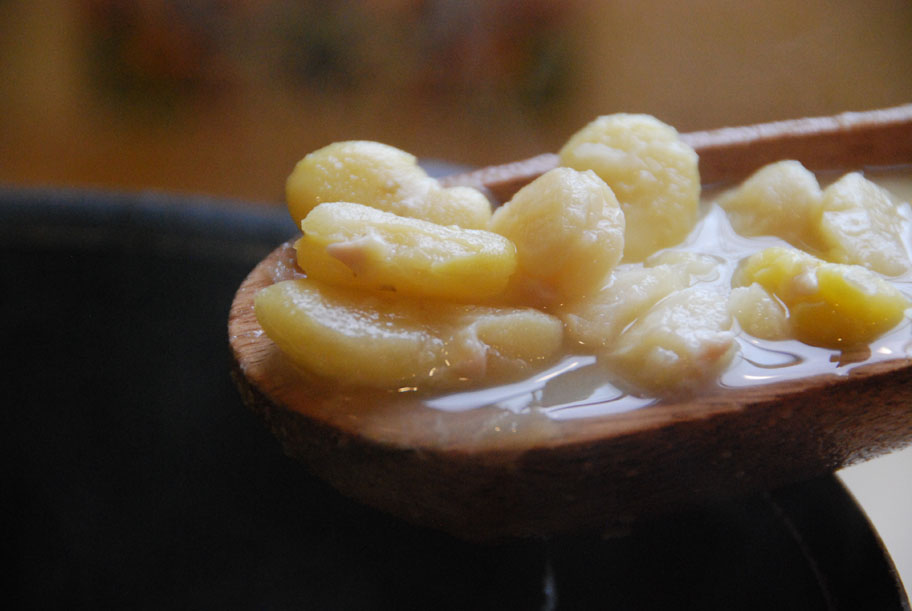
- Place the ancho chiles in a bowl, cover with 2 cups boiling water, and let them sit for 10 minutes until they plump up and rehydrate.
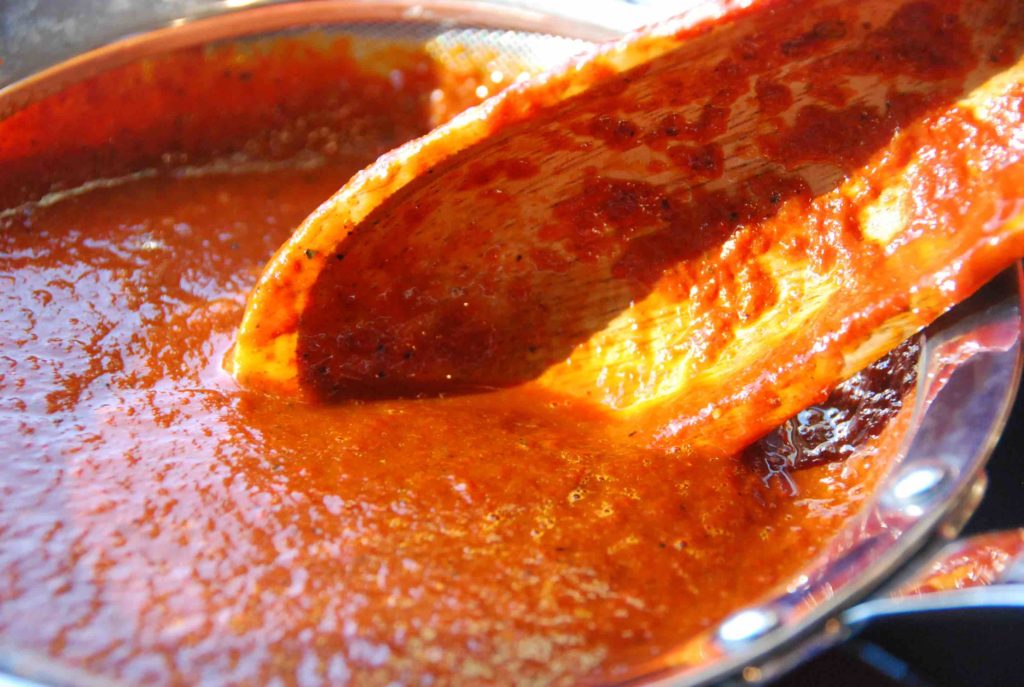
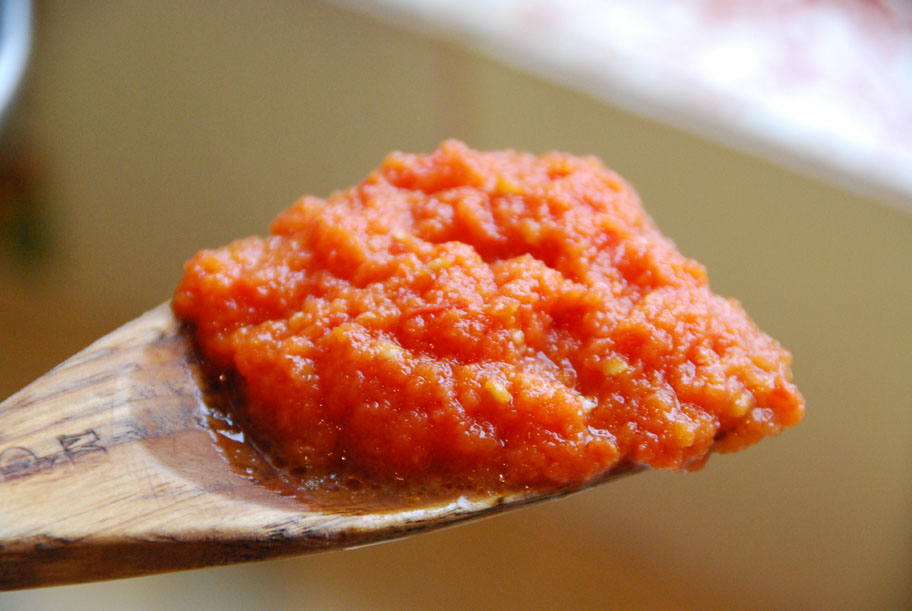
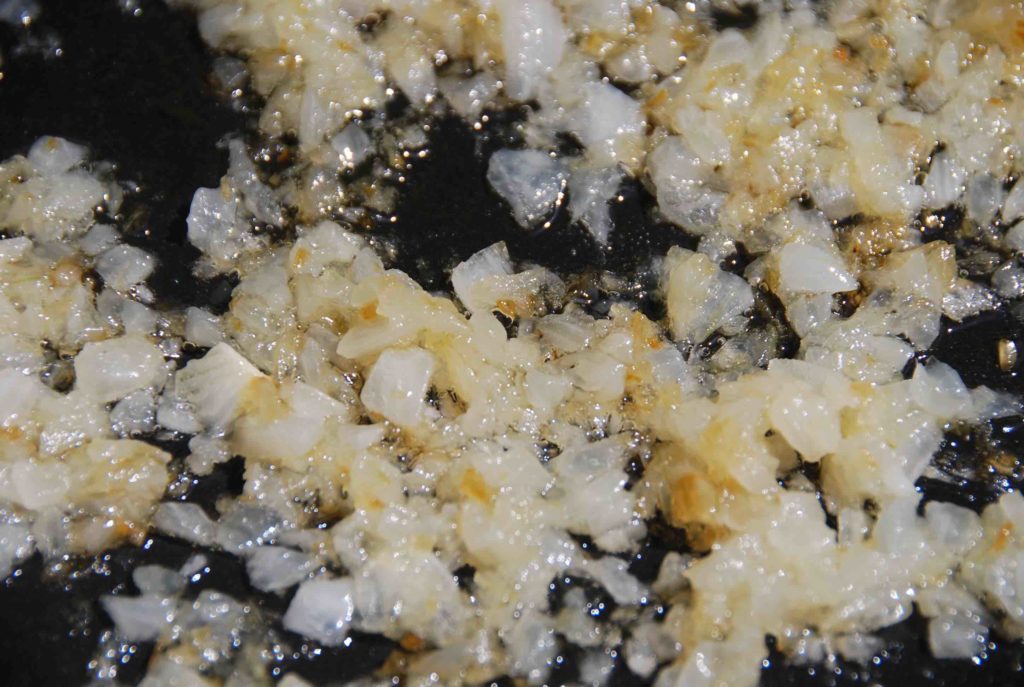
- In a soup pot, heat the butter and oil over medium heat. Once the butter is melted and bubbly, add the onion and cook for 4 to 5 minutes, until softened and the edges begin to brown. Add the garlic, stir and cook for a minute until fragrant. Increase the heat to medium-high and incorporate the chopped tomato, cook for 6 to 7 minutes, until softened. Sprinkle the flour on top of the cooking vegetables, stir well, and let cook for another minute or so, stirring frequently, until the flour starts to brown and smell toasty. Pour in the broth or water and bring to a simmer.
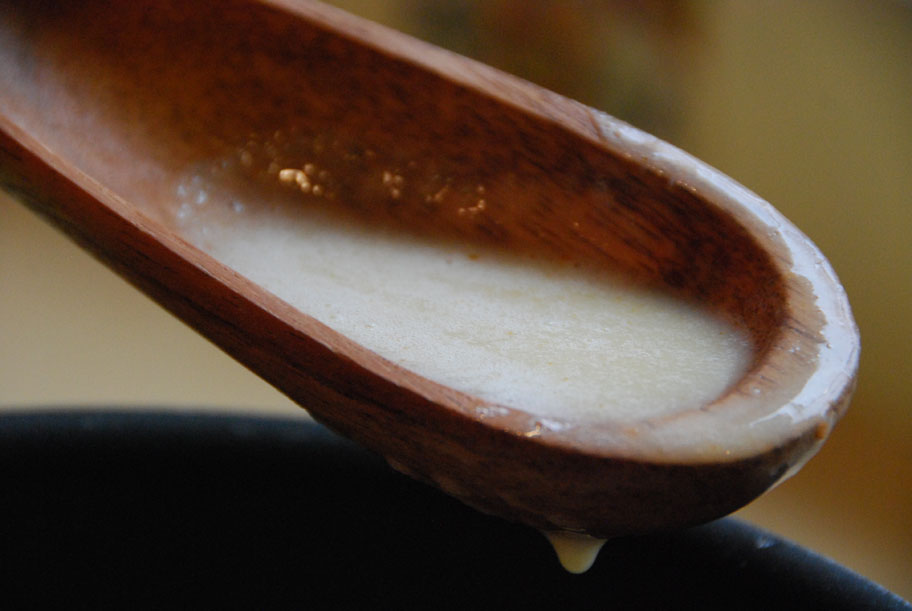
- Meanwhile, place the ancho chiles along with a cup of their soaking water into a blender, and puree until completely smooth. Add the chile puree, along with the thyme, marjoram, oregano, cumin, bay leaf, salt, pepper, pickled jalapeño and its vinegar to the soup, and mix well. Once it returns to a simmer, reduce the heat to medium, and let it cook for 15 minutes with the lid ajar.
- Add the carrots, potatoes, and fish pieces and continue to cook for 10 more minutes, until vegetables and fish are completely cooked through.
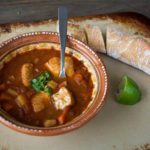
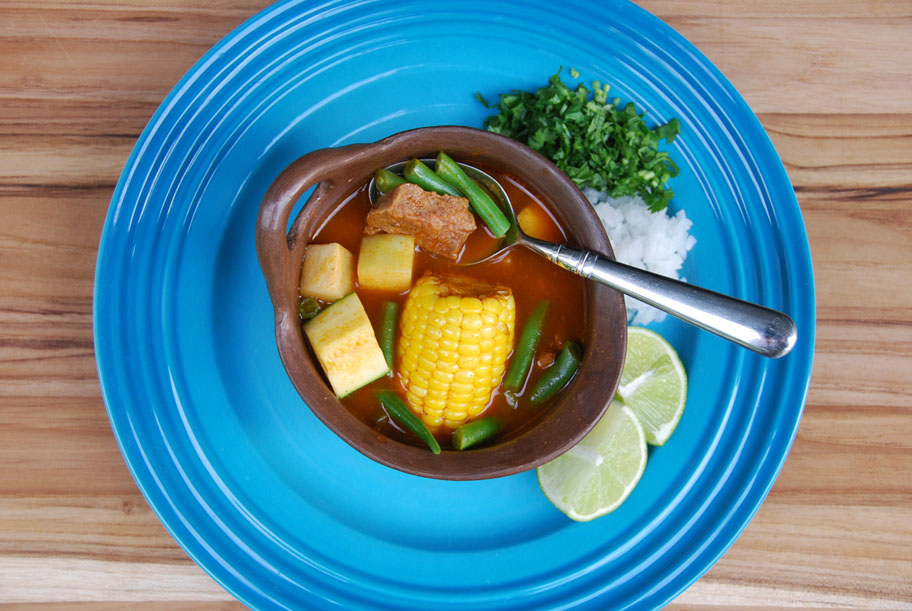
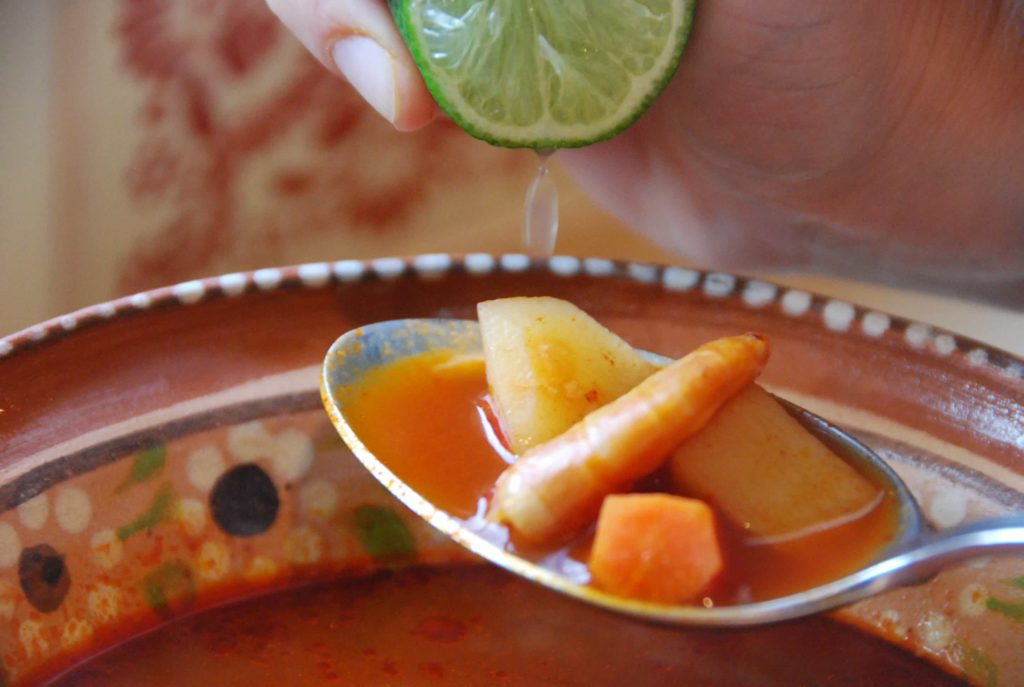
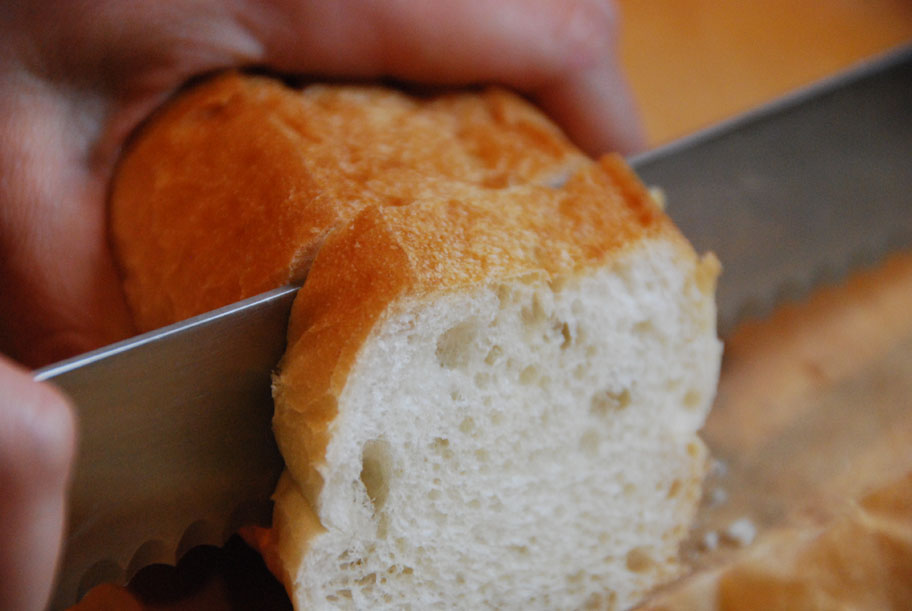
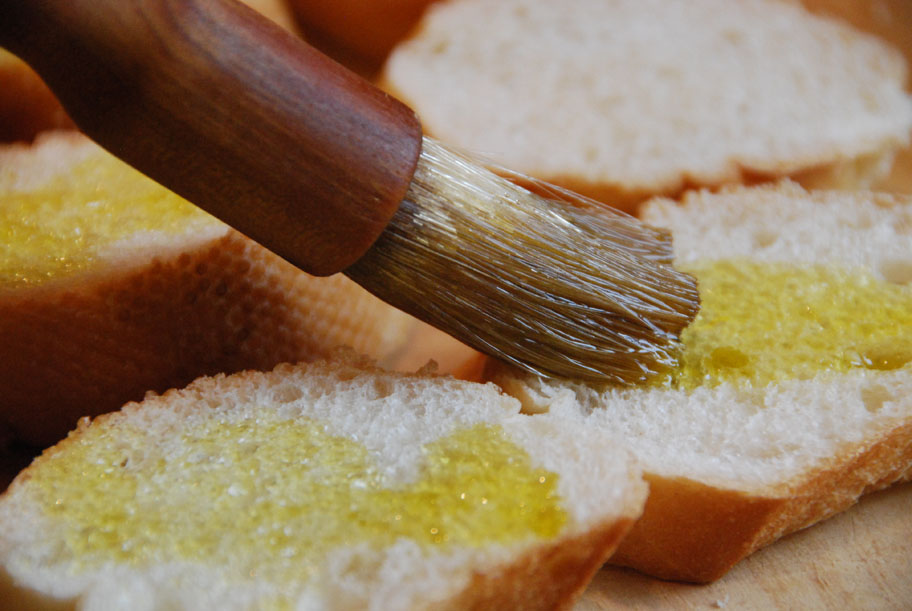
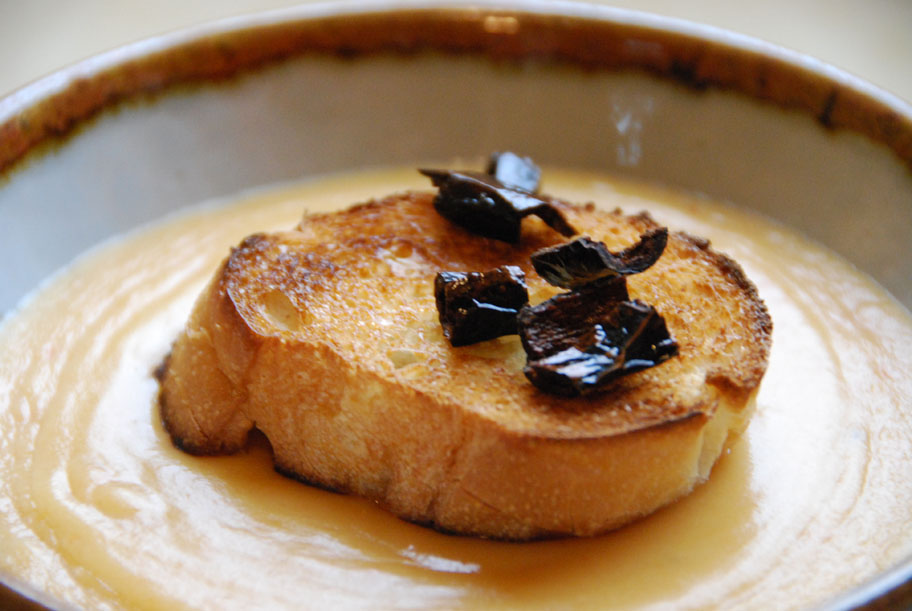
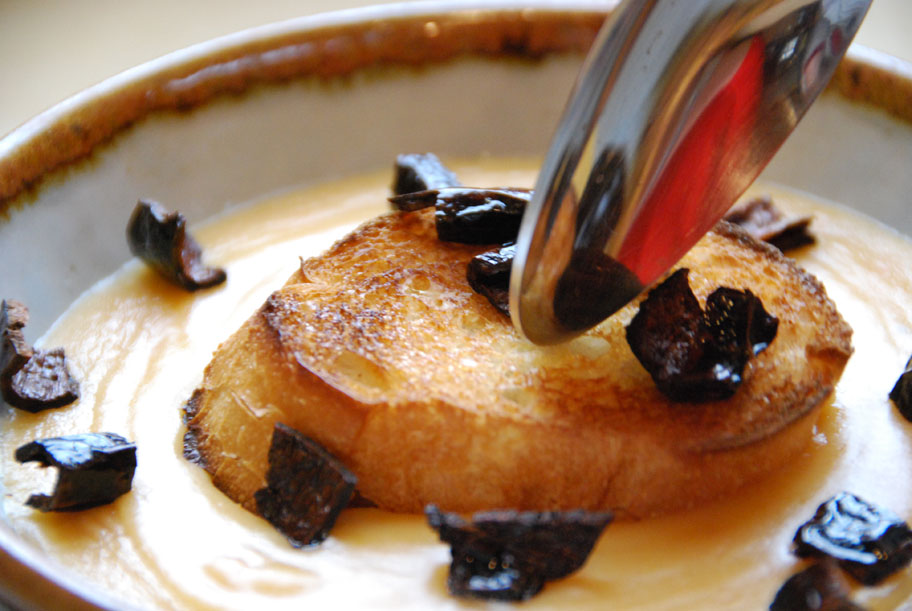
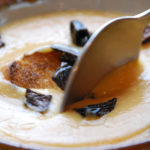
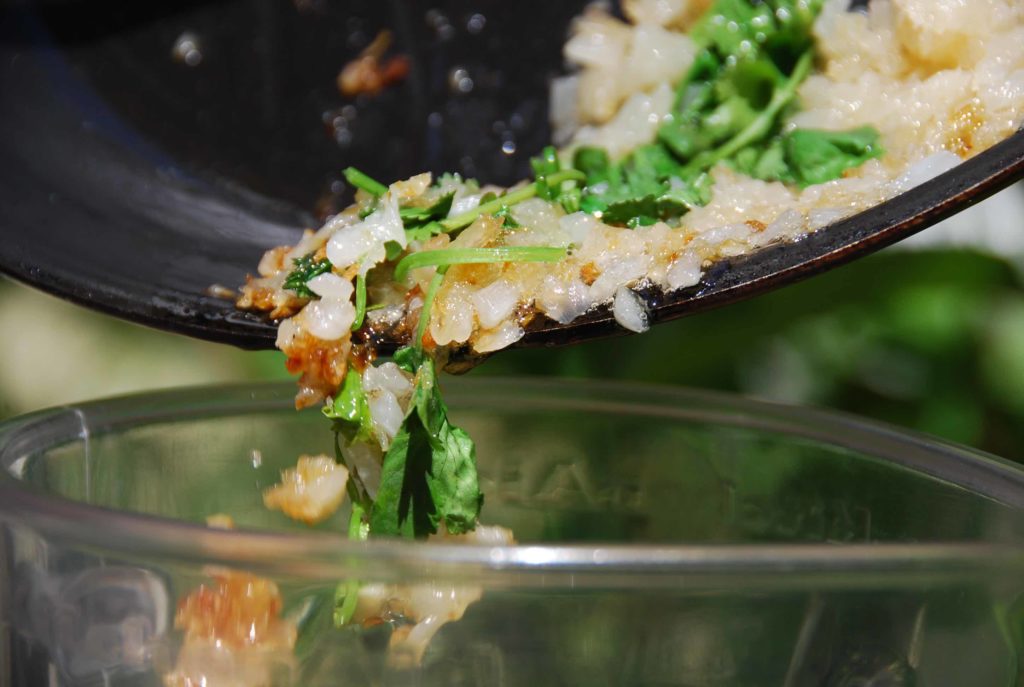
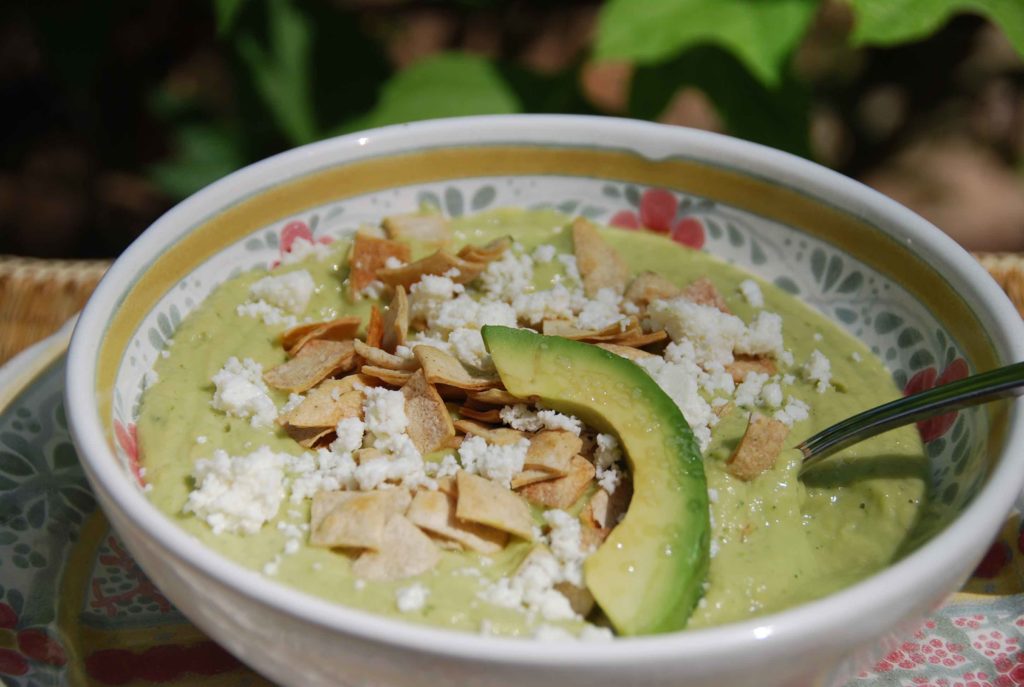
- Serve hot, along with lime wedges and chopped cilantro for people to add to their taste. I like it with crusty bread, such as a baguette, on the side.


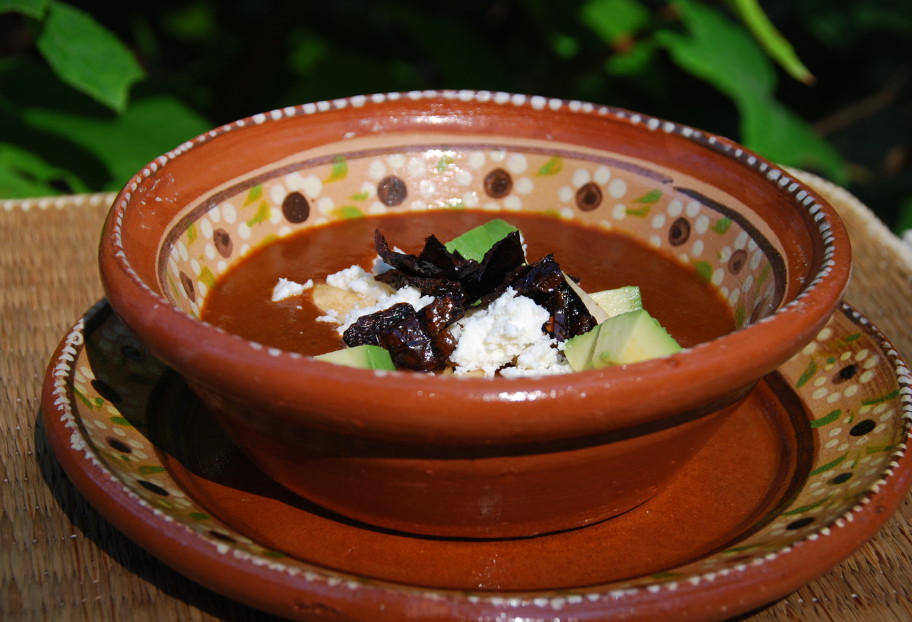
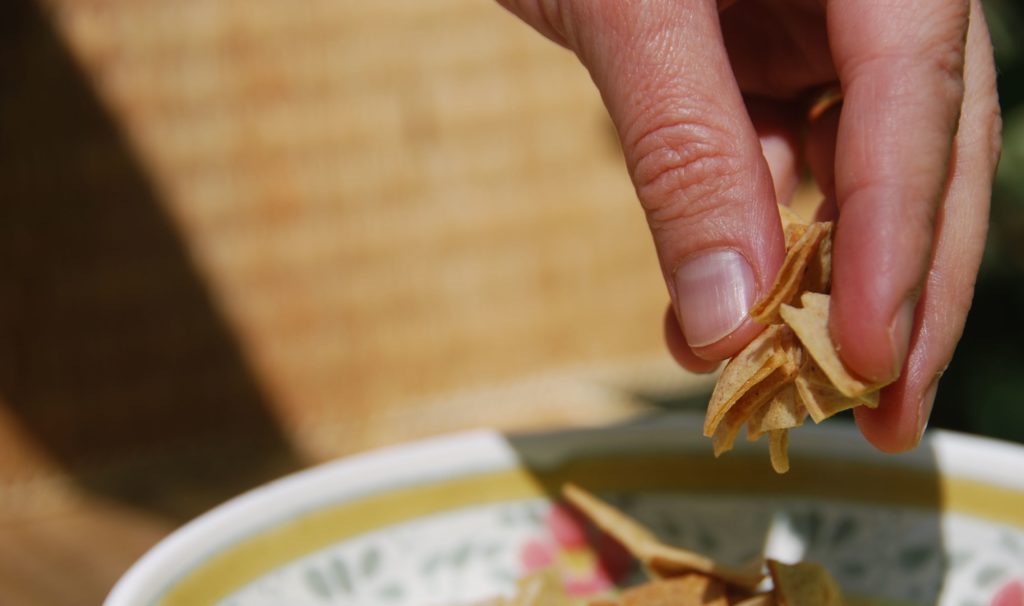

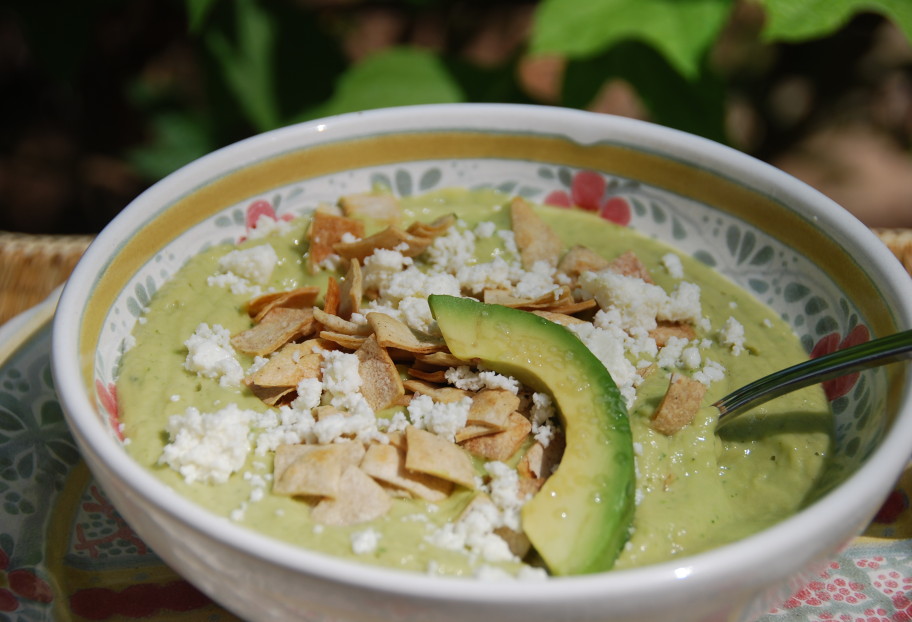
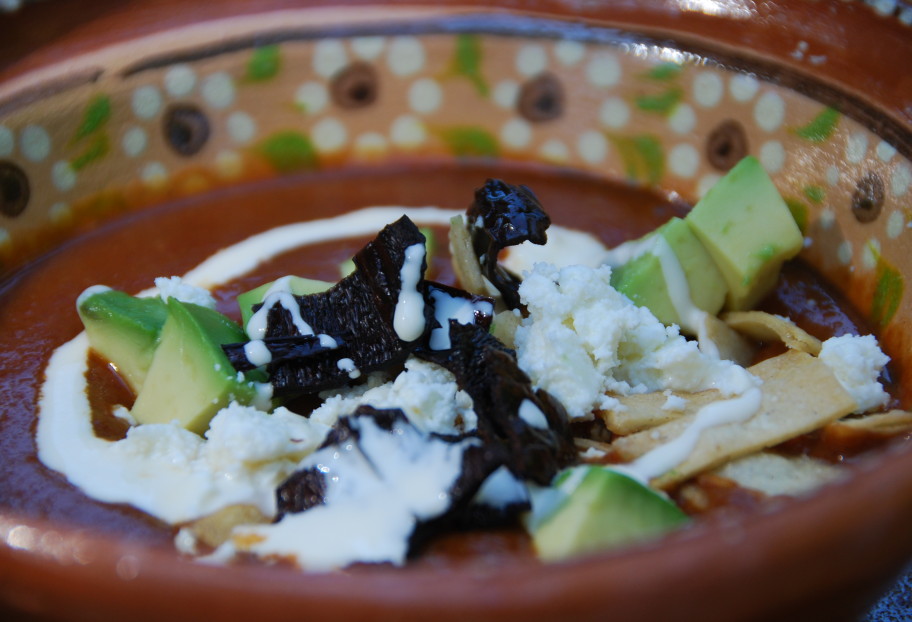
 Sprinkle a few, or a ton, corn tortilla crisps.
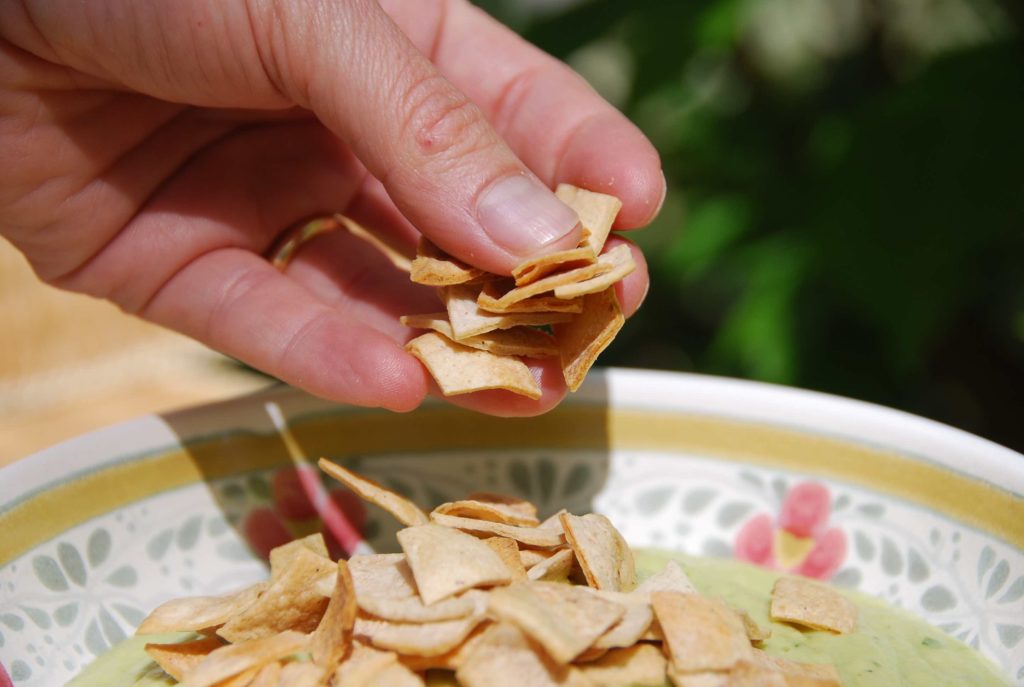 I guess I went for a ton.
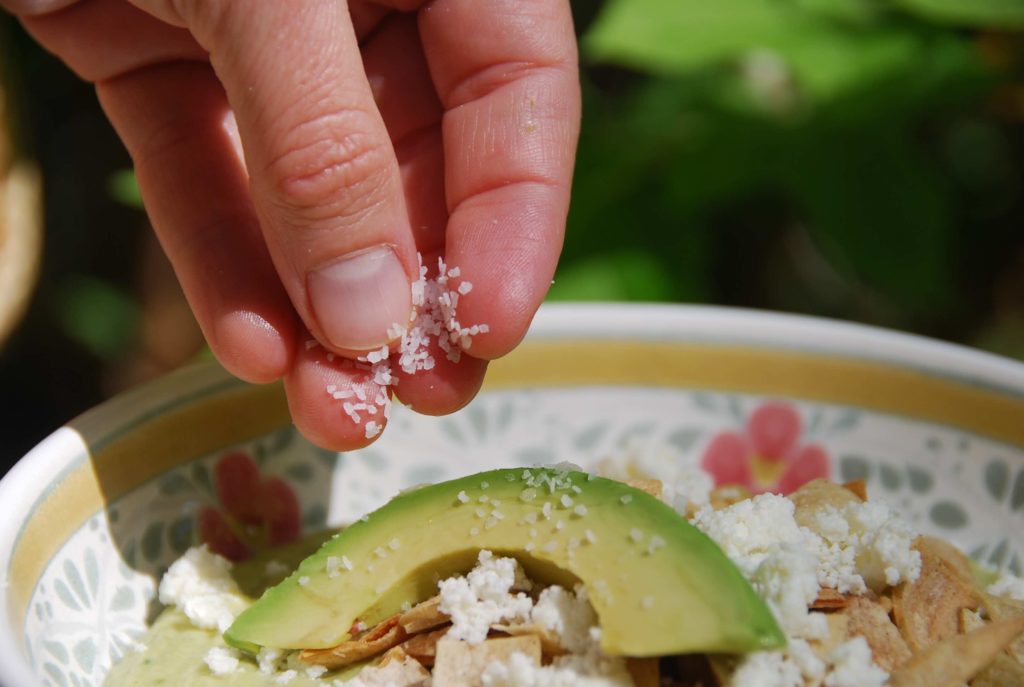
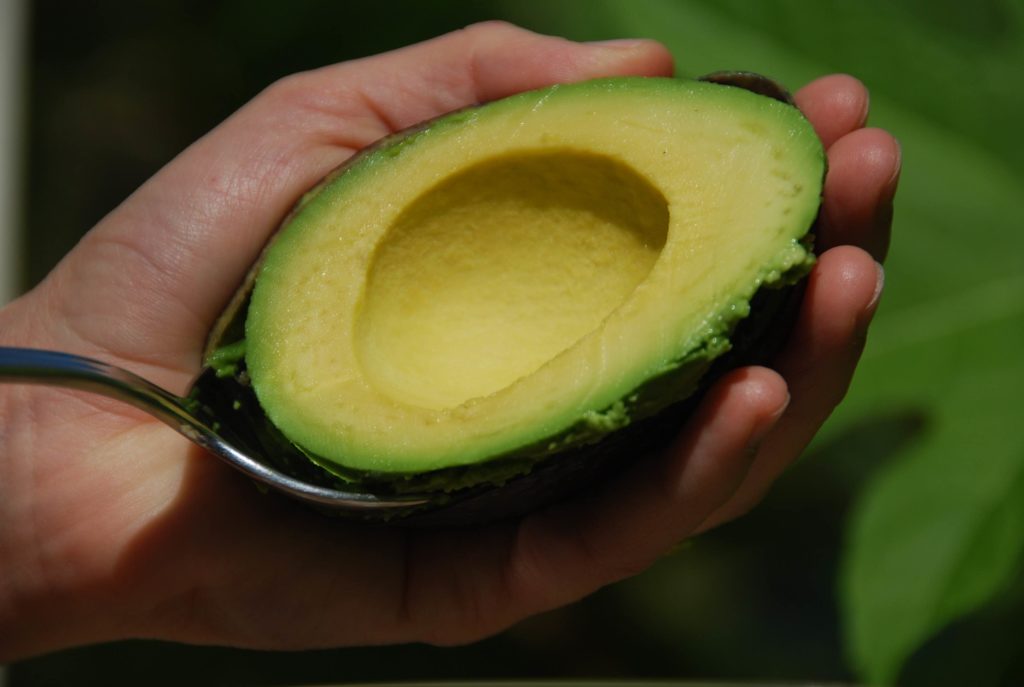
 I already had some…
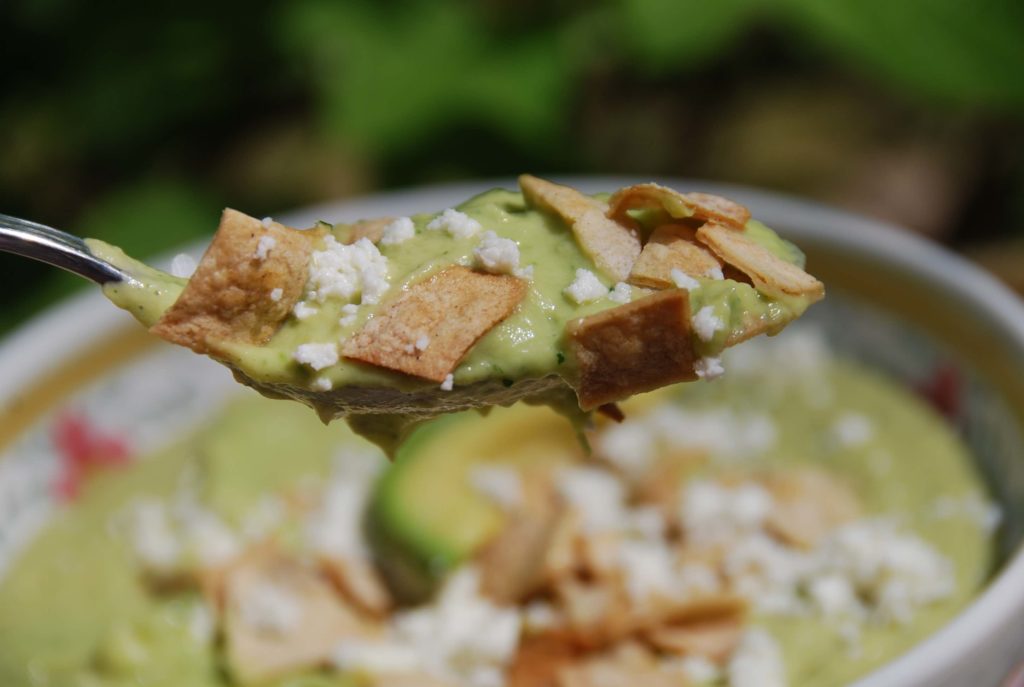
