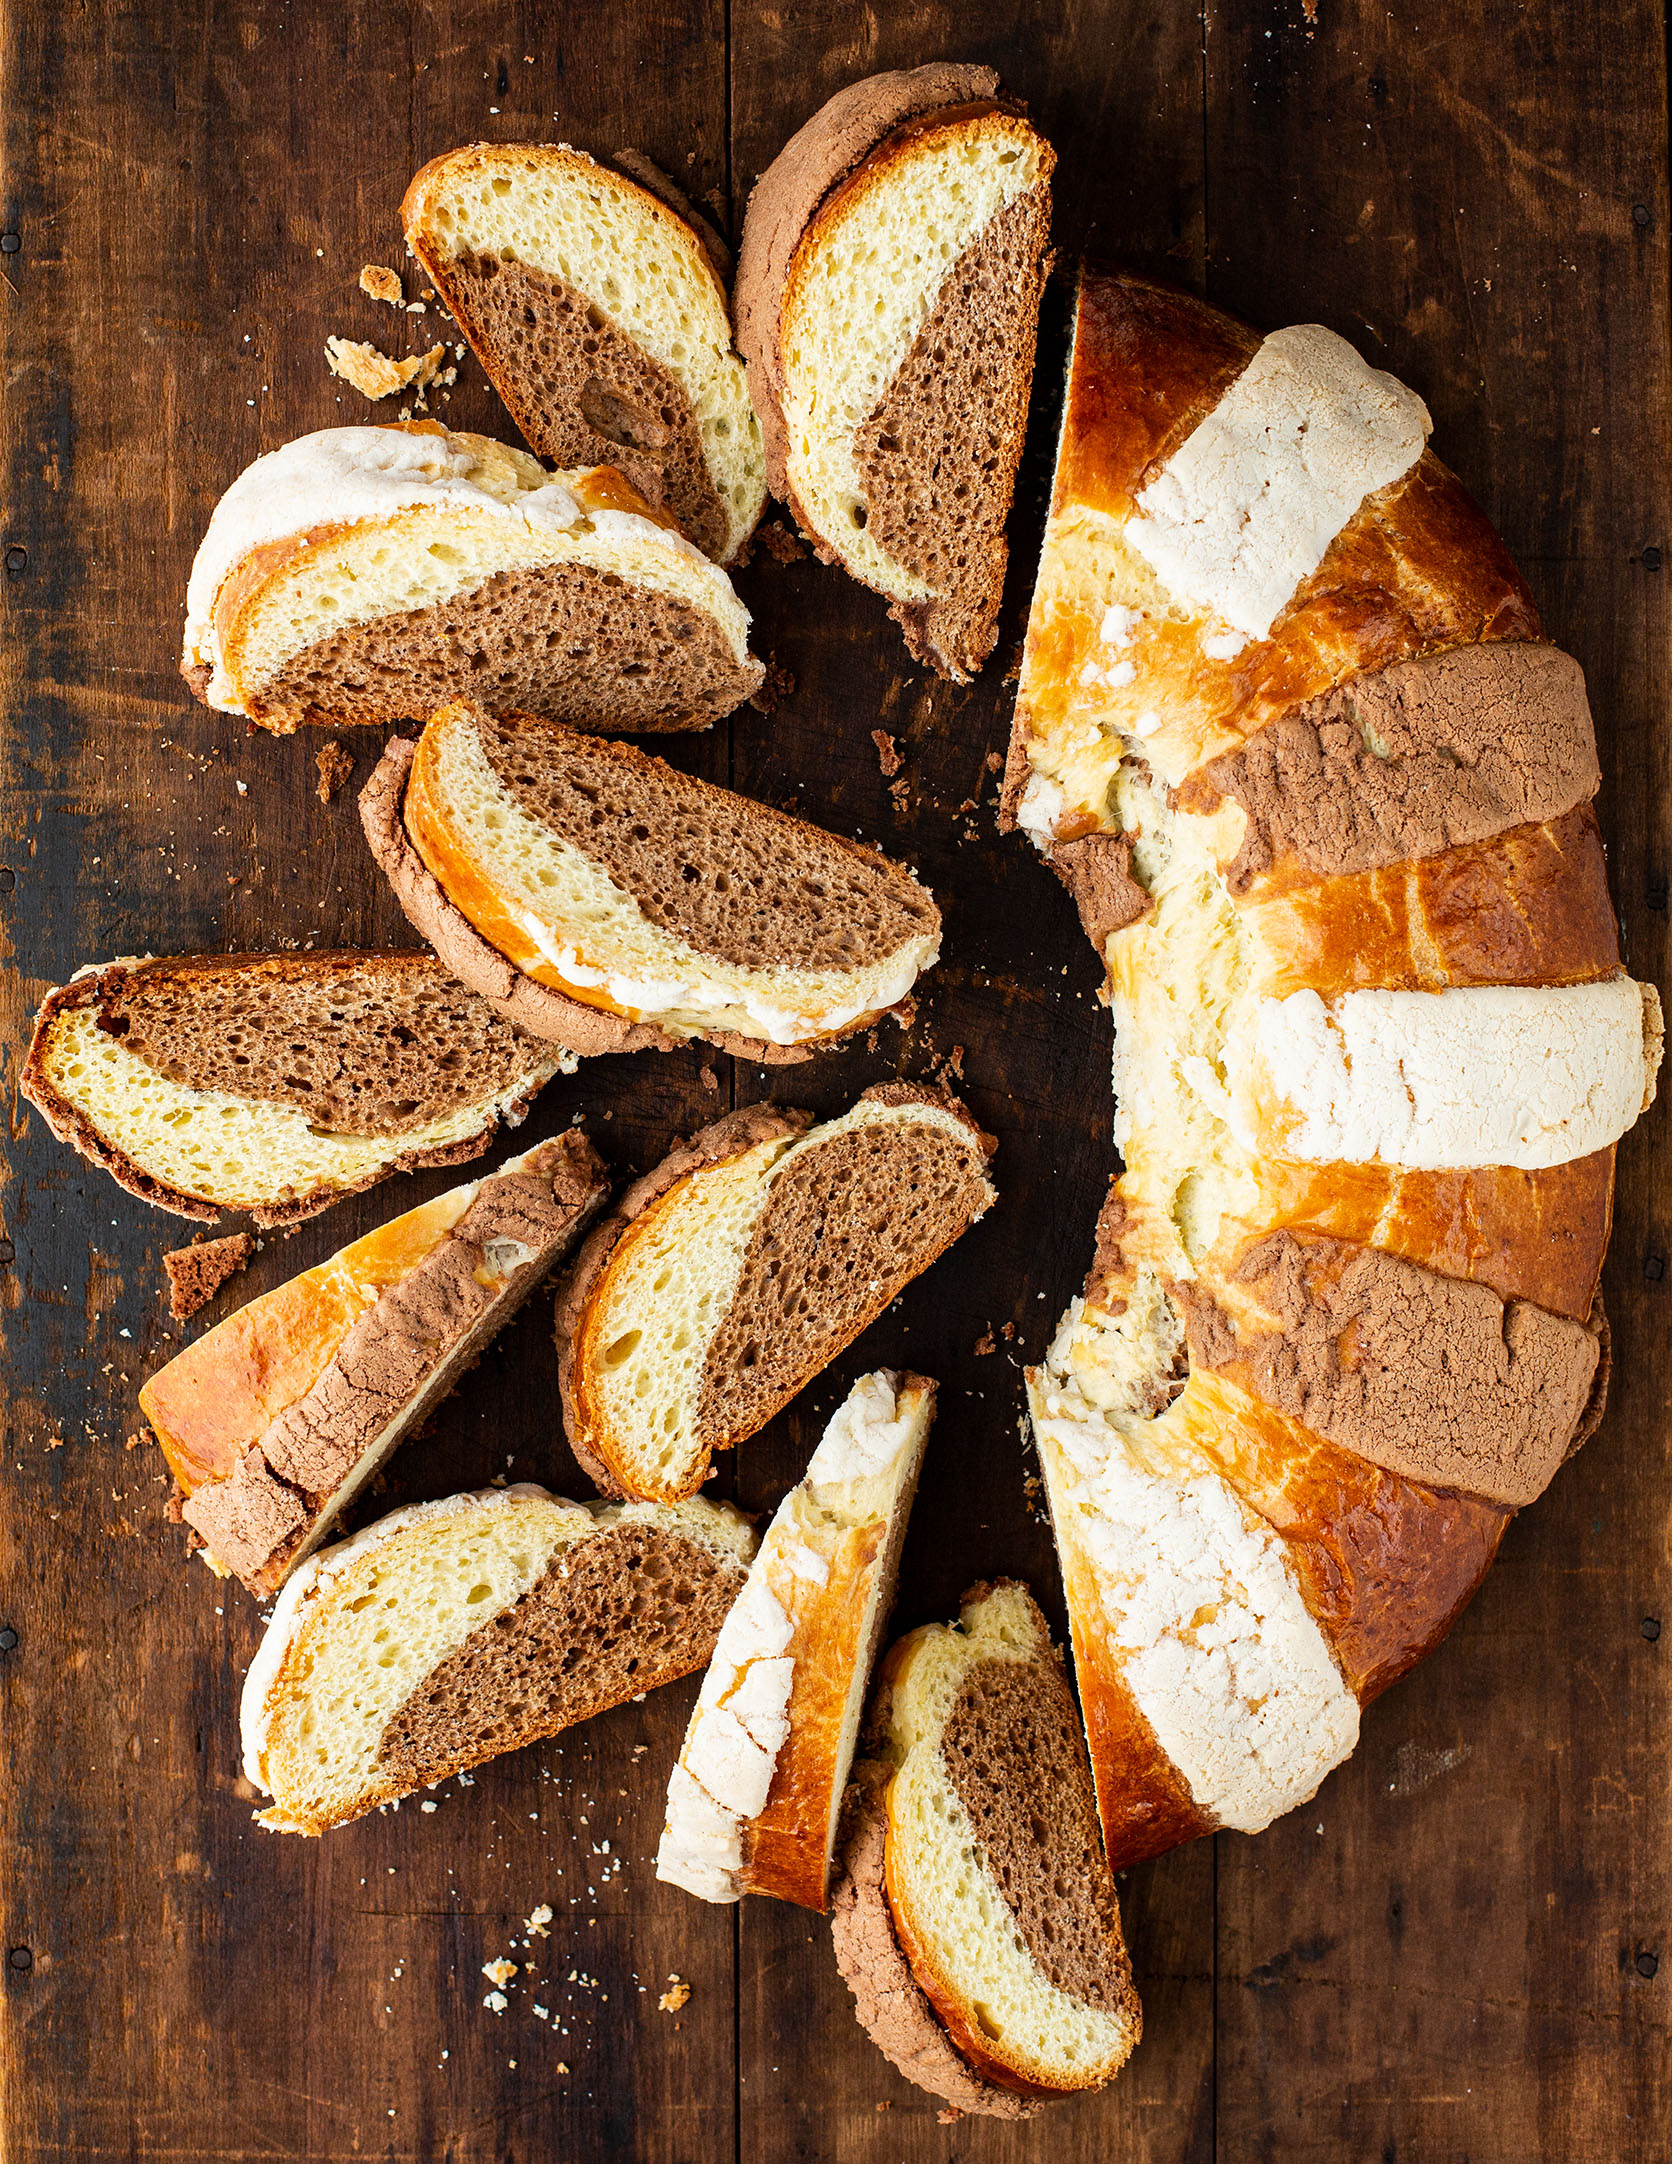
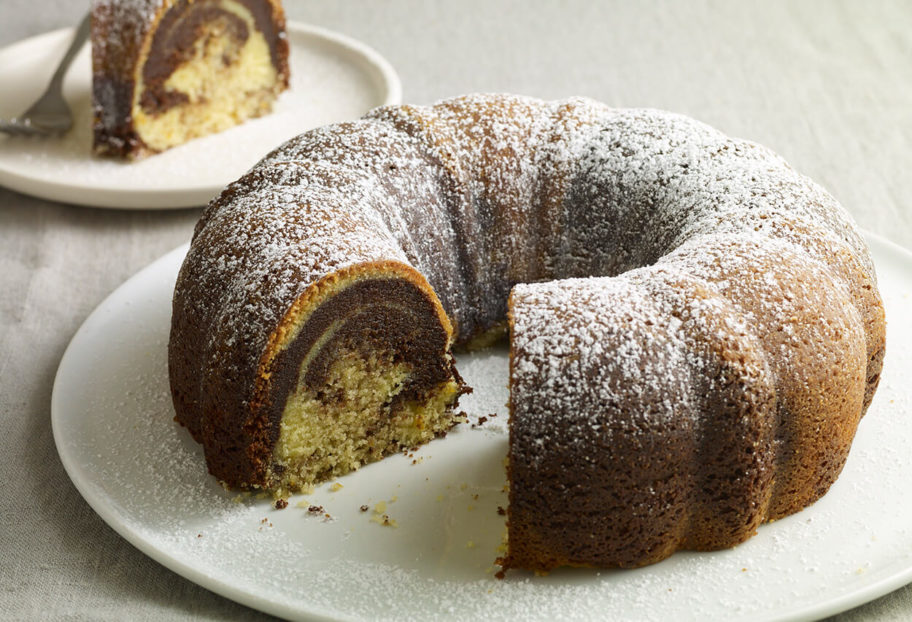
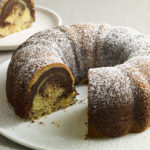
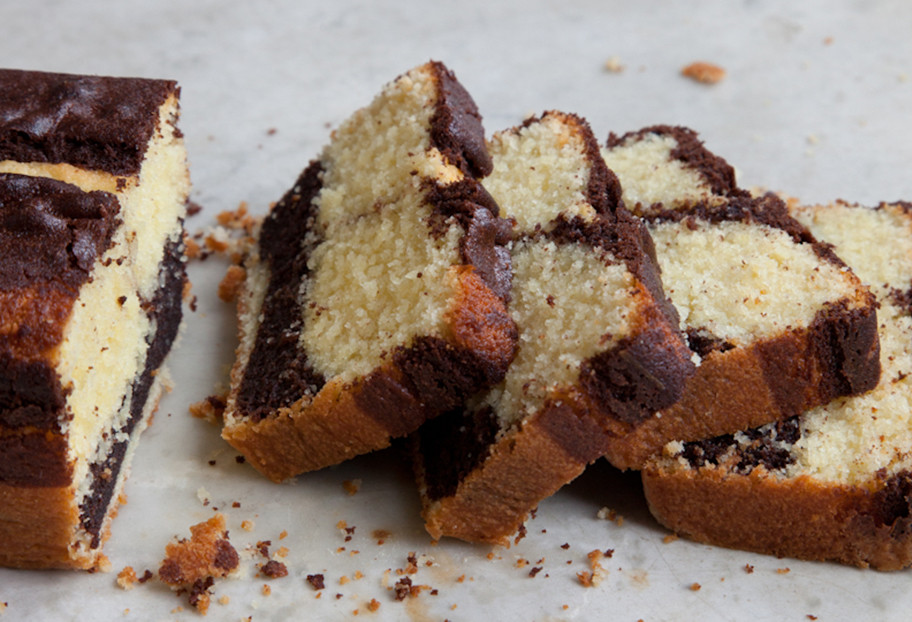
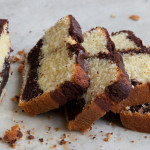
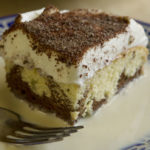
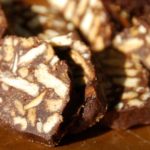
Chocolate and Vanilla Three Kings’ Bread
Rosca de Reyes is the Mexican version of Three Kings’ Bread. I wanted to create a version for my family, featuring just the parts we love. So why not make a chocolate-and-vanilla marbled bread with a chocolate-and-vanilla sugar coating?
Servings: 15 servings; makes 1 large ring-shaped bread
Ingredients
For the starter:
- 1/2 cup whole milk heated to lukewarm
- 1 tablespoon active dry yeast
- 1 teaspoon granulated sugar
- 1/2 cup all-purpose flour
For the dough:
- 1 tablespoon orange blossom water or rose water (optional)
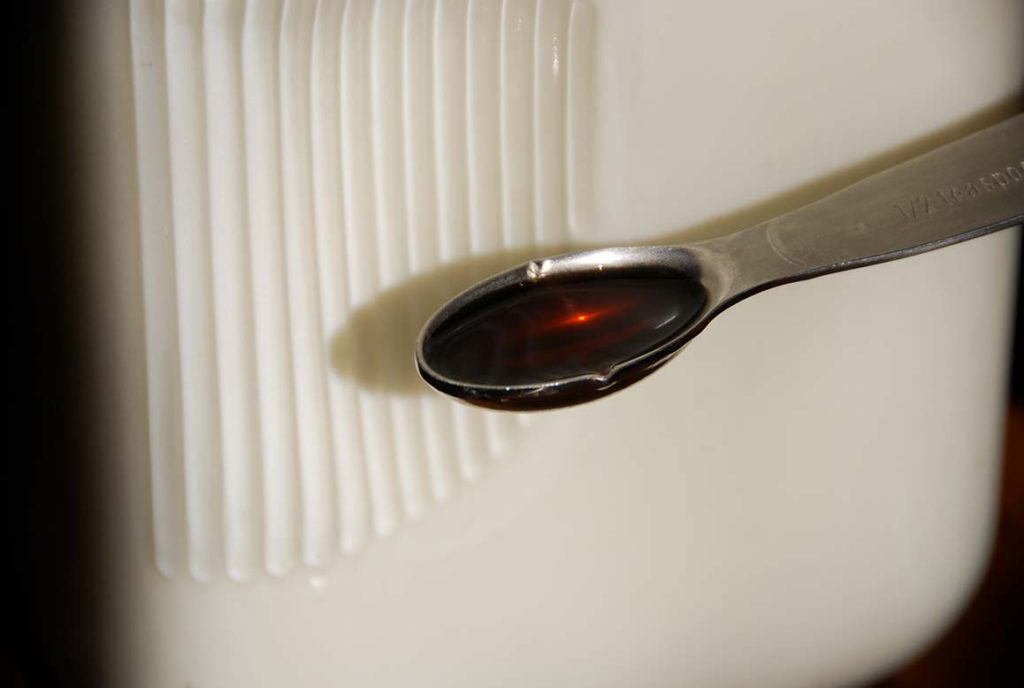
- 1 teaspoon vanilla extract
- 1 teaspoon grated orange zest
- 4 large eggs
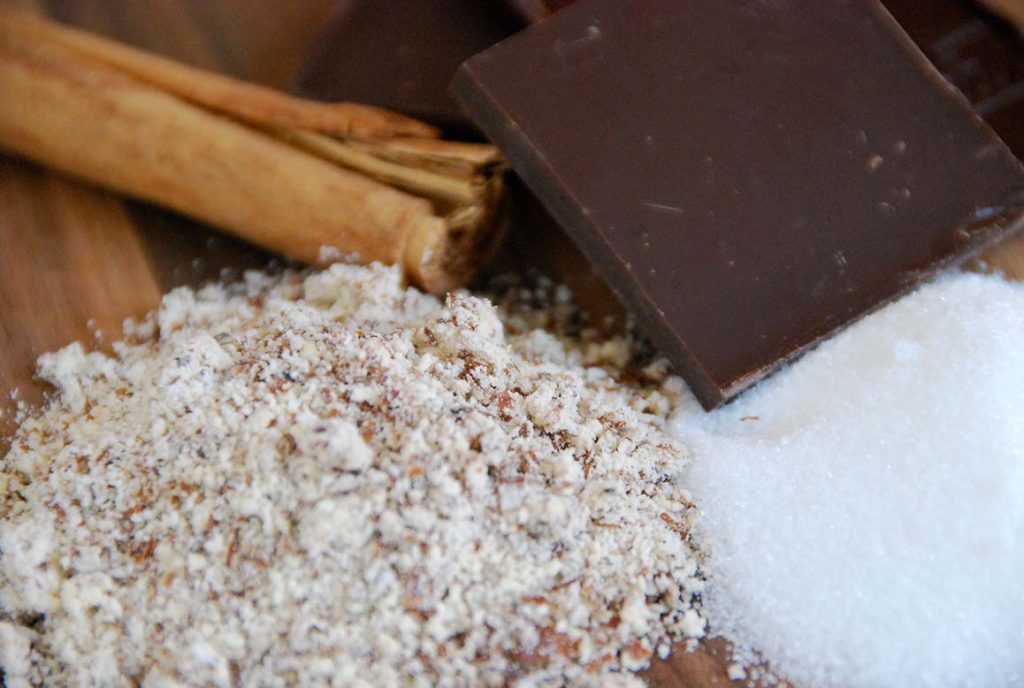
- 3 1/2 cups all-purpose flour plus more for dusting
- 1/2 cup granulated sugar
- 1 teaspoon kosher salt
- 1/2 pound (2 sticks) unsalted butter cut into 1⁄2-inch cubes, at room temperature, plus more for the bowls
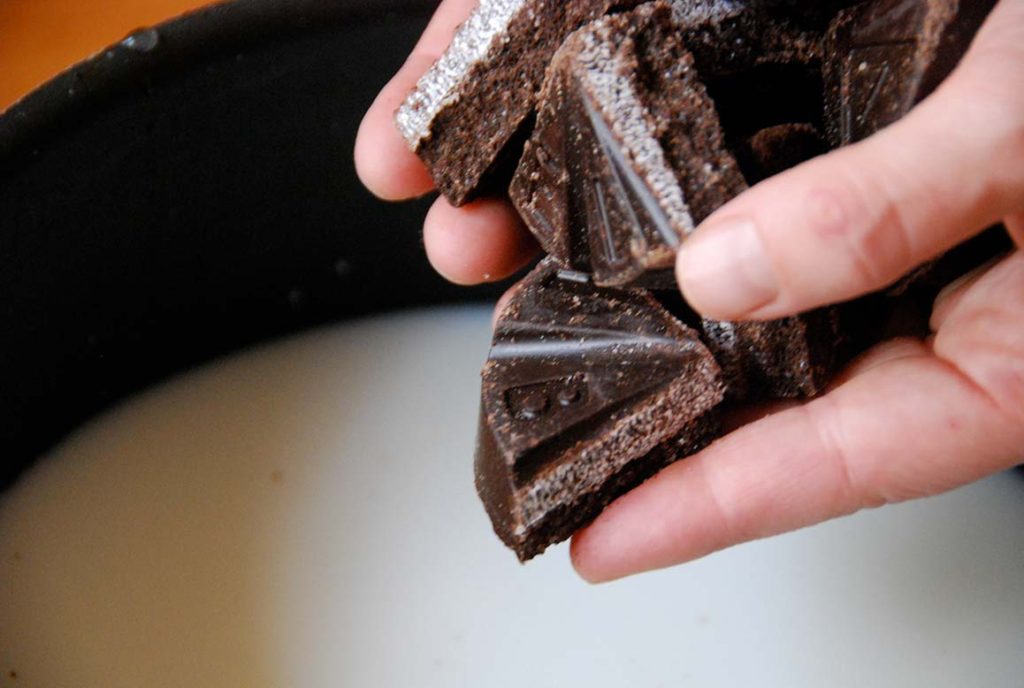
- 3 tablespoons unsweetened cocoa powder
For the topping:
- 1 cup all-purpose flour
- 1 cup confectioners’ sugar
- 10 tablespoons (1 1/4 sticks) unsalted butter or 1/2 cup plus 2 tablespoons vegetable shortening, at room temperature
- 1 teaspoon vanilla extract
- 1 heaping tablespoon unsweetened cocoa powder
- 1 large egg beaten with 1 tablespoon milk, for brushing
Instructions
To make the starter:
- Whisk the milk, yeast, and granulated sugar together in the bowl of a stand mixer. Whisk in the flour. Cover with a clean kitchen towel, set in a warm, draft-free place, and let stand until the mixture begins to bubble, 20 to 25 minutes.
To make the dough:
- Attach the bowl to the mixer stand and fit it with the paddle attachment. Add the orange flower or rose water (if using), vanilla, orange zest, eggs, flour, granulated sugar, and salt to the starter and beat on low speed just until combined. Scrape the bowl and beater and switch to the dough hook. Beat on medium speed for 10 to 12 minutes, until the dough pulls away from the sides of the bowl and starts to make a slapping sound.
- On low speed, add the butter in 4 to 6 additions, incorporating each addition before adding the next one. From time to time, scrape the bowl. When all of the butter has been added, increase the speed to medium and beat for another 8 to 10 minutes, until the dough slaps against the sides of the bowl again. It will still be sticky, but don’t be tempted to add more flour.
- Butter two medium bowls. Remove the dough from the mixer bowl, divide it in half, and return one half to the bowl. Shape the other piece into a ball and transfer to one of the buttered bowls.
- Add the cocoa powder to the dough in the mixer bowl and mix on low speed until incorporated. Turn the dough out, shape it into a ball, and place in the other buttered bowl. Cover each bowl with plastic or a clean kitchen towel and let the dough rise in a warm, draft-free place until doubled, 1 to 1 1⁄2 hours.
- Gently deflate both portions of dough with your fist and shape into balls again. Cover and let rise in the refrigerator for at least 3 hours, or for as long as overnight.
- Remove the dough from the refrigerator and set, still covered, in a warm, draft-free spot for about an hour so it comes to room temperature and rises.
- Line a baking sheet with parchment paper. Remove the doughs from the bowls and shape each one into a ball. Press each ball down to flatten it slightly. Place the vanilla round on top of the chocolate round and stretch it so that it completely envelops the chocolate round, turning the dough over to stretch it over the bottom. Make a hole in the center of the dough by pushing your fist through it, then gently stretch the dough out to make a 9-x-13-inch oval.
- Place the dough on the baking sheet. Insert a couple of plastic Baby Jesus figurines into the dough, if using. Cover with a clean kitchen towel and let rise for an hour or so, until the dough has puffed.
- Meanwhile, preheat the oven to 350℉ degrees, with a rack in the middle.
To make the topping:
- Combine the flour, confectioners’ sugar, butter or shortening, and vanilla in a medium bowl and mix together into a smooth paste with your hands. Divide the paste in half. Add the cocoa powder to one half and knead and mix well until evenly incorporated. Divide each of the pastes into about 6 portions and shape into balls.
- Gently brush the bread with the egg wash. Roll each paste ball into a log and then press to flatten it into a strip about 7 inches long, 1 inch wide, and 1⁄8 to 1⁄4 inch thick. Arrange them on the bread, alternating chocolate and vanilla strip, at approximately 2-inch intervals.
- Bake for about 45 minutes, or until the bread is golden brown and makes a hollow sound when tapped on the bottom. Cool on a rack before slicing.
Notes
Rosca de Reyes de Chocolate y Vainilla


