
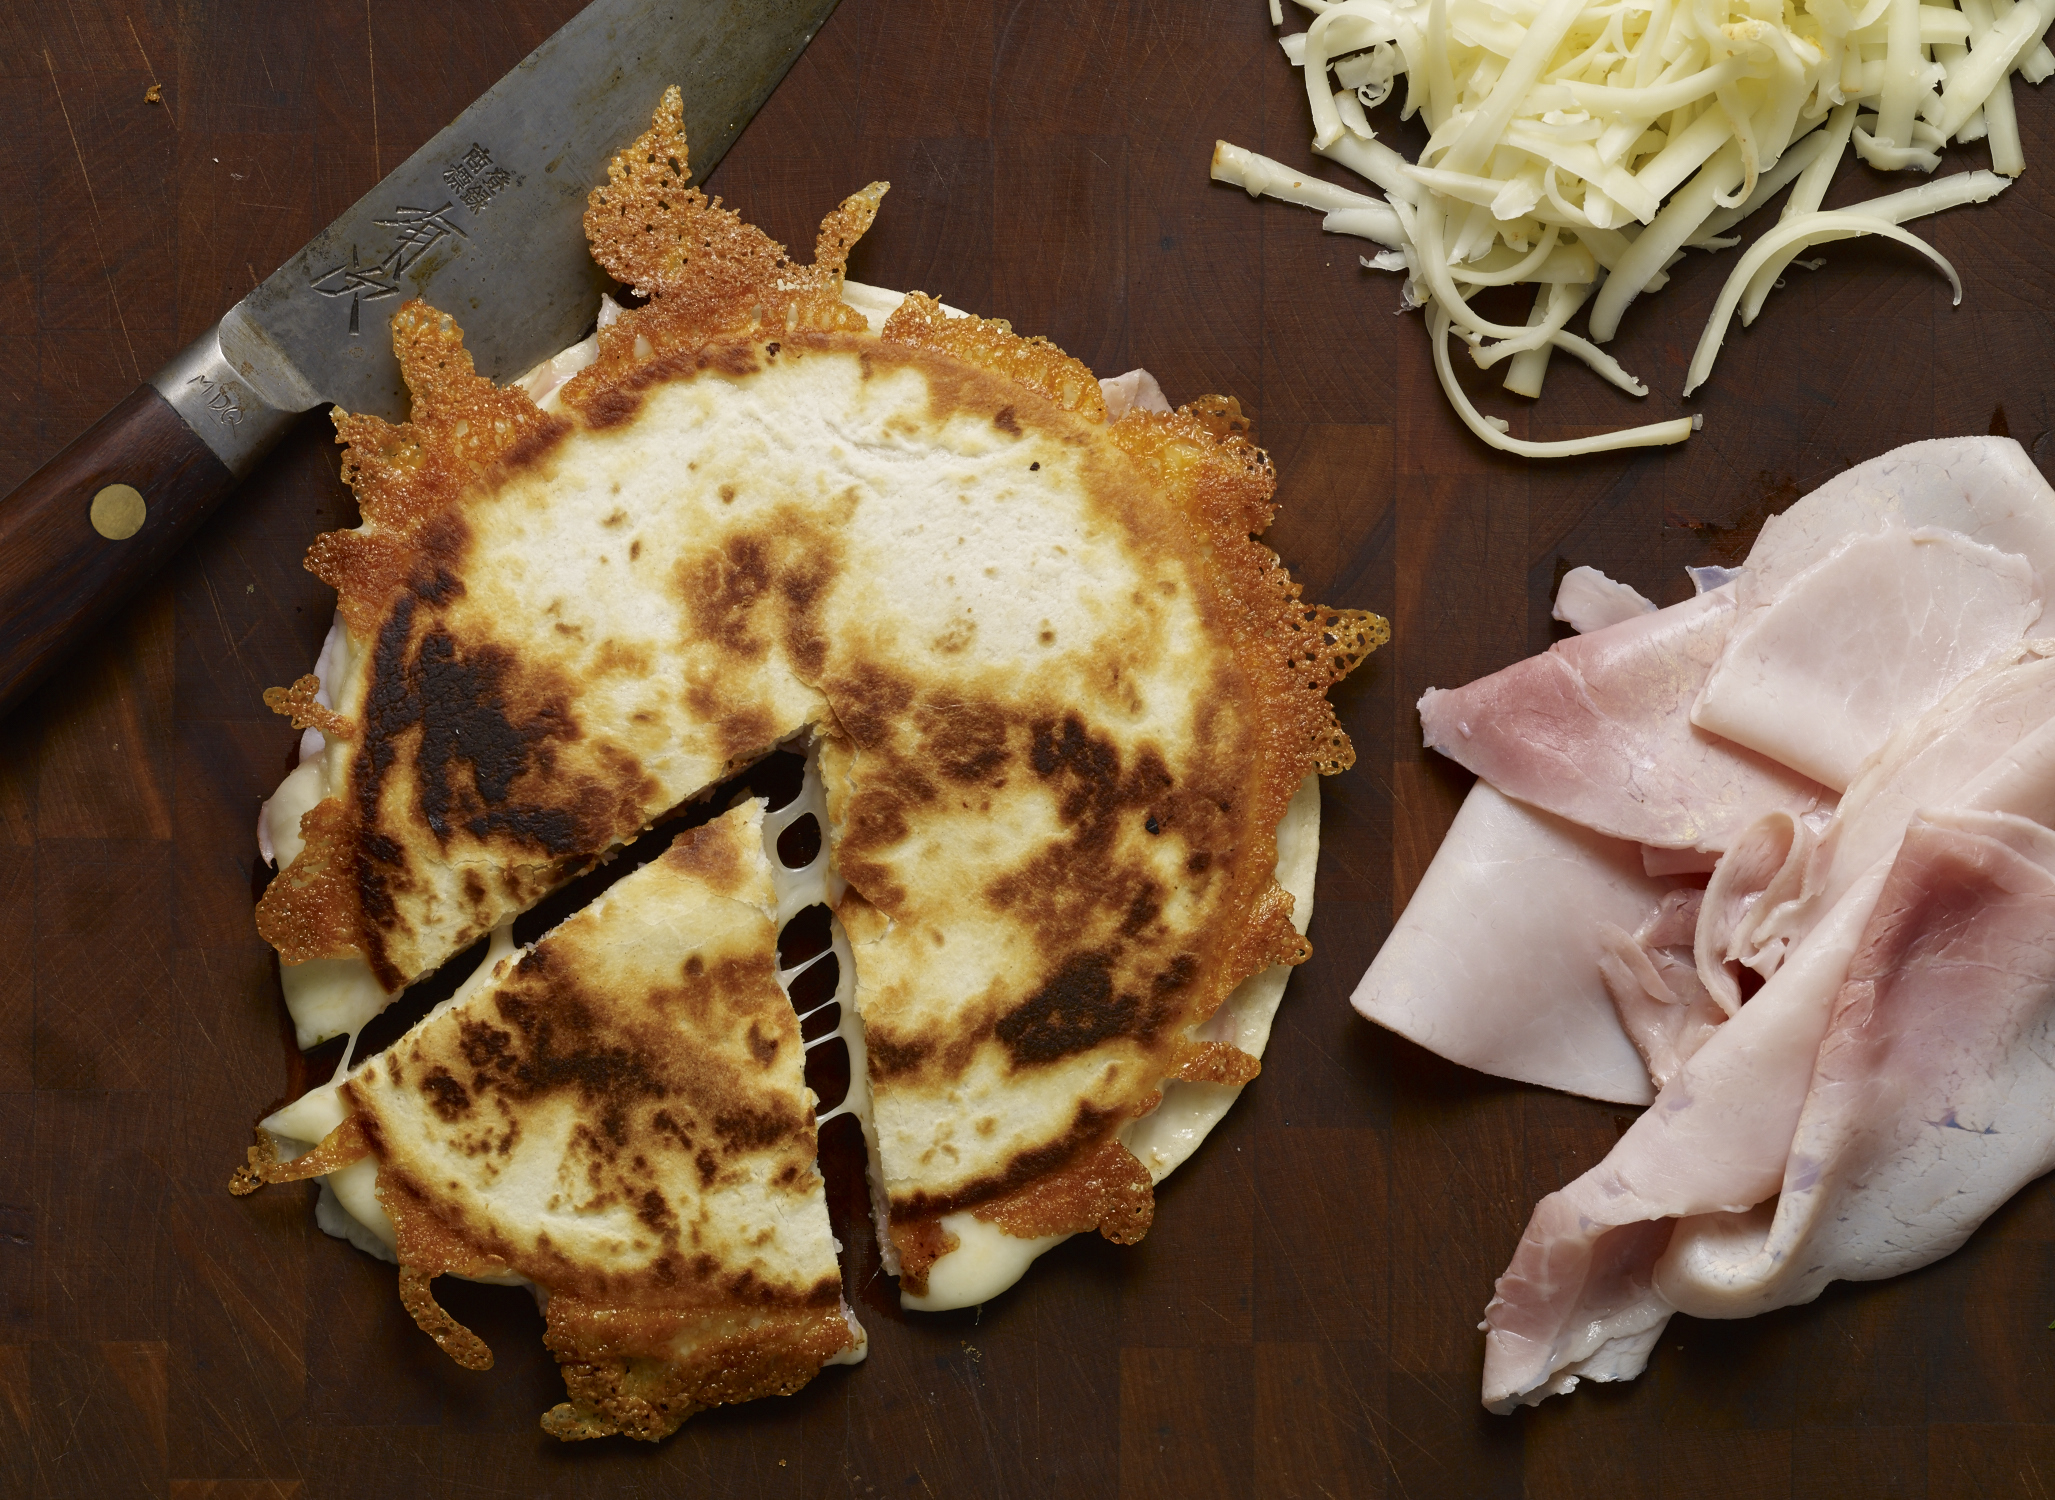
Ham and Cheese Sincronizadas with Flour Tortillas
Ham and Cheese Sincronizadas with Flour Tortillas recipe from Pati's Mexican Table Season 1, Episode 1 “Quesadillas”
Servings: 6 sincronizadas
Ingredients
- 12 Flour tortillas
- safflower or corn oil optional
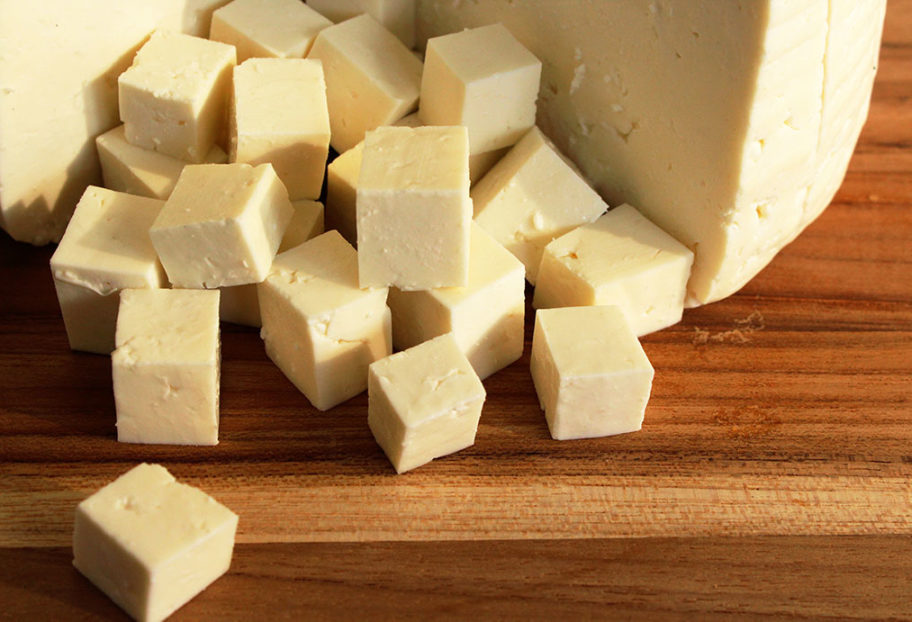
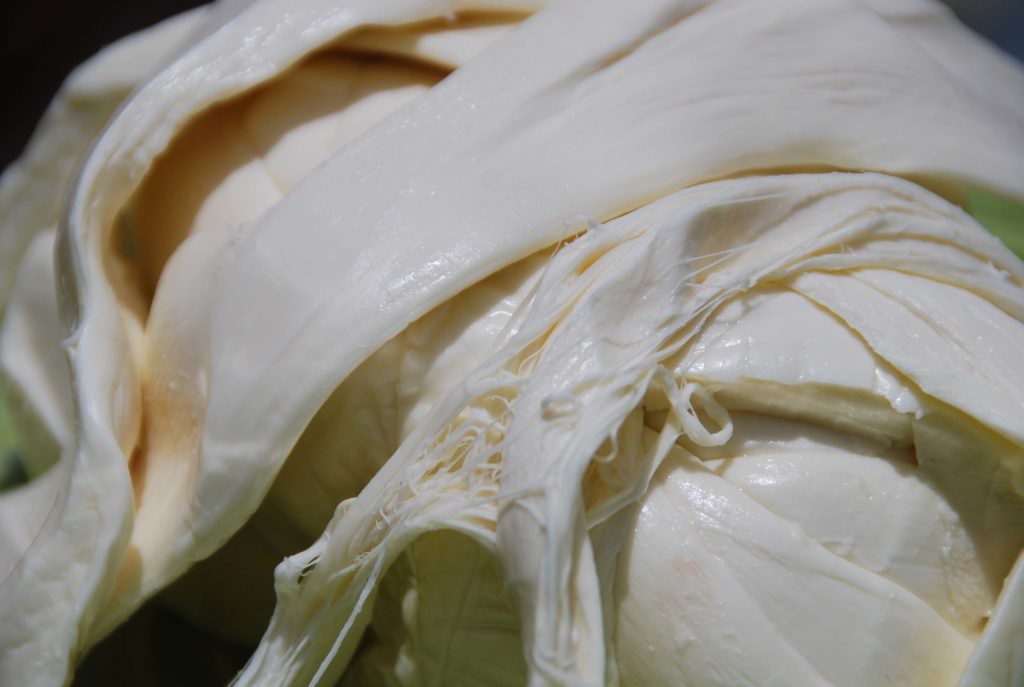
- 8 oz Chihuahua Oaxaca, Monterey Jack, Muenster, or melty cheese of your choice
- 6 to 12 thin slices ham or turkey
- Mexican avocado slices optional
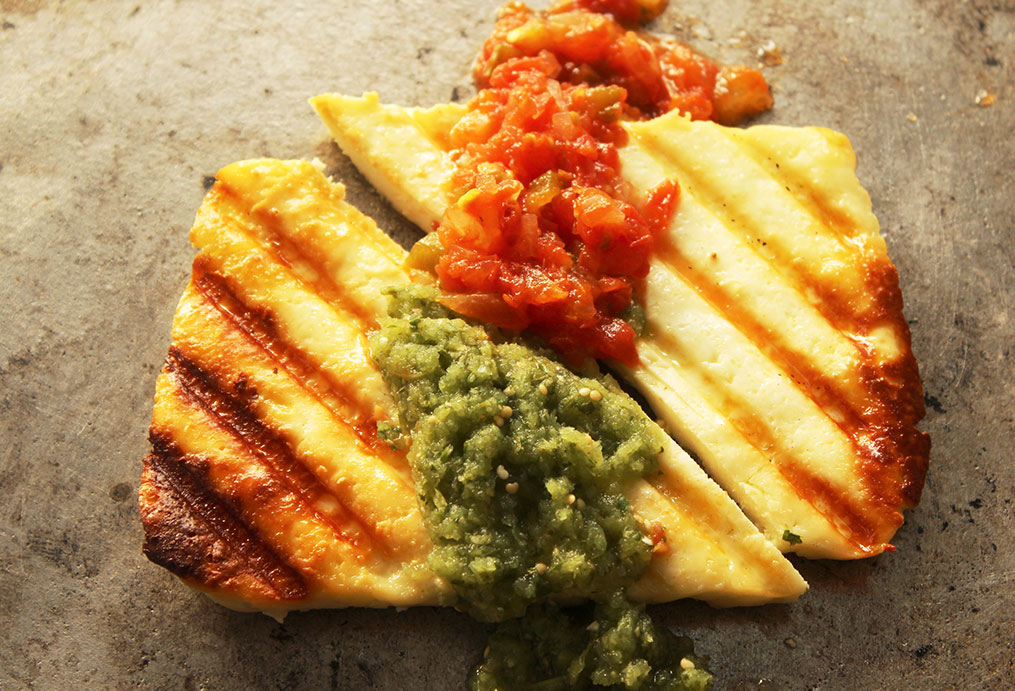
- Salsa of your choice
Instructions
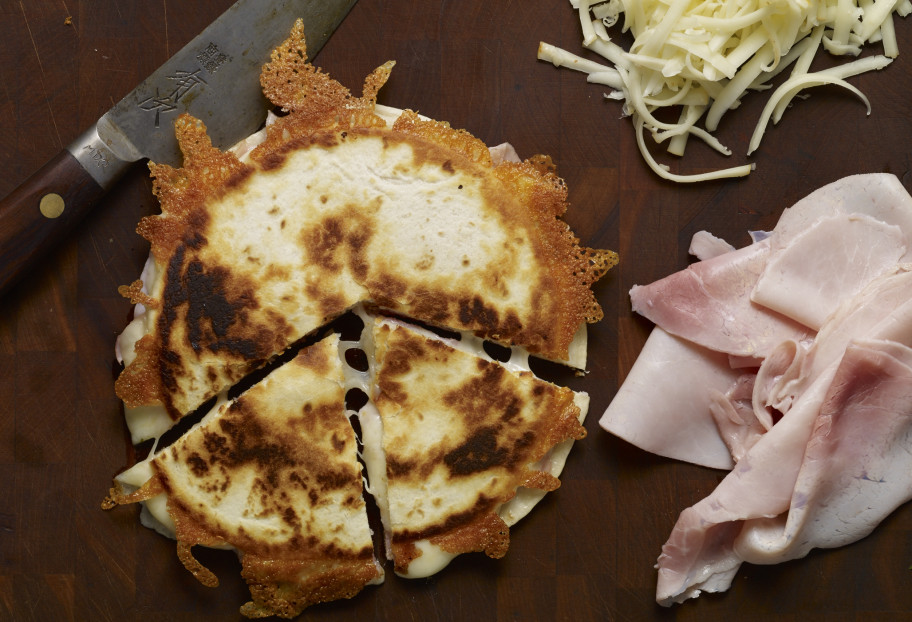
- Heat a non-stick sauté pan or a comal over medium heat. Place a couple flour tortillas, many as will fit in the pan or comal, top with a generous amount of shredded cheese and one or two slices of ham or turkey. Cover with a second flour tortilla.
- Heat until the flour tortillas in the bottom become lightly toasted and cheese starts melting. With the help of a spatula, flip them to the other side and let it heat and crisp a bit. I like to wait until the cheese oozes out, browns and crisps a little! Transfer to a plate and slice in half or quarters.
- Serve with a salsa of your choice and slices of ripe avocado on the side.
Notes
Sincronizadas de Jamon con Queso


