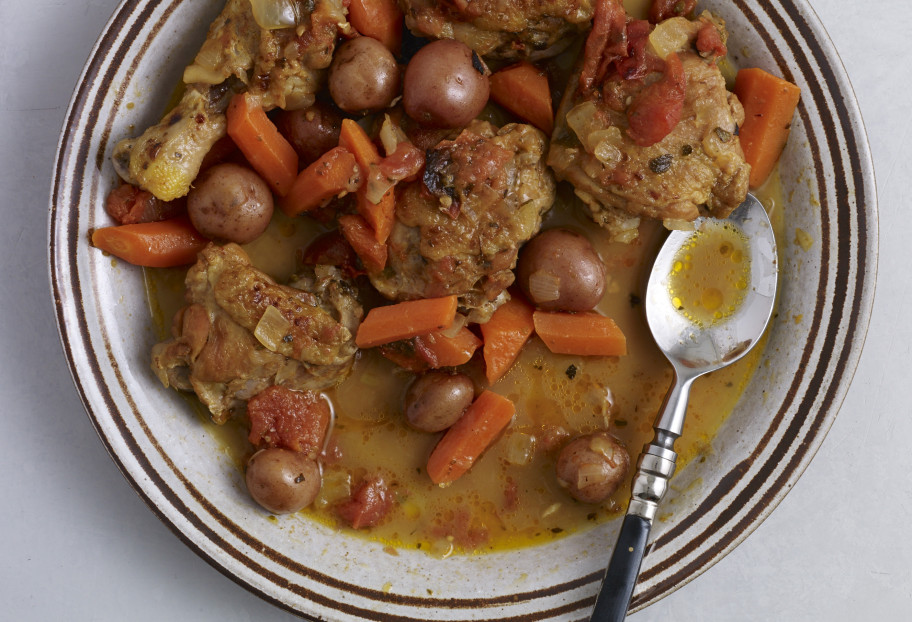
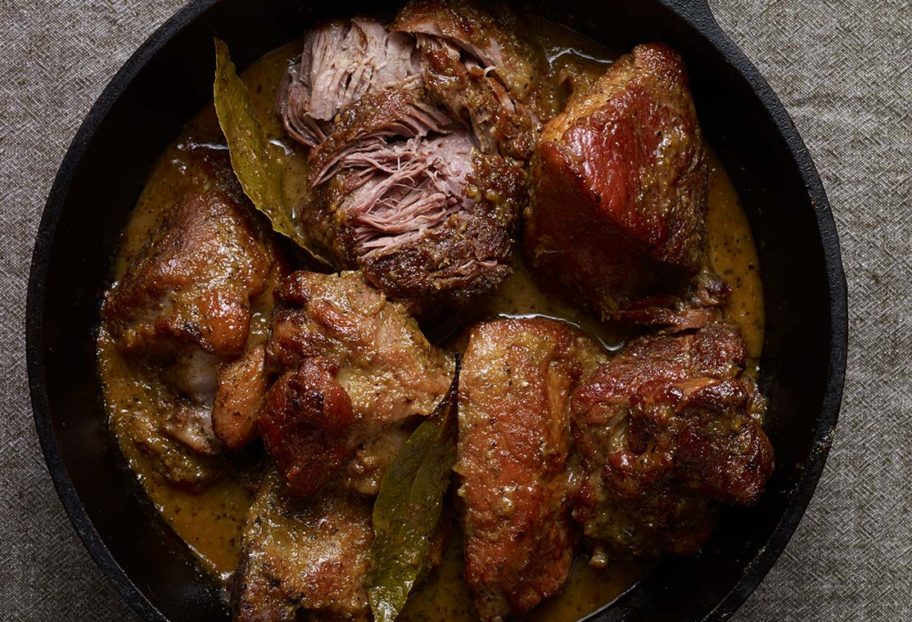
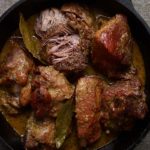
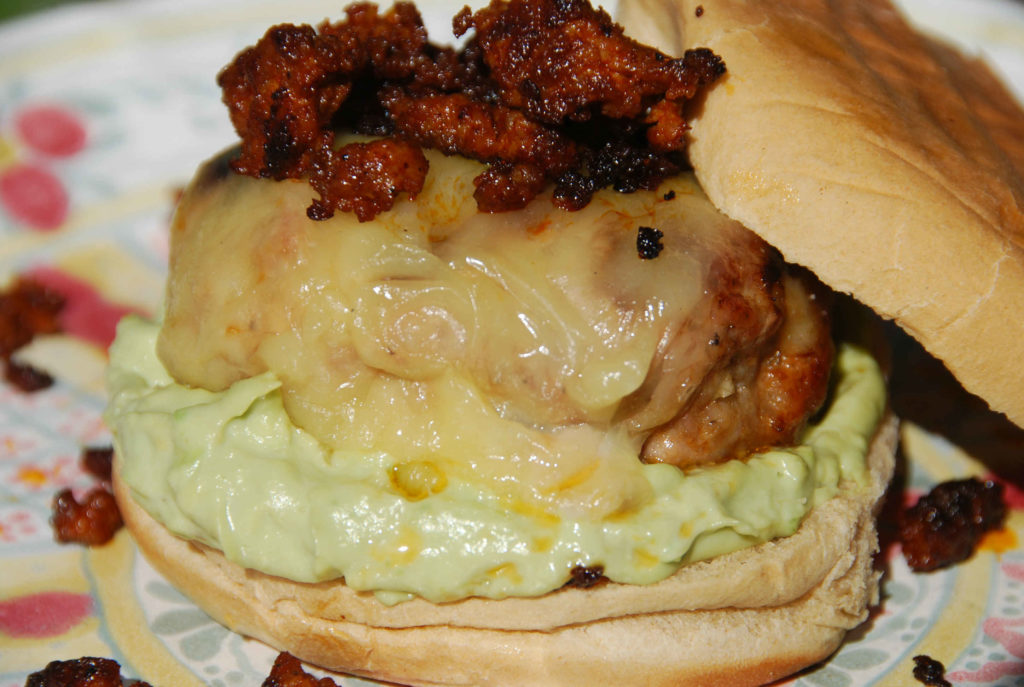
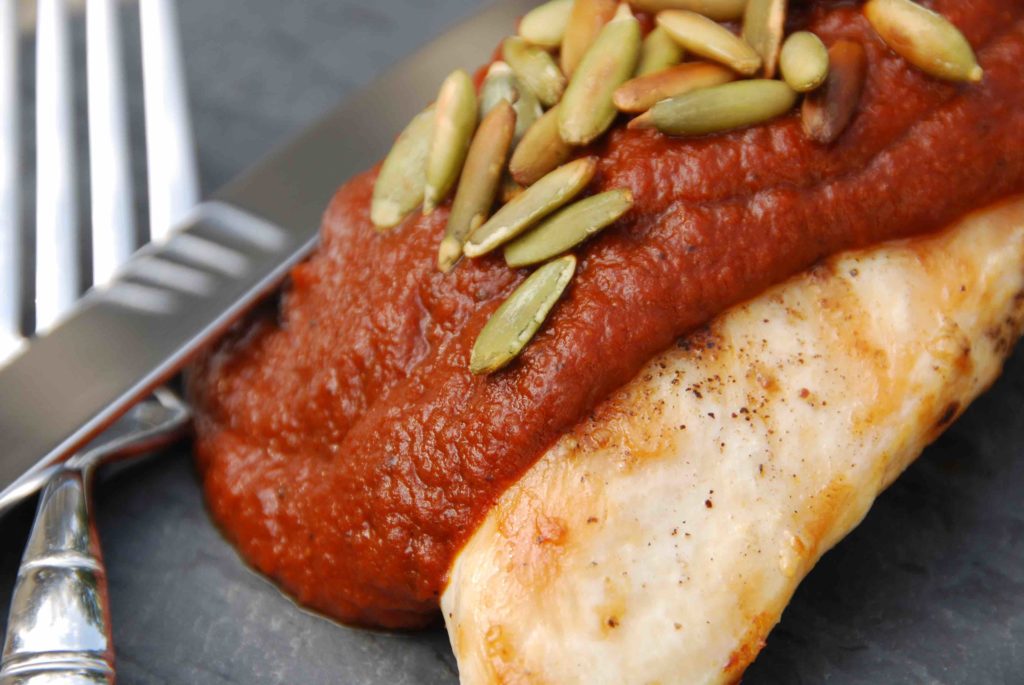
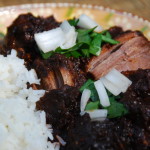
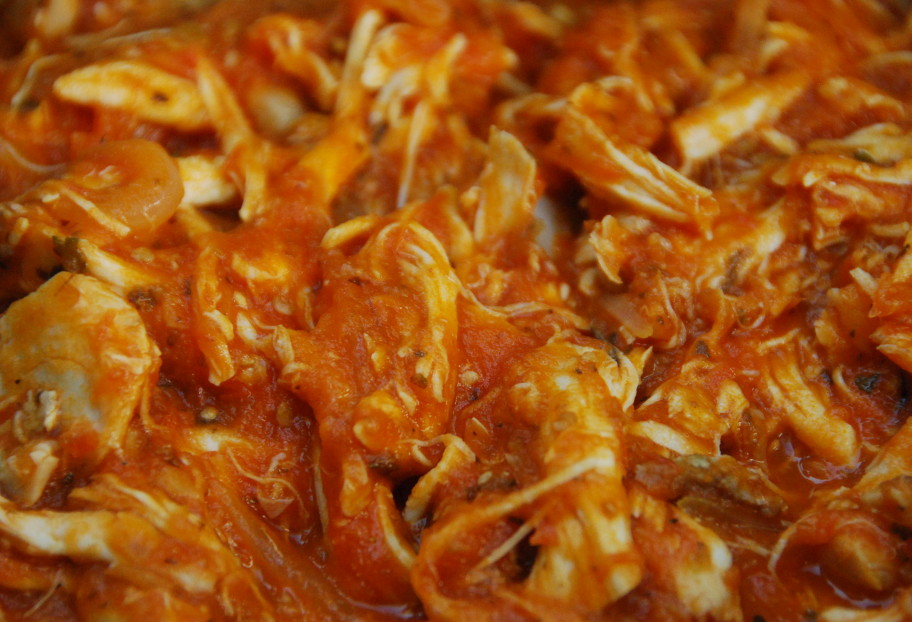
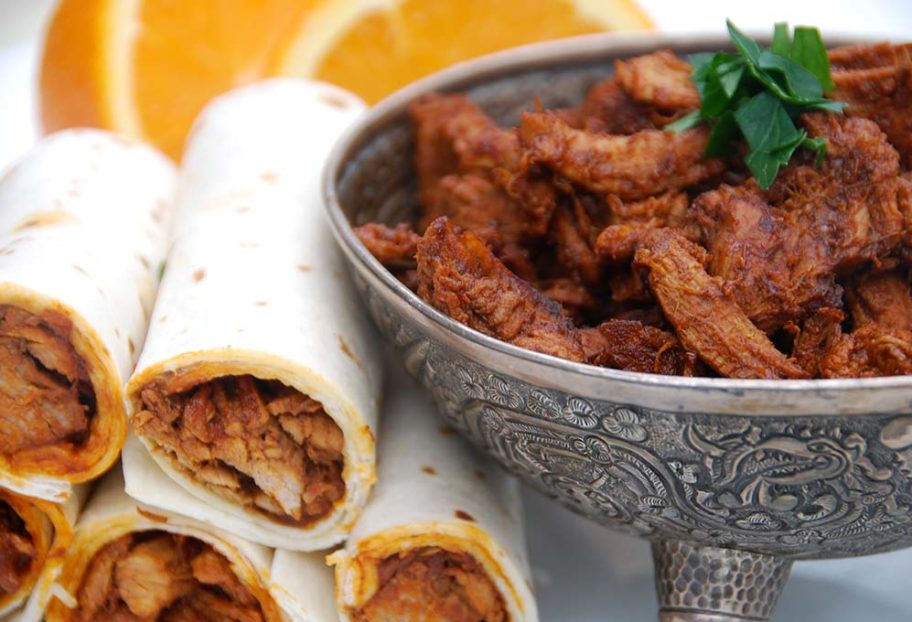
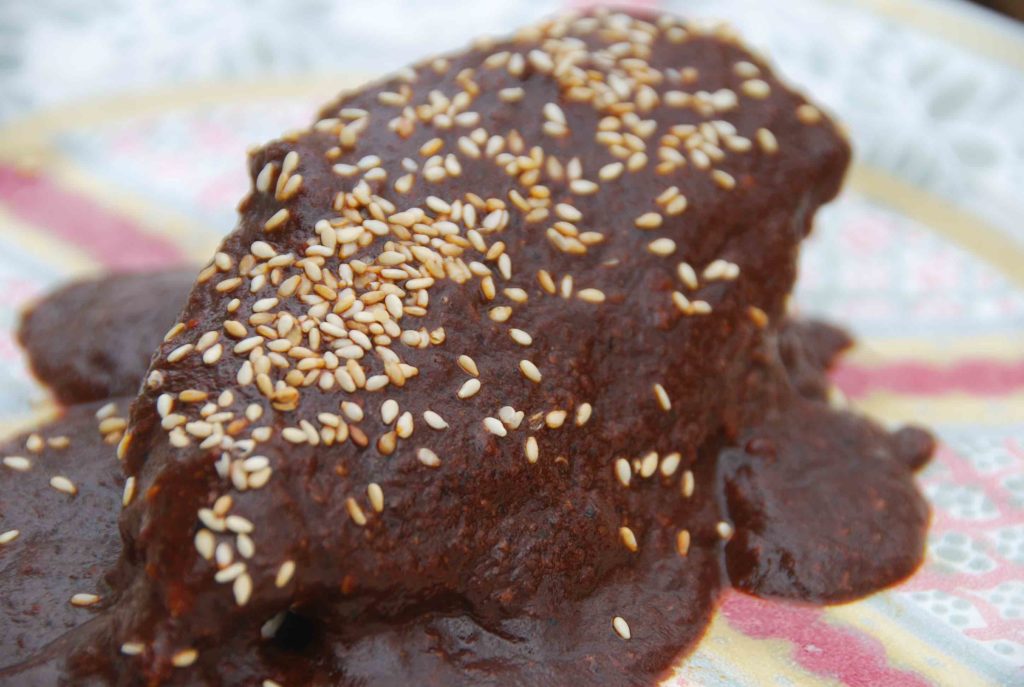
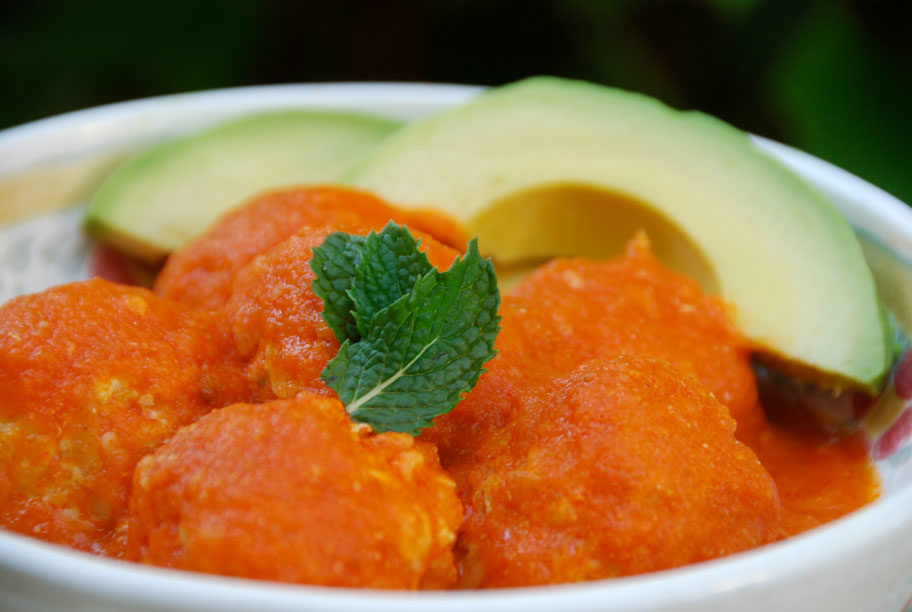
Citrus Chicken with Carrots and Baby Potatoes
Citrus Chicken with Carrots and Baby Potatoes recipe from Pati's Mexican Table Season 4, Episode 4 “Summer Evening Party”
Servings: 4 to 6 servings
Ingredients
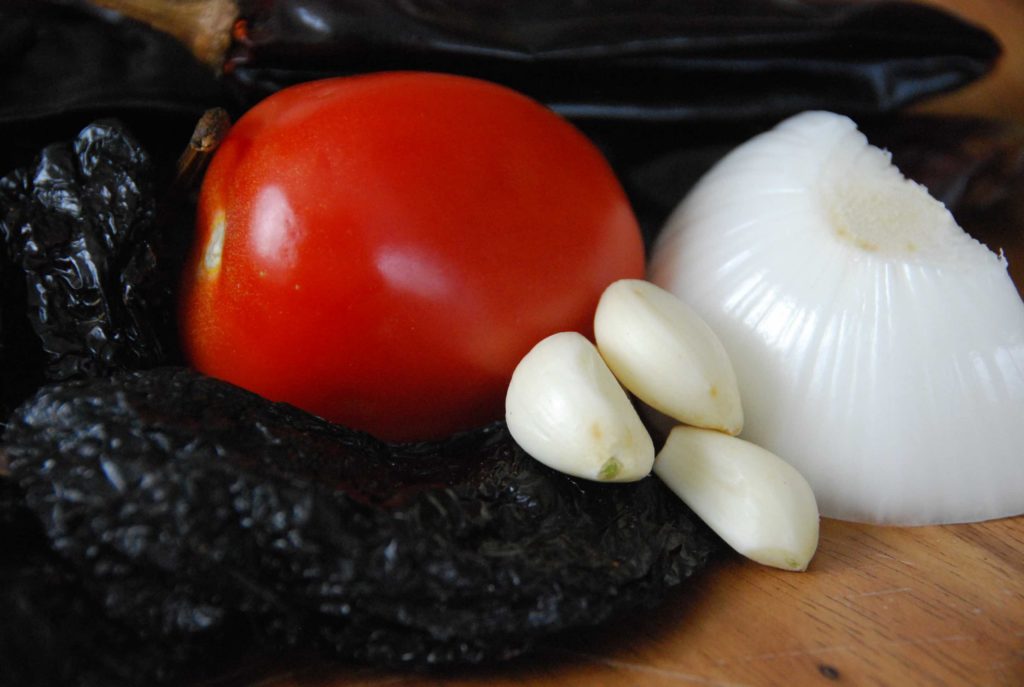
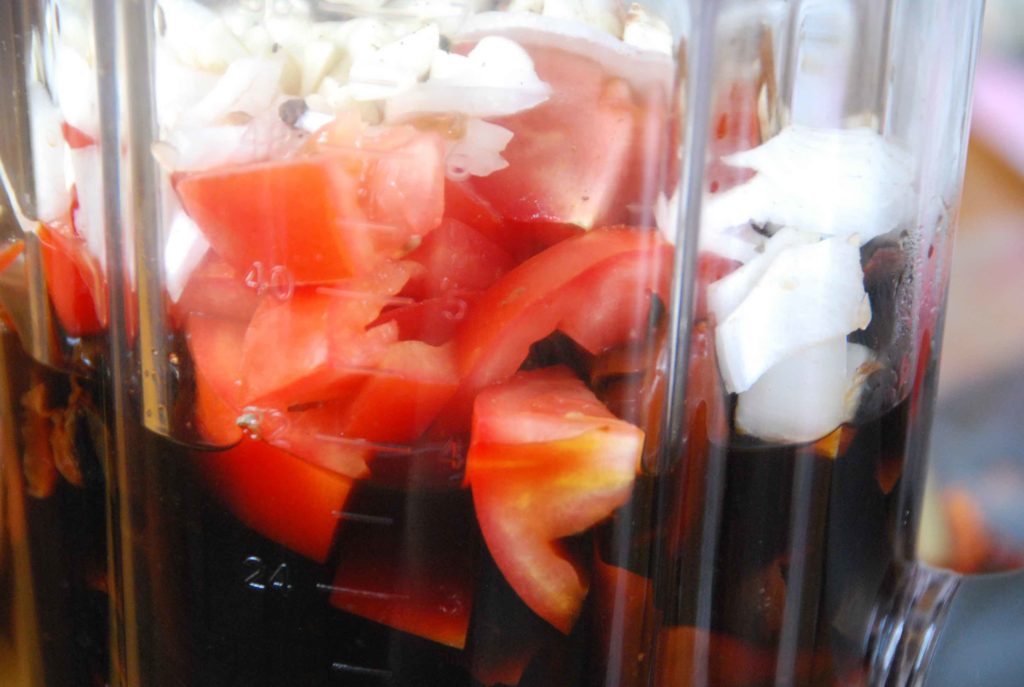
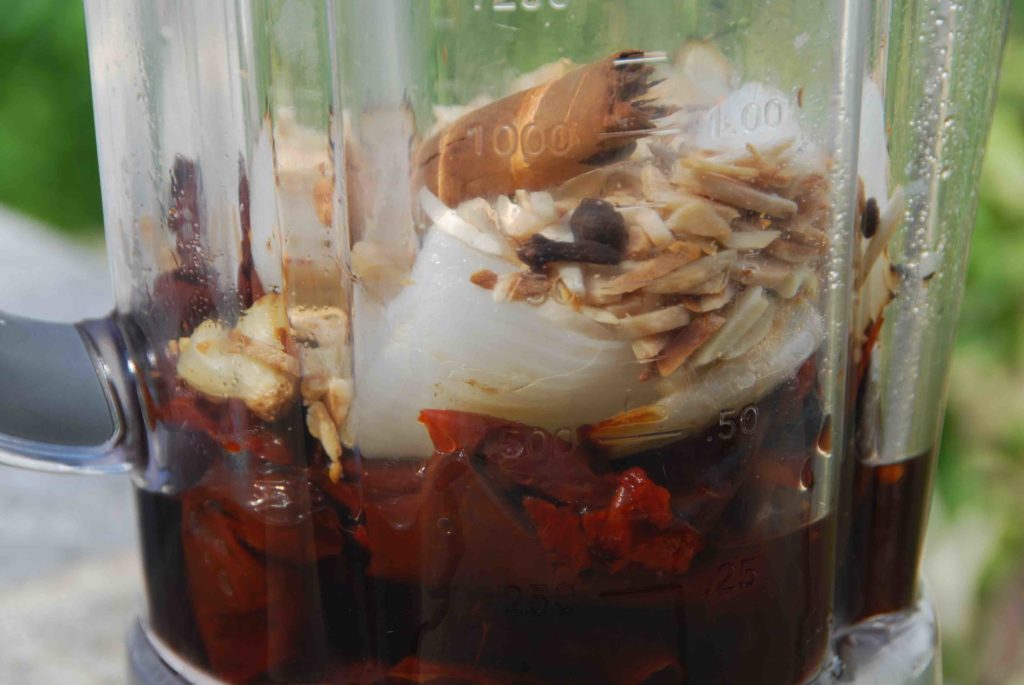
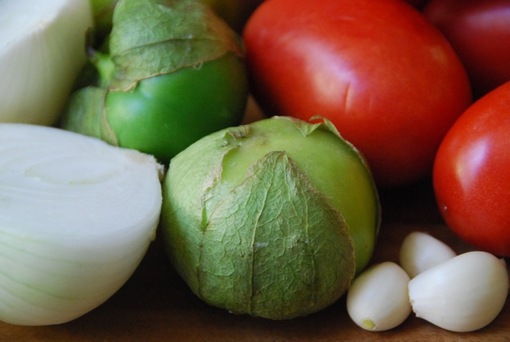
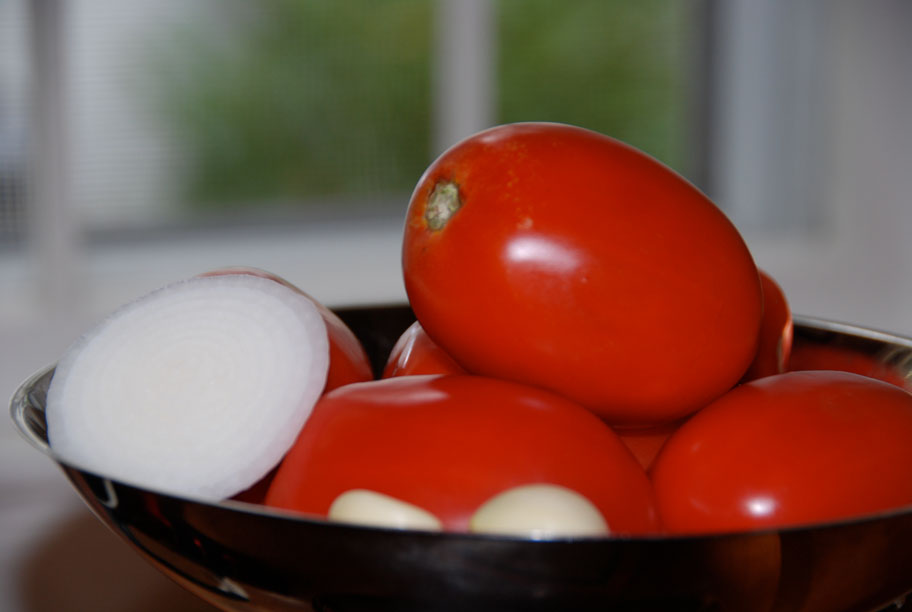
- 1 pound roma tomatoes
- 1/4 cup vegetable oil
- 4 pounds chicken pieces such as thighs, breasts, drumsticks, patted dry
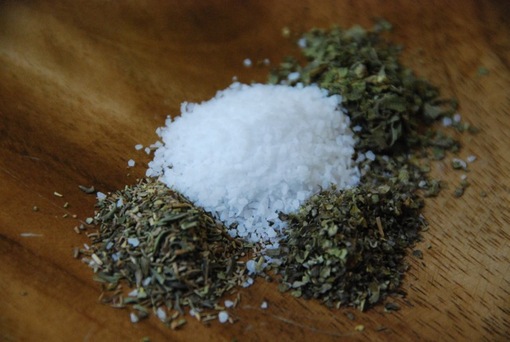
- 1 teaspoon kosher or coarse sea salt or to taste
- 1/4 teaspoon freshly ground black pepper or to taste
- 2 cups chopped white onion
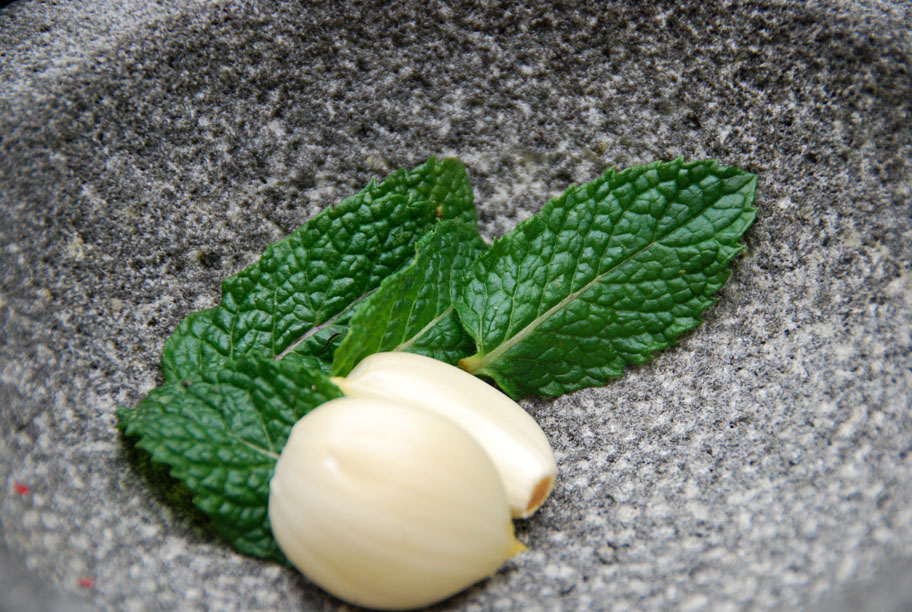
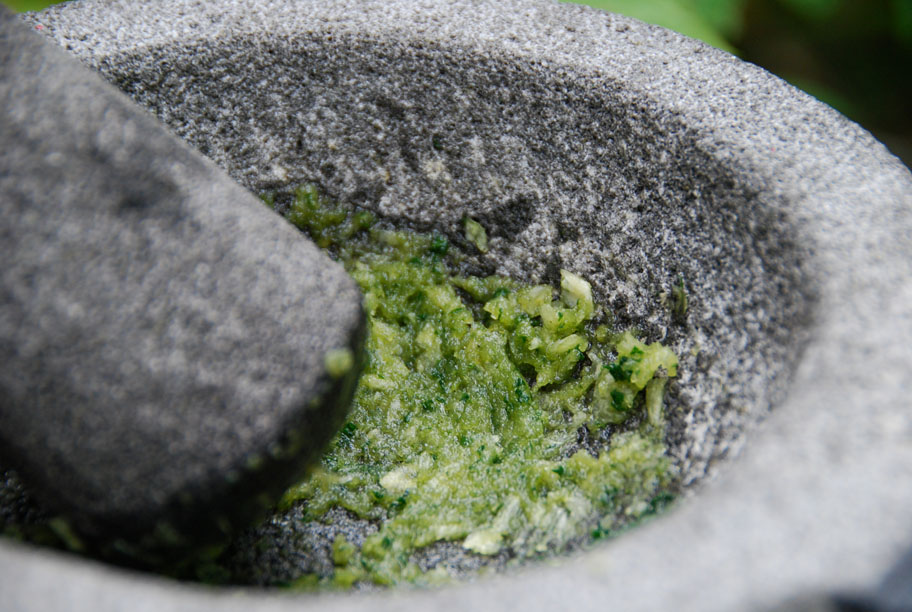
- 4 garlic cloves pressed or finely chopped
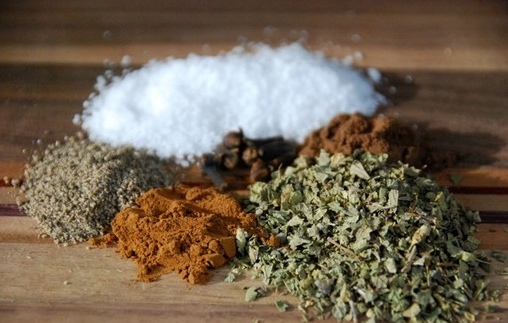
- 1 teaspoon dried oregano
- 1/2 teaspoon dried thyme
- 1/2 teaspoon dried marjoram
- 1/4 teaspoon true or ceylon cinnamon
- 1/2 teaspoon chipotle chile powder or to taste
- 1 cup fresh squeezed orange juice
- 2 tablespoons fresh squeezed lime juice
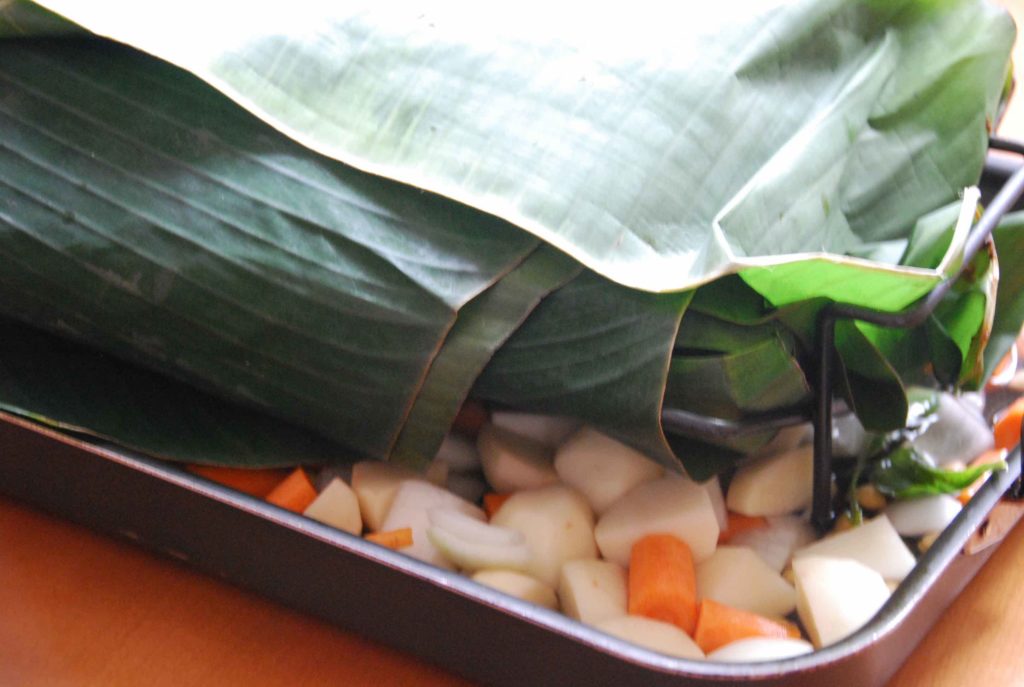
- 3/4 pound carrots peeled and diagonally sliced into about 1-inch pieces
- 1 pound baby red potatoes
Instructions
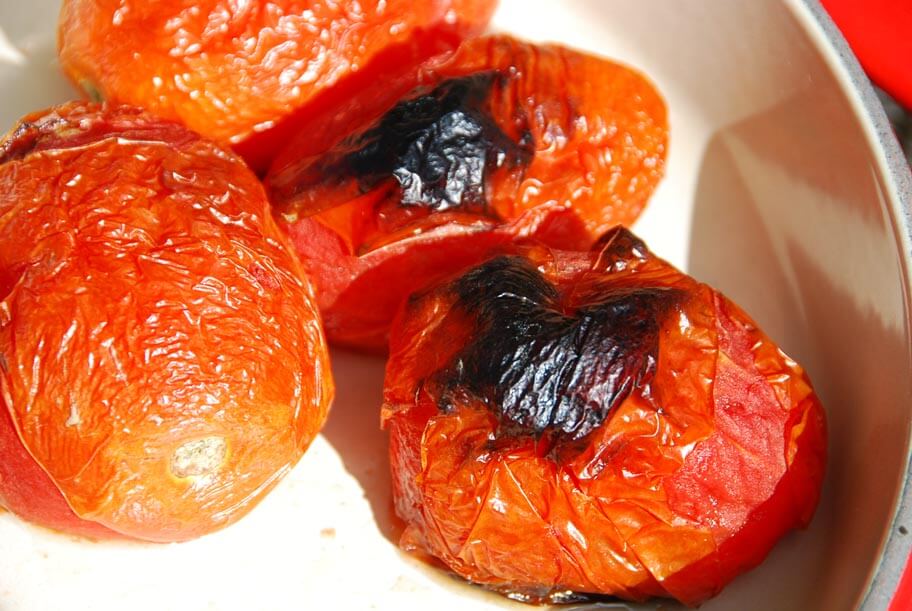
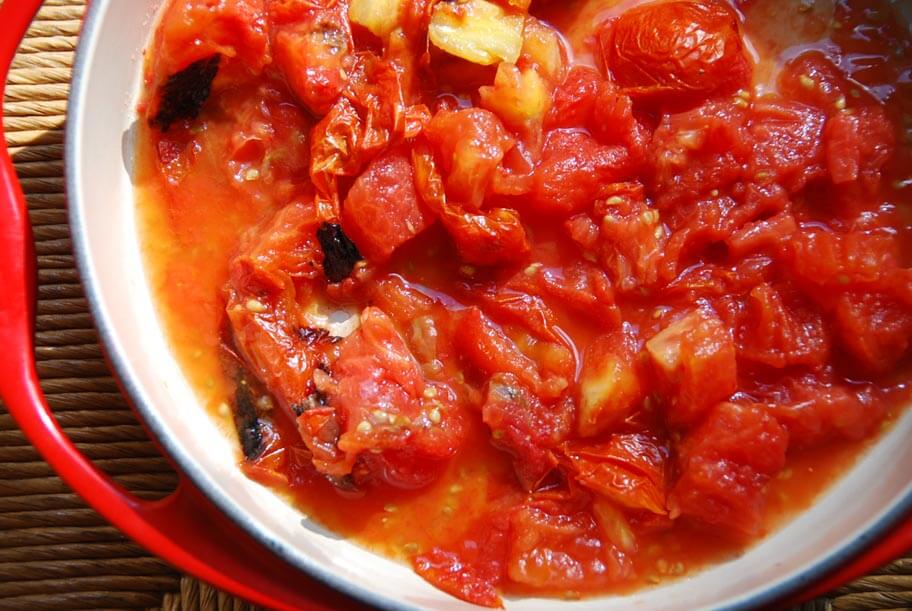
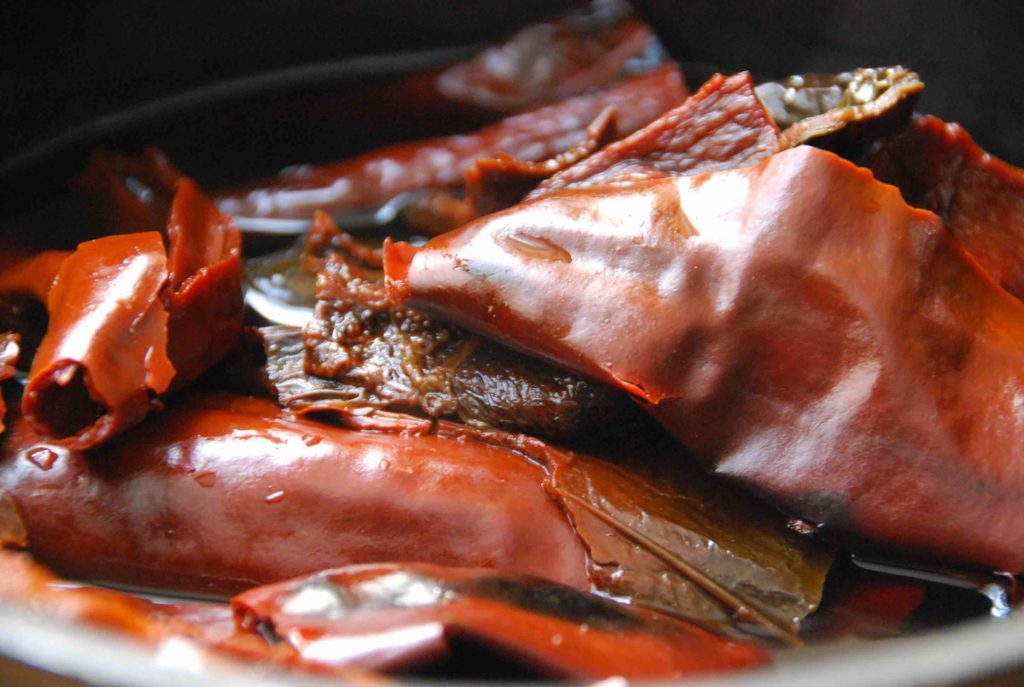
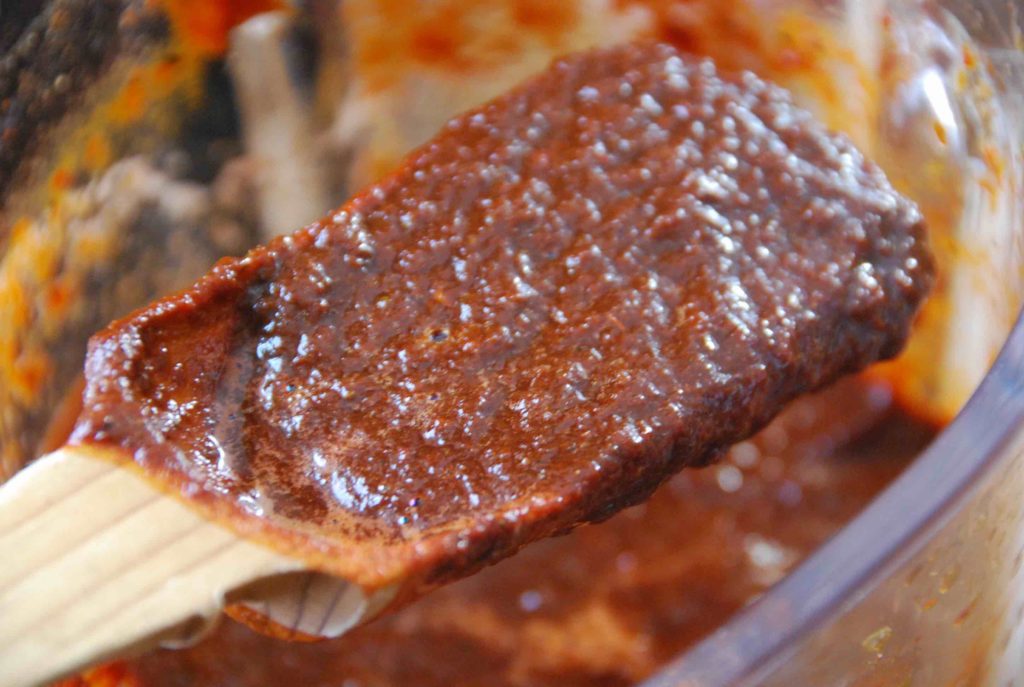
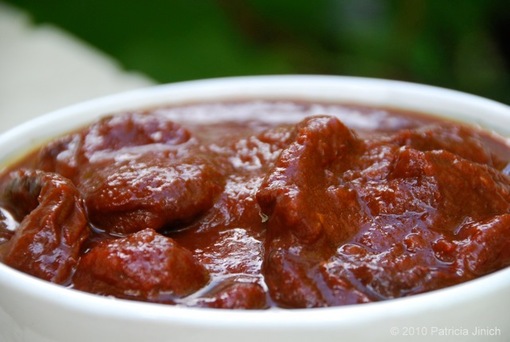
- Broil, char or roast the roma tomatoes until completely charred, mushy and juicy. If under the broiler, it will take about 9 to 10 minutes, flipping once in between. Once cool enough to handle, chop and place in a bowl, including the seeds and all the juices.
- Heat oil in a large casserole or a large heavy skillet over medium heat. Sprinkle the chicken with salt and pepper. Add the chicken pieces and brown for about 4 minutes per side. Remove the chicken pieces and place them in a bowl.
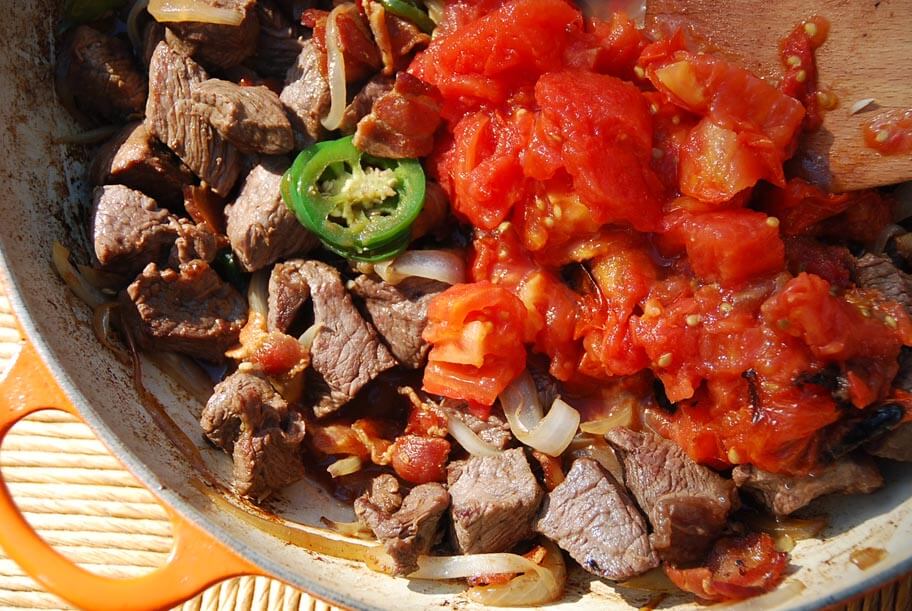
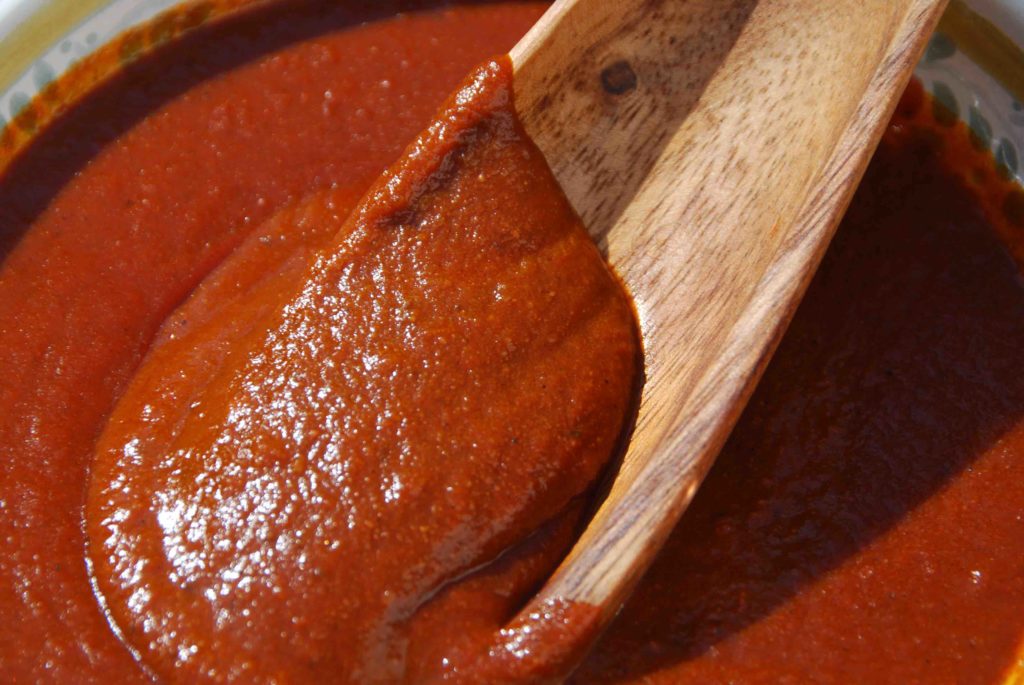
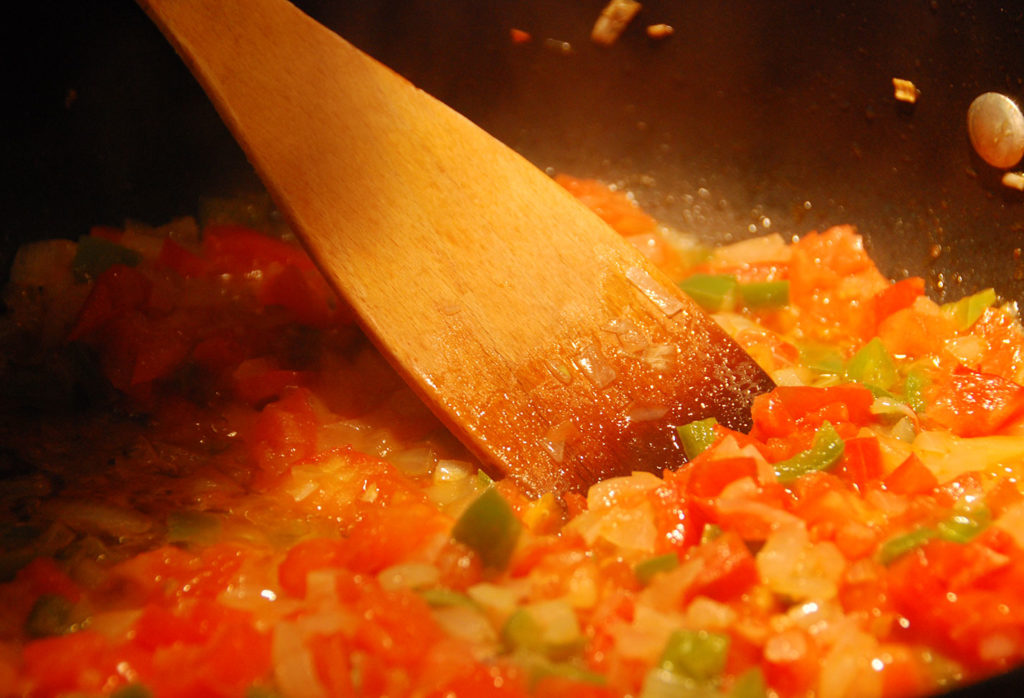
- Add the onion and garlic to the casserole and cook for about 4 to 5 minutes, stirring occasionally, until completely soft and the edges begin to brown. Sprinkle with oregano, thyme, marjoram, cinnamon and chile powder, and give it a good stir. Incorporate chopped tomatoes along with their seeds and juices, as well as the orange and lime juice, mix well.
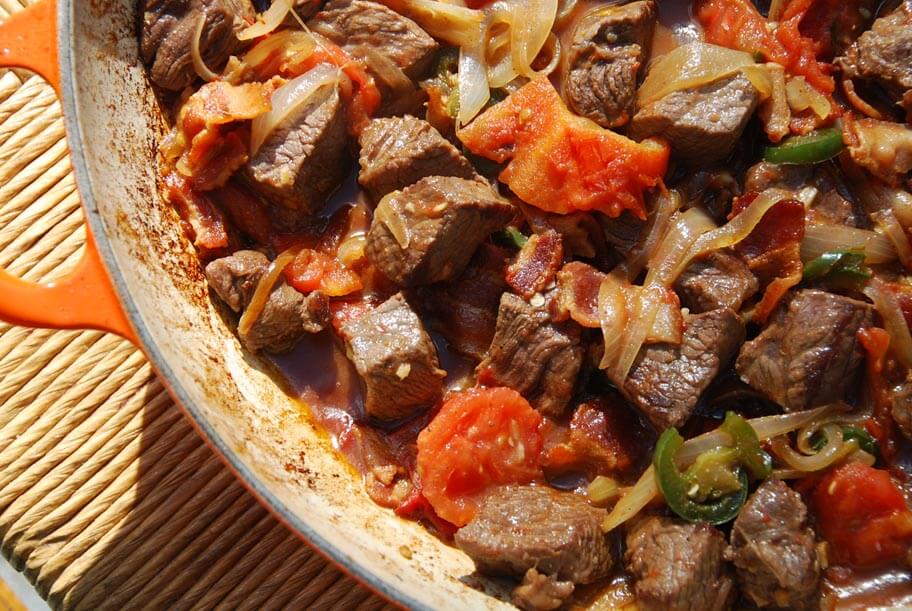
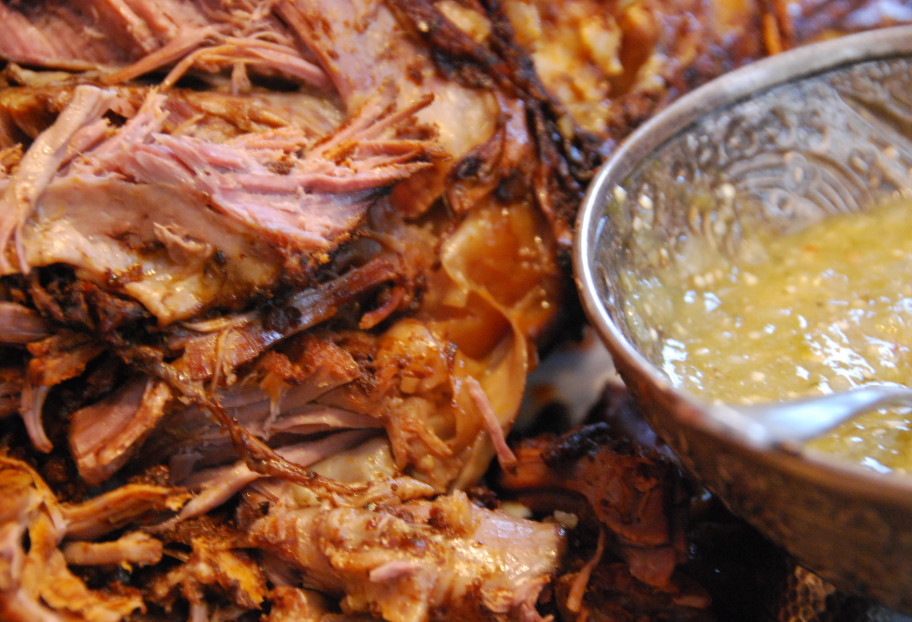
- Add the chicken, carrots and potatoes, and gently spoon the chunky sauce all over them. Reduce heat to medium low and cook covered for one hour, flipping the chicken and moving the vegetables around, once in between.
Notes
Pollo con Limón y Naranja, Zanahorias y Papitas


