An intrinsically Mexican dish, enchiladas are not one but a multitude of possibilities that can dress up a corn tortilla. Simply the sound of the word enchilada makes any Mexican’s mouth water in less than a millisecond and is cause for celebration.
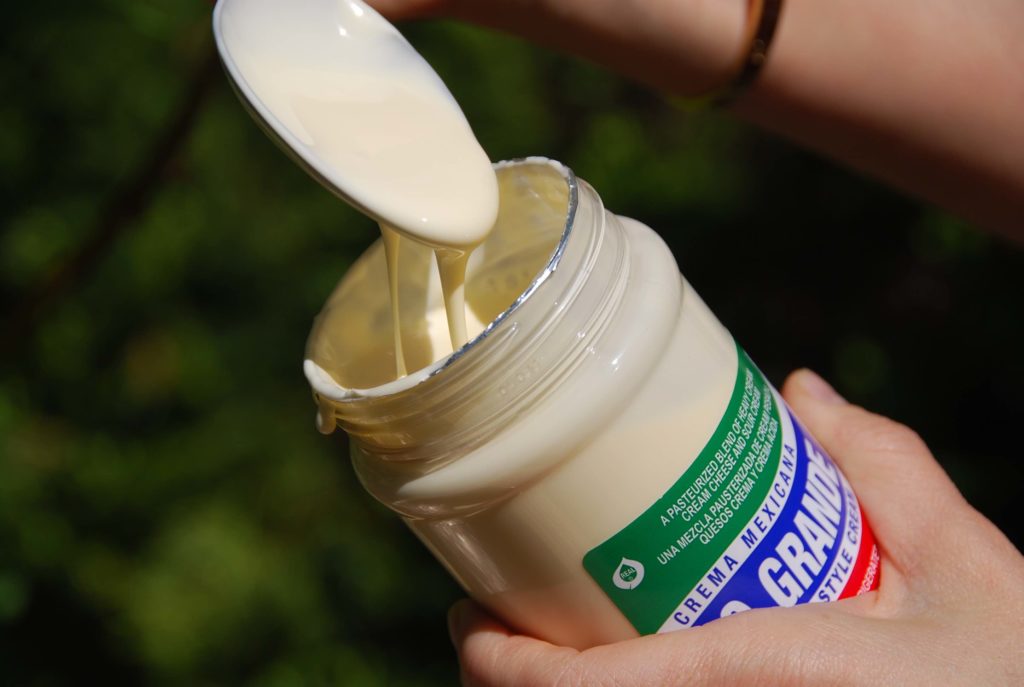
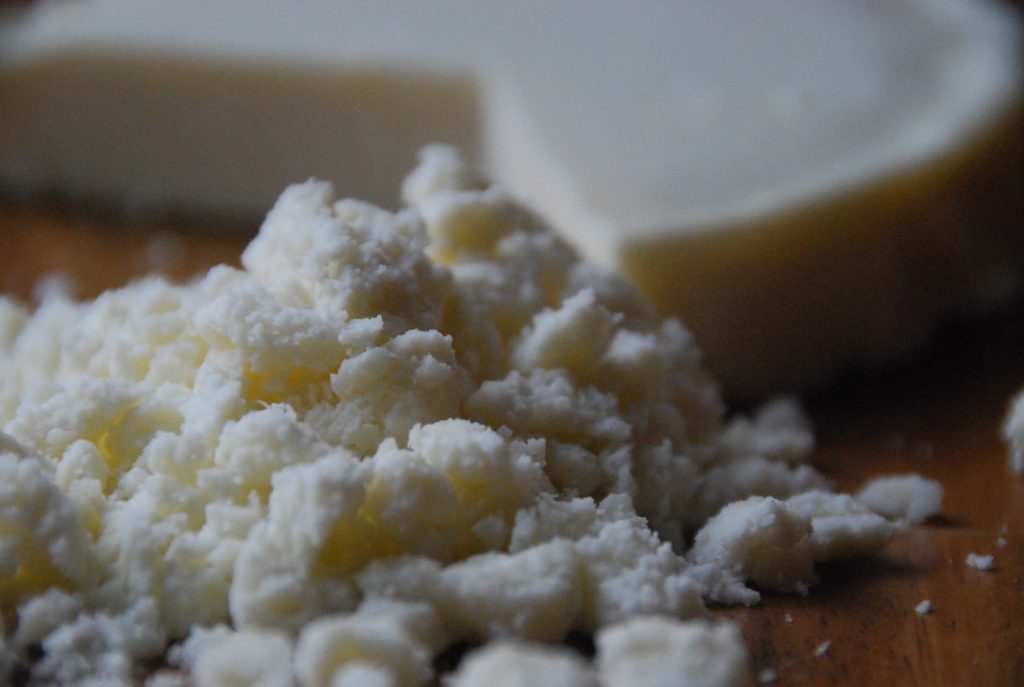
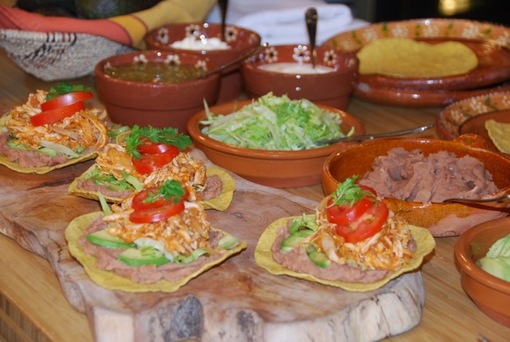
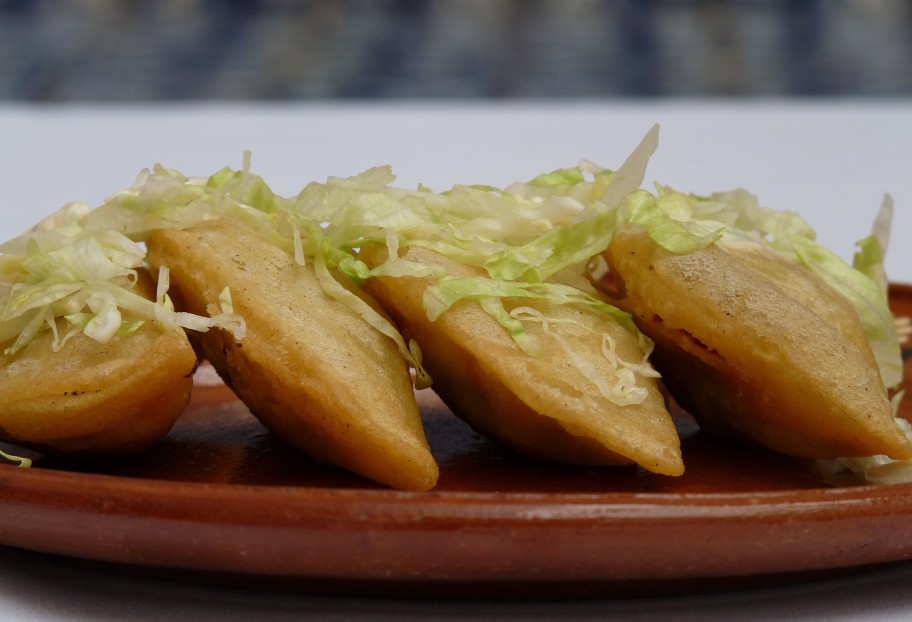
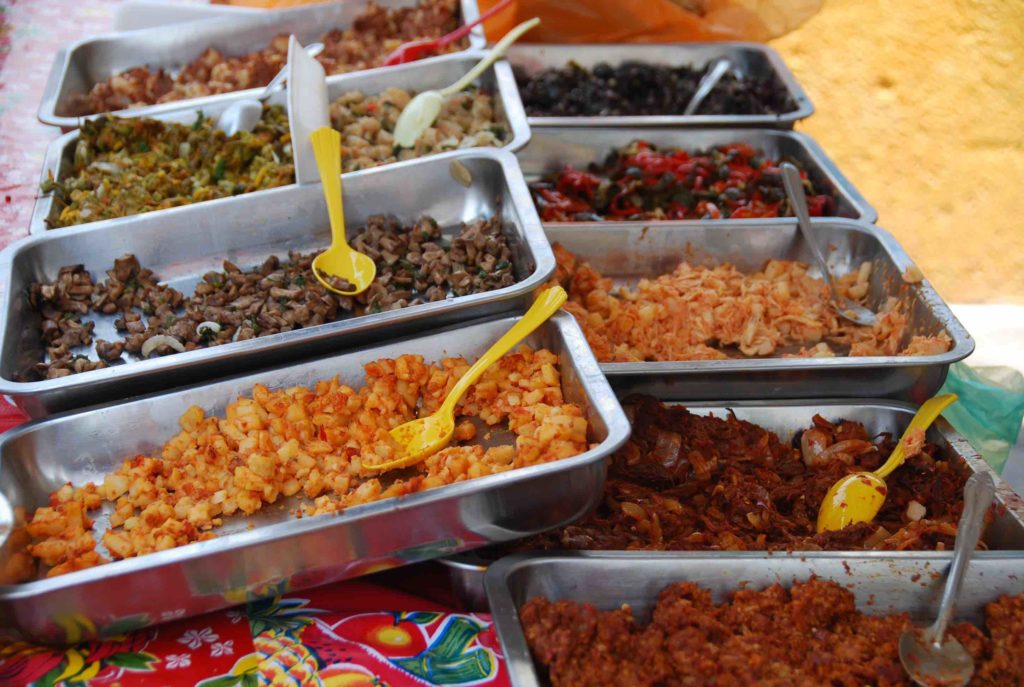
One of the dearest antojos or antojitos (translate to whims or little whims), enchiladas are corn tortillas that may be heated up or lightly fried, either folded or rolled, with or without a variety of fillings, always bathed in a salsa or sauce, and garnished with a a few from a long list of possible toppings. From crumbled queso fresco and a drizzle of crema, to raw or pickled onion, chiles or other vegetables, Mexican avocado, chorizo, shredded lettuces and cabbage, just to name some.
Considering the variations of fillings, salsas, and toppings, enchiladas not only embody different regional cuisine’s identities, but also the whims of different cooks…
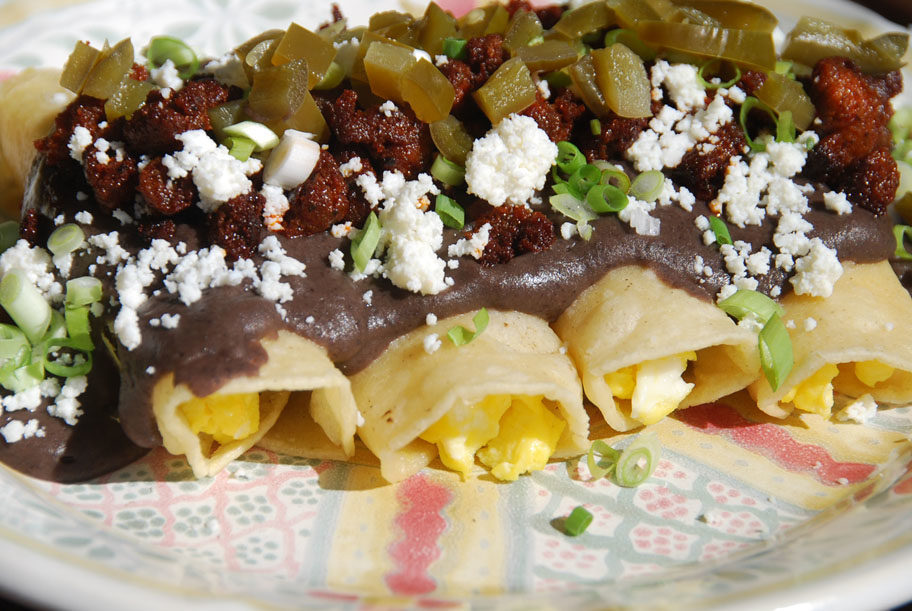
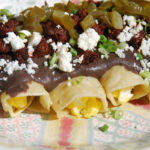
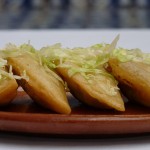
Here is my latest one; I call it the Big Brunch Enchilada.
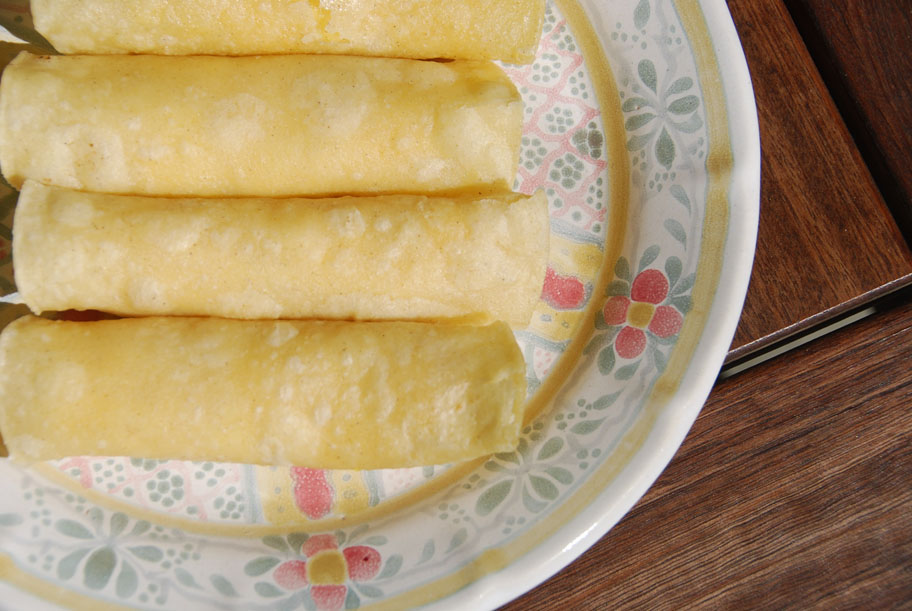
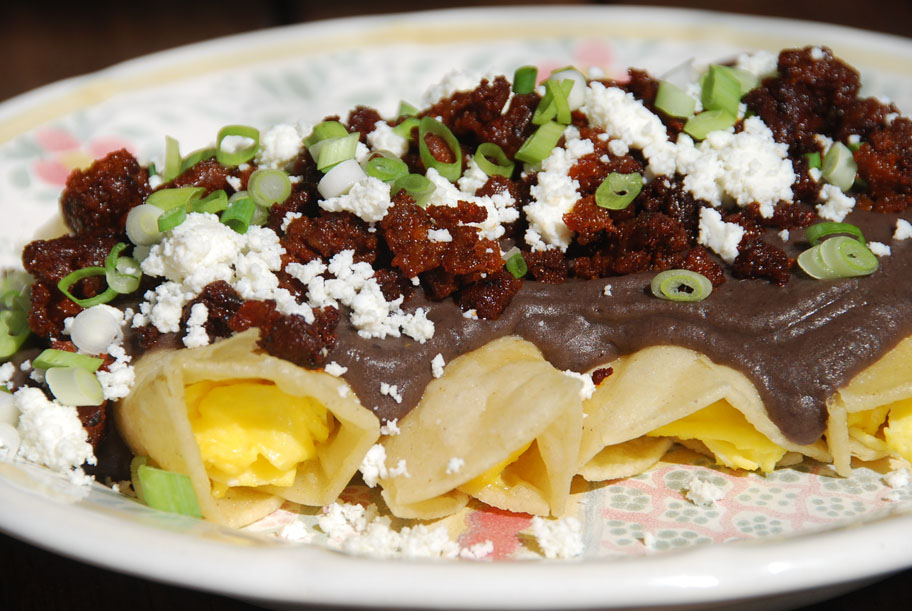
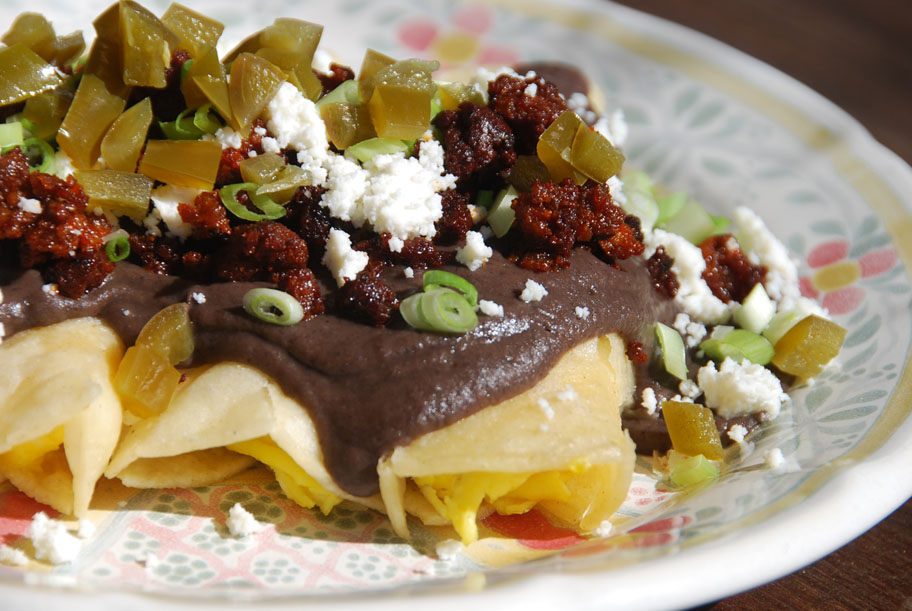
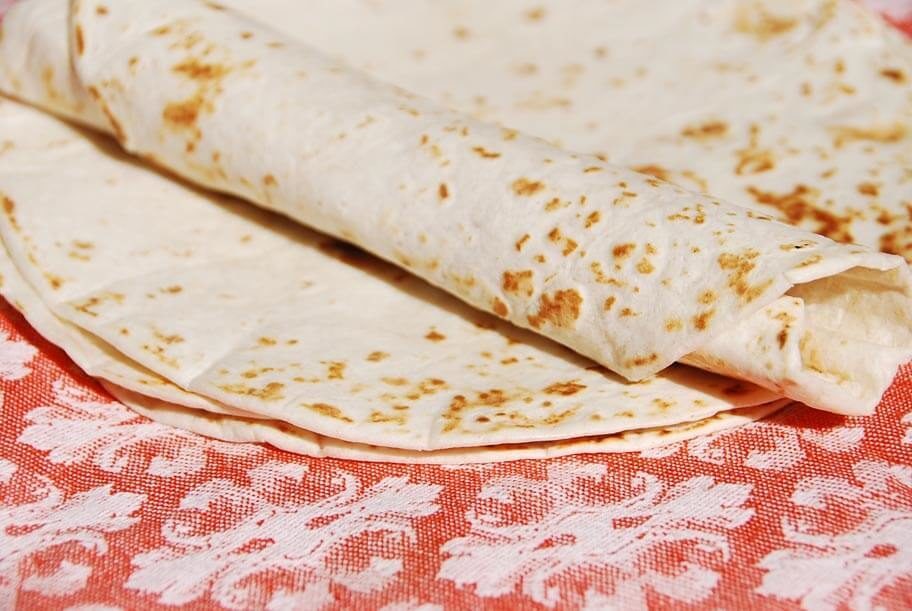
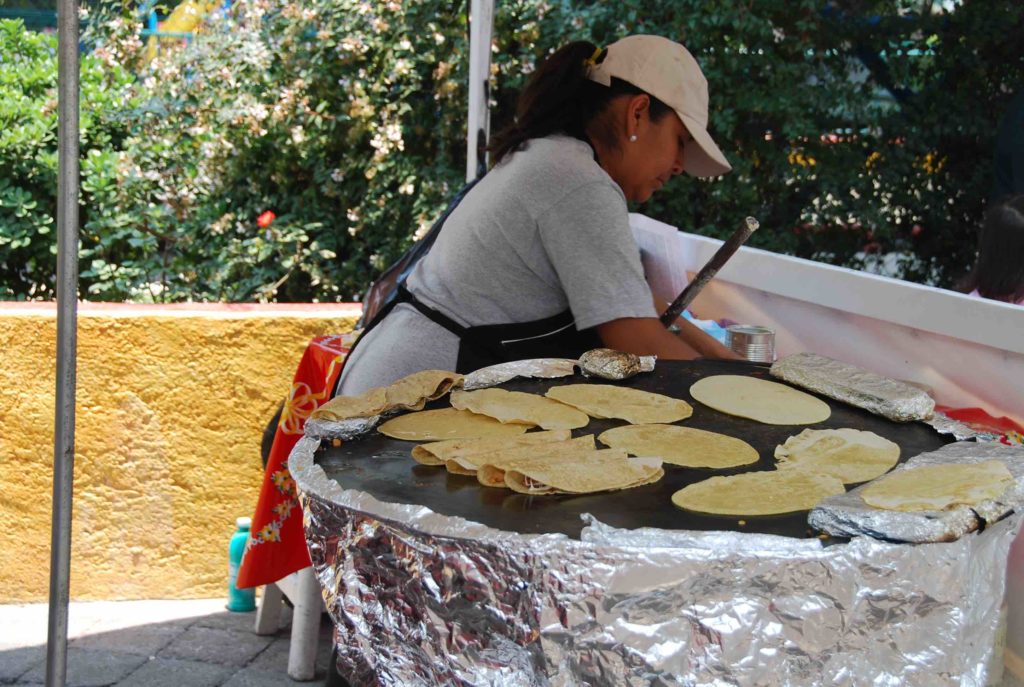
Before filling the corn tortillas with soft scrambled eggs, seasoned with sautéed scallions, I opted to quickly fry the tortillas. As we Mexicans say, pasamos las tortillas por aceite caliente: we dip the tortillas in very hot oil for a couple seconds to make them malleable and even more resilient to withhold the sauce and garnishes. If the oil is very hot, the tortilla will not absorb the oil, but will be transformed. You can opt to not fry and instead heat the tortillas on a hot comal, skillet, or griddle, for a minute per side until thoroughly hot and barely crisp.
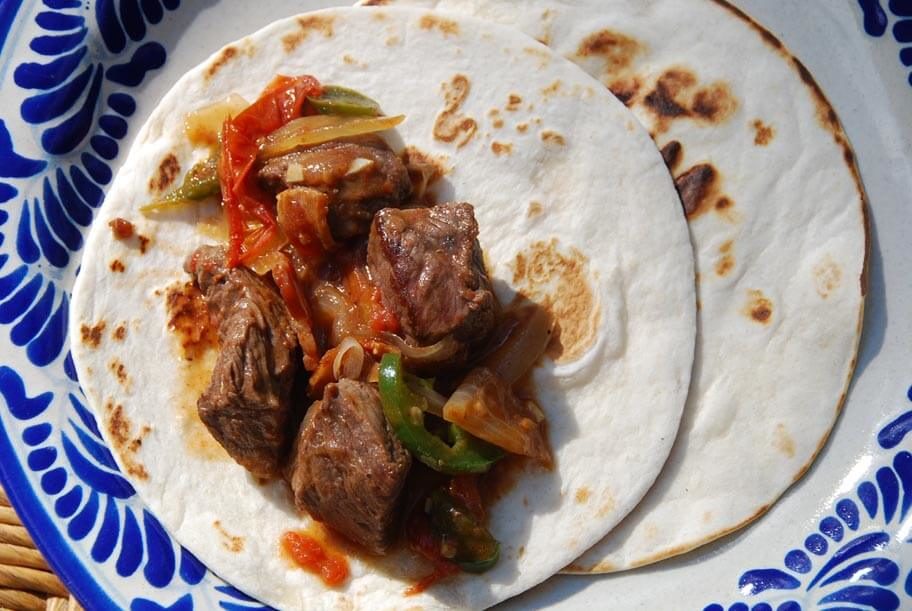
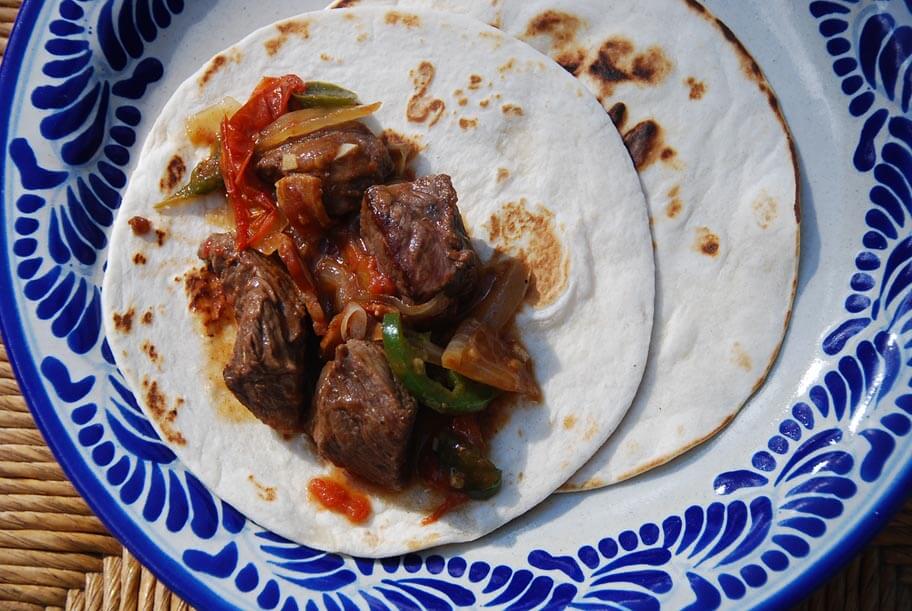
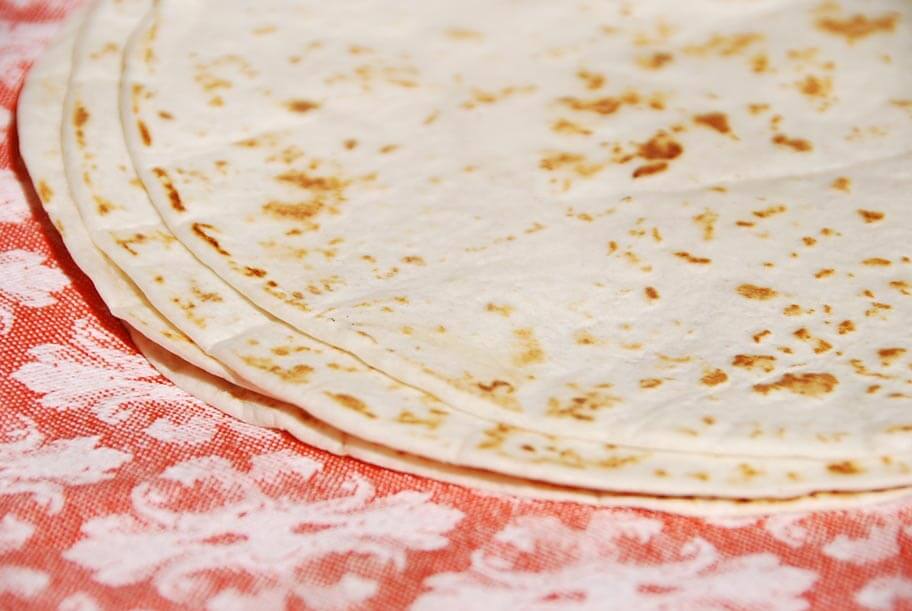
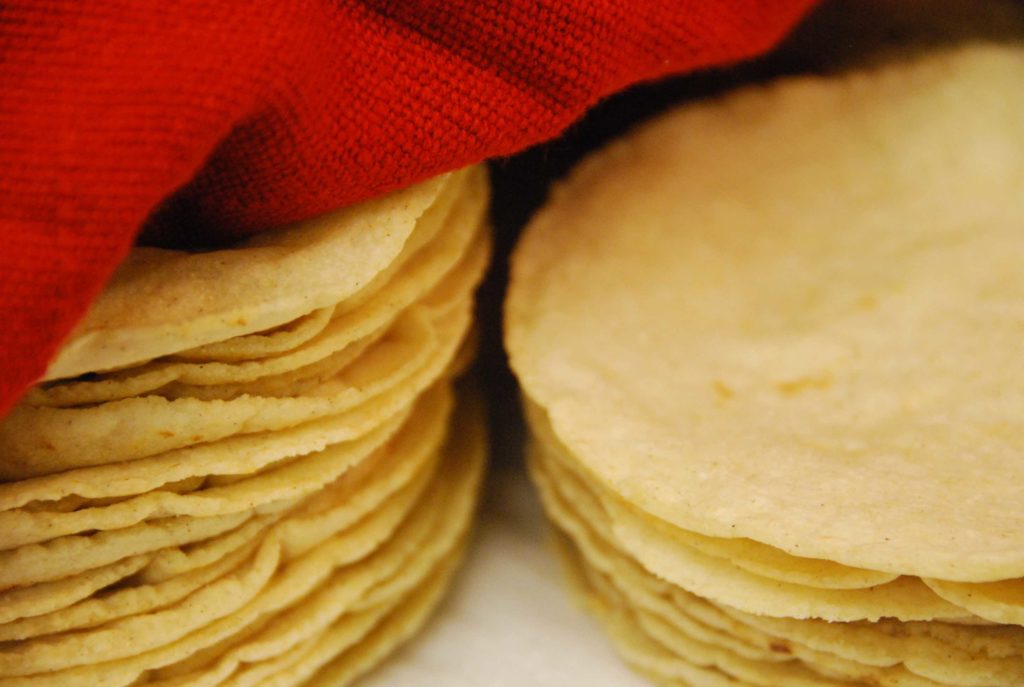
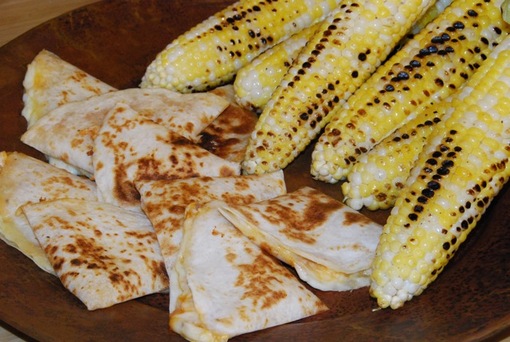
However, please: for the love of anyone or anything you love the most, don’t use flour tortillas to make enchiladas.
Just, please, don’t? I am begging here.
Flour tortillas are sweeter than corn tortillas, they are less resilient to withhold sauce, fillings, and garnishes and become a mushy mess of the worst sorts if given the enchilada treatment.
Please, please, please, proudly stick to corn tortillas.
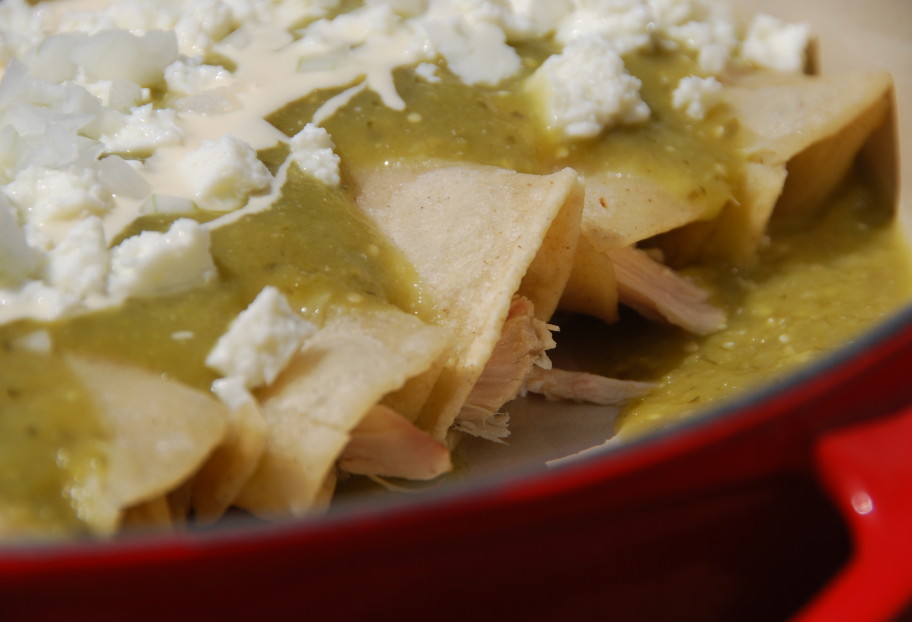
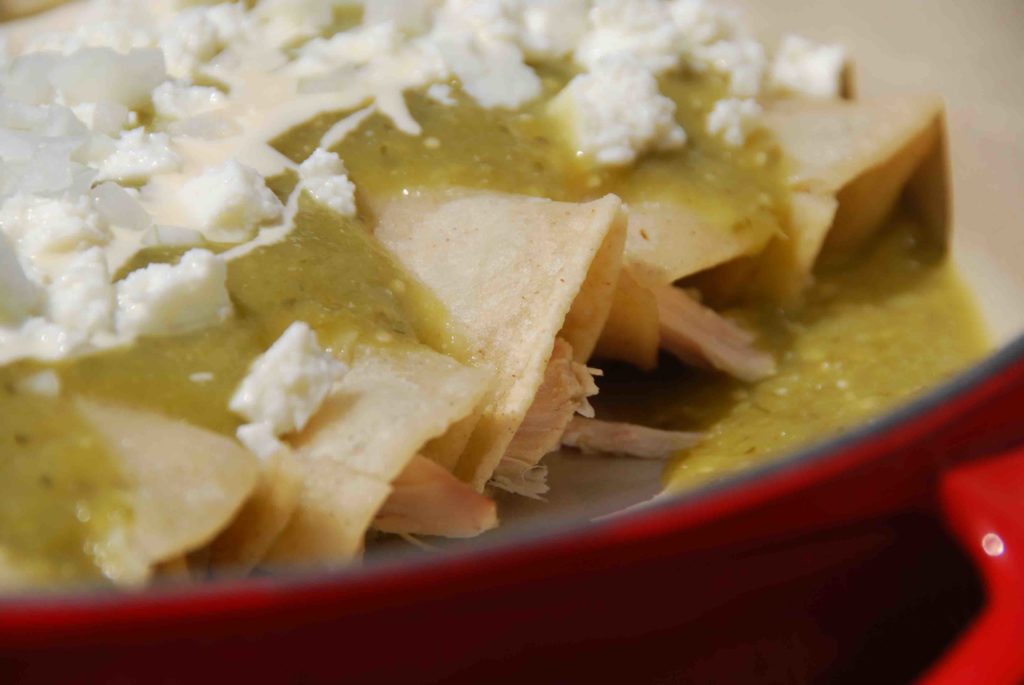
As for the salsa or sauce, the most well known enchiladas are verdes soaked in a salsa verde, enchiladas rojas soaked in a red salsa, and enchiladas de mole. All, of course, with their multiple variations.
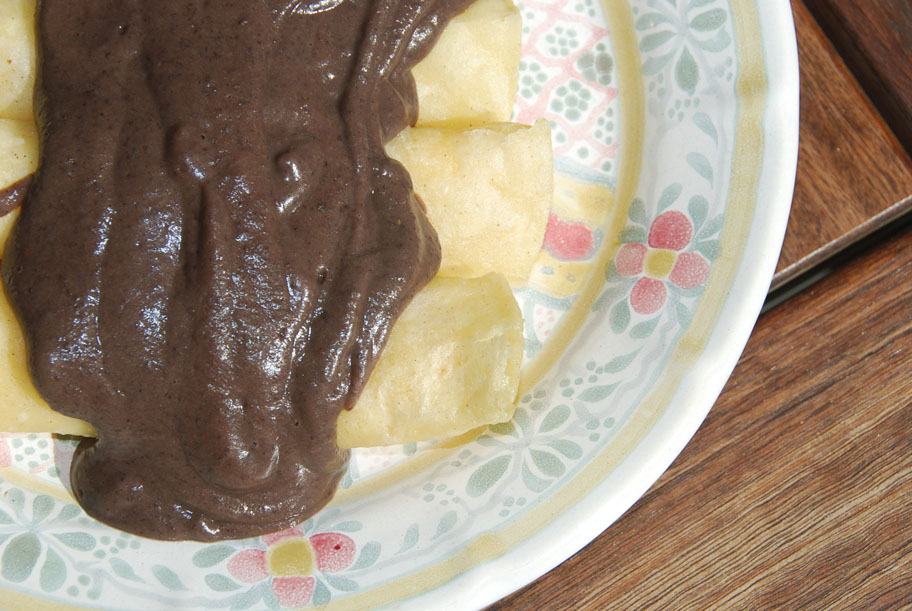
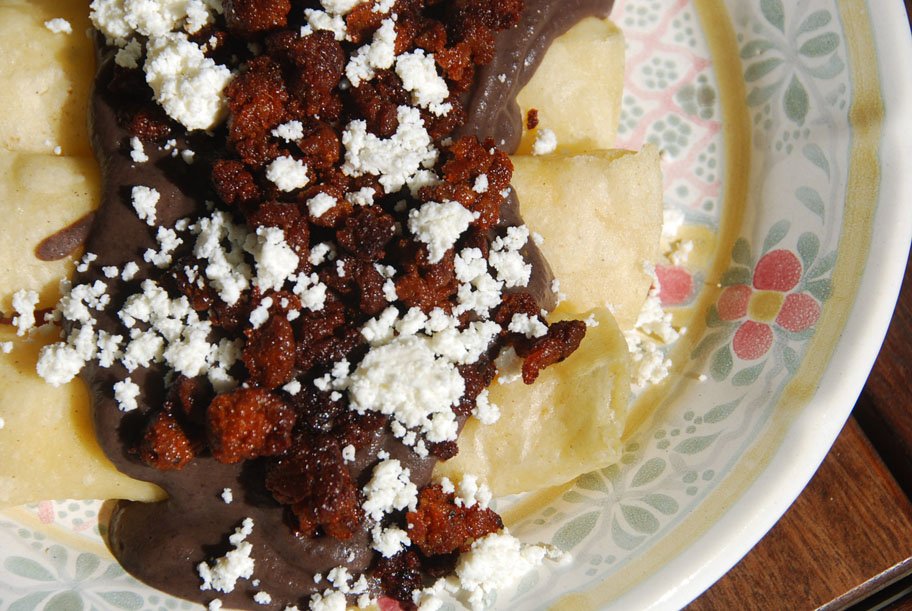
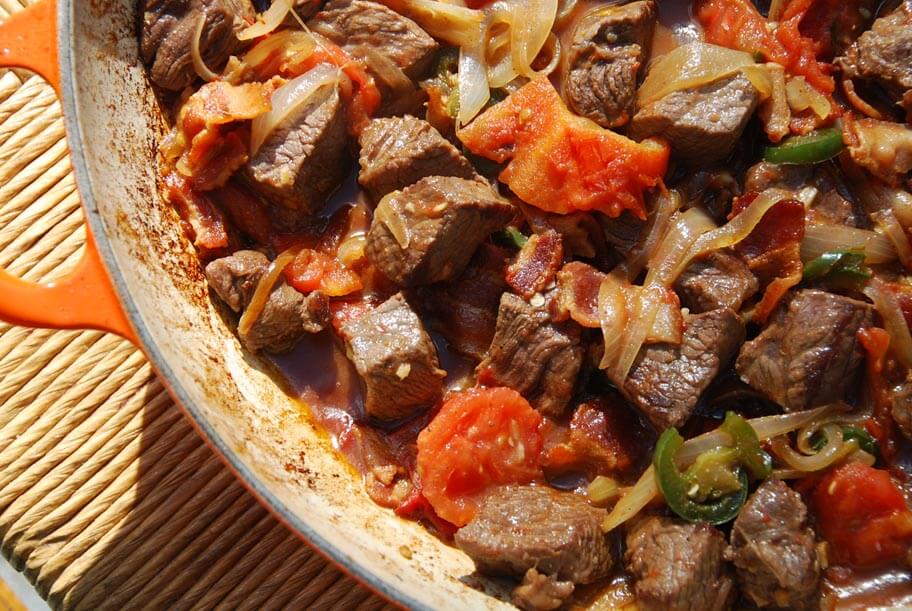
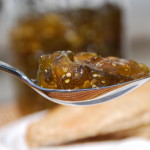
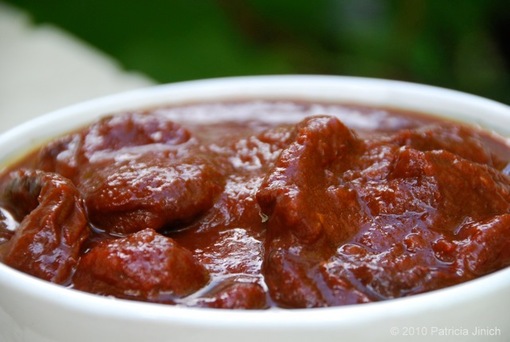
For my Big Brunch ones, I am bathing them with a rich, thick and earthy black bean sauce, common in the Mexican Gulf Coast. I tend to have trouble deciding whether to eat my black beans with chipotles in adobo sauce or pickled jalapeños. Truth is, if I use one, I usually end up adding the other one too and mixing them up. So here, I am adding and combining both. The homemade black beans, or store bought ones if you don’t have time to cook them, are seasoned with the smoky, sweet and spicy adobo sauce from chipotles in adobo, as well as the vinegary pickling sauce from the pickled jalapeños. I couldn’t be happier with the result.
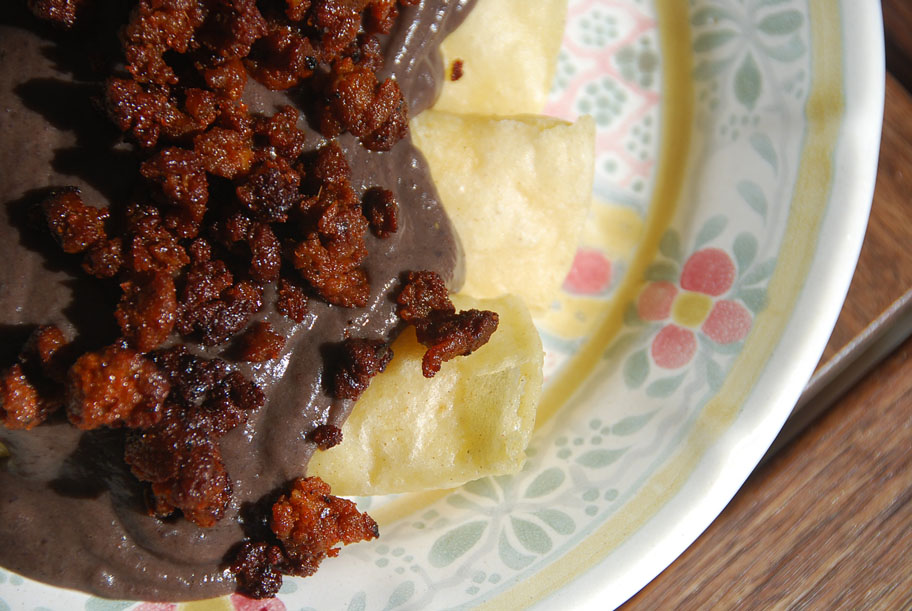
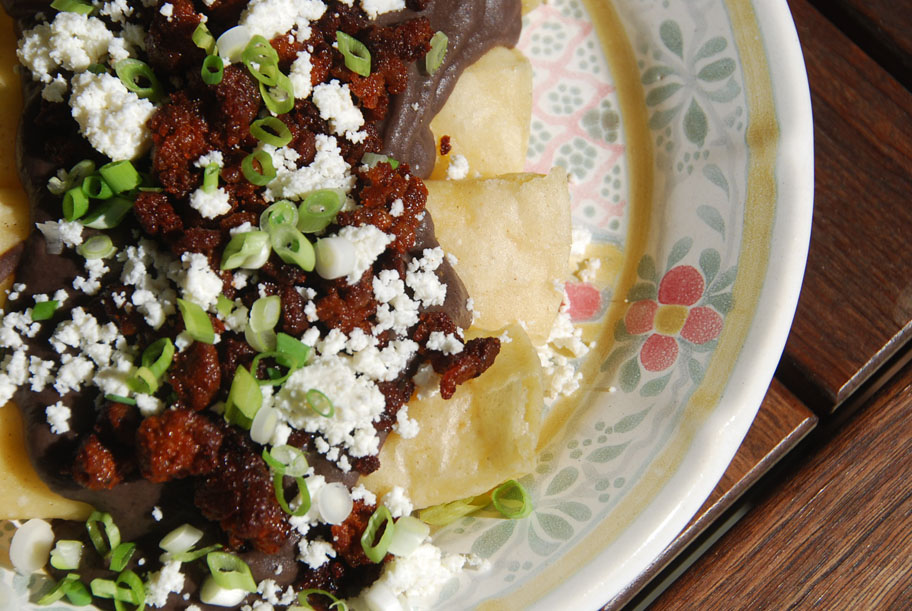
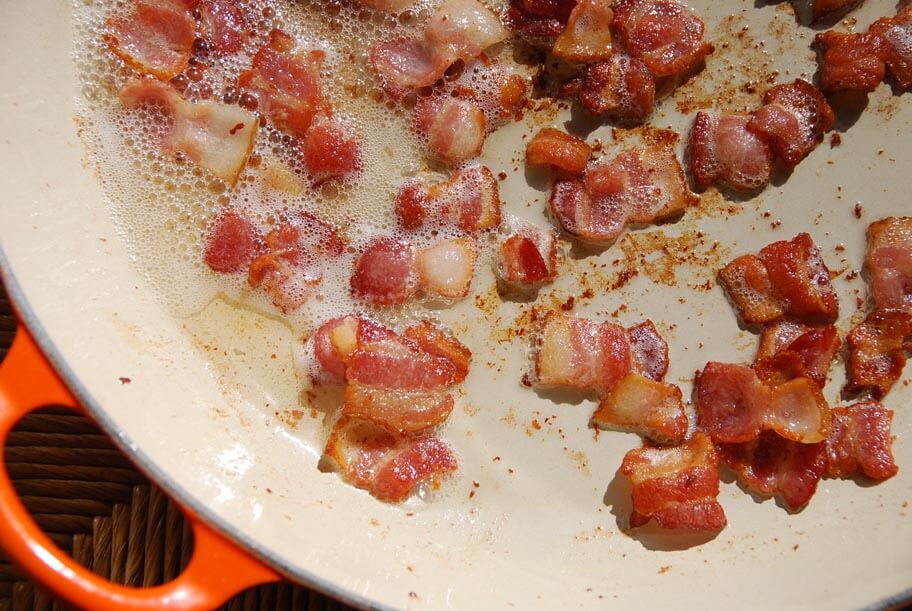
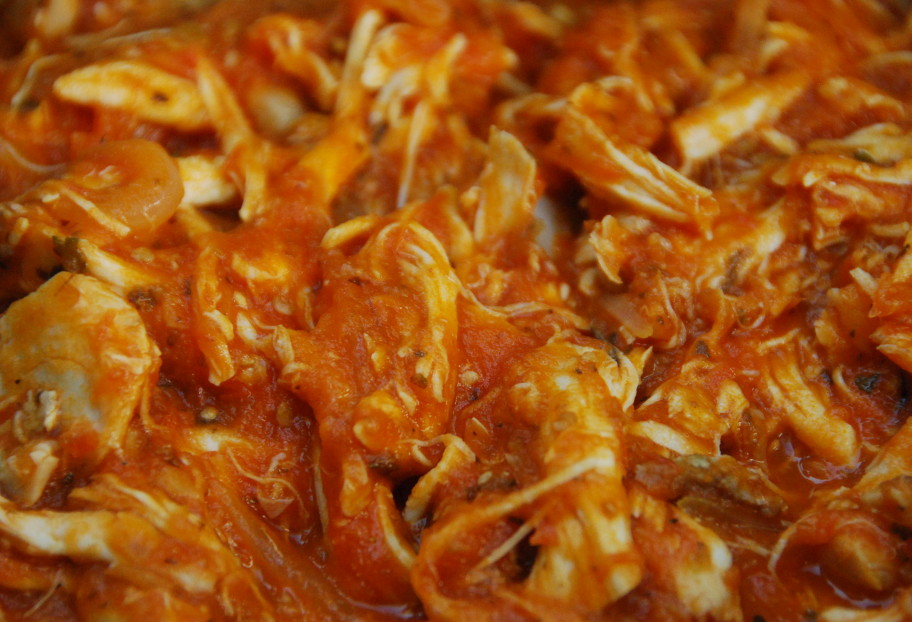
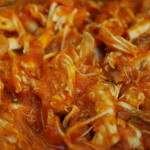
Forget about a light garnish, add tons of meaty and crisp bites of Mexican chorizo.
Fresh, tart and slightly salty crumbled queso fresco.
Bright fresh scallions (I love scallions…) that contrast with the cooked scallions scrambled with the eggs.
To finish off, punchy chopped pickled jalapeños go on top.
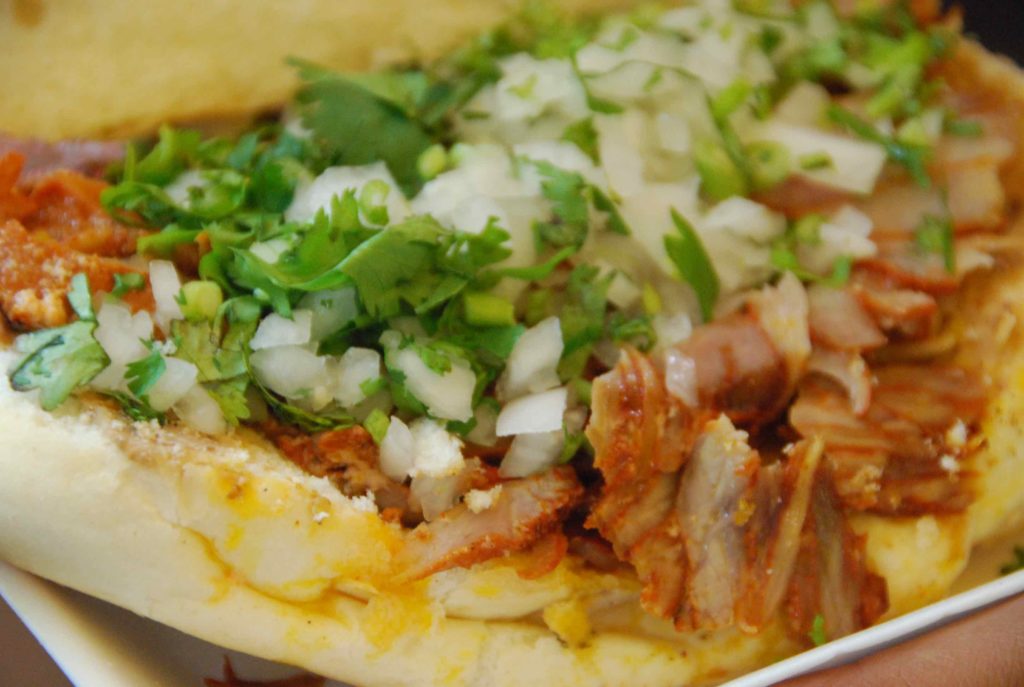
I liked these enchiladas so much, I couldn’t even decide on an ending photo for the blog post. So I am showing you the view from the top and from the side.
These enchiladas ended up being not an antojito but an antojote, a huge antojo of mine. Made to be eaten for a big brunch, they passed the critical approval of all my boys to the point that they were fighting for each piece on this plate. This is the one time when I don’t complain about them fighting.
Since this is a sign of success in my kitchen, the recipe is now yours!
I hope you give it a try for your Cinco de Mayo fiesta, your Mother or Father’s day brunch, or anytime you may want to indulge. As complex as they may sound, they are super easy and fast to make. Here’s how.
Enchiladas with Chipotle Black Bean Sauce, Chorizo and Queso Fresco
Ingredients
- 3 cups cooked beans and 1cup of their cooking broth or 2 drained cans black beans plus 1 cup water
- 2 tablespoons adobo sauce from chipotle chiles in adobo sauce
- 2 tablespoons vinegary sauce from pickled jalapeños in vinegar or escabeche
- 1 pound Mexican chorizo casings removed, roughly chopped
- 3 tablespoons vegetable oil plus more oil if frying the tortillas
- 1/3 cup chopped scallions plus extra for garnish
- 9 large eggs beaten with a fork or whisk until foamy
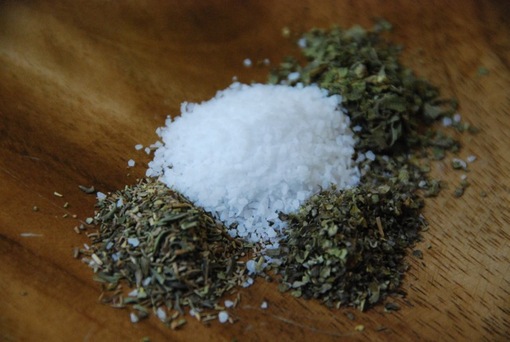
- 1/2 teaspoon kosher or coarse sea salt or to taste
- 12 corn tortillas
- 1 cup crumbled queso fresco cotija, farmer’s cheese, or goat cheese
- 6 to 8 pickled jalapeños seeded and chopped, for garnish
- Ripe Mexican avocado slices optional
Instructions
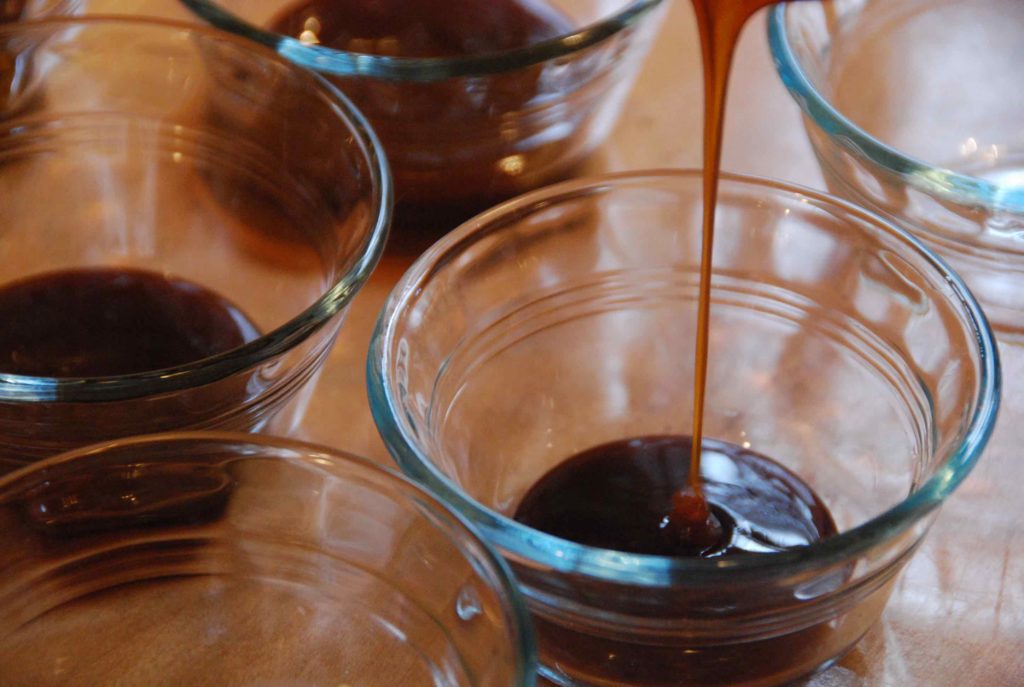
- Place the cooked black beans and cooking broth (or water if using canned) in a blender, along with the sauce from the chipotles in adobo and the vinegary sauce from the pickled jalapeños, and puree until smooth. Place in a medium saucepan, heat over medium-low heat, stirring occasionally, until very hot. Reduce the heat to the lowest possible setting and keep warm. The puree should have the consistency of heavy cream.
- Heat a large skillet over medium heat. Once it is hot, add the chopped chorizo and cook, crumbling as it cooks with a wooden spoon or spatula into small bite sized pieces, until it has browned and crisped, about 5 to 6 minutes. Scrape into a bowl, cover and set aside.
- Pre-heat a comal or cast iron skillet over medium heat.
- Heat the oil in a medium 10-inch nonstick skillet over medium heat until hot but not smoking. Add the scallions and cook until soft and translucent and the edges begin to brown lightly, about 4 minutes. Reduce the heat to medium-low, pour in the beaten eggs, sprinkle with the salt, and cook, stirring often and gently, until desired doneness. I like to stop the cooking when the eggs are still soft and tender, not dry, which takes about 4 to 5 minutes. Remove from the heat.
- Heat the corn tortillas, a pair at a time, in the pre-heated comal or skillet, about 1 minute per side, until completely heated through and even slightly toasted. Alternatively, you can heat enough oil to have 1/2" in a medium skillet set over medium heat, once very hot but not smoking, quickly pass each tortilla through the oil (4 to 5 seconds) and place on a plate or drying rack covered with paper towels. You know the oil is ready if when you dip a tortilla, the oil bubbles actively all around the edges and the tortillas begin to puff up after a few seconds.
- One by one, place on a plate and spoon about 2 generous tablespoons of the scrambled eggs onto the center of tortilla. Roll it into a soft taco and place in a platter, seam side down.
- When all the tortillas are stuffed and rolled on the platter, pour the bean puree on top. Cover with the cooked chorizo, crumbled queso and extra scallions. Add as many chopped pickled jalapeños as you like. Decorate with ripe avocado slices if you want to take those enchiladas way over the top.
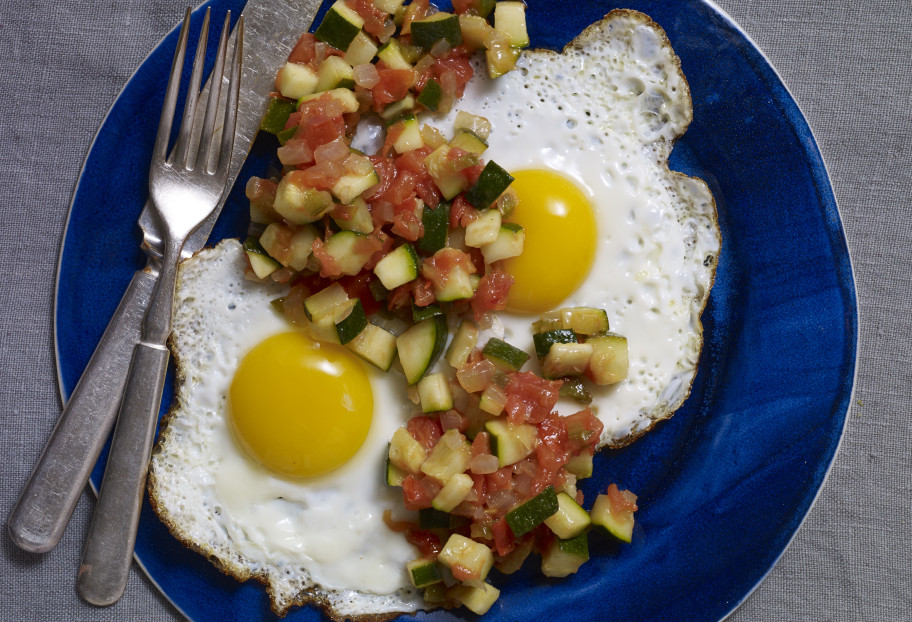


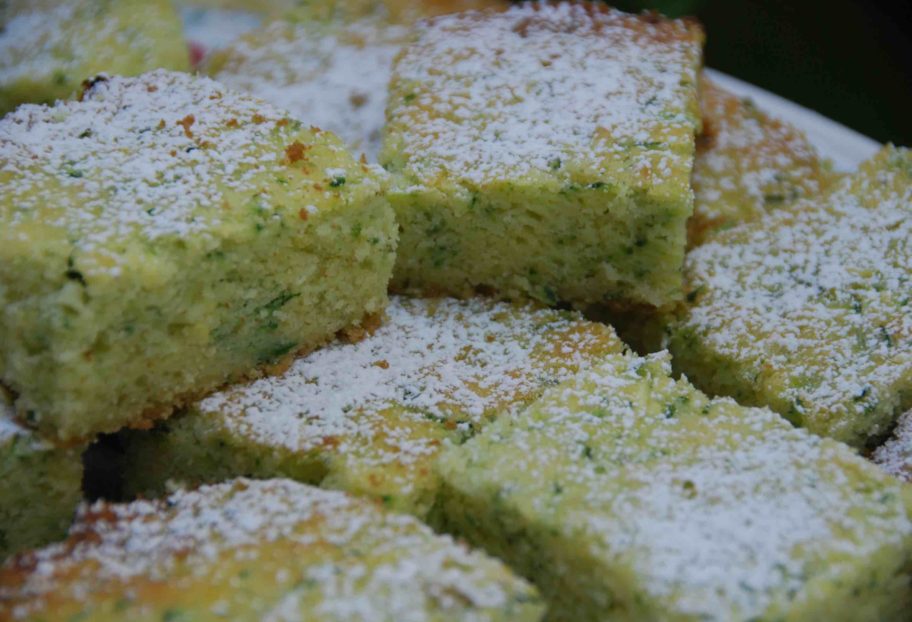
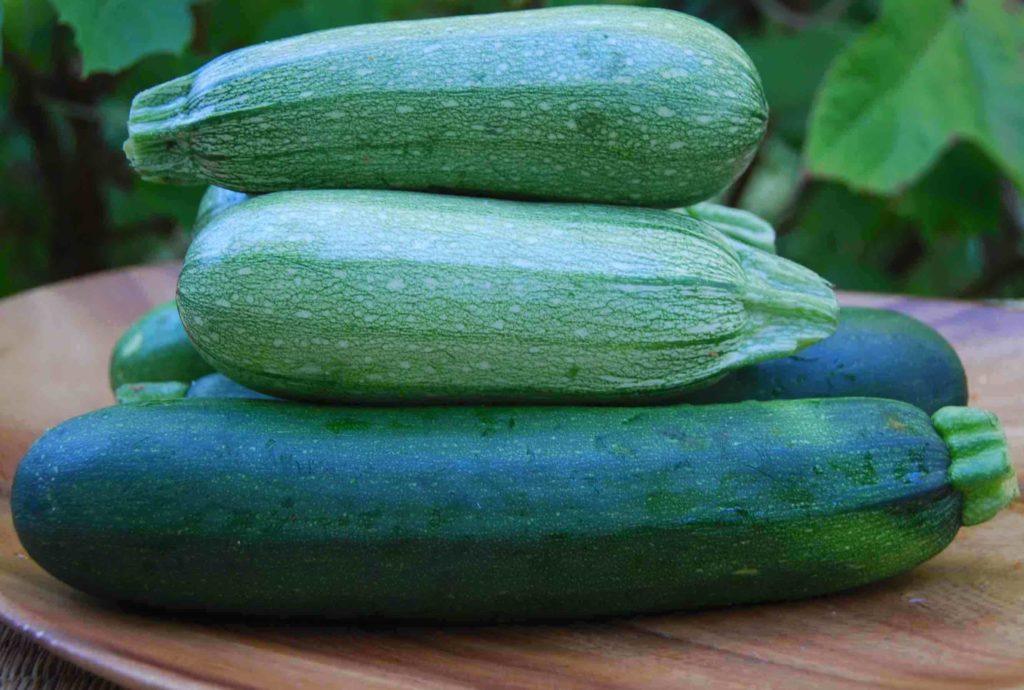
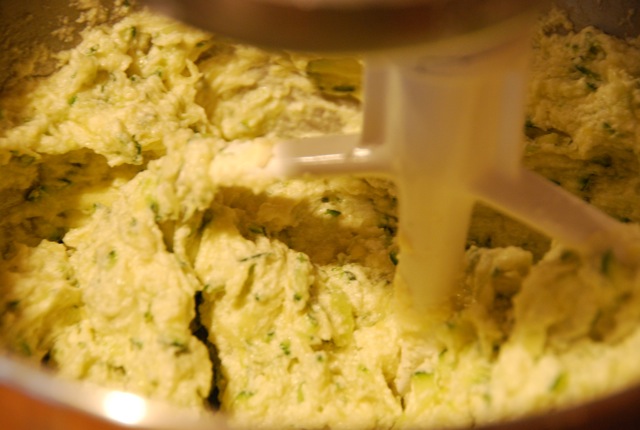
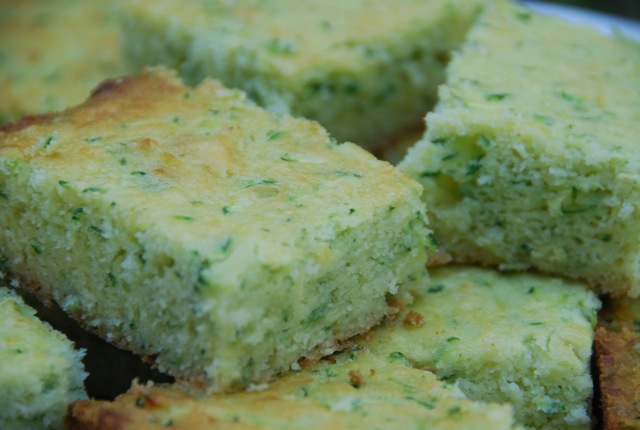
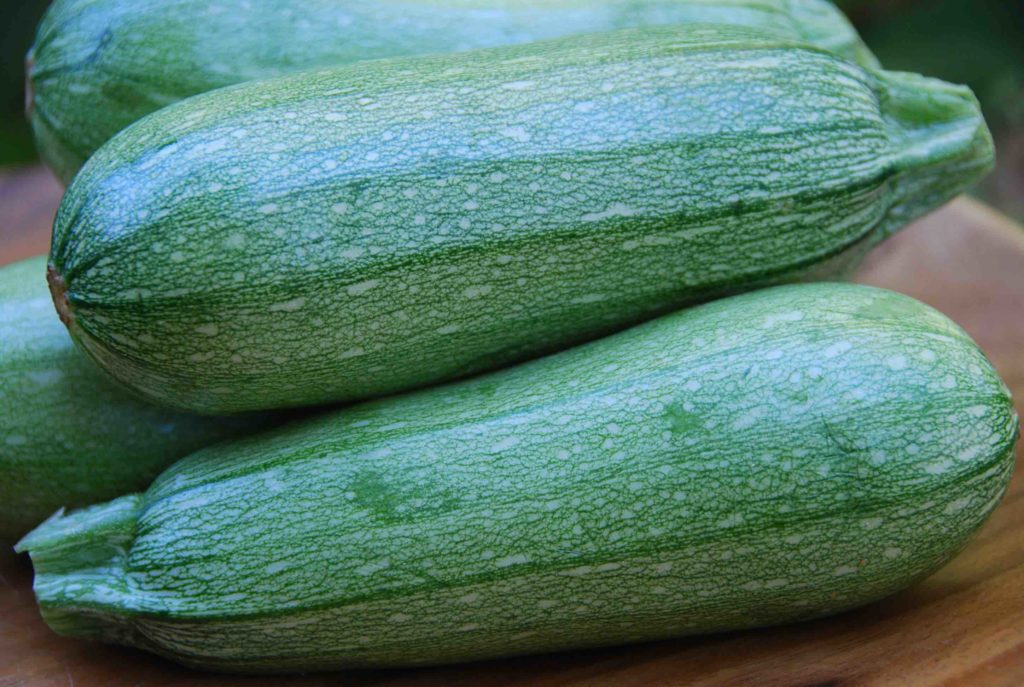 (The zucchini mostly found in Mexican markets, calabacita italiana, sometimes called Pipian in Latin stores throughout the US.)
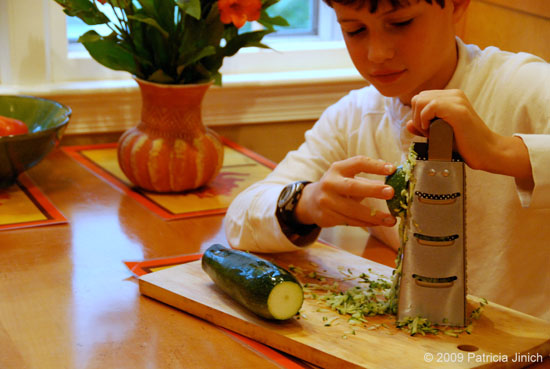 (While my youngest son loves to mash away with the molcajete, or anything else, my oldest has graduated to use the grater, which he does with worldly pride.)
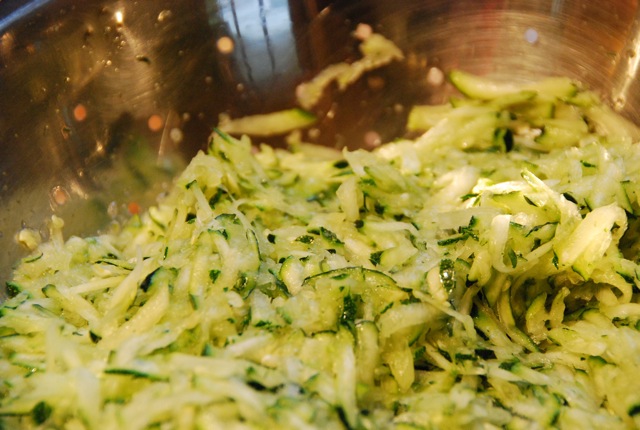
