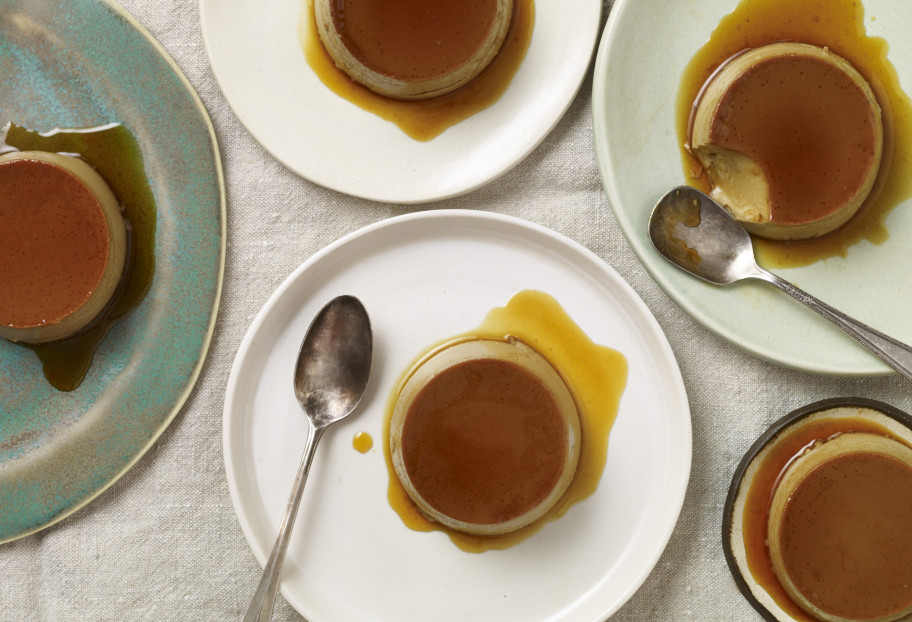

Coffee Flan with Tequila Whipped Cream
Coffee Flan with Tequila Whipped Cream recipe from Pati's Mexican Table Season 2, Episode 8 “Tequila!”
Servings: 10 servings
Ingredients
For the flan:
- 1 cup sugar
- 1 14oz can sweetened condensed milk
- 1 12oz can evaporated milk
- 1 cup whole milk
- 6 large eggs
- 1 teaspoon pure vanilla extract
- 2 tablespoons Mexican instant coffee dissolved in 2 tablespoons boiling water
For the whipped cream:
- 1 1/2 cups cold heavy cream
- 1 tablespoon confectioners' sugar
- 1/2 teaspoon pure vanilla extract
- 2 tablespoons white or silver tequila
Instructions
To prepare the flan:
- In a heavy medium saucepan, cook the sugar over medium heat, stirring frequently, until melted and golden brown, 6 to 8 minutes. Quickly pour the caramelized sugar syrup into individual molds. Set aside. Preheat the oven to 350 degrees.
- Place all three milks, the eggs, vanilla and coffee in a blender. Mix until completely blended and smooth. Pour into the caramel-lined molds or ramekins. Set the molds into a larger baking dish or pan. Carefully pour boiling water (it is very important that the water already be very hot) into the larger holding pan up to at least half the height of the molds. Place on the middle rack of the oven.
- Bake, uncovered, about 40 minutes, or until the center comes out moist but clean. Remove the individual molds from the water bath and let them cool completely. Refrigerate the molds, covered with plastic.
- To serve, run a thin knife around the edge of the pan between the custard and the pan. Invert the flans onto plates to unmold them. Carefully lift up the molds to allow the syrup to run over the flan.
To prepare the whipped cream:
- Whip the cold cream in the bowl of an electric mixer. When it starts to hold peaks, add the confectioners’ sugar, vanilla, and tequila. Continue to whip until it forms stiff peaks. Serve flan with a generous dollop of whipped cream; serve cold.
Notes
Flan de Café con Crema Batida al Tequila


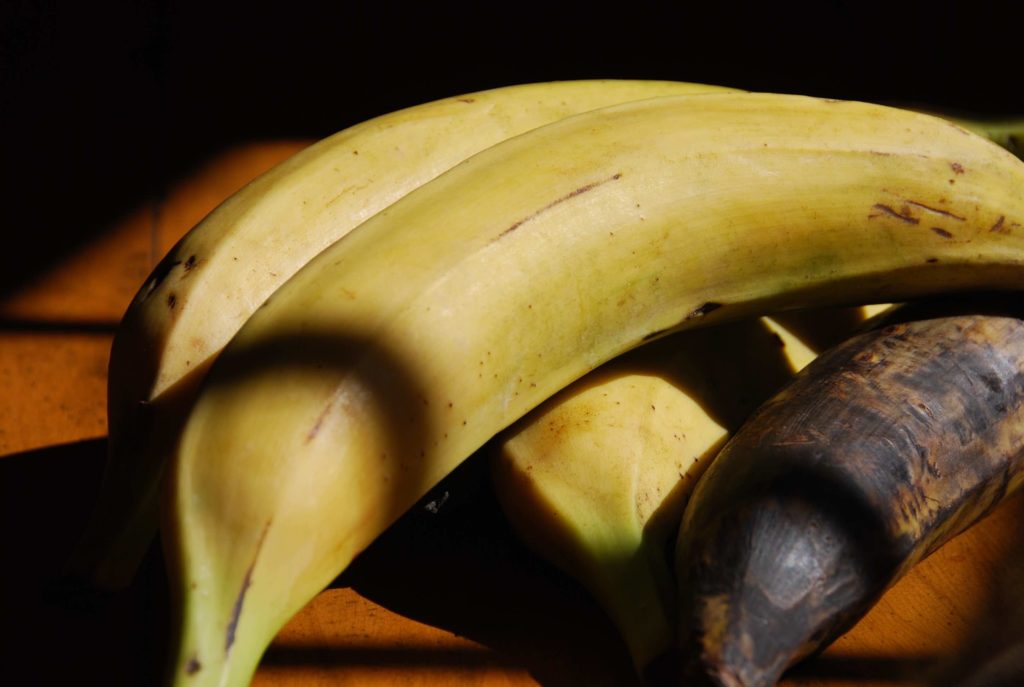 (Plantains on my dining room table, the one covered in black spots is ripe and ready to be cooked)