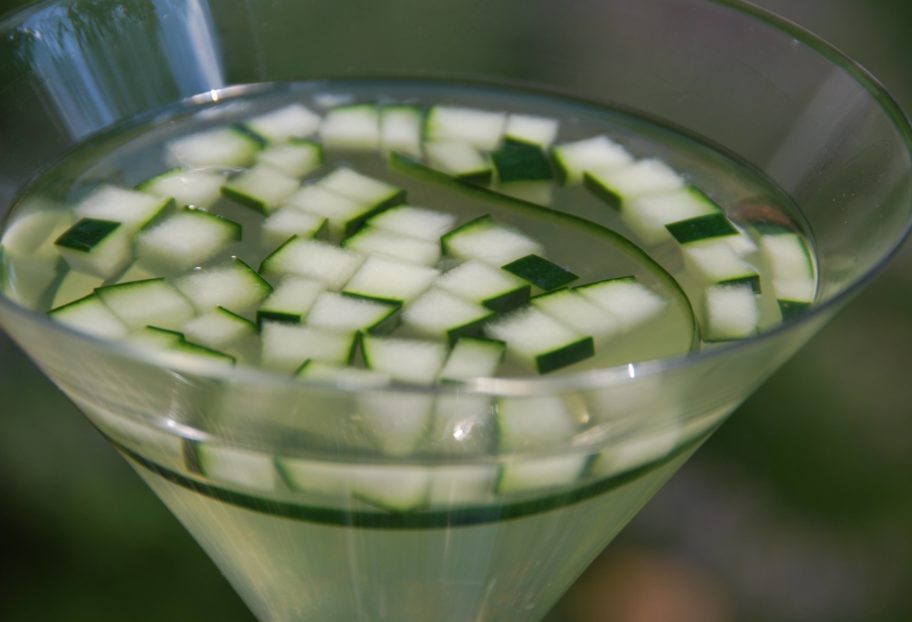
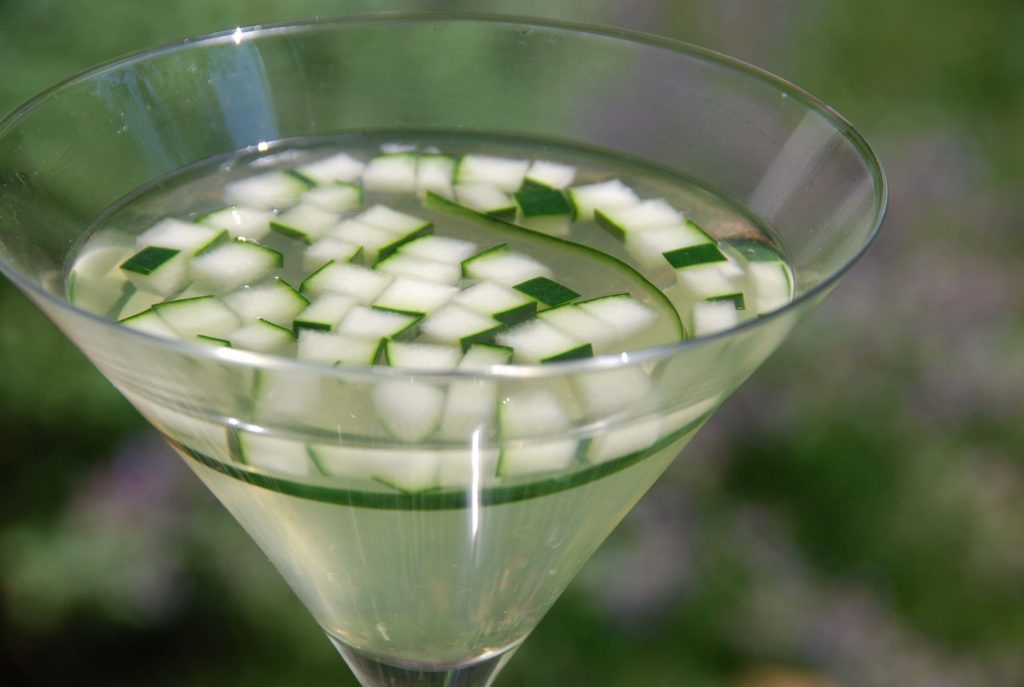
Last post was about that Cucumber Martini I could drink an entire pitcher of. It feels like a century has passed, and I have so, so, so many stories and recipes to share with you. But only now, after a wildly crazy hectic summer desperately missing this blog, am I able to sit down and write. And guess what? I have no choice but to continue with cucumbers!
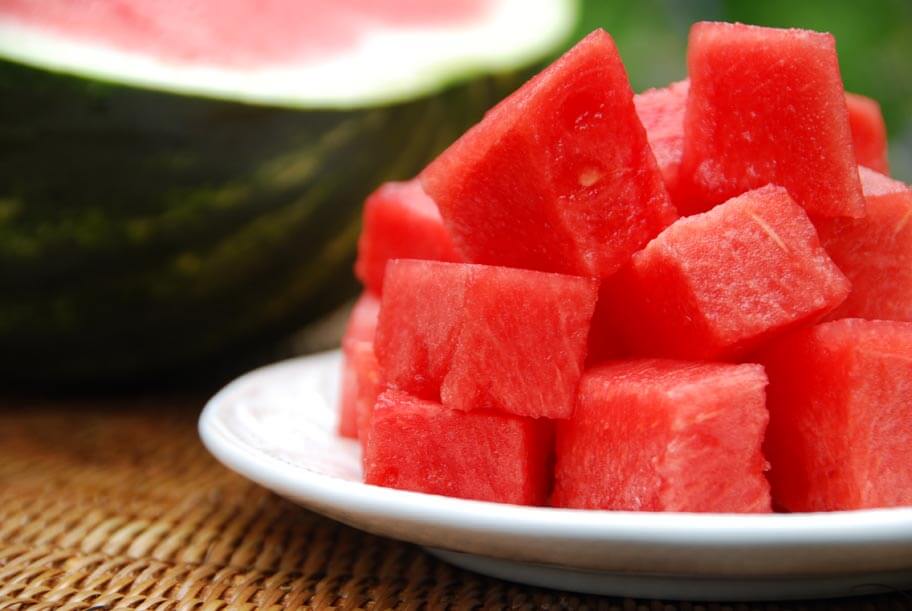
This is why: I thought I knew cucumbers, I really did, until I visited Mr. Jose Luis Rodríguez Rojas’ cucumber green house in the state of Morelos, a state known as “Mexico’s Spring”. Cucumbers grown there are the slicers, ironically called pepino Americano or pepino común in Mexico. Slicers are the cucumbers mostly used in Mexico’s kitchens. And the ones I use all the time.
Now I know how little I knew about them.
Sure I have peeled, sliced, diced and julienned a gazillion and have used them in so many ways, from salads to sorbets. I know it’s taste: mild, watery, fresh, wanting to be lemony. I know it’s bite: soft yet crisp. I know the coolest trick to help them never be bitter (cut ends and rub the opposing sides before peeling).
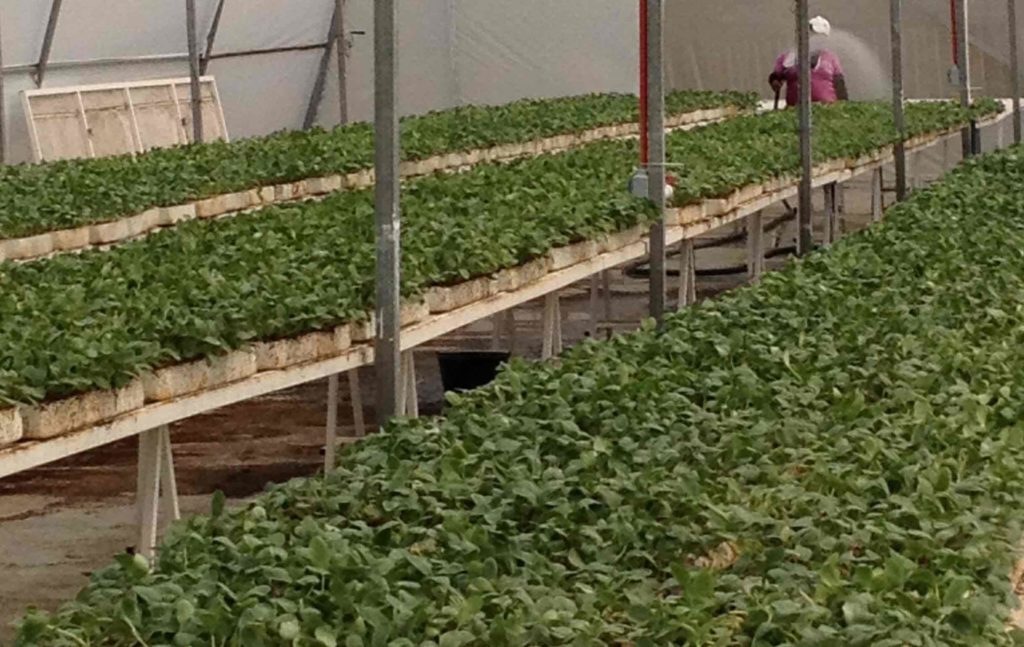
But I had never seen their plants in their youngest form, as Miguel, one of the farmers showed me.
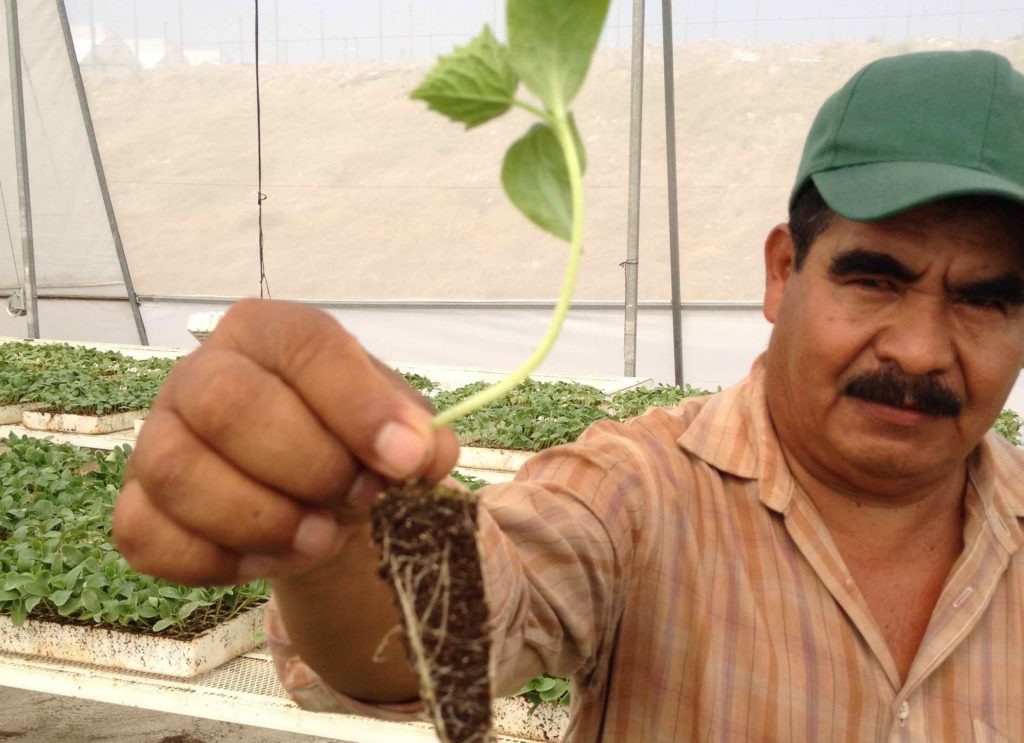
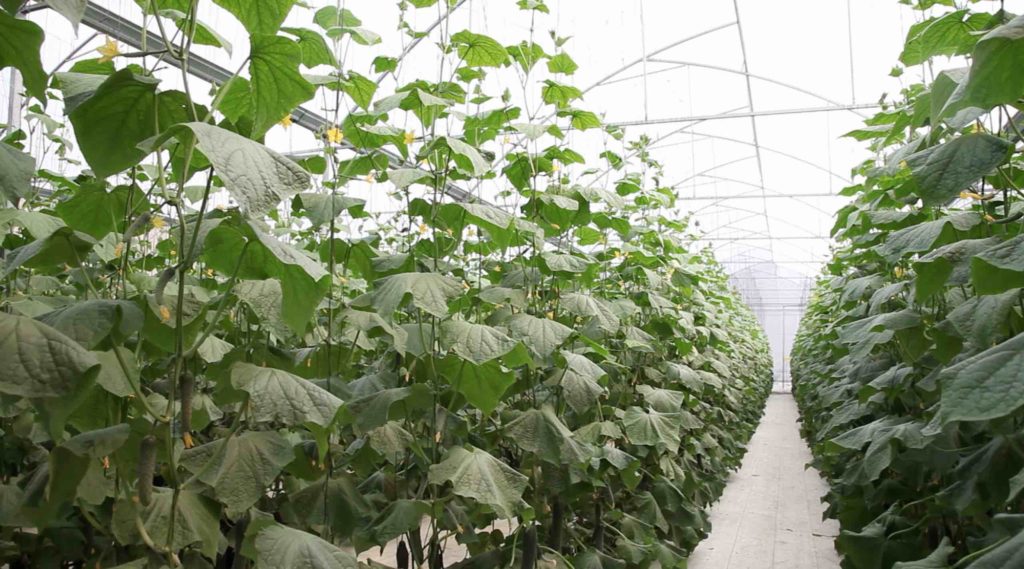
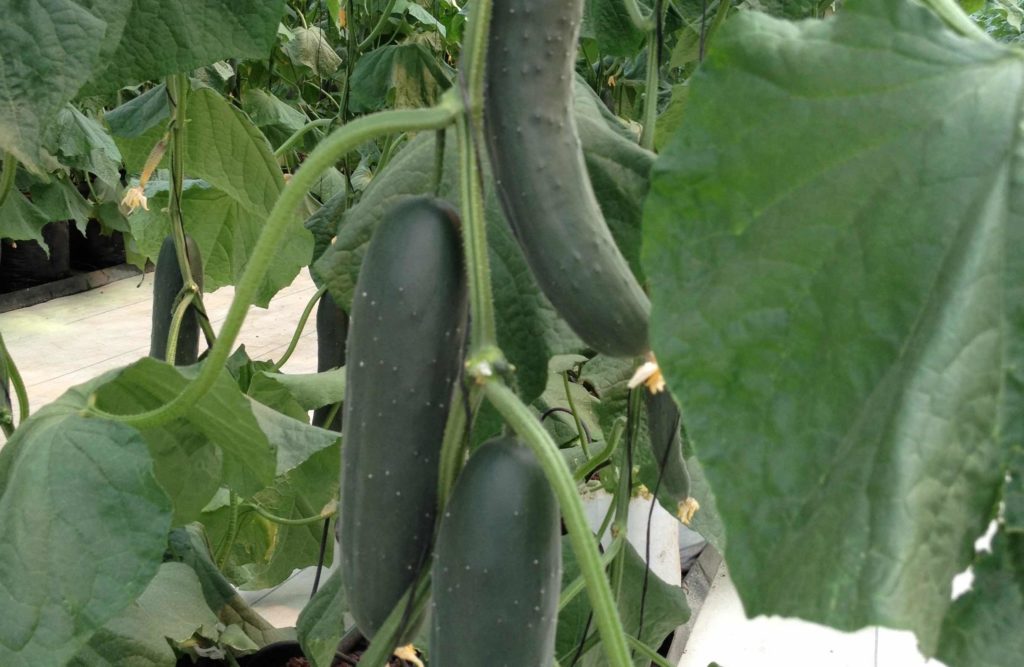
Nor was I aware, that after just one month of protected care, they grow to have jungle like looks and size.
Look at them!
If I could only embed here the moist and clean smell of the plants and the velvety feel of their immense fully grown leaves, I would be so pleased.
Much to my surprise, the flowers from where those huge cucumbers grow from are delicate and feminine. Their color a strong yellow that seems to want to fade right before your eyes, just as their petals seem to tell you to please be careful if you dare touch them.
There are male and female cucumber flowers and they are both as pretty. It is the female pollinated flowers, which grow a miniature baby cucumber right behind, covered in tiny-prickly-thin-like thorns that protect it as it grows. So they have ways of telling you not to touch them.
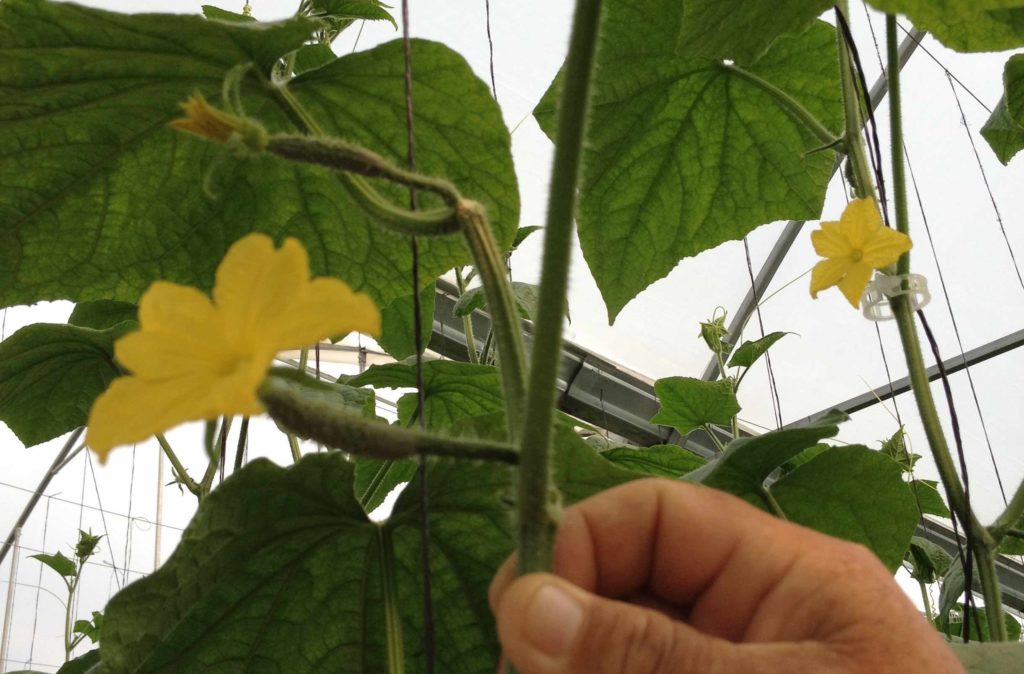
The flower holds on, as the cucumber grows. See below?
I marveled.
After a while, I had to make an effort to stop ooooohing and aaaaahing at every site (I have to act more my age, you know).
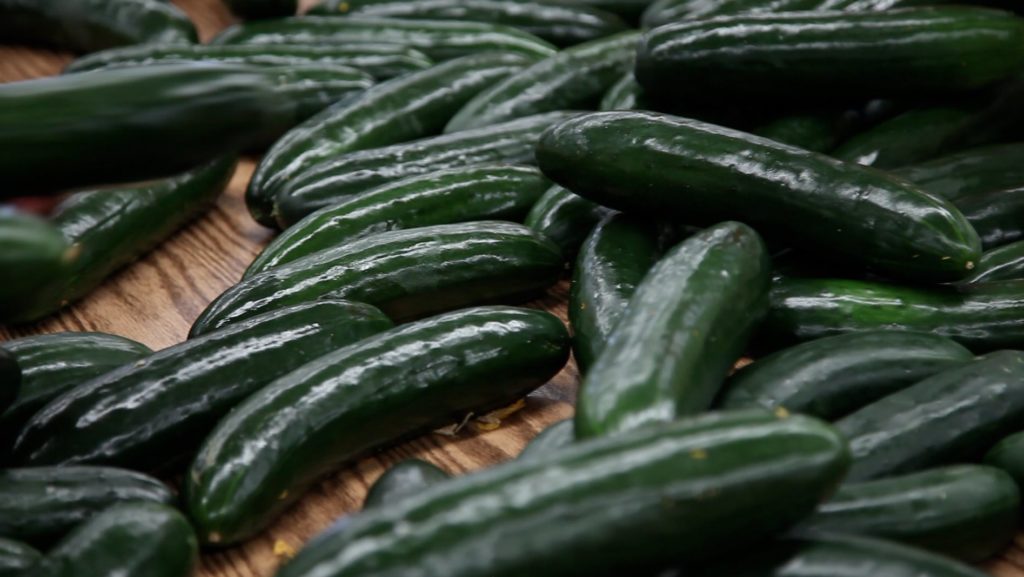
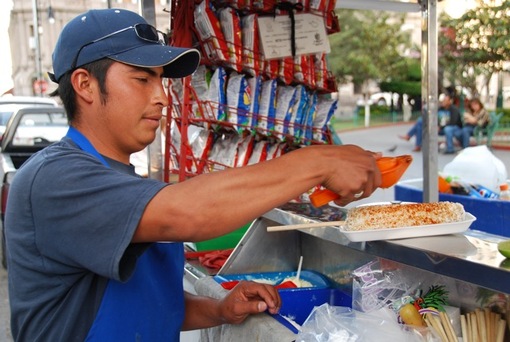
After they pick the cucumbers, they clean them and pack them up.
Mr Jose Luis employs about 300 people a year. Each person I met, seemed proud about their job and meticulous in their care of the green house facilities and mostly, the plants. “No one kneels here to work”, Mr. Jose Luis repeated a couple times, “work here is worthy, dignified”. Truth is, it genuinely felt that way. It seemed that people felt vested in the business. Their faces lit up when I asked any question that popped out of my mouth (if you know me by now you know I have an endless stream of questions…).
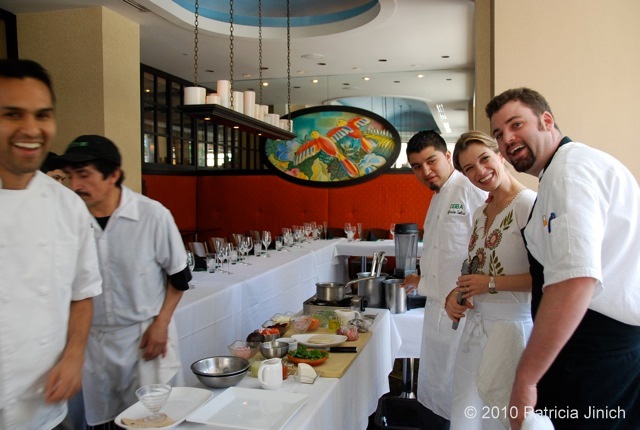
Crazy Nacho Guani, who was filming with Cortez Brothers and I (for Season 2, which launches this weekend, yey!) was filming up there like a wild monkey (if you knew Nacho you’d know he climbs anything that has any height… )

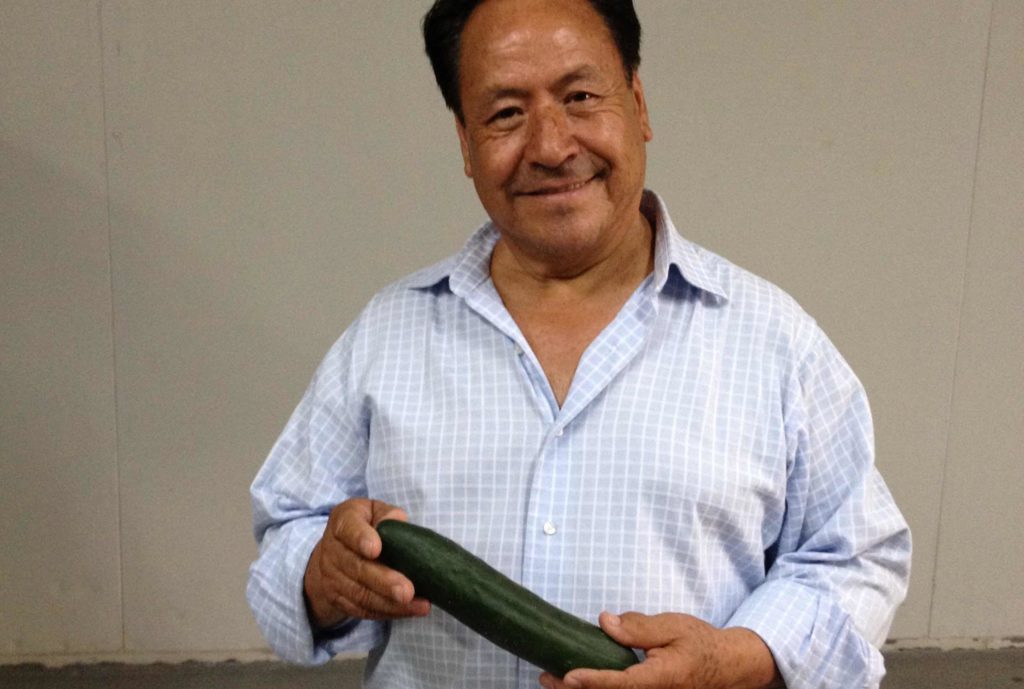
Mr Jose Luis’ chest seems to burst as he talks about the history of his green house, more so about the vegetables he grows. He drastically changed careers, like I did too. He, also, has never looked back.
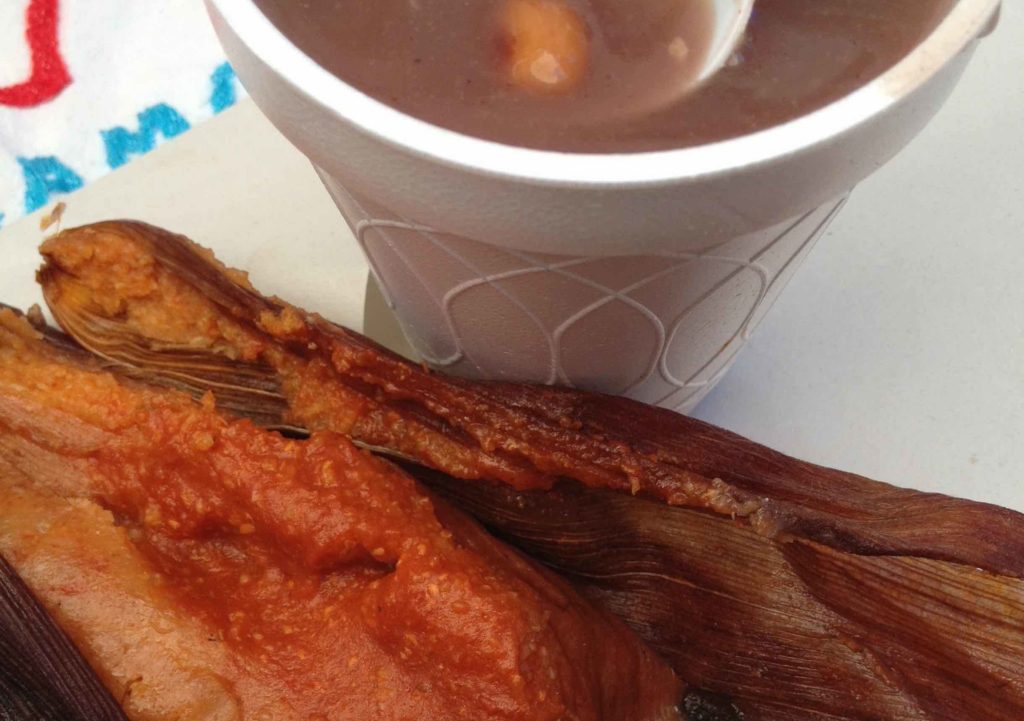
After spending the day, Mr Jose Luis, who could not have been more friendly, asked if we were hungry. We were starved. He immediately offered to take us to his favorite place for a late lunch-early dinner. But that’s another story.
Lesson learned, yet again: no ingredient, no single one is common. Even if it goes by the name pepino común, or common cucumber. Not even if you have used it a thousand ways and have chopped it a gazillion times.
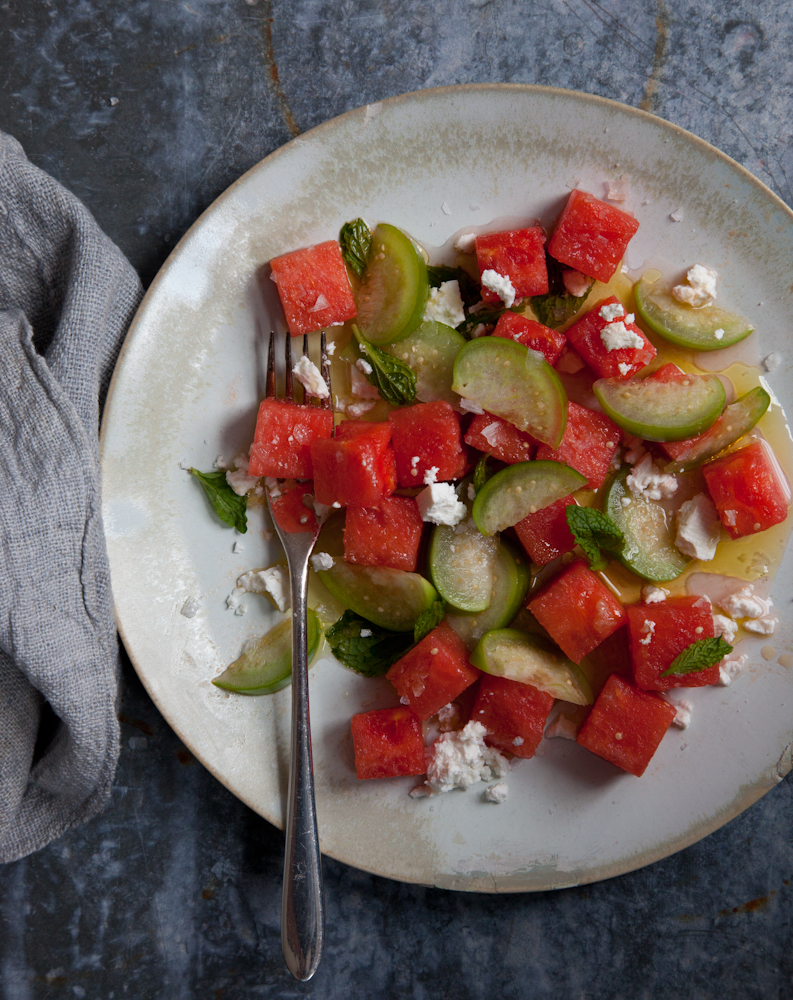
Getting to know cucumbers, from flower to tops, made me think of so many new ways to use them. In a cold soup? With a bit of a bite from a jalapeño? With the wide echo from some mint? Topped with something sweet and crunchy and tart to make it all go wild in your mouth?
I played with the idea and once that I nailed a take I liked, I can’t stop making it.
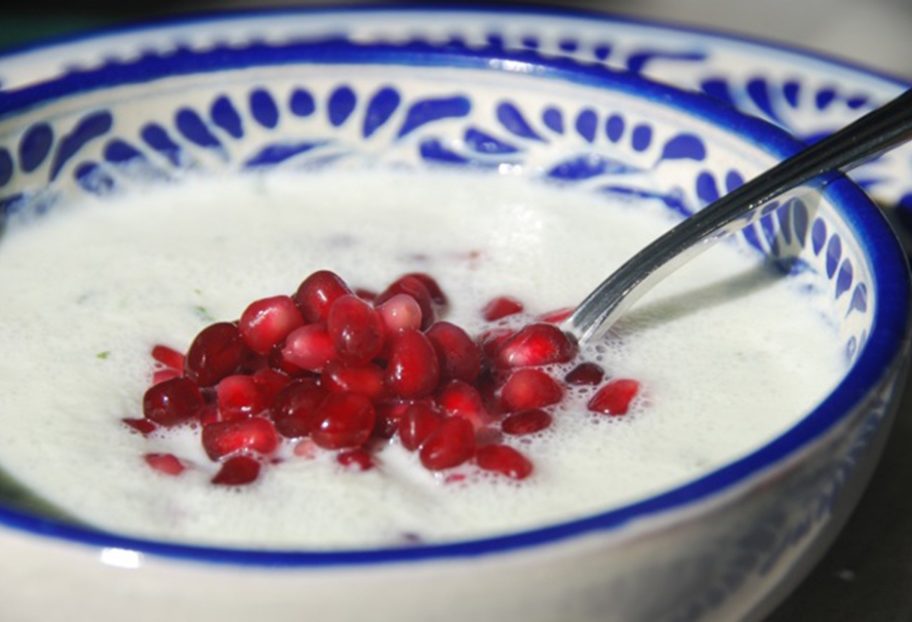
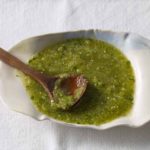
Think of it as a Mexican tzatziki or as a white cucumber gazpacho of sorts. Or better yet, indulge me please and just make it. To boot: takes but 2 minutes in the blender.
p.s. Party or Holidays coming soon? Serve it in little mugs or cups for people to drink and munch along.

Cucumber Soup with Mint, Jalapeño and Pomegranate
Ingredients
- 1 1/2 cups thick Greek yogurt
- 3 pounds slicer/common cucumbers about 2 1/2
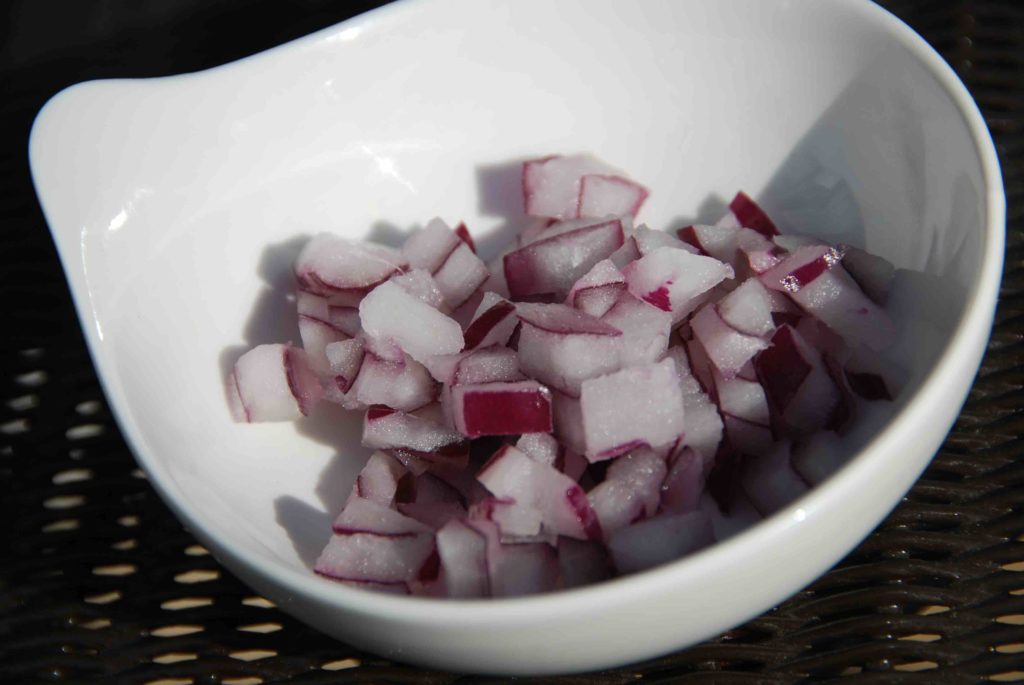
- 1 tablespoon red onion chopped
- 1 clove garlic
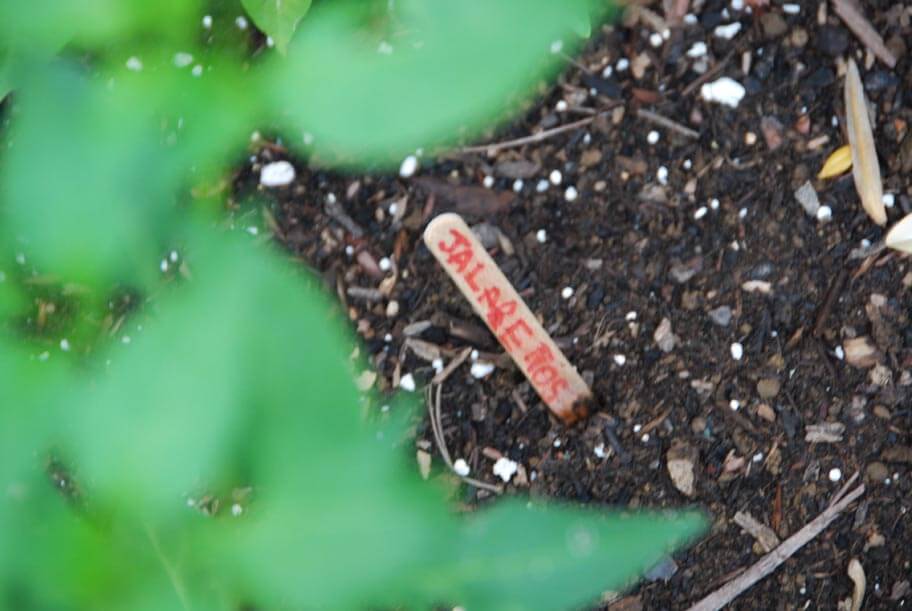
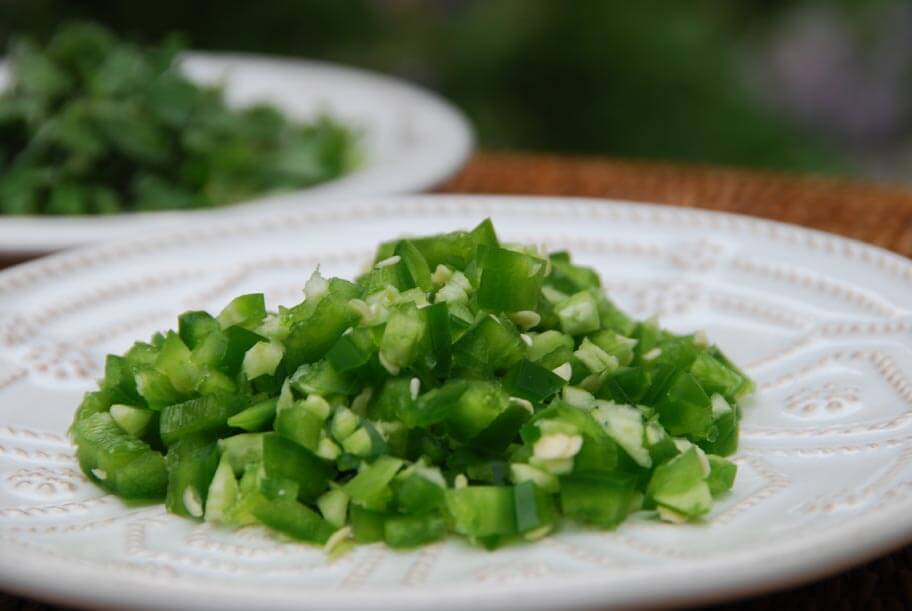
- 1 tablespoon jalapeño chopped or more to taste (seeding optional)
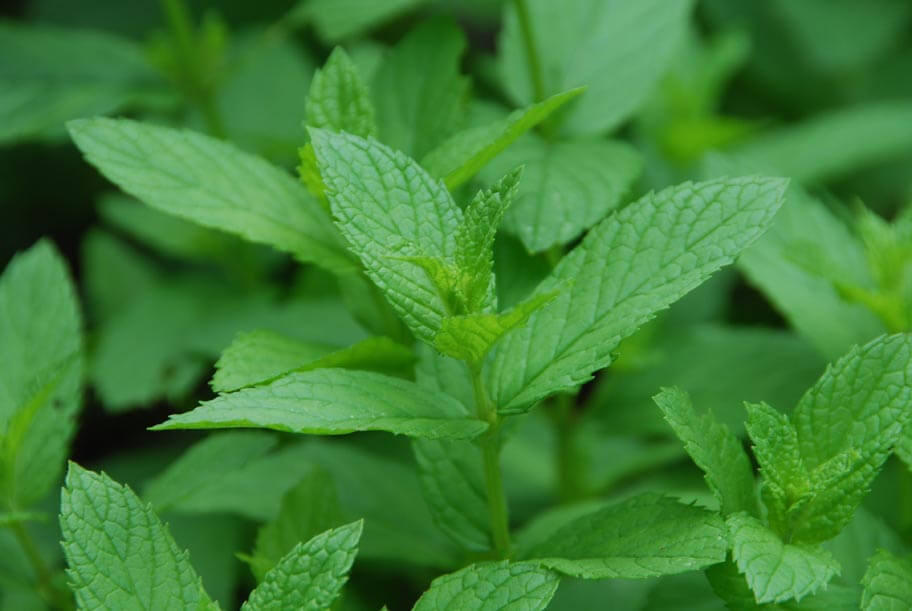
- 15 mint leaves
- 2 tablespoons fresh squeezed lime juice
- 1 teaspoon kosher or coarse sea salt or more to taste
- 3/4 cup pomegranate seeds or more to taste
Instructions
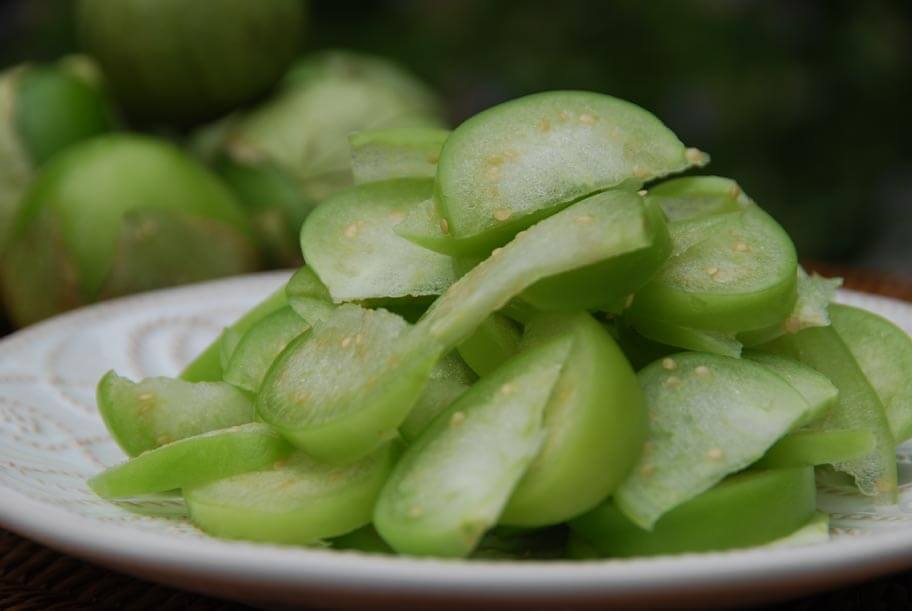
- Wash cucumbers, cut the ends and use them to rub the opposing cut ends of the cucumber. Peel and cut lengthwise into 4 long strips and slice off the seeds. Discard the seeds and cut into chunks.
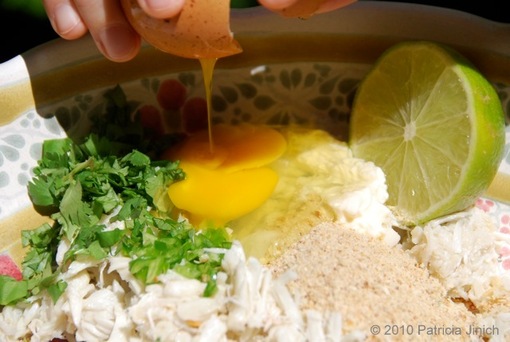
- In the jar of a blender, place the yogurt, cucumbers, red onion, garlic, jalapeño, mint, lime juice and salt.
- Puree until smooth. Pour inside a mug or container and store in refrigerator until ready to serve.
- Serve and sprinkle pomegranate seeds on top.


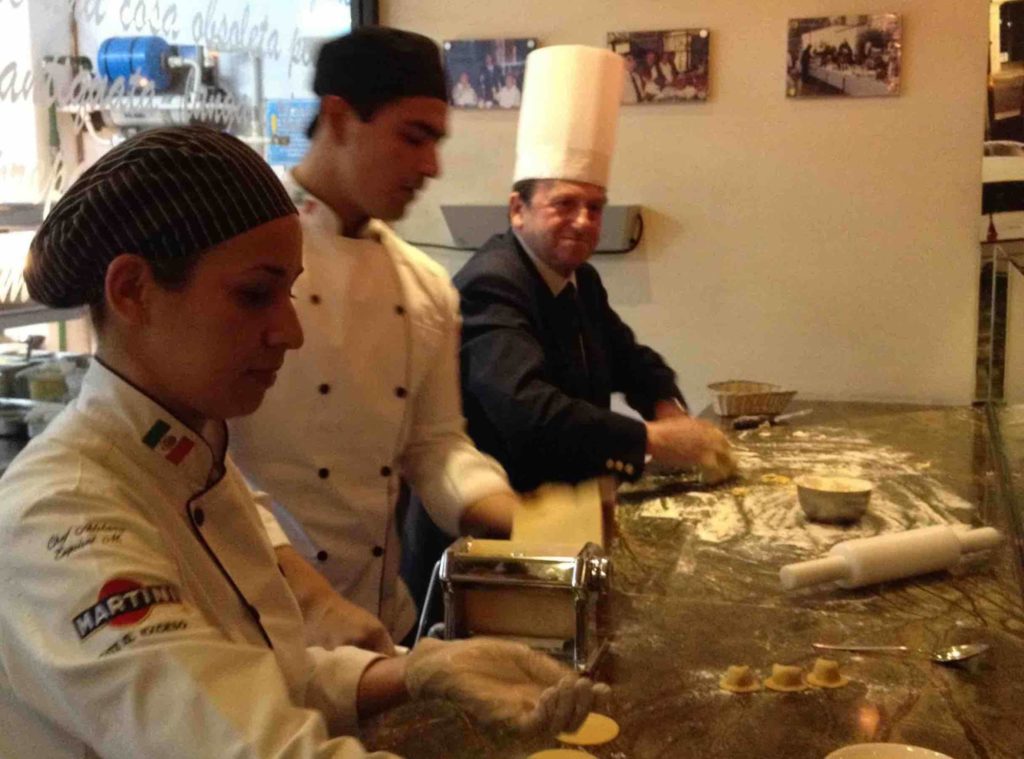


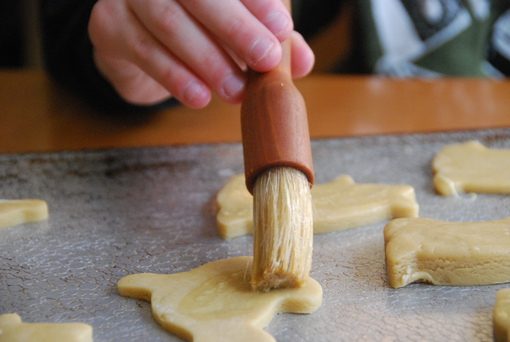
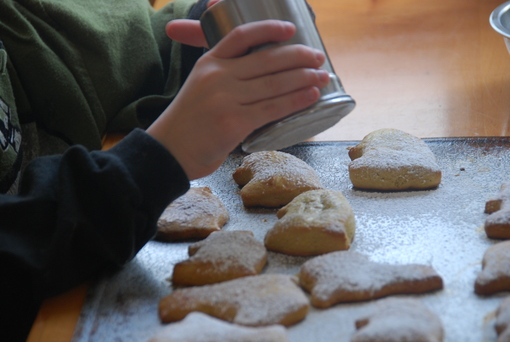
 After they sneak away and find ways to eat some dough, they have a hard time waiting for it to harden in the refrigerator, so it can be easy to roll it out and give it fun shapes.


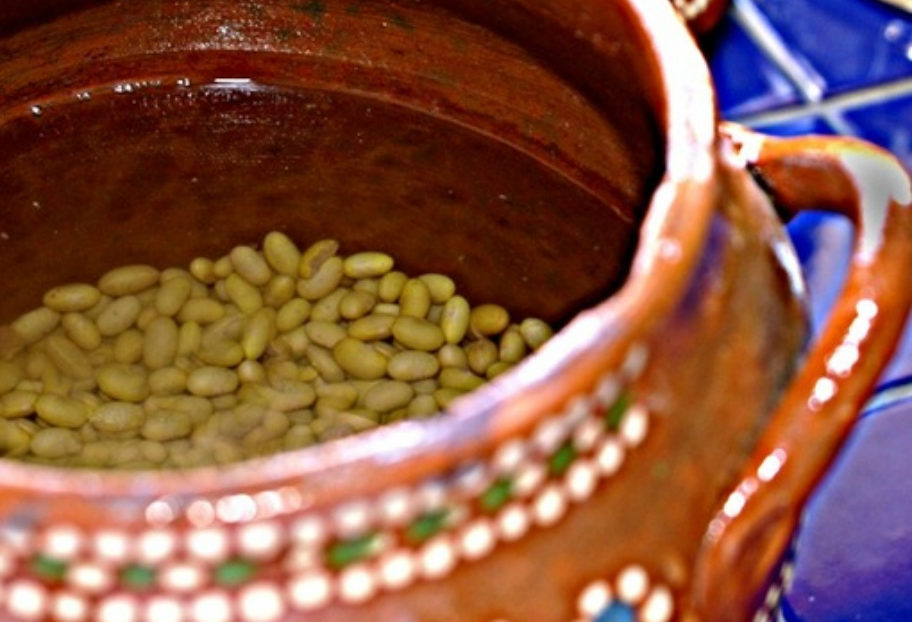


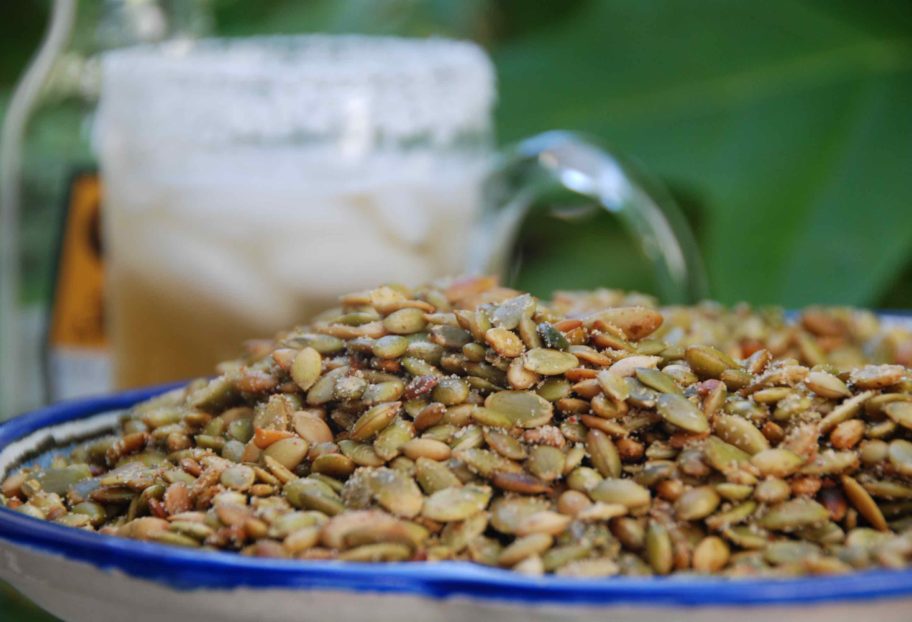
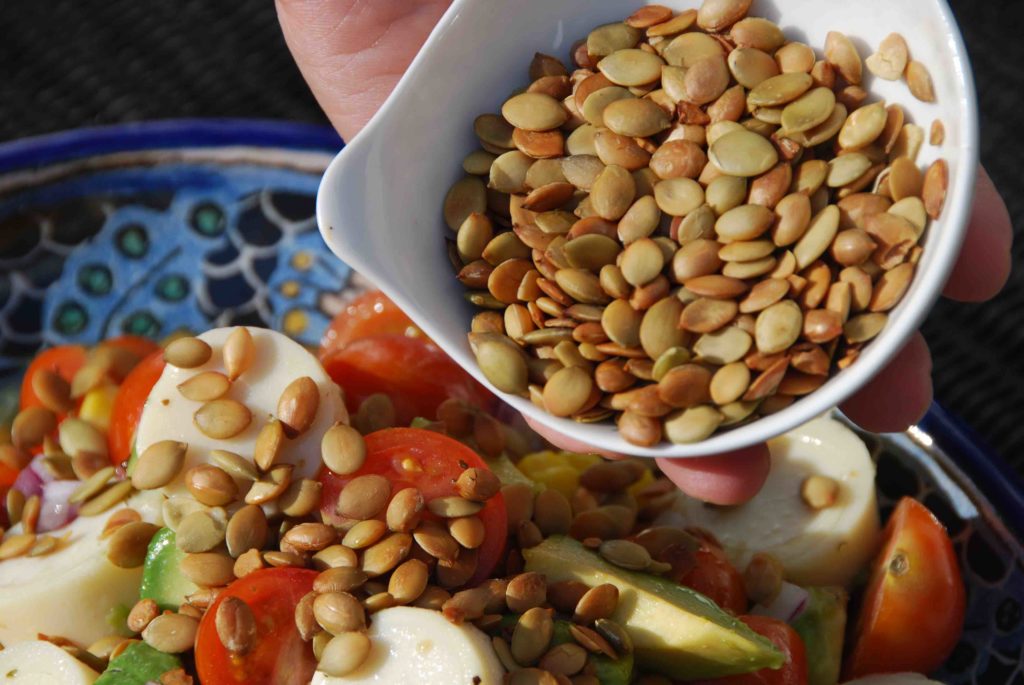
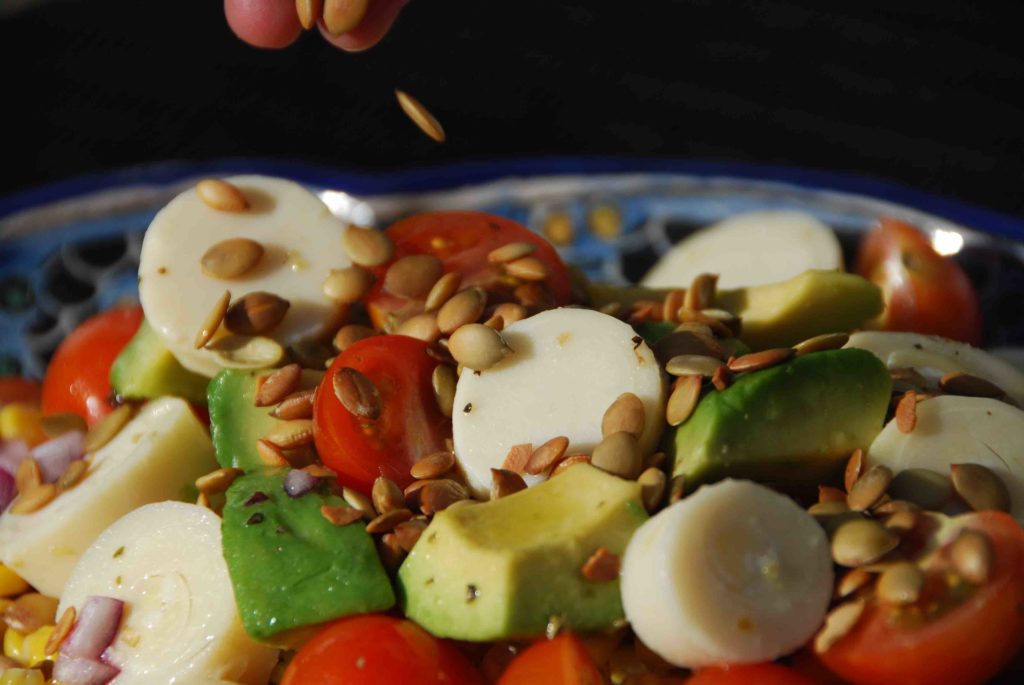
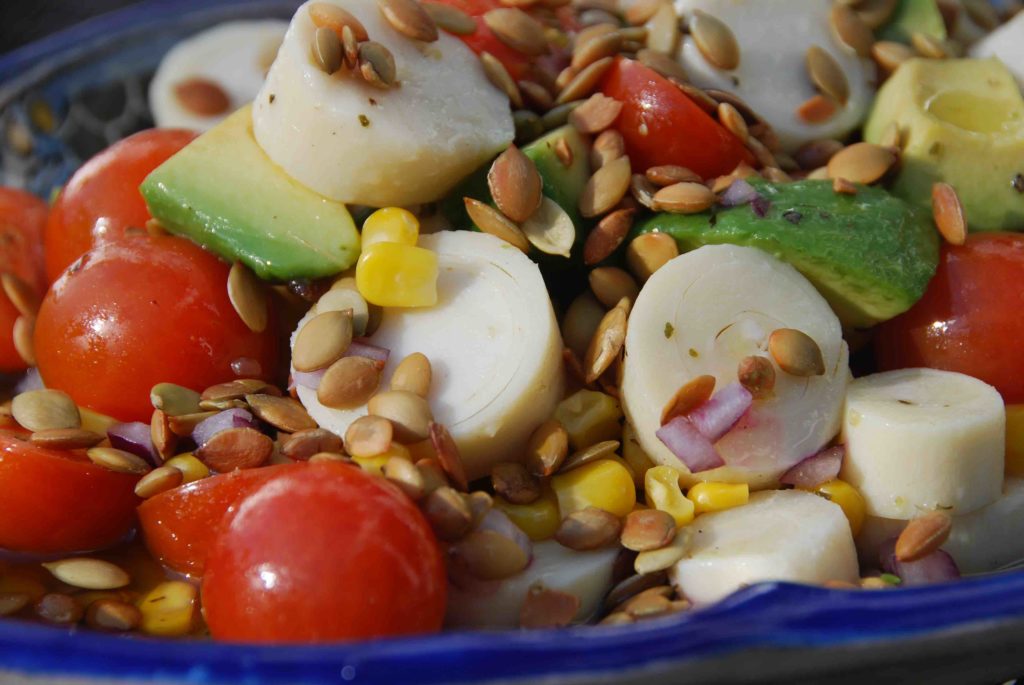
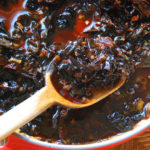
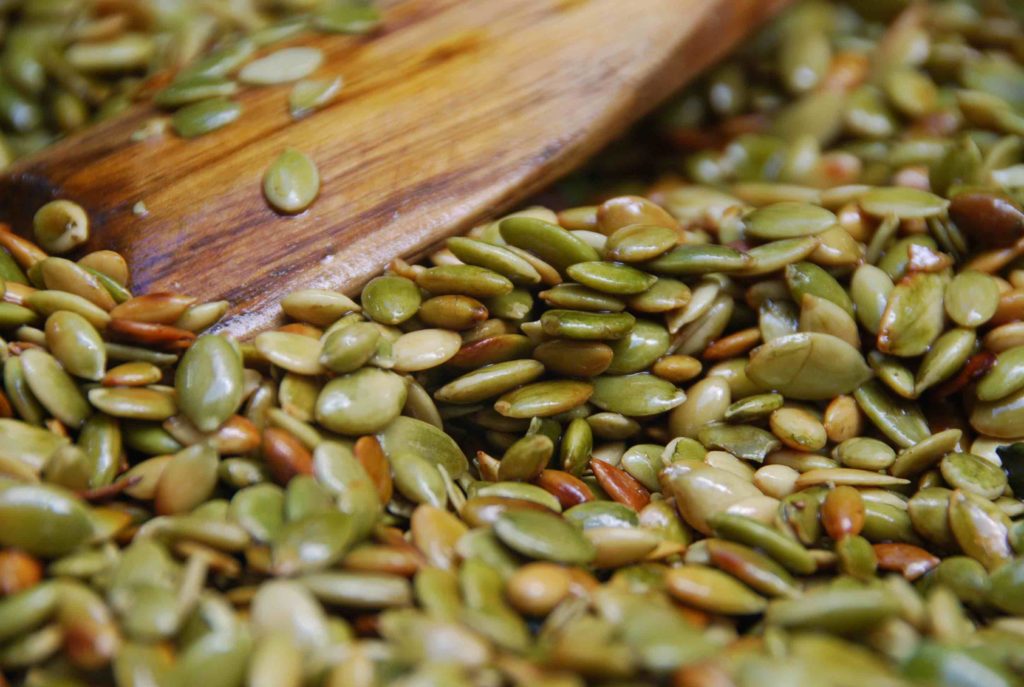 (Pepitas gently frying in my pan, popping and changing from an olive green to a light brown toasted color)


 (Members from Son de Madera, getting ready for an outstanding performance)
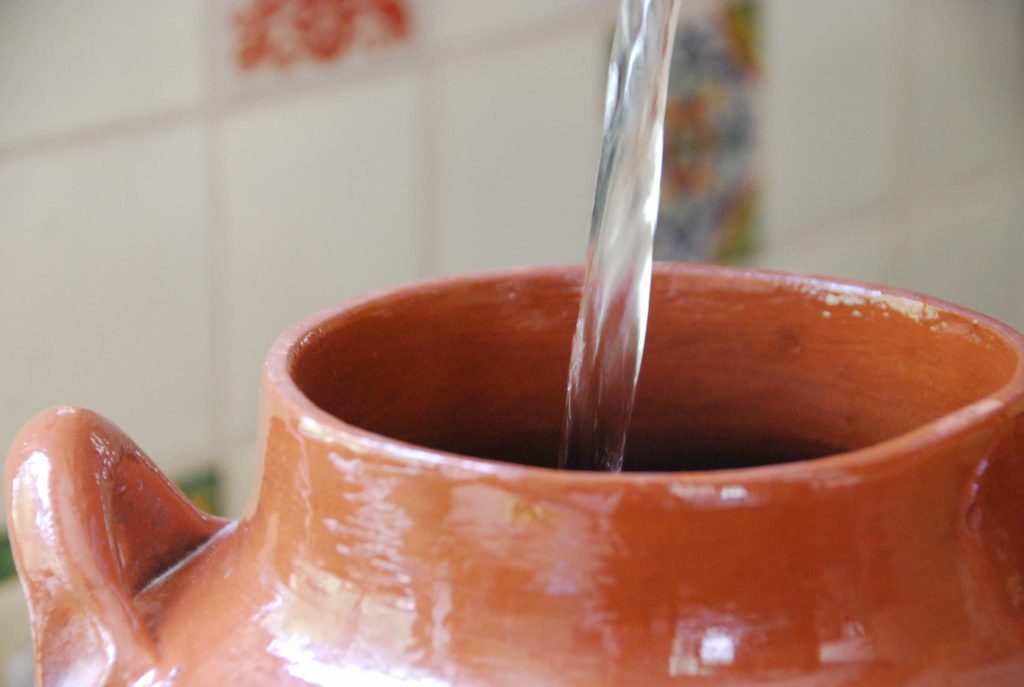
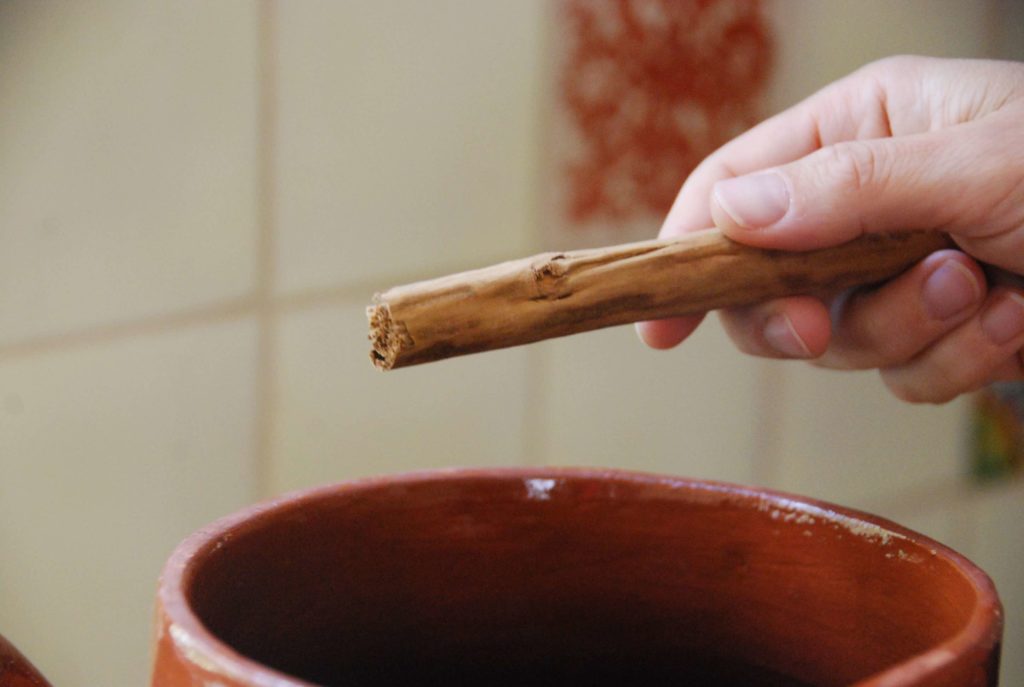
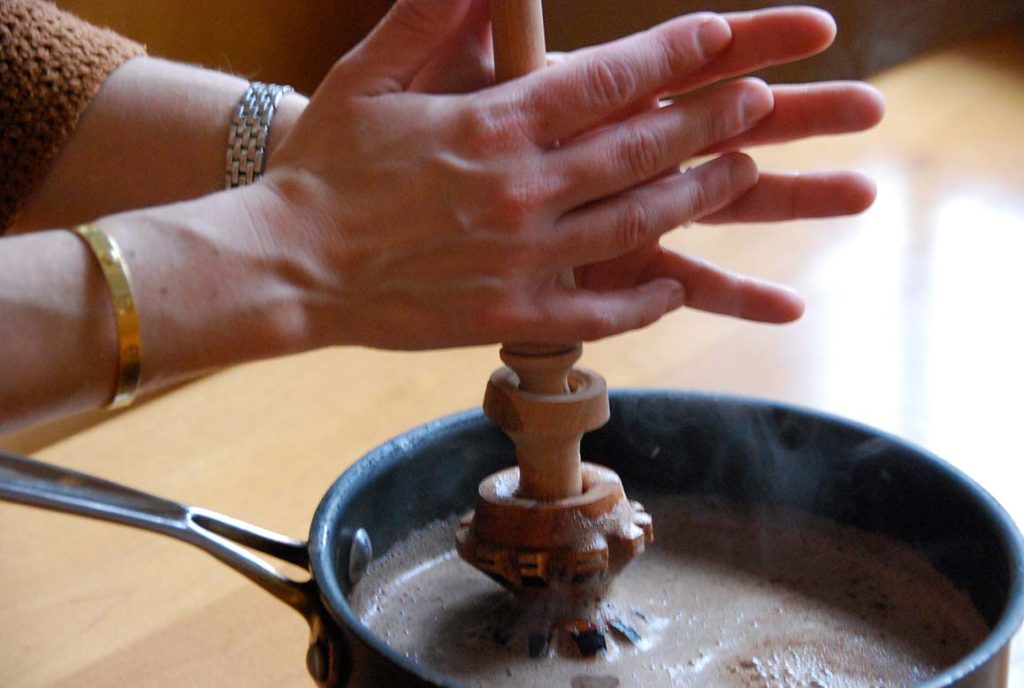
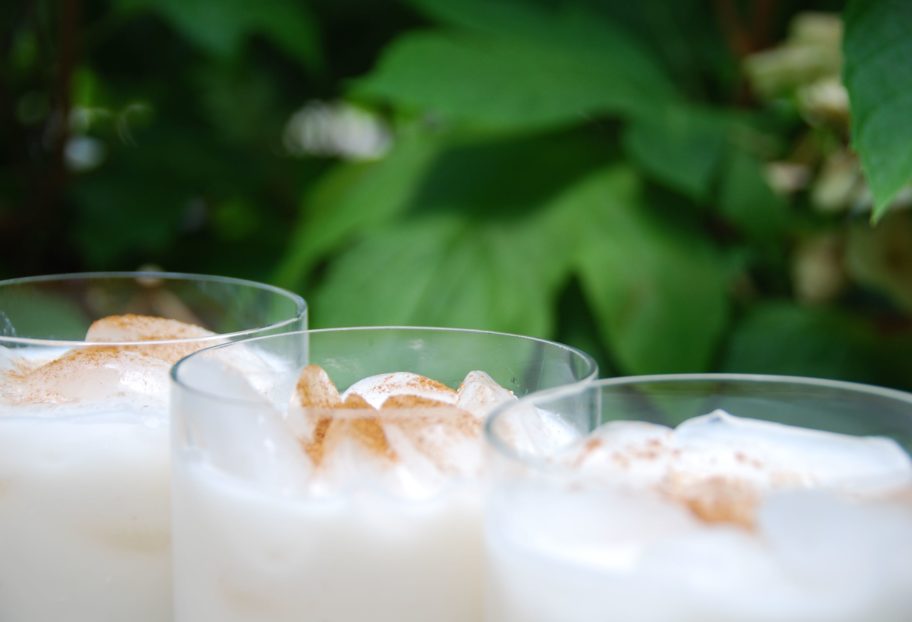
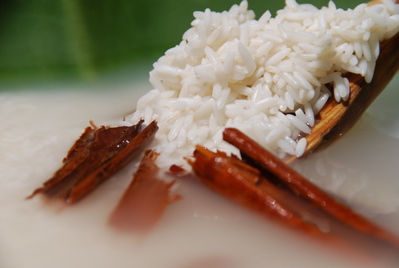 (Rice and cinnamon soaking in warm water, getting ready for an outstanding performance too!)


