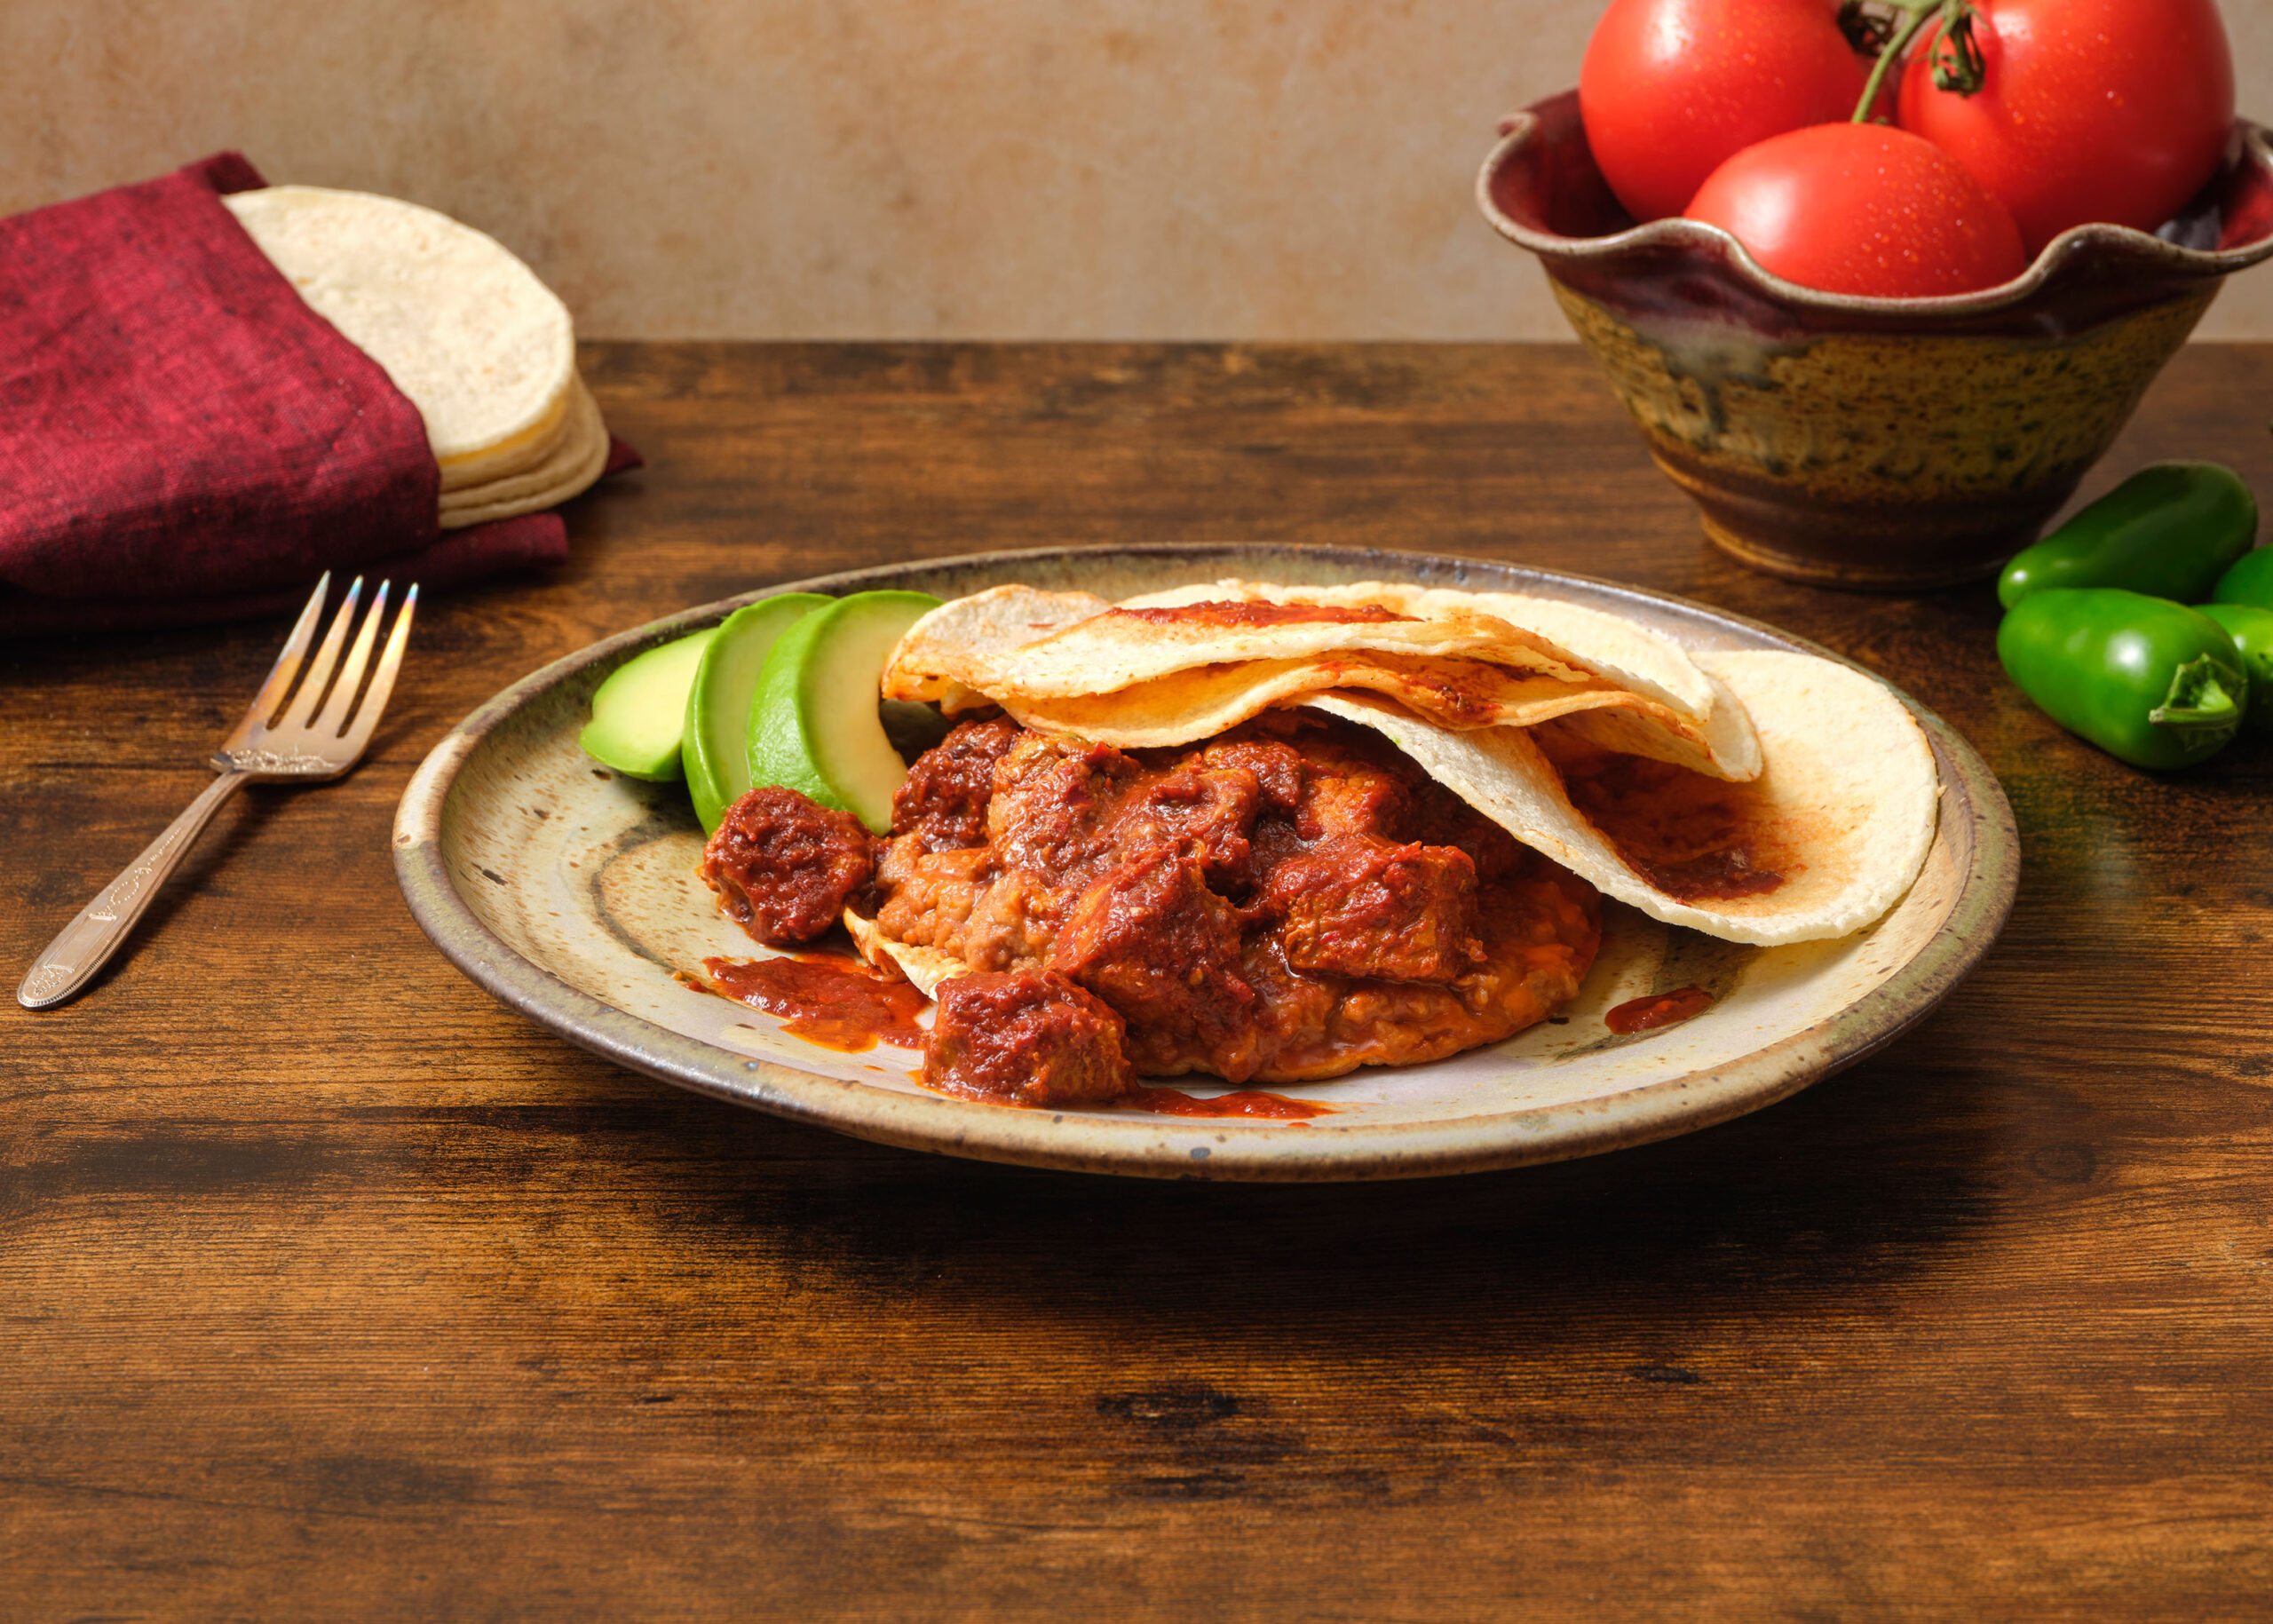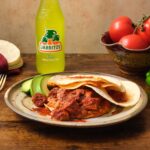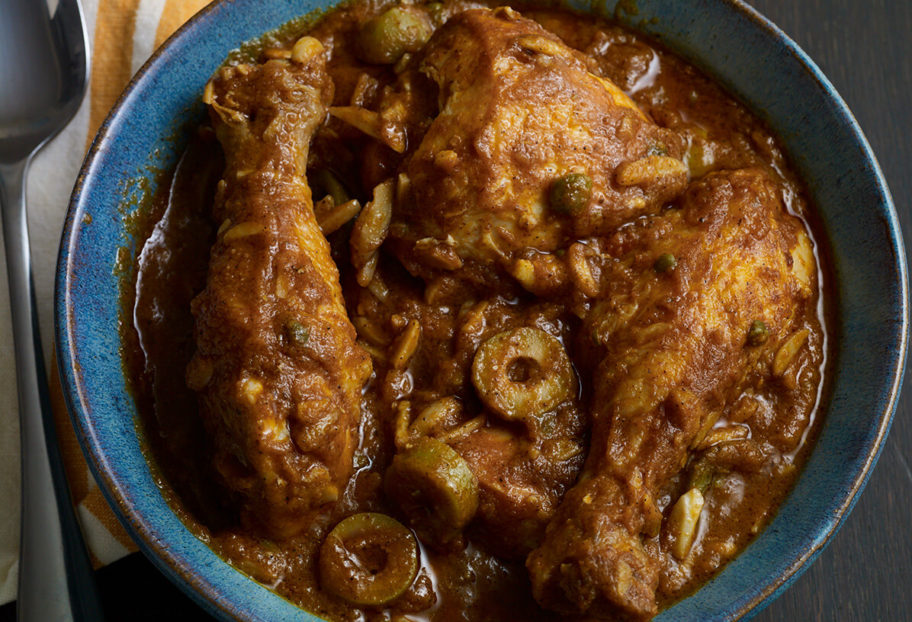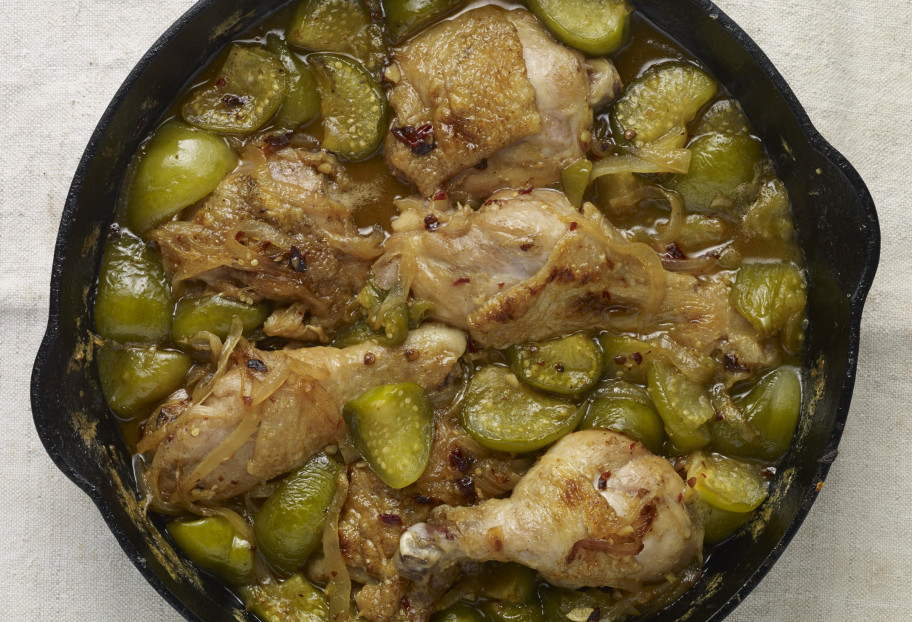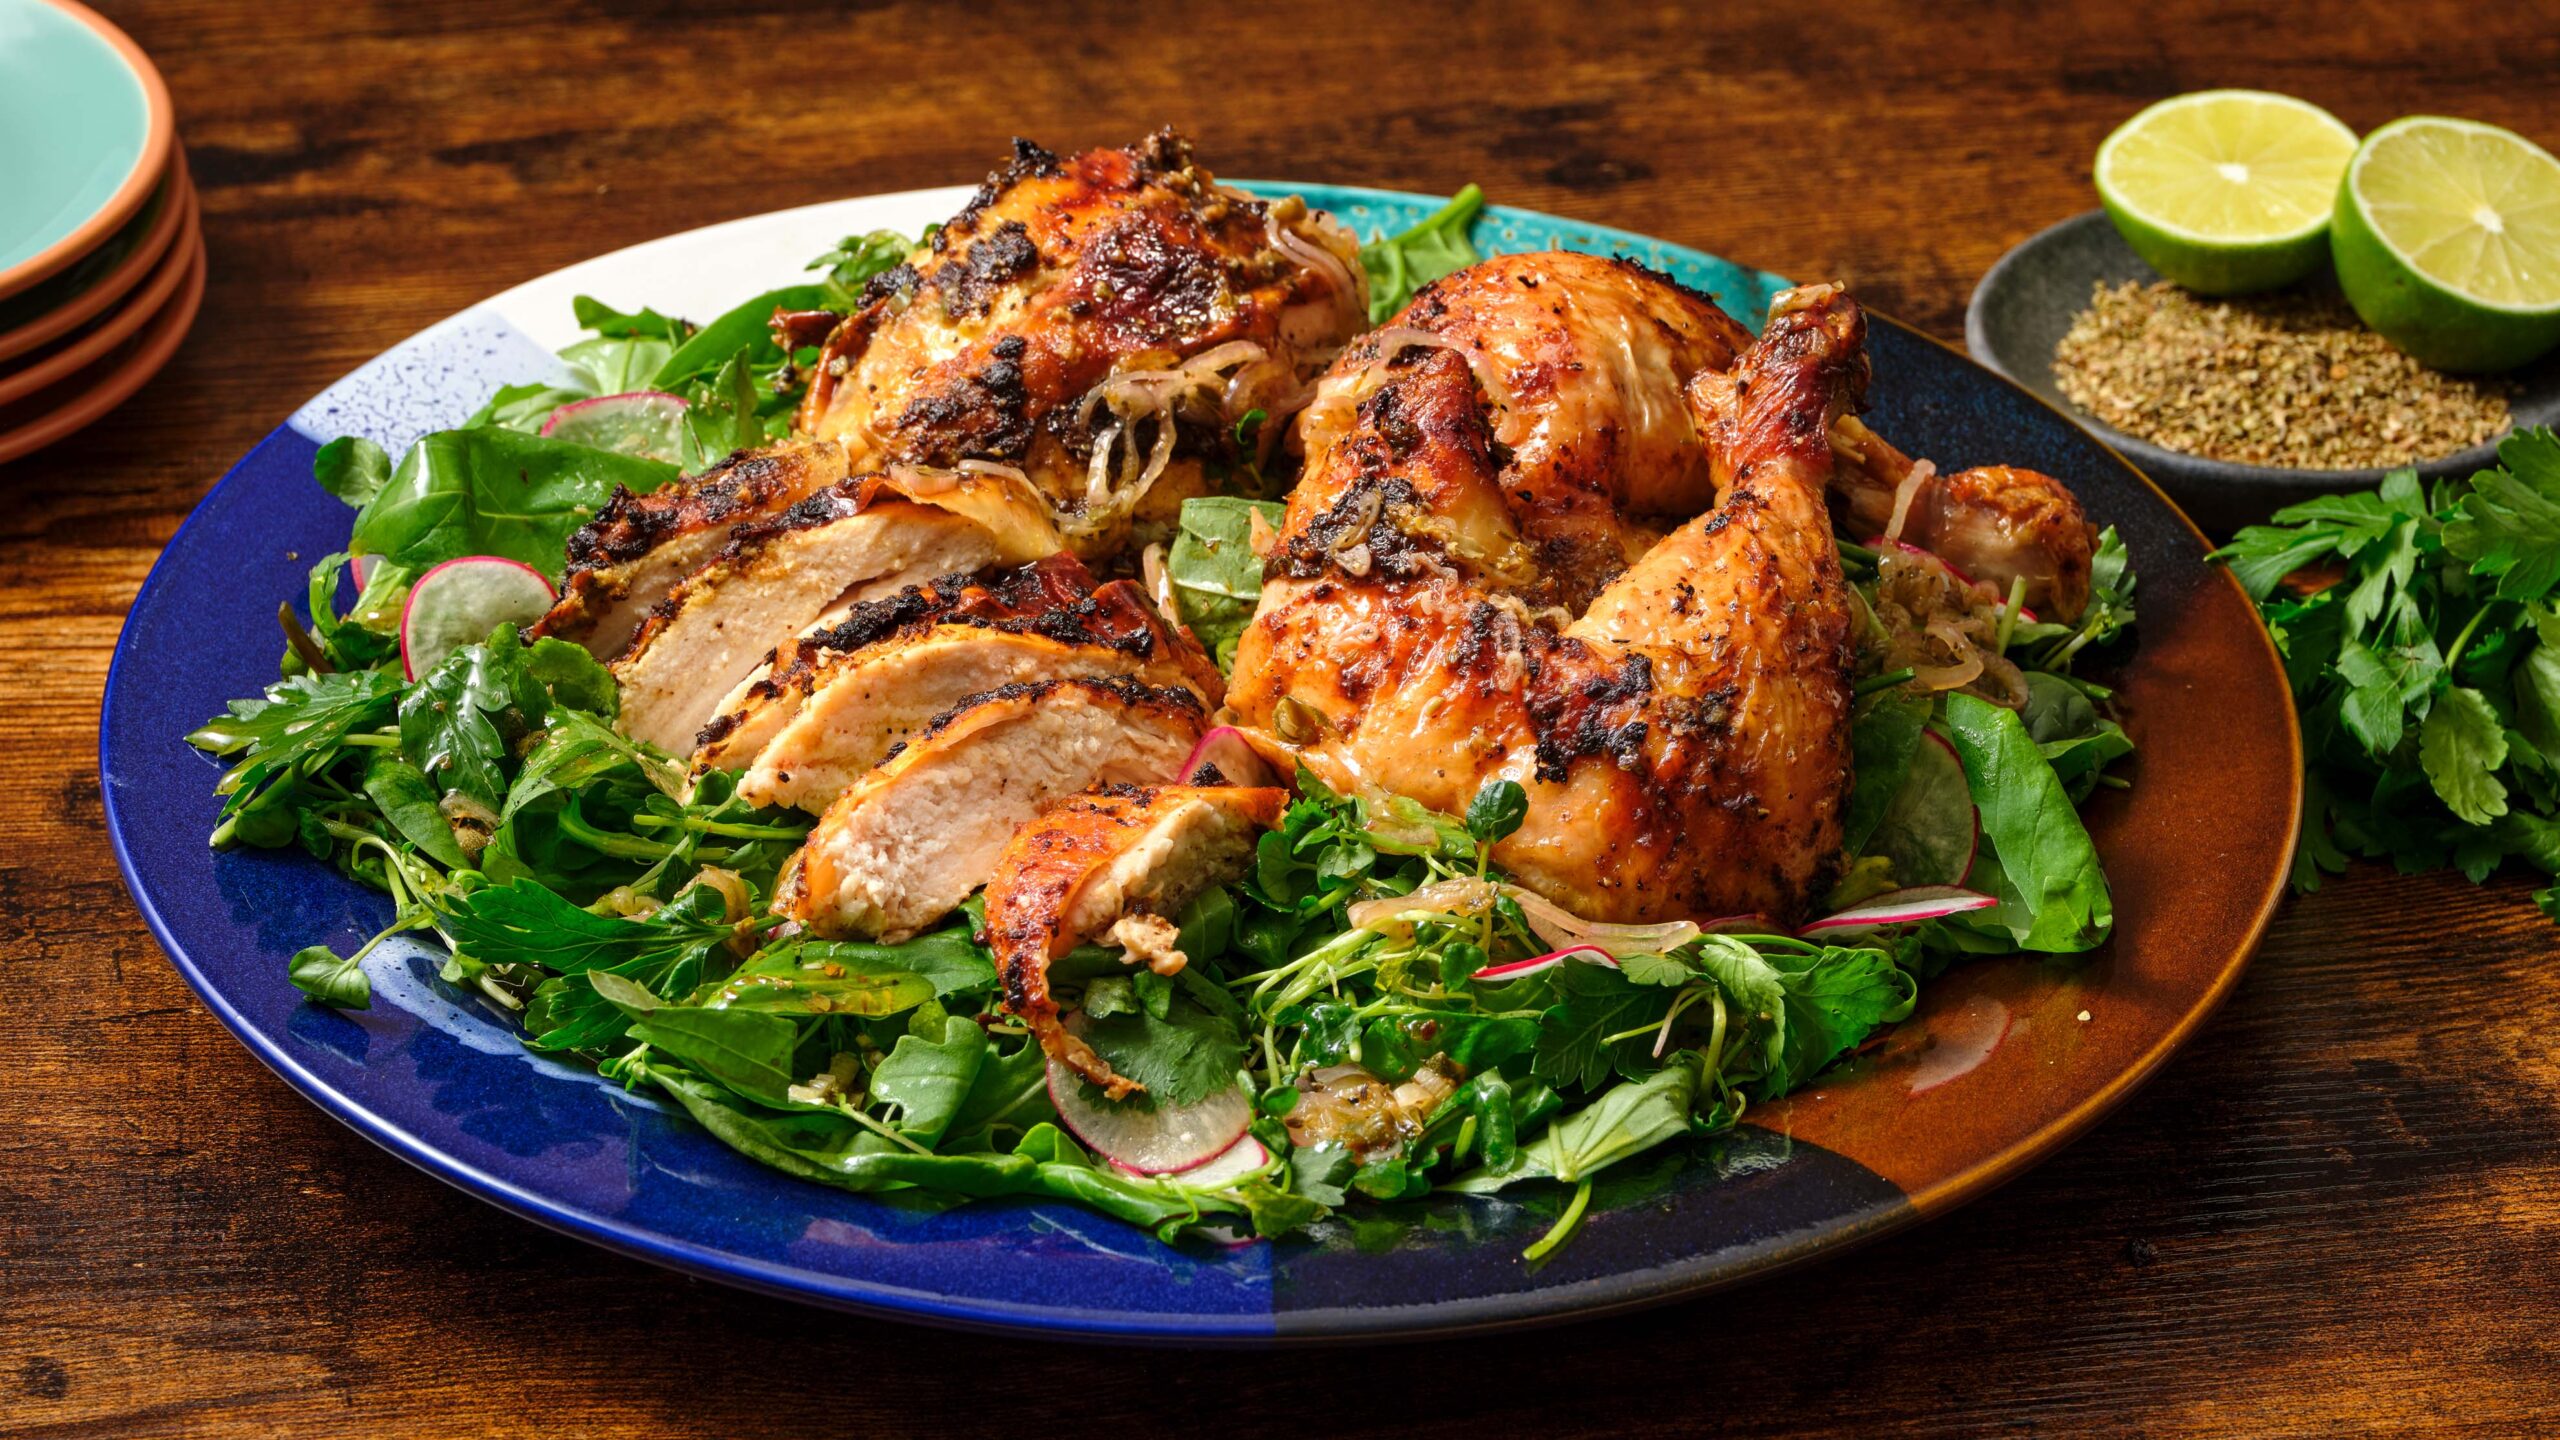
Roasted Charred Chicken
Roasted Charred Chicken from Pati's Mexican Table Season 11, Episode 9 "A Day with Hugo"
Servings: 4 servings
Ingredients
- 3 tablespoons fresh squeezed lime juice
- 10 garlic cloves
- 1 serrano or jalapeño chile stemmed, cut into pieces (seeding optional)
- 2 teaspoons dried piquín chiles
- 1 tablespoon dried oregano
- 1 teaspoon cumin seeds
- 2 teaspoons Dijon mustard
- 2 teaspoons Worcestershire sauce
- 1 tablespoon soy sauce
- 1 ½ teaspoons kosher or coarse sea salt or to taste
- 1 teaspoon freshly ground black pepper
- ¼ cup olive oil
- 1 4-5 pound whole chicken patted dry
- 1 celery stick coarsely chopped
- 1/4 white onion coarsely chopped
- 1 cup parsley leaves and upper part of stems coarsely chopped
- Serve with Super Greens Salad with Oregano Vinaigrette or at least the Oregano Vinaigrette for dipping or drizzling over the chicken
Instructions
- In the jar of a blender, add the lime juice, garlic, serrano chile, piquín chiles, oregano, cumin, Dijon, Worcestershire, soy sauce, salt, pepper, and oil. Puree until completely smooth.
- Gently, use your fingers to separate the chicken skin from the flesh wherever possible, so you can add the marinade. Completely cover the chicken with the wet rub/marinade, inside the chicken cavity and under and over the skin. Stuff the cavity with the chopped celery, onion, and parsley. You can roast immediately or place in a container, cover, and refrigerate for up to 48 hours.
- When ready to cook, preheat the oven to 450℉ with the rack in the lower position. Remove the chicken from the refrigerator and place on a rack in a roasting pan. Crisscross the legs and tie with twine, and tuck the wings behind the back.
- Roast for 45 to 55 minutes, or until the chicken reaches an internal temperature of 165℉, and when pierced with a knife, the juices run completely clear, if any. Remove from the oven, cover with foil and let sit for at least 10 minutes before carving.
- Carve the chicken and serve with the Super Greens Salad and a generous amount of the Oregano Vinaigrette drizzled on top.
Notes
Pollo Rostizado Norteño