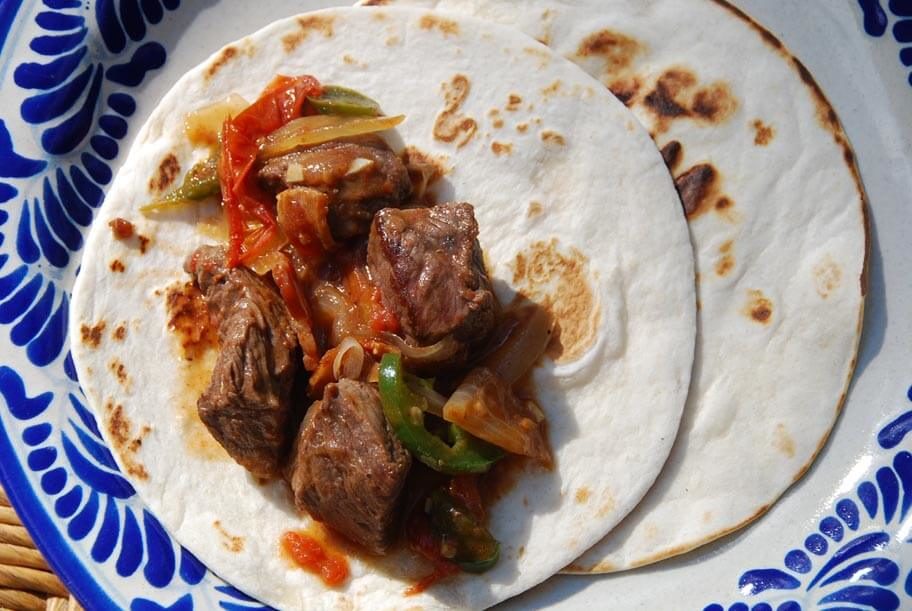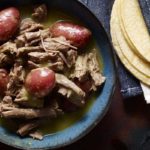
Shredded Flank Steak with Potatoes in Green Salsa
Shredded Flank Steak with Potatoes in Green Salsa recipe from Pati's Mexican Table Season 3, Episode 1 “Born in The Kitchen”
Servings: 6 servings
Ingredients
- 2 pounds flank steak cut into 3- to 4-inch chunks
- 2 bay leaves
- Half of a white onion
- 3 garlic cloves peeled
- 1 teaspoon kosher or coarse sea salt
- 10 black peppercorns optional
- 1 pound tomatillos husks removed and rinsed
- 1 garlic clove peeled
- 1 jalapeño or serrano chile or to taste
- 1/3 cup coarsely chopped white onion
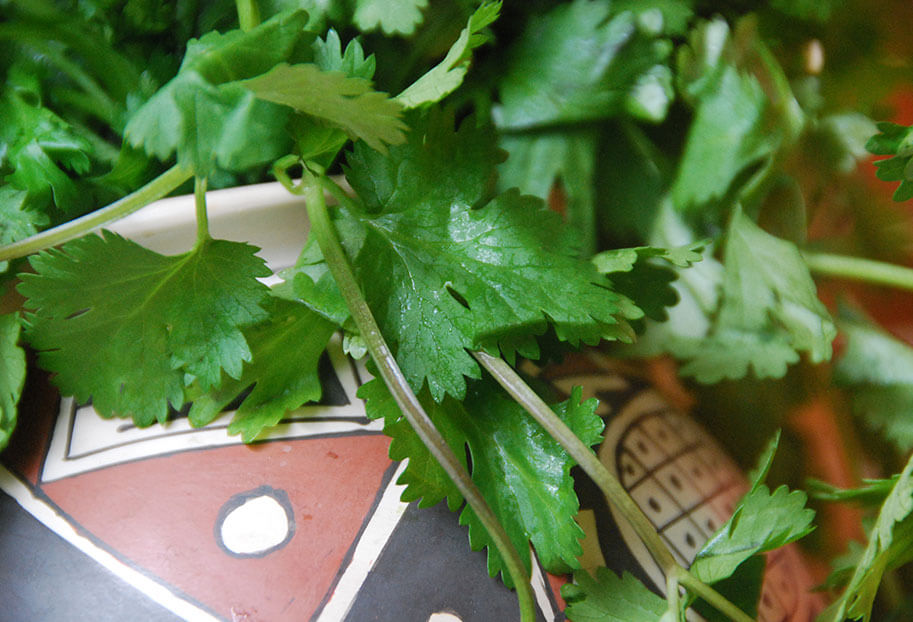
- 1 cup cilantro leaves and top part of stems
- 1/2 teaspoon kosher or coarse sea salt or more to taste
- 2 tablespoons vegetable oil
- 1 pound baby red potatoes if they are not so small, halved or quartered to be bite size
Instructions
- Place meat in a soup pot or large, heavy pot along with the bay leaves, half an onion, 3 garlic cloves, 1 teaspoon salt and black peppercorns. Cover with water up to 2 inches above top of the meat. Bring to a boil over medium-high heat, reduce the heat to medium and simmer, partially covered, for 50 minutes to an hour, until the meat is thoroughly cooked and soft. Strain, reserving 3 cups of the meat cooking liquid. Once the meat has cooled enough to handle, shred it into pieces.
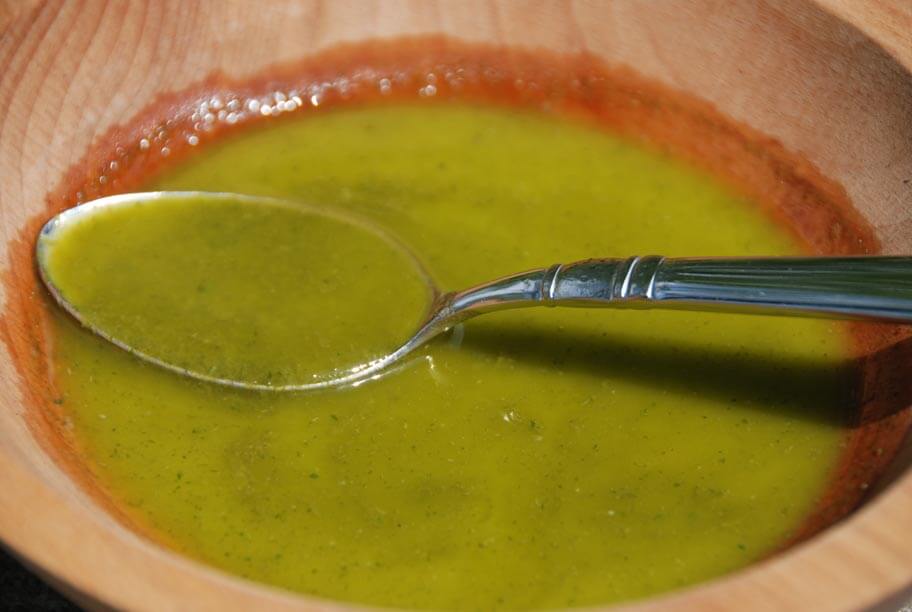
- Place the tomatillos, 1 garlic clove and chiles in a saucepan and cover with water. Bring to a simmer over medium heat, and cook until the tomatillos have changed their color from bright green to pale green and are soft and thoroughly cooked but not coming apart, about 10 minutes. Drain and place in a blender or food processor, adding only one chile to begin. Add the onion, cilantro and salt to the blender and puree until smooth. Taste for heat, adding more chile until you have the desired amount of heat.
- Heat the oil in a large casserole pan over medium heat. When the oil is hot but not smoking, pour the salsa into the pan, along with the potatoes and cook, partially covered, until the sauce thickens slightly, about 5 to 6 minutes. Toss in the shredded meat and pour in 2 cups of the meat cooking liquid. Stir and cook uncovered for about 25 minutes, or until the potatoes are completely cooked through and soft and the stew has thickened considerably. Add more cooking liquid if the sauce is thickening too much.
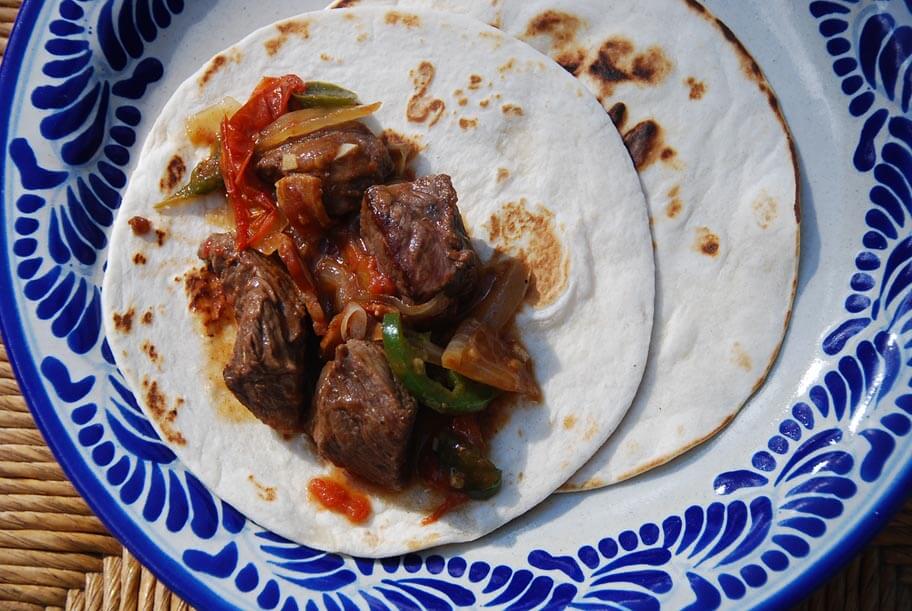
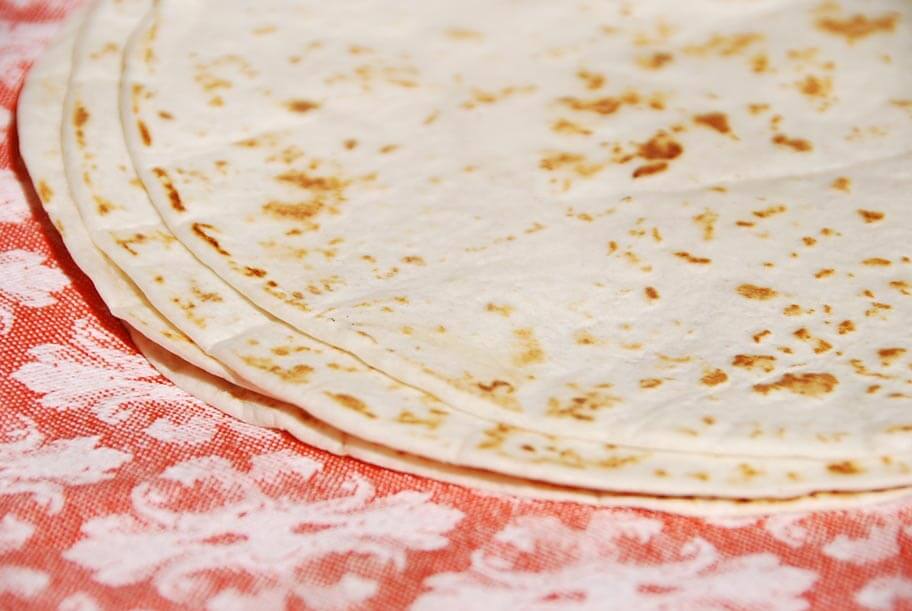
- Serve with a side of warm corn tortillas.
Notes
Guisado de Carne en Salsa Verde