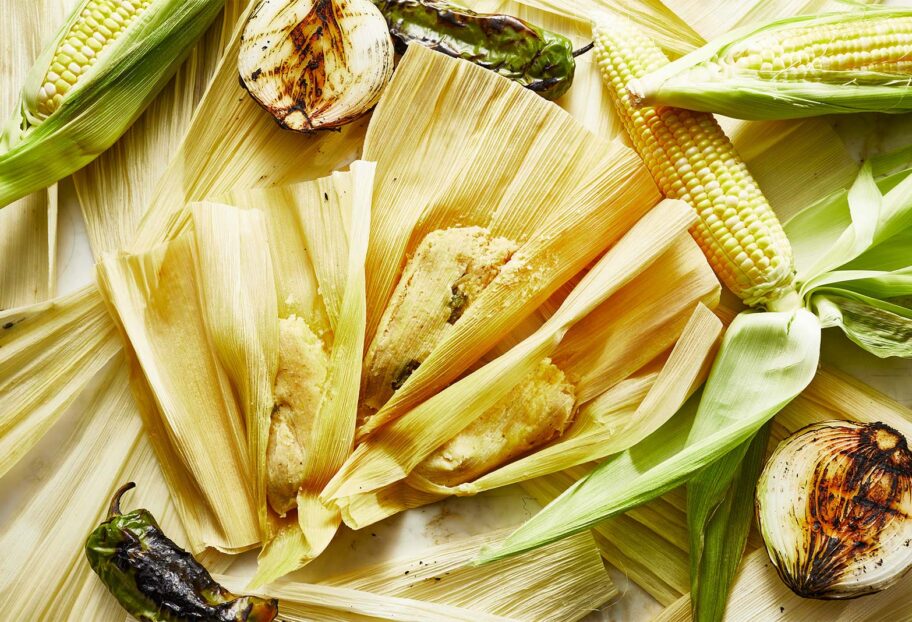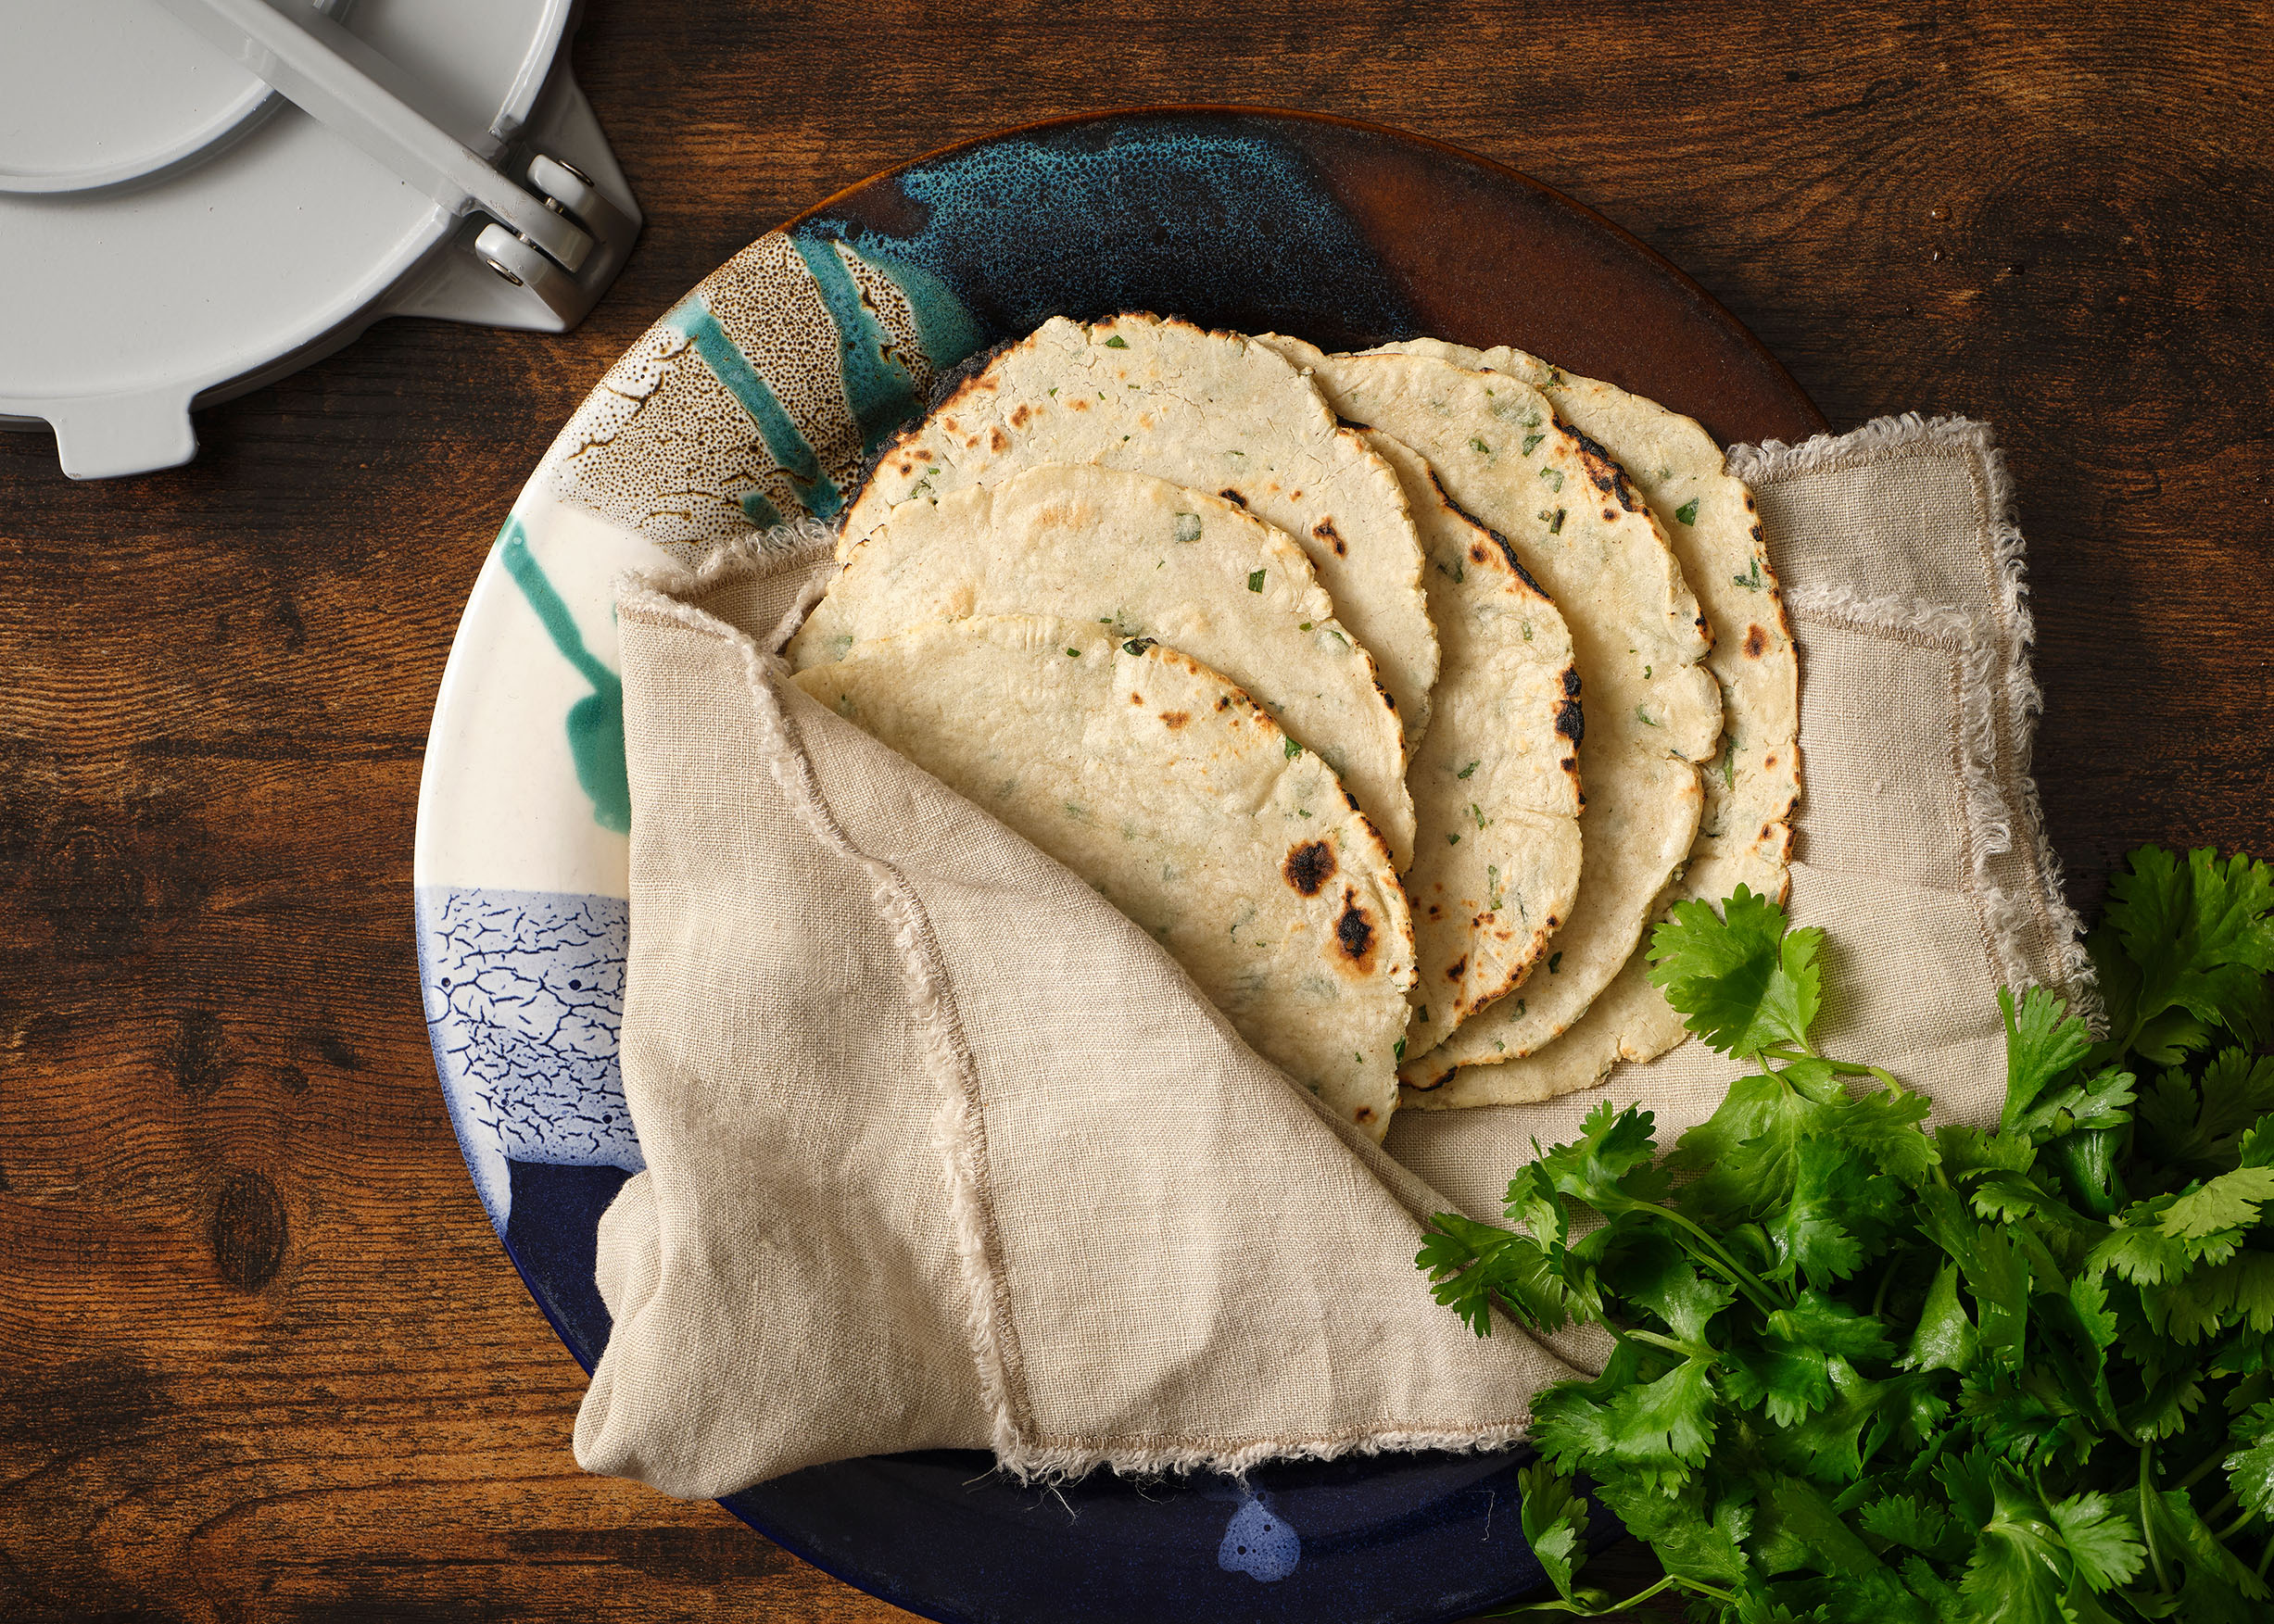
Fresh Herb Corn Tortillas
Fresh Herb Corn Tortillas recipe from Pati’s Mexican Table Season 12, Episode 8 “Maya Today”
Servings: 16 corn tortillas
Ingredients
- 2 1/2 cups (231g) masa harina
- 1/4 teaspoon kosher or coarse sea salt
- 1 2/3 cups warm water plus more as needed
- 1/2 cup finely chopped cilantro, epazote or chives or a mix of any of them
- Grated melty cheese such as Oaxaca, Monterey Jack, Muenster or mozzarella, optional, if making quesadillas
Instructions
To make the dough:
- In a large mixing bowl, combine the masa harina and salt. Gradually add the warm water, stirring with your hands to make a cohesive dough. Add the finely chopped herbs. Using your hands, knead the dough in the bowl until it’s smooth, about a minute or so. If the dough sticks to your hands and feels wet, add more masa harina a teaspoon at a time. If it crumbles when you roll a piece into a ball, add more water a teaspoon at a time.
To shape the tortillas:
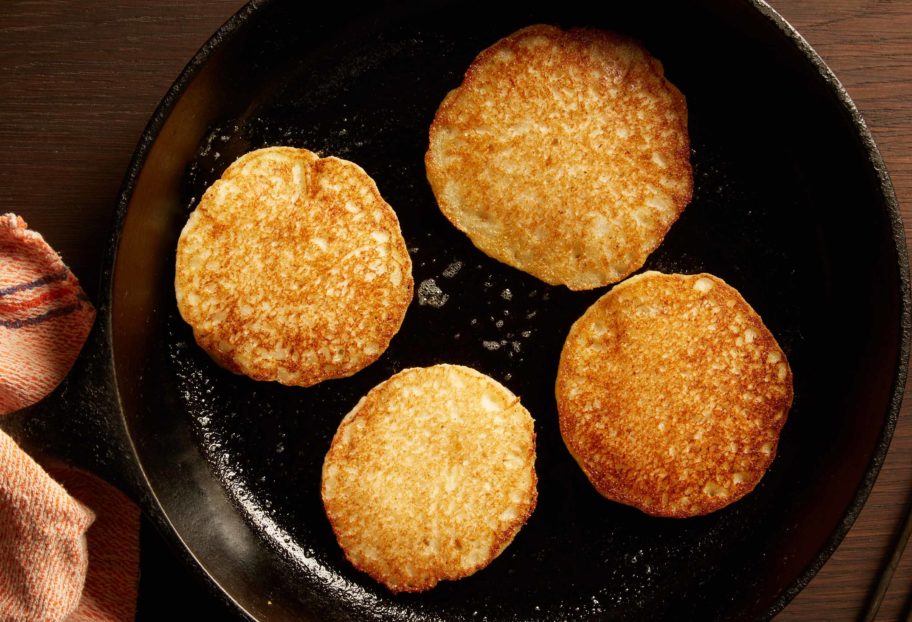
- Preheat a comal, a cast iron or nonstick pan, or a griddle, over medium heat for 5 minutes, or until evenly hot. Cut two round or square pieces of plastic – from a plastic produce or zip-top bag – to a size about 1/2″ larger than the diameter of your press. Set aside.
- Divide the dough into 16 pieces and roll each piece into a ball. Cover them with a kitchen towel to keep them moist.
- Working with one ball of dough at a time, place one piece of plastic on the bottom of the tortilla press, place the ball of dough, and top it with the second piece of plastic. Gently, squeeze the handle of the press until the dough is about 1/16” to 1/8” thick and about 5” in diameter. To achieve a nicely round tortilla, jiggle the handle of your press just as you near the bottom. You may need to press it a couple of times to get the desired thinness.
To cook the tortillas:
- Open the tortilla press, peel off the top piece of plastic, and then take the tortilla on the bottom piece of plastic next to the comal, so that you can pass the tortilla to one hand as you remove the bottom plastic with the other hand and quickly but gently lay the tortilla on the hot pan. Don’t worry if it isn’t perfectly flat (you’ll get better as you practice), and don’t try to move it, which will cause it to tear. Return the piece of plastic to the bottom of the tortilla press.
- Cook the tortilla until it releases easily from the pan and its color has lightened and become opaque, 40 to 45 seconds; you don’t want the tortilla to brown or become freckled at this point.
- Using a spatula or your fingers, flip the tortilla and cook it until the bottom starts to brown and freckle, 70 to 90 seconds more. Flip the tortilla one more time and cook it until it puffs, 10 to 15 seconds. If the tortilla doesn’t puff on its own, gently poke it a few times near the center. Once it puffs, let the tortilla cook for 15 seconds longer, until fully set and soft. Remove the tortilla from the heat and wrap it in a clean kitchen towel, or transfer it to a cloth-lined tortillero.
- Repeat the pressing and cooking process with the remaining dough.
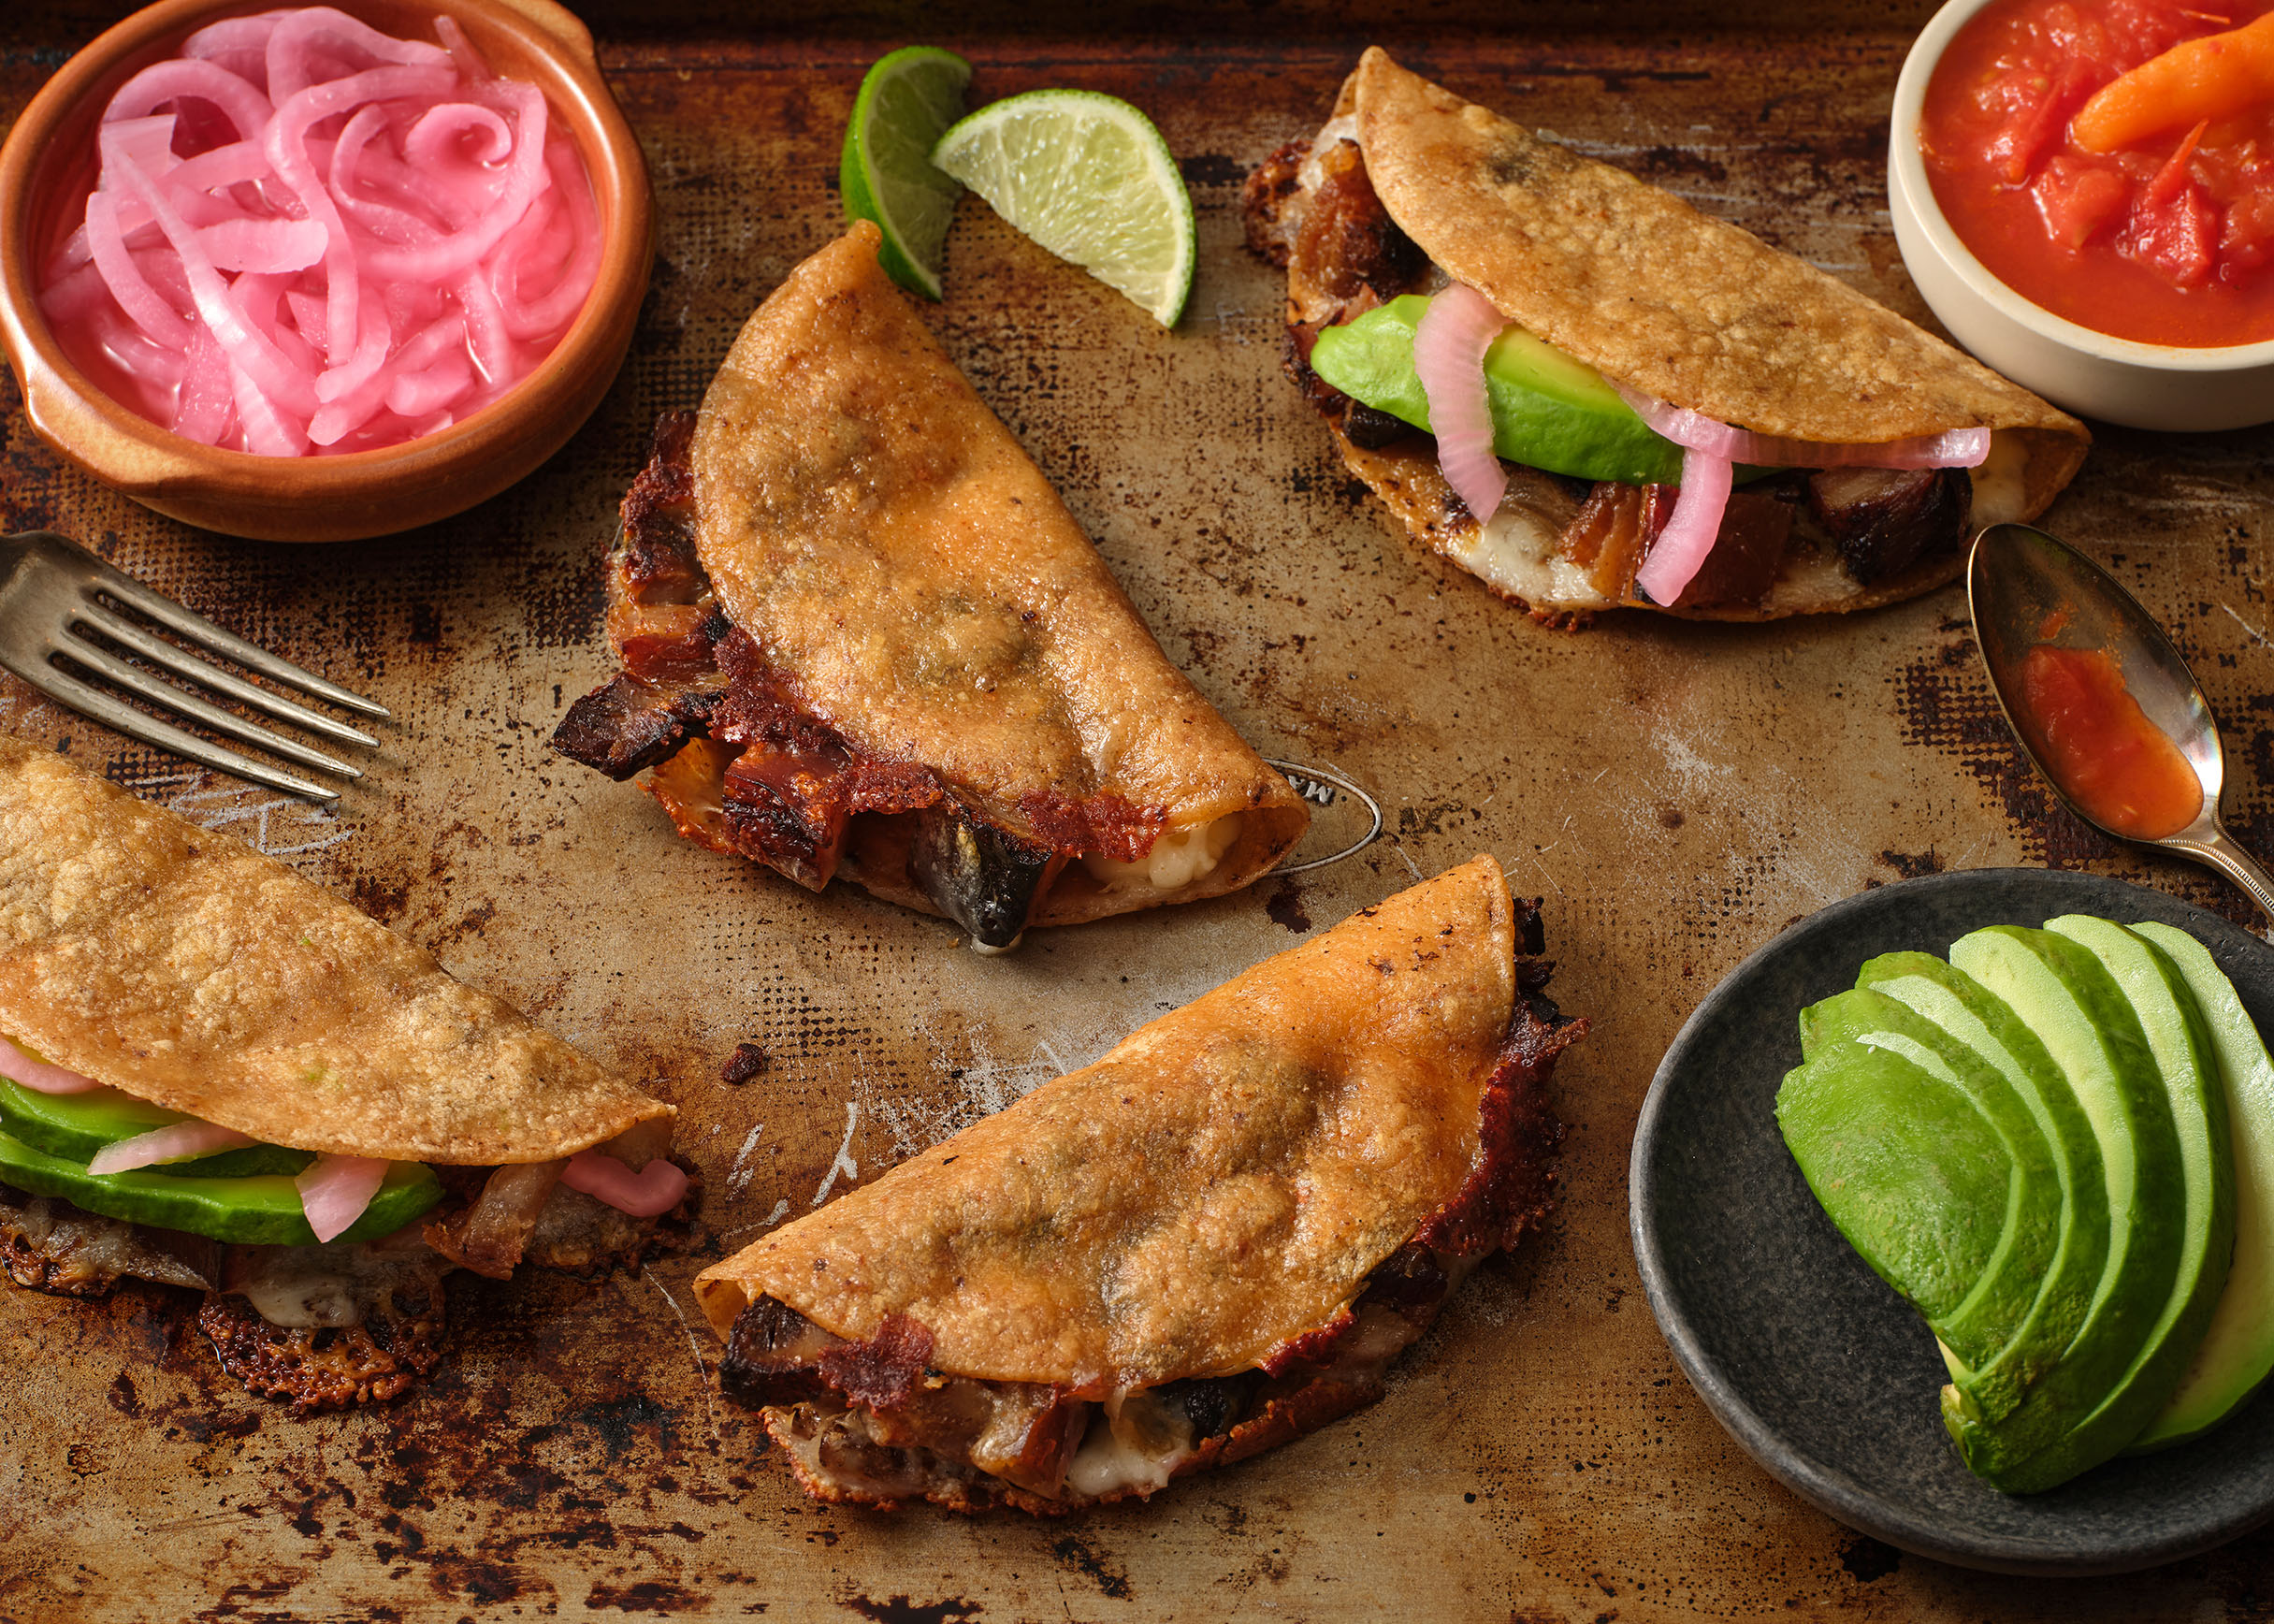
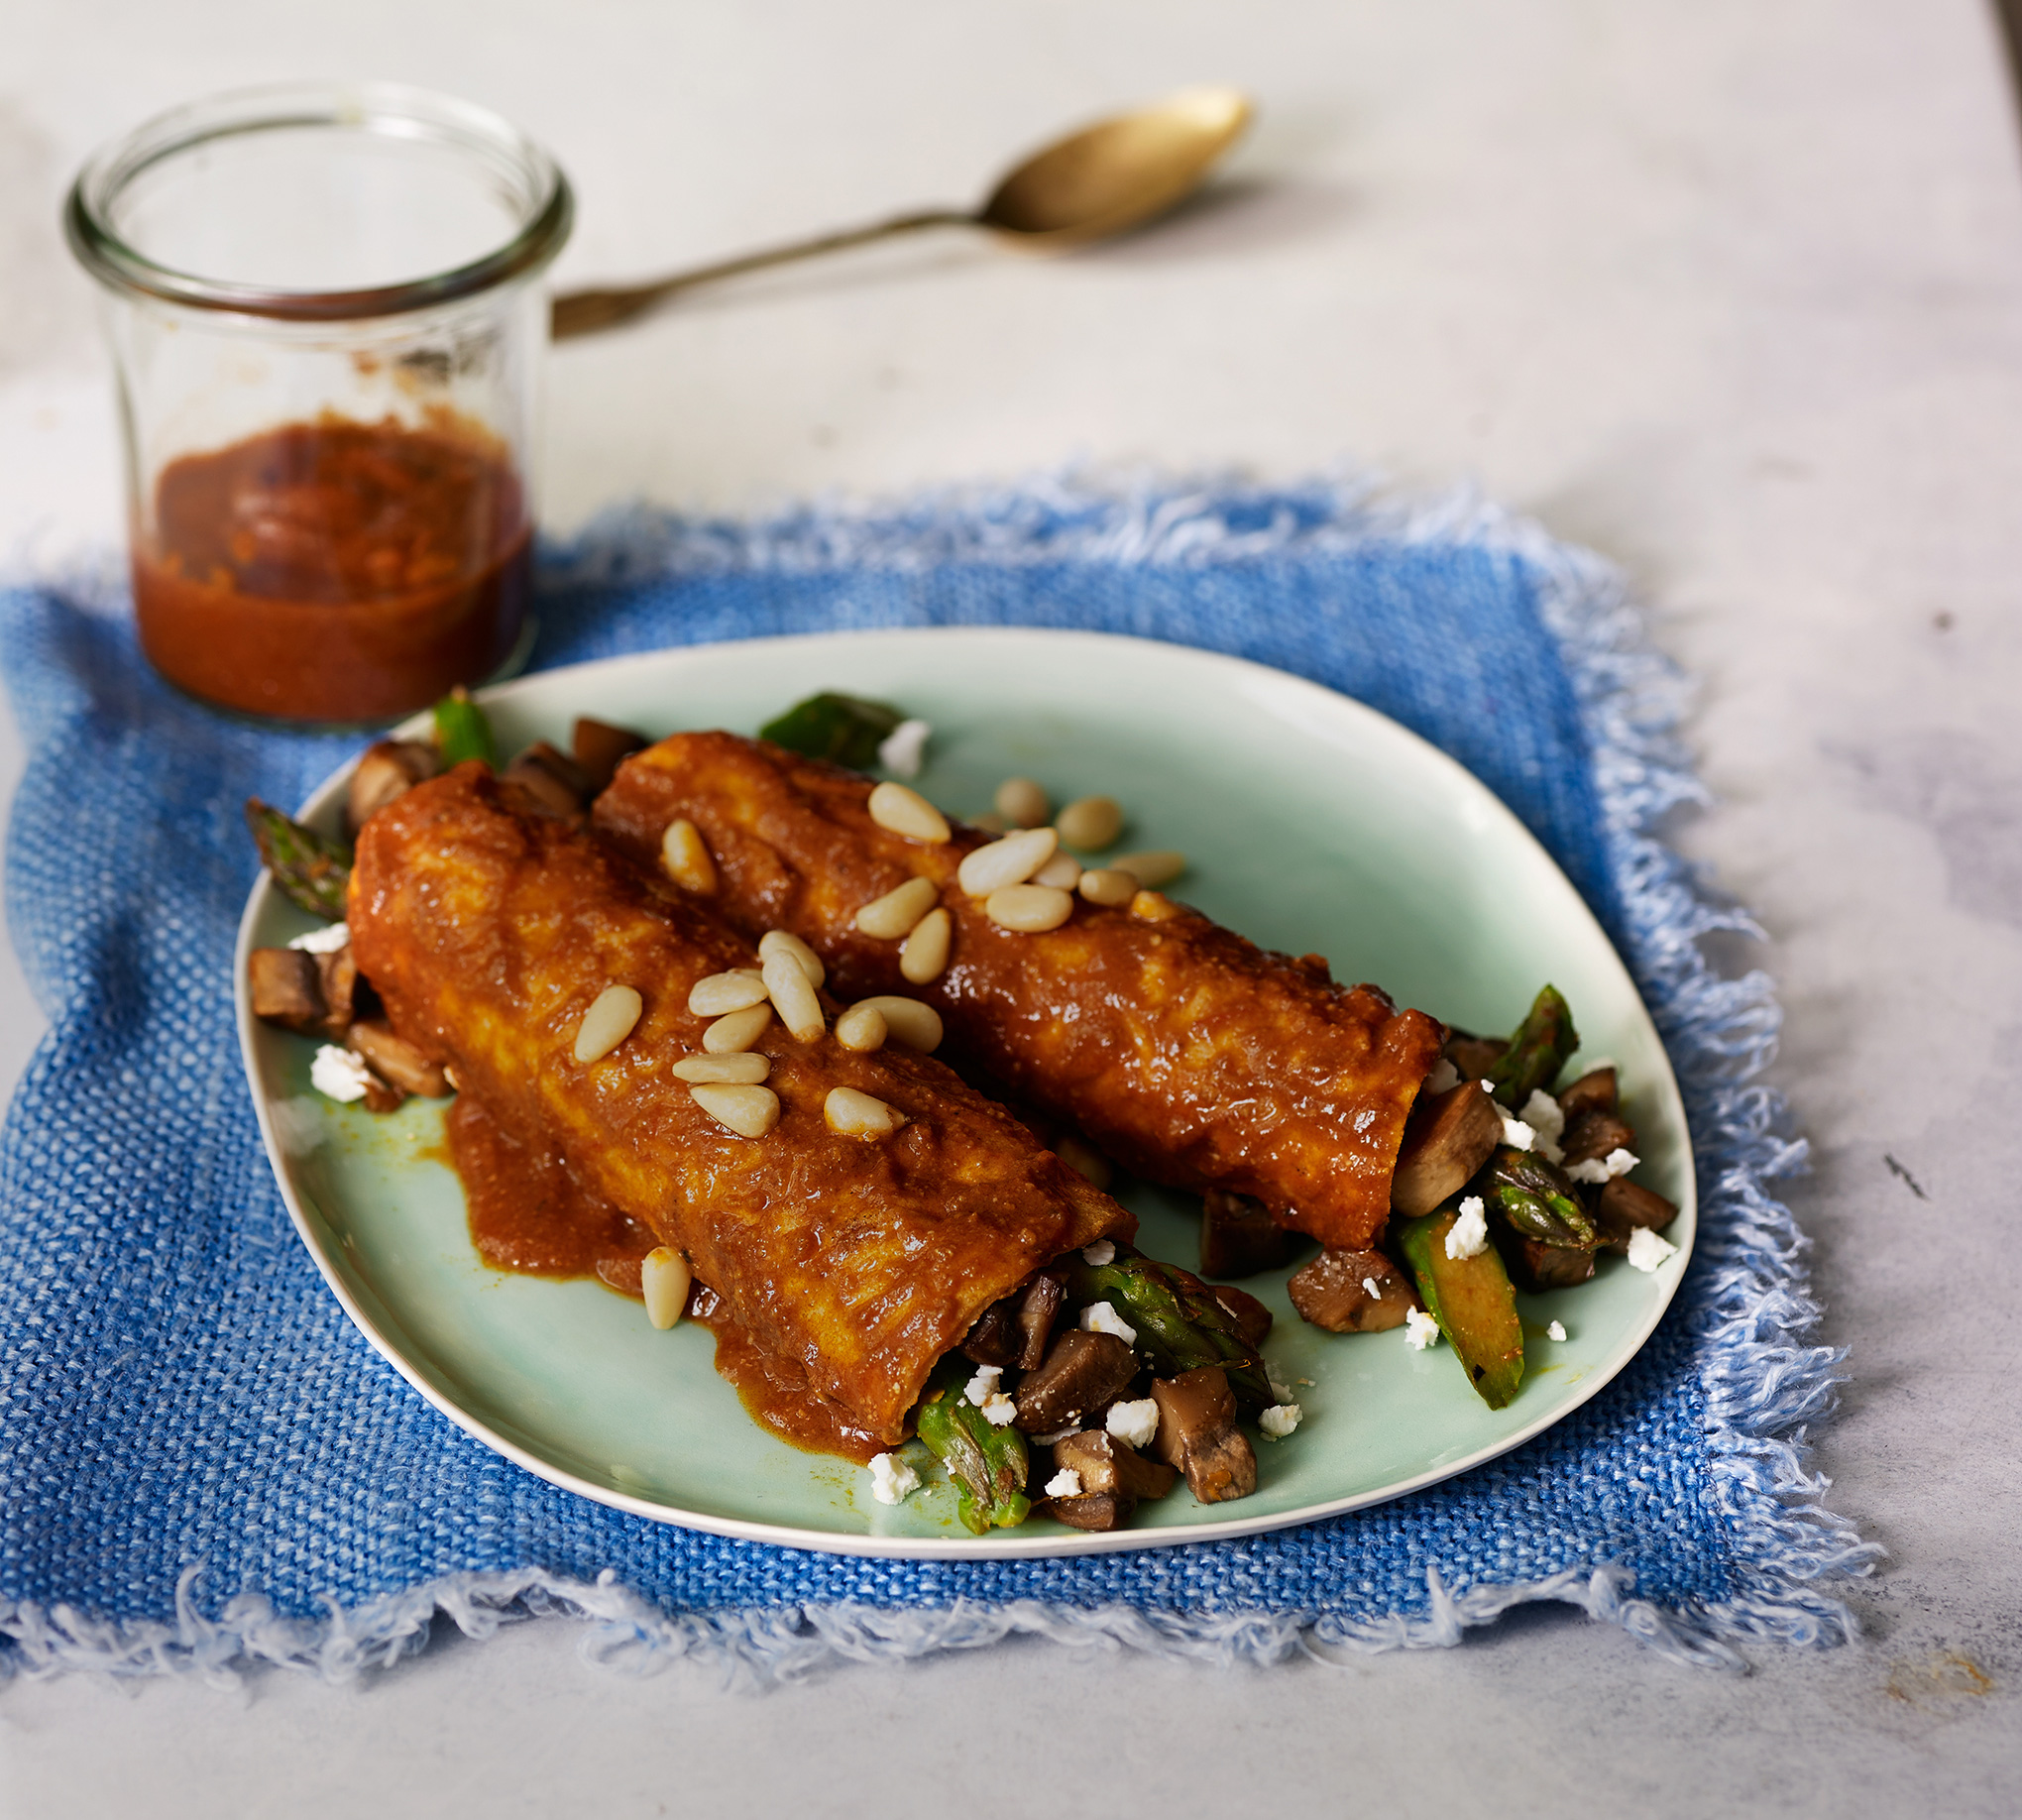
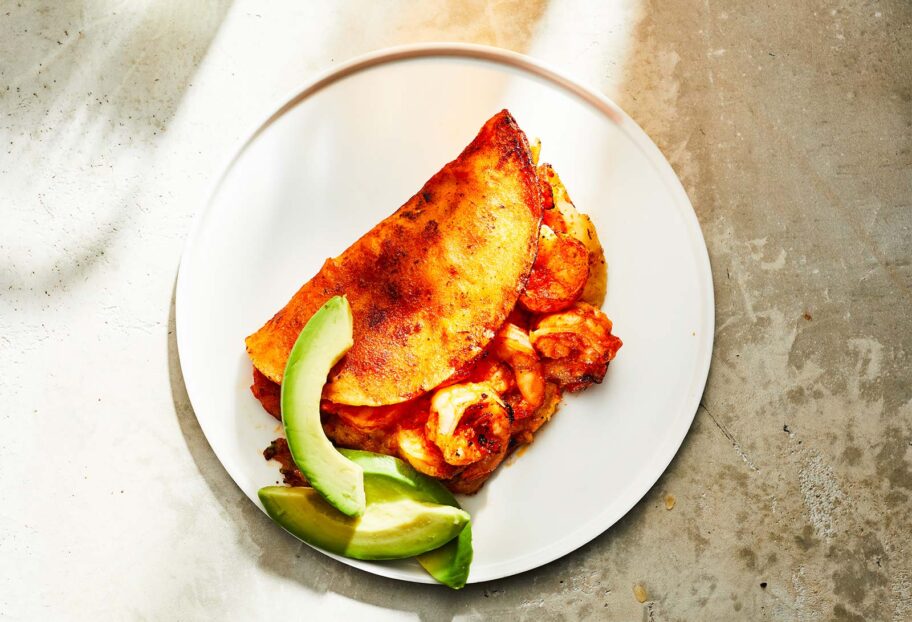
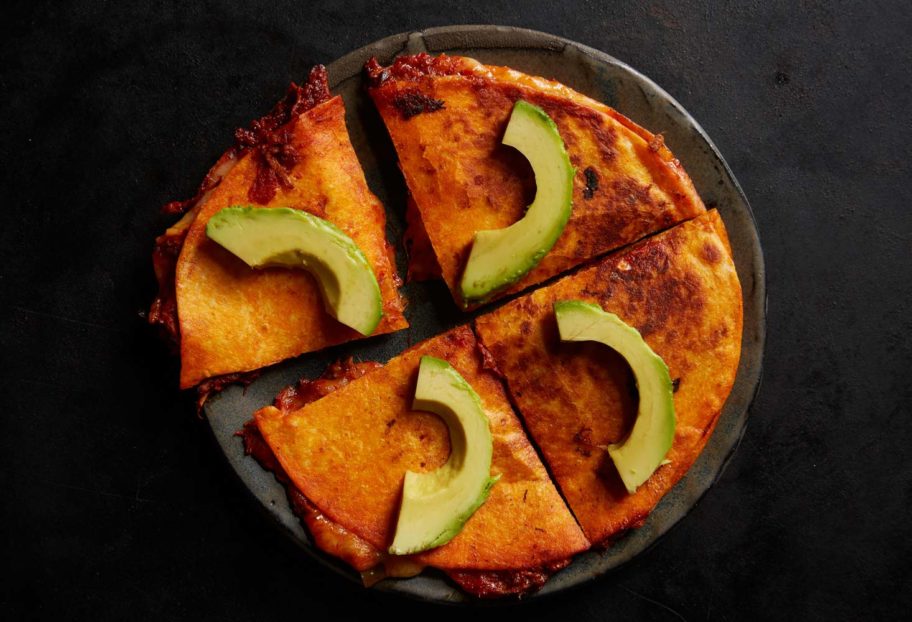
- If making quesadillas, add melty cheese, and if you want, a fresh leaf of epazote, to the center of a freshly made tortilla. Either fold in half or cover with a second tortilla and heat on the comal until the cheese is completely melted, flipping in between.
Notes
Tortillas con Hierbas Frescas