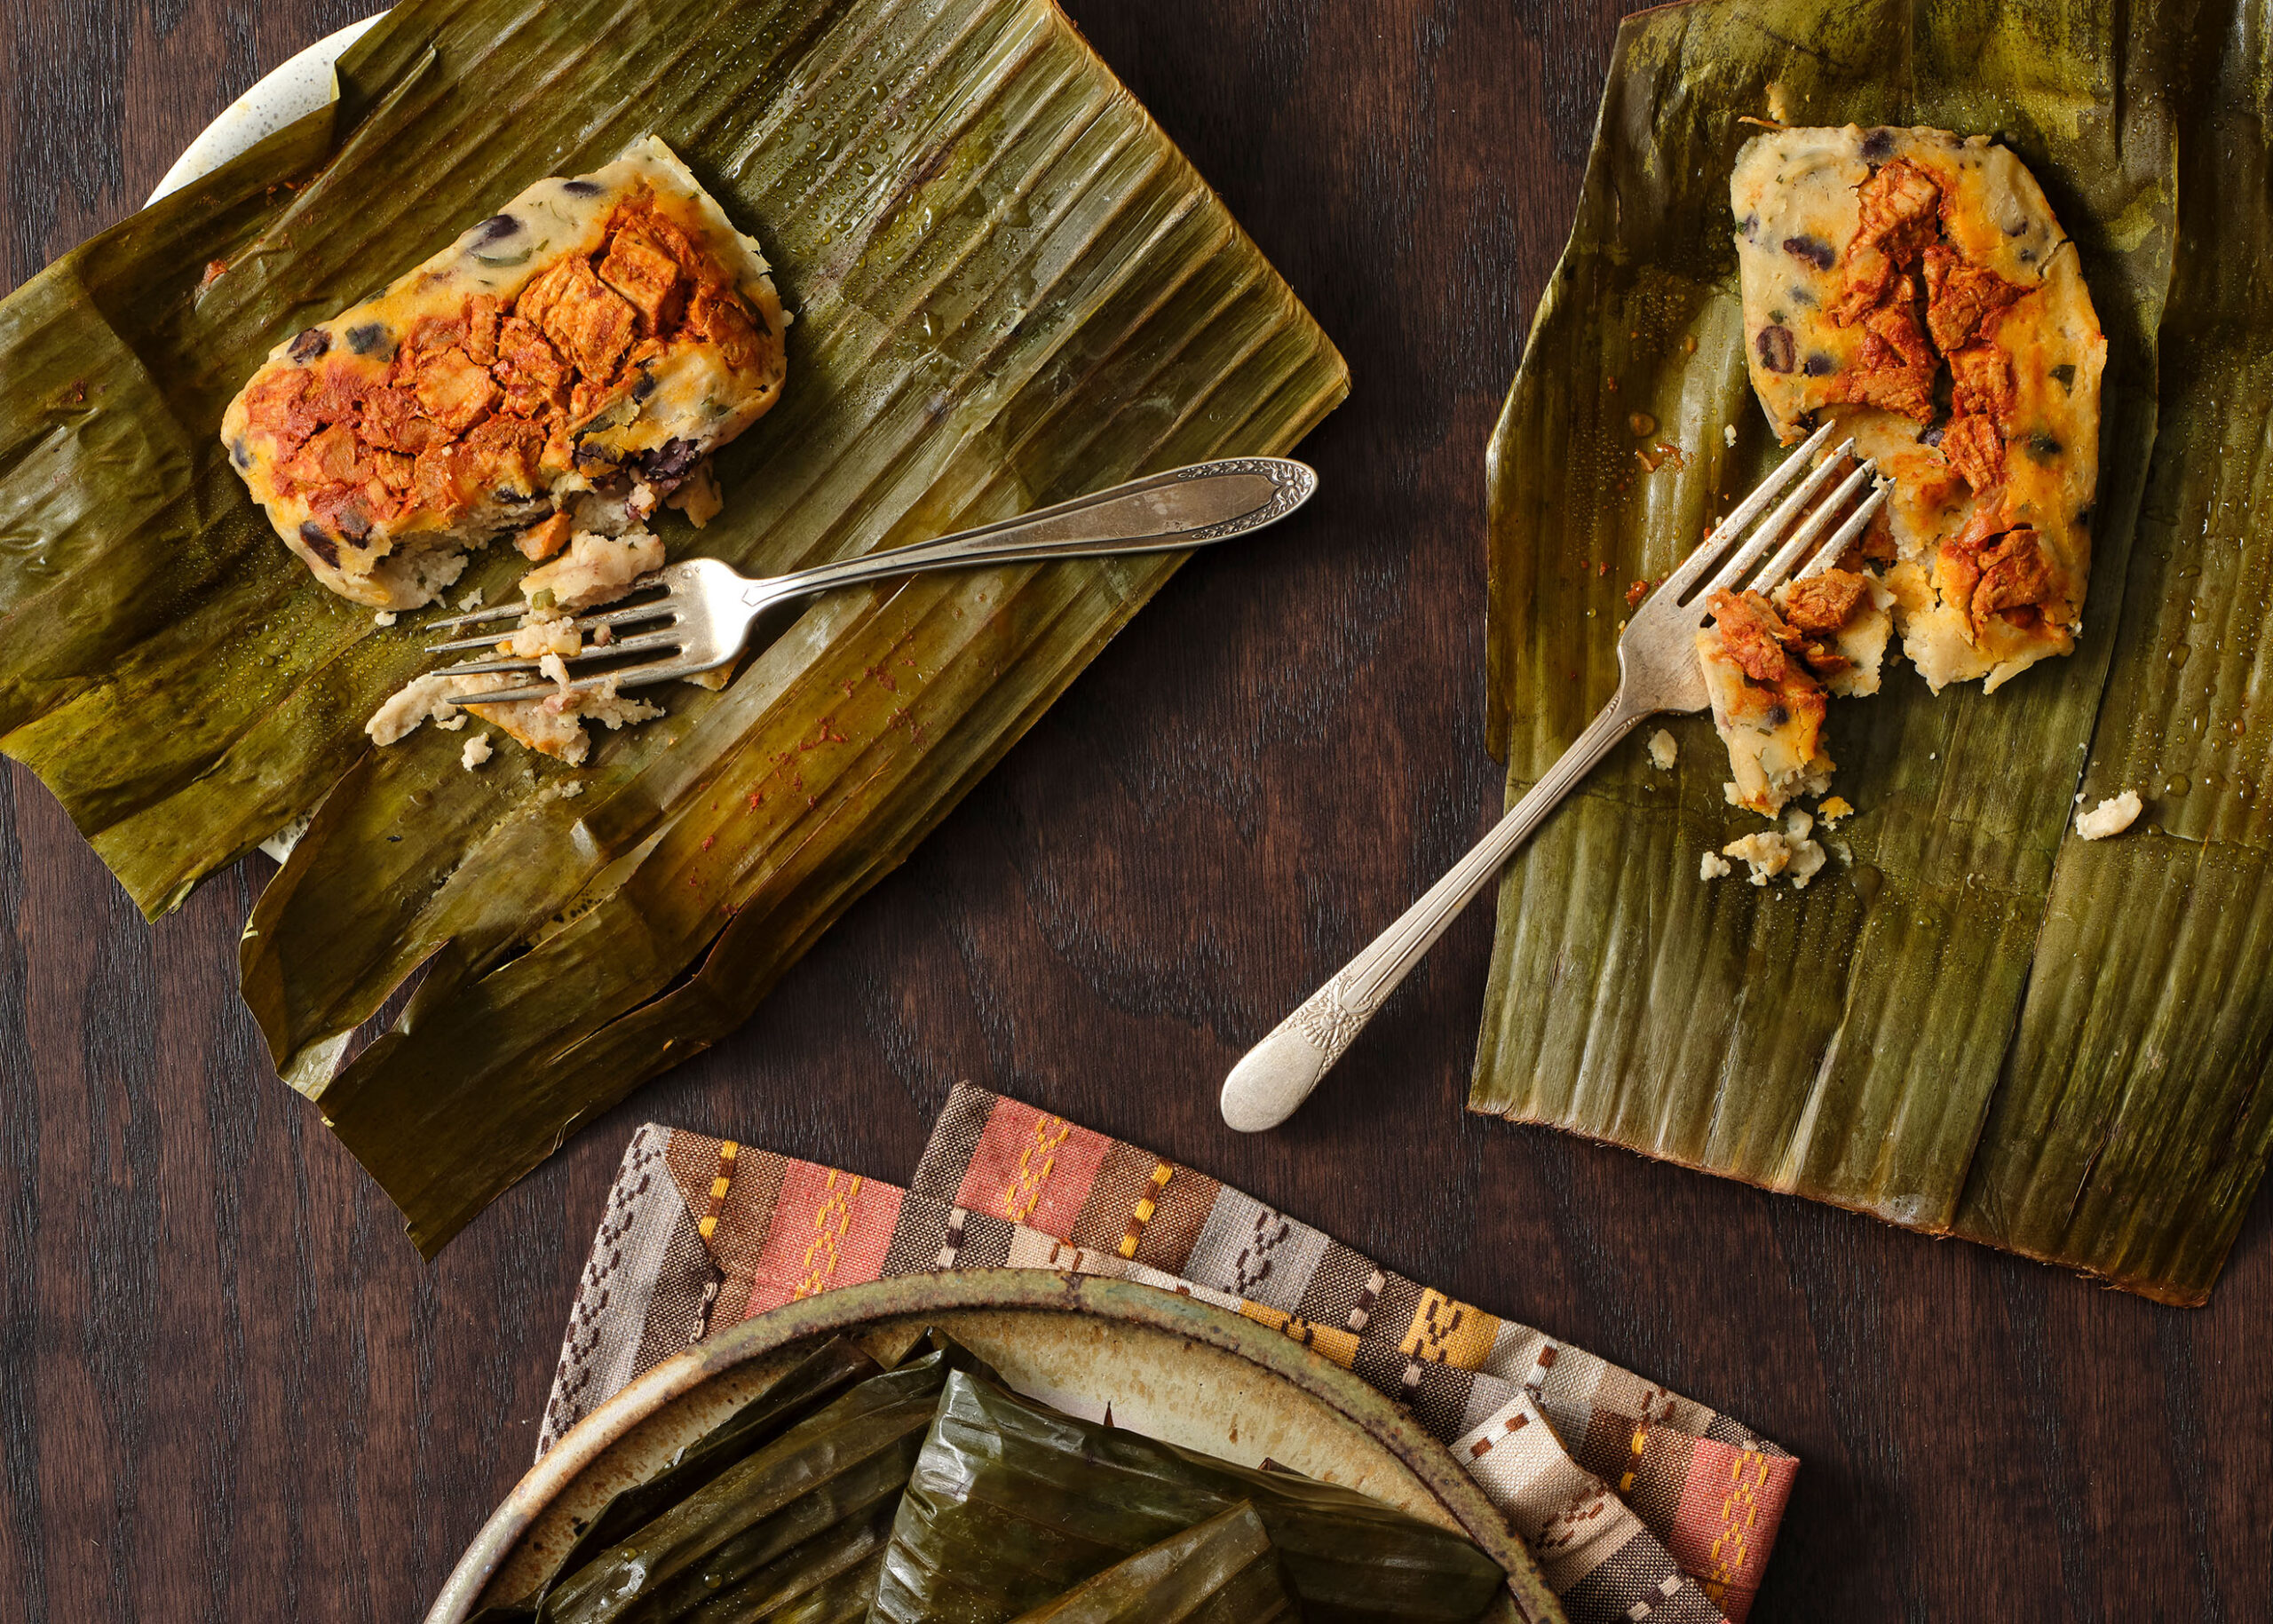

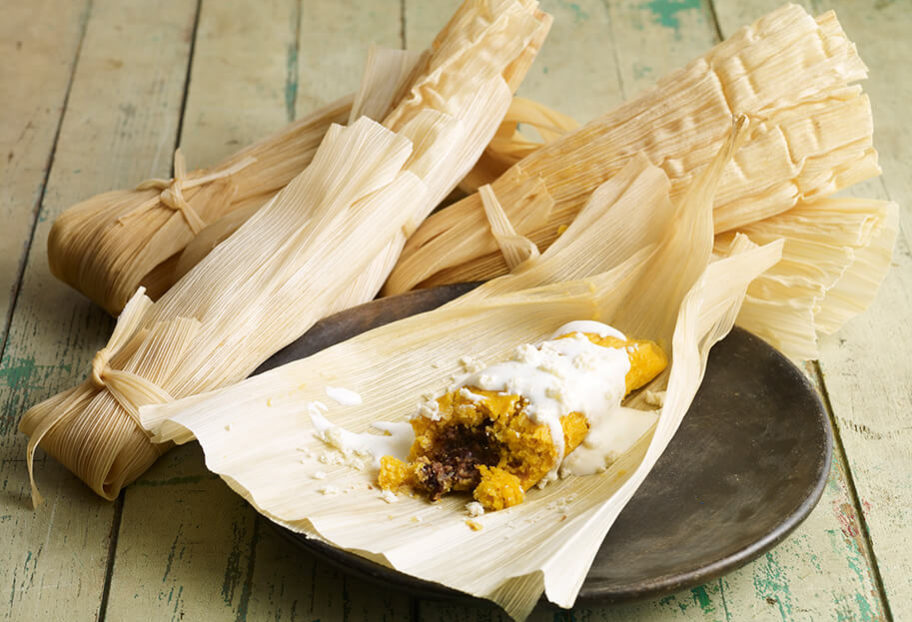
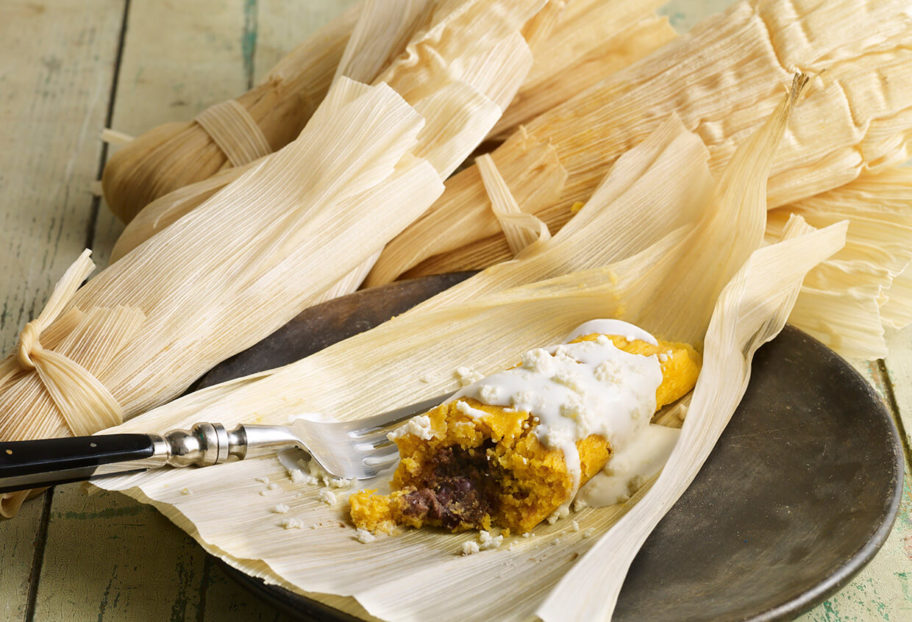
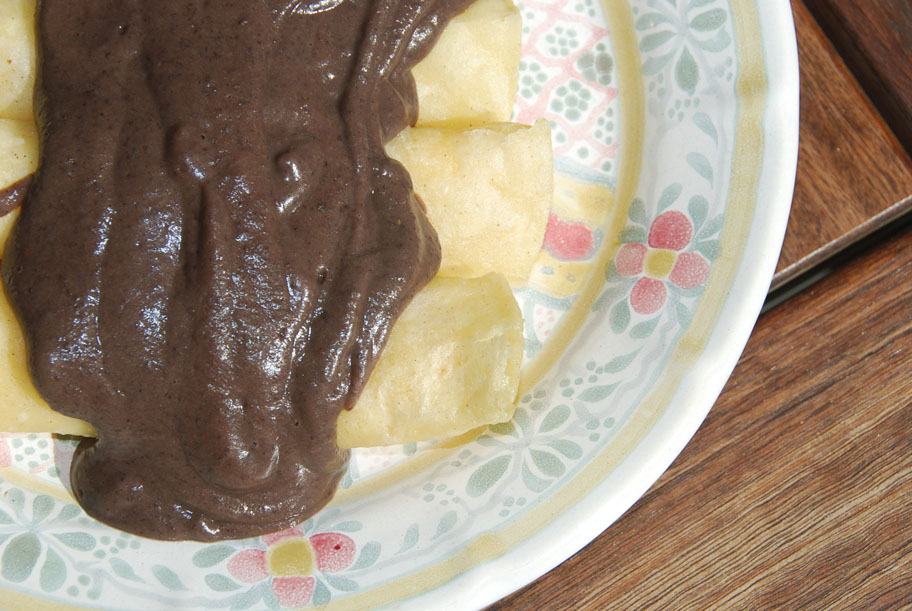
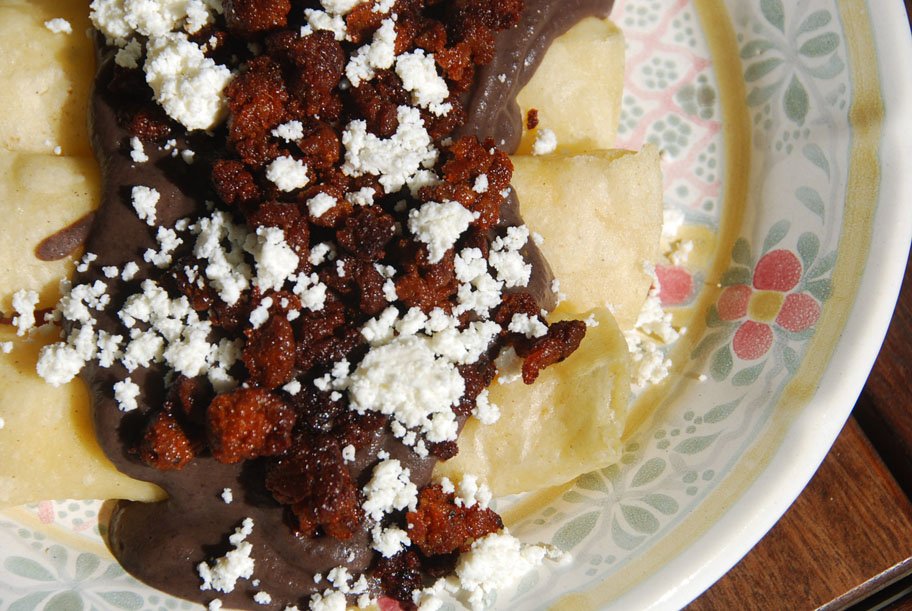
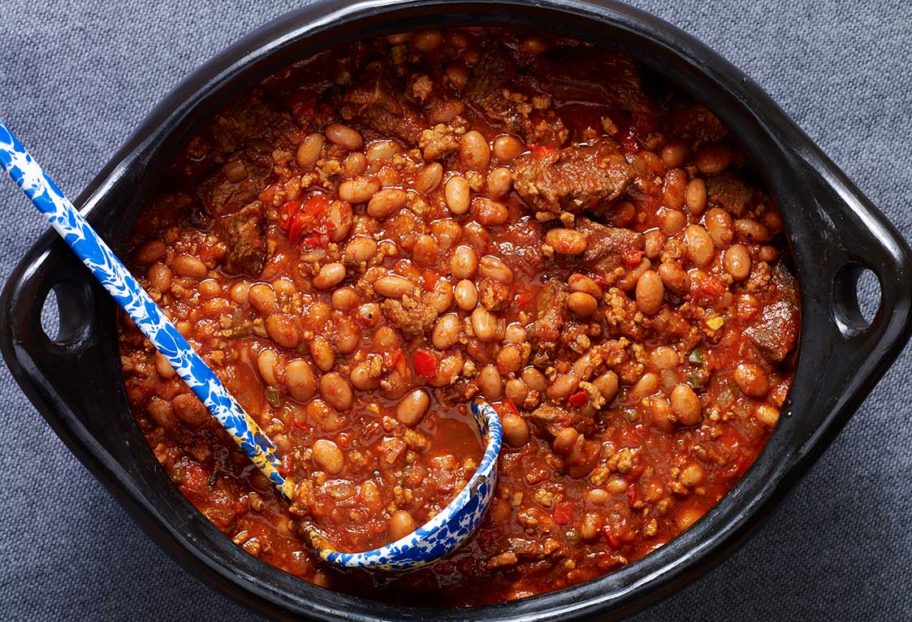
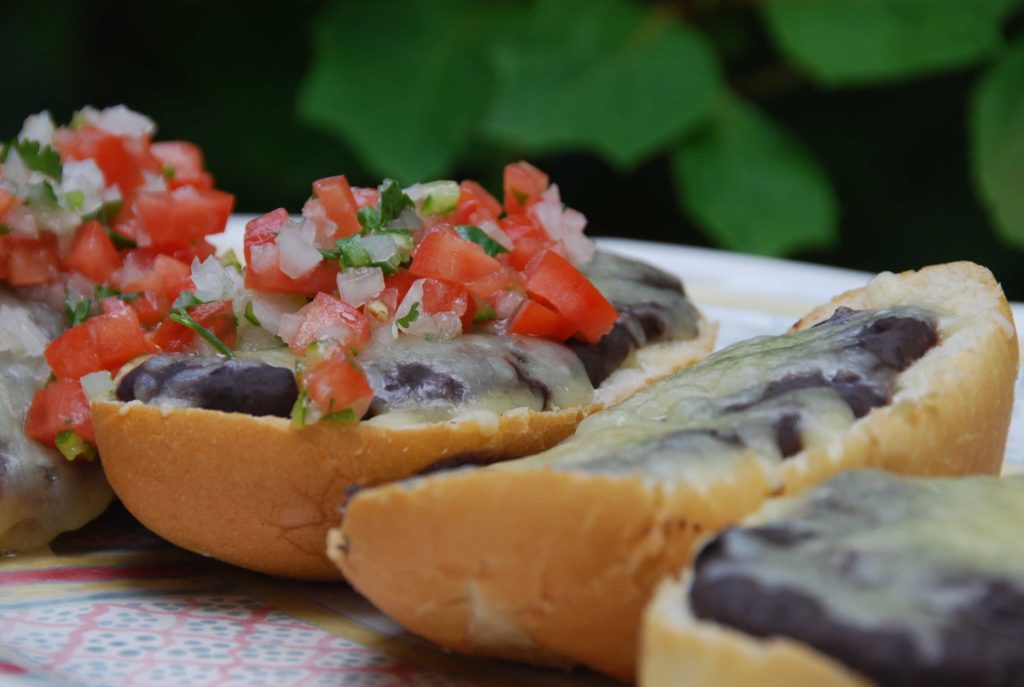
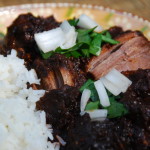
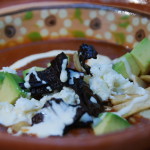
Black Bean Tamales with Pibil Pork
Black Bean Tamales with Pibil Pork recipe from Pati’s Mexican Table Season 12, Episode 7 “Recados”
Servings: 14 to 16 tamales
Ingredients
For the pibil pork filling:
- 3 cups chicken broth
- 3 tablespoons achiote paste broken into small pieces
- 2 tablespoons white distilled vinegar
- 1 teaspoon dried oregano
- 1/4 teaspoon ground cumin
- 1/4 teaspoon ground allspice
- 2 tablespoons vegetable oil
- 1 pound pork loin or tenderloin cut into 1 1/2 to 2” chunks
- 1 teaspoon kosher or coarse sea salt
- 1/2 teaspoon coarsely ground black pepper
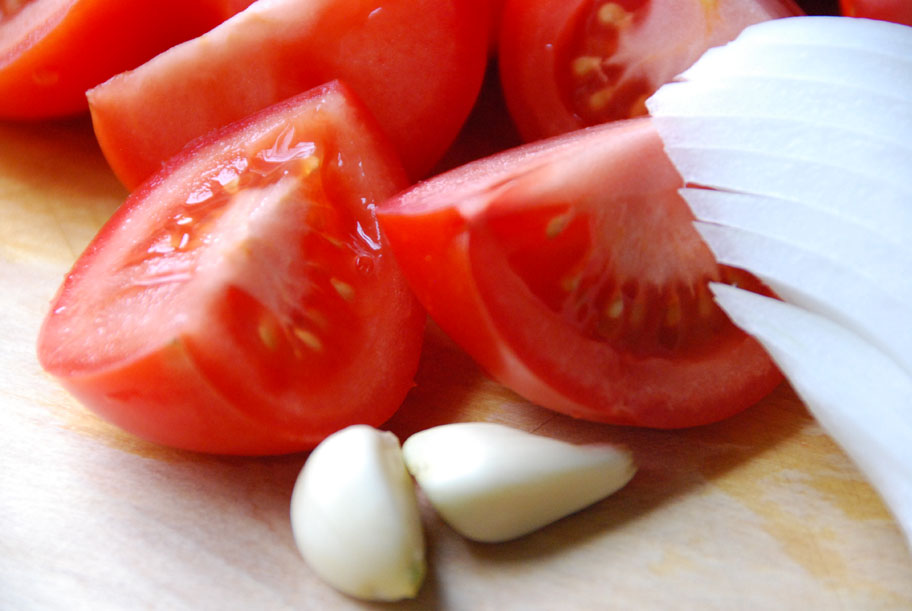
- 1/2 cup chopped white onion
- 1 habanero stemmed, finely chopped
- 1/2 pound ripe Roma tomatoes diced or crushed
For the masa:
- 3 1/4 cups masa harina about 1 pound
- 2 3/4 cups chicken or vegetable broth
- 1 cup lard or vegetable shortening
- 2 teaspoons kosher or coarse sea salt or to taste
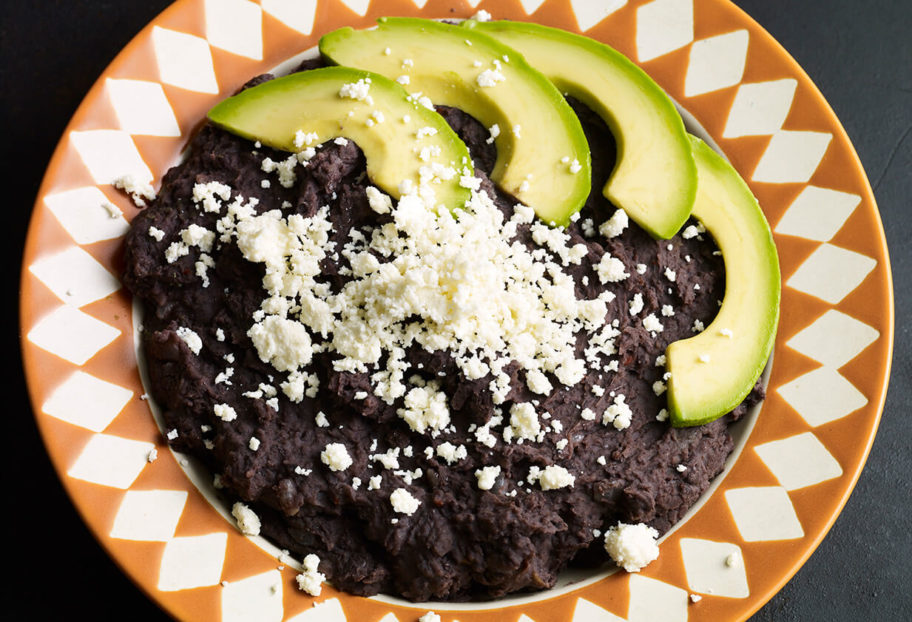
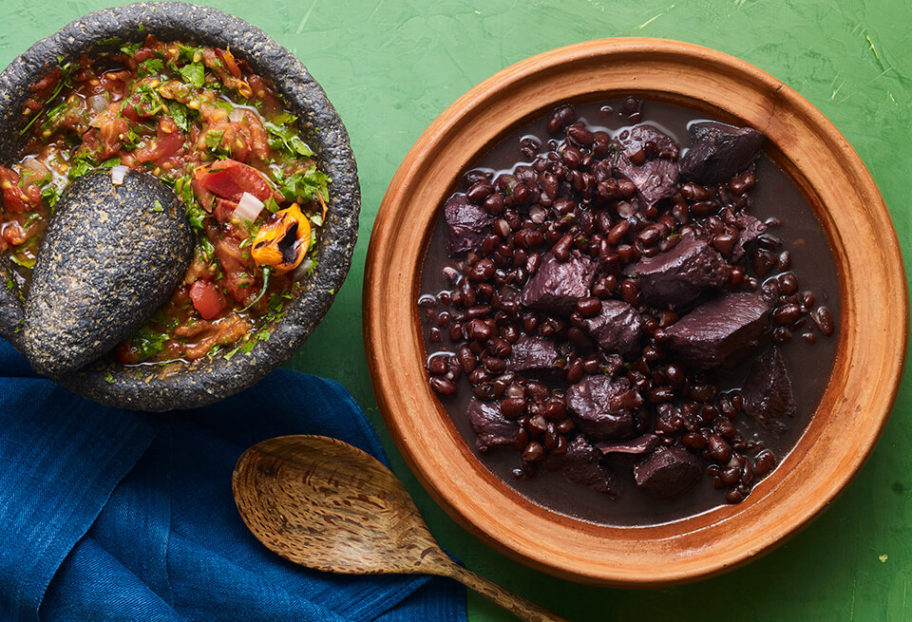
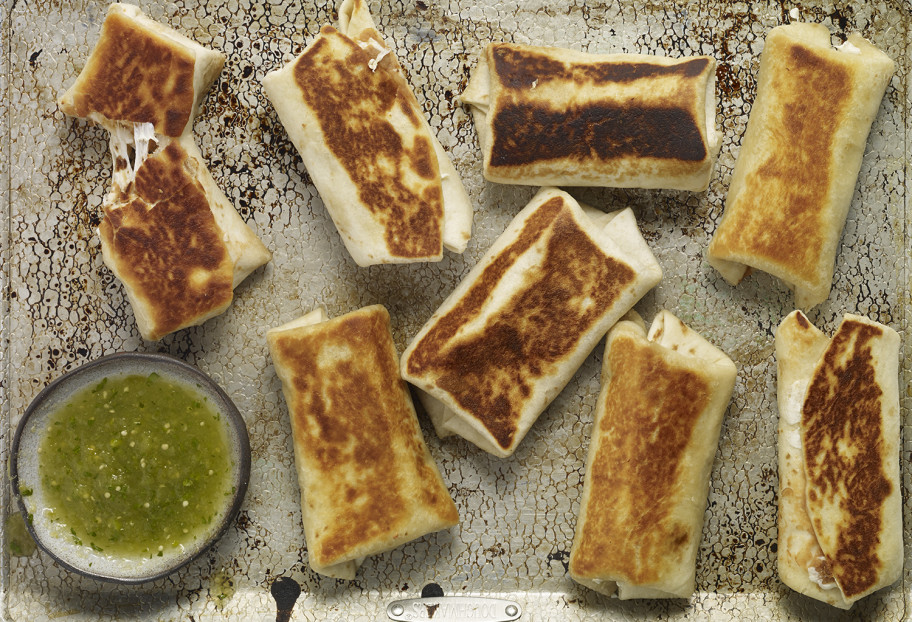
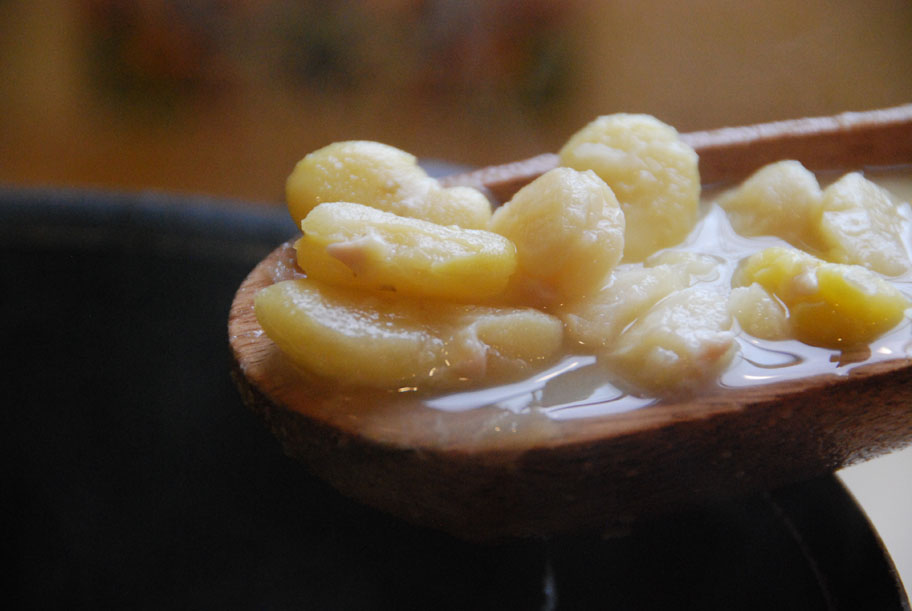
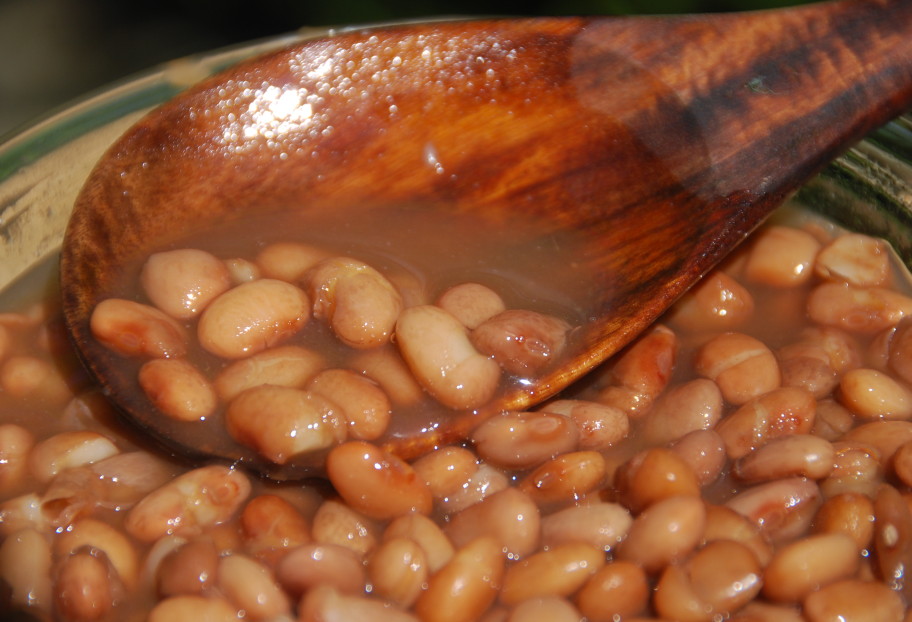
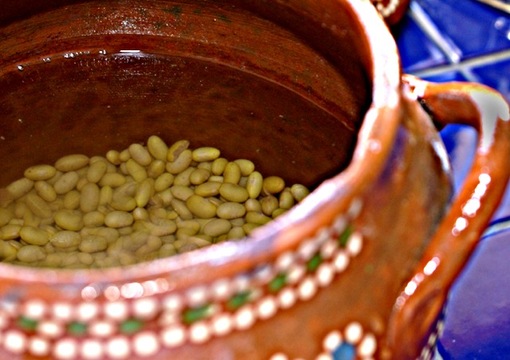
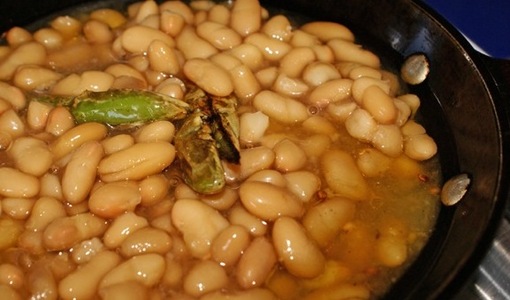
- 1 1/2 cups cooked black beans
- 1/4 cup chopped cilantro or epazote leaves
To assemble the tamales and serve:
- 16 to 18 pieces of fresh or thawed banana leaves of about 12” length rinsed, plus more for steaming tamales
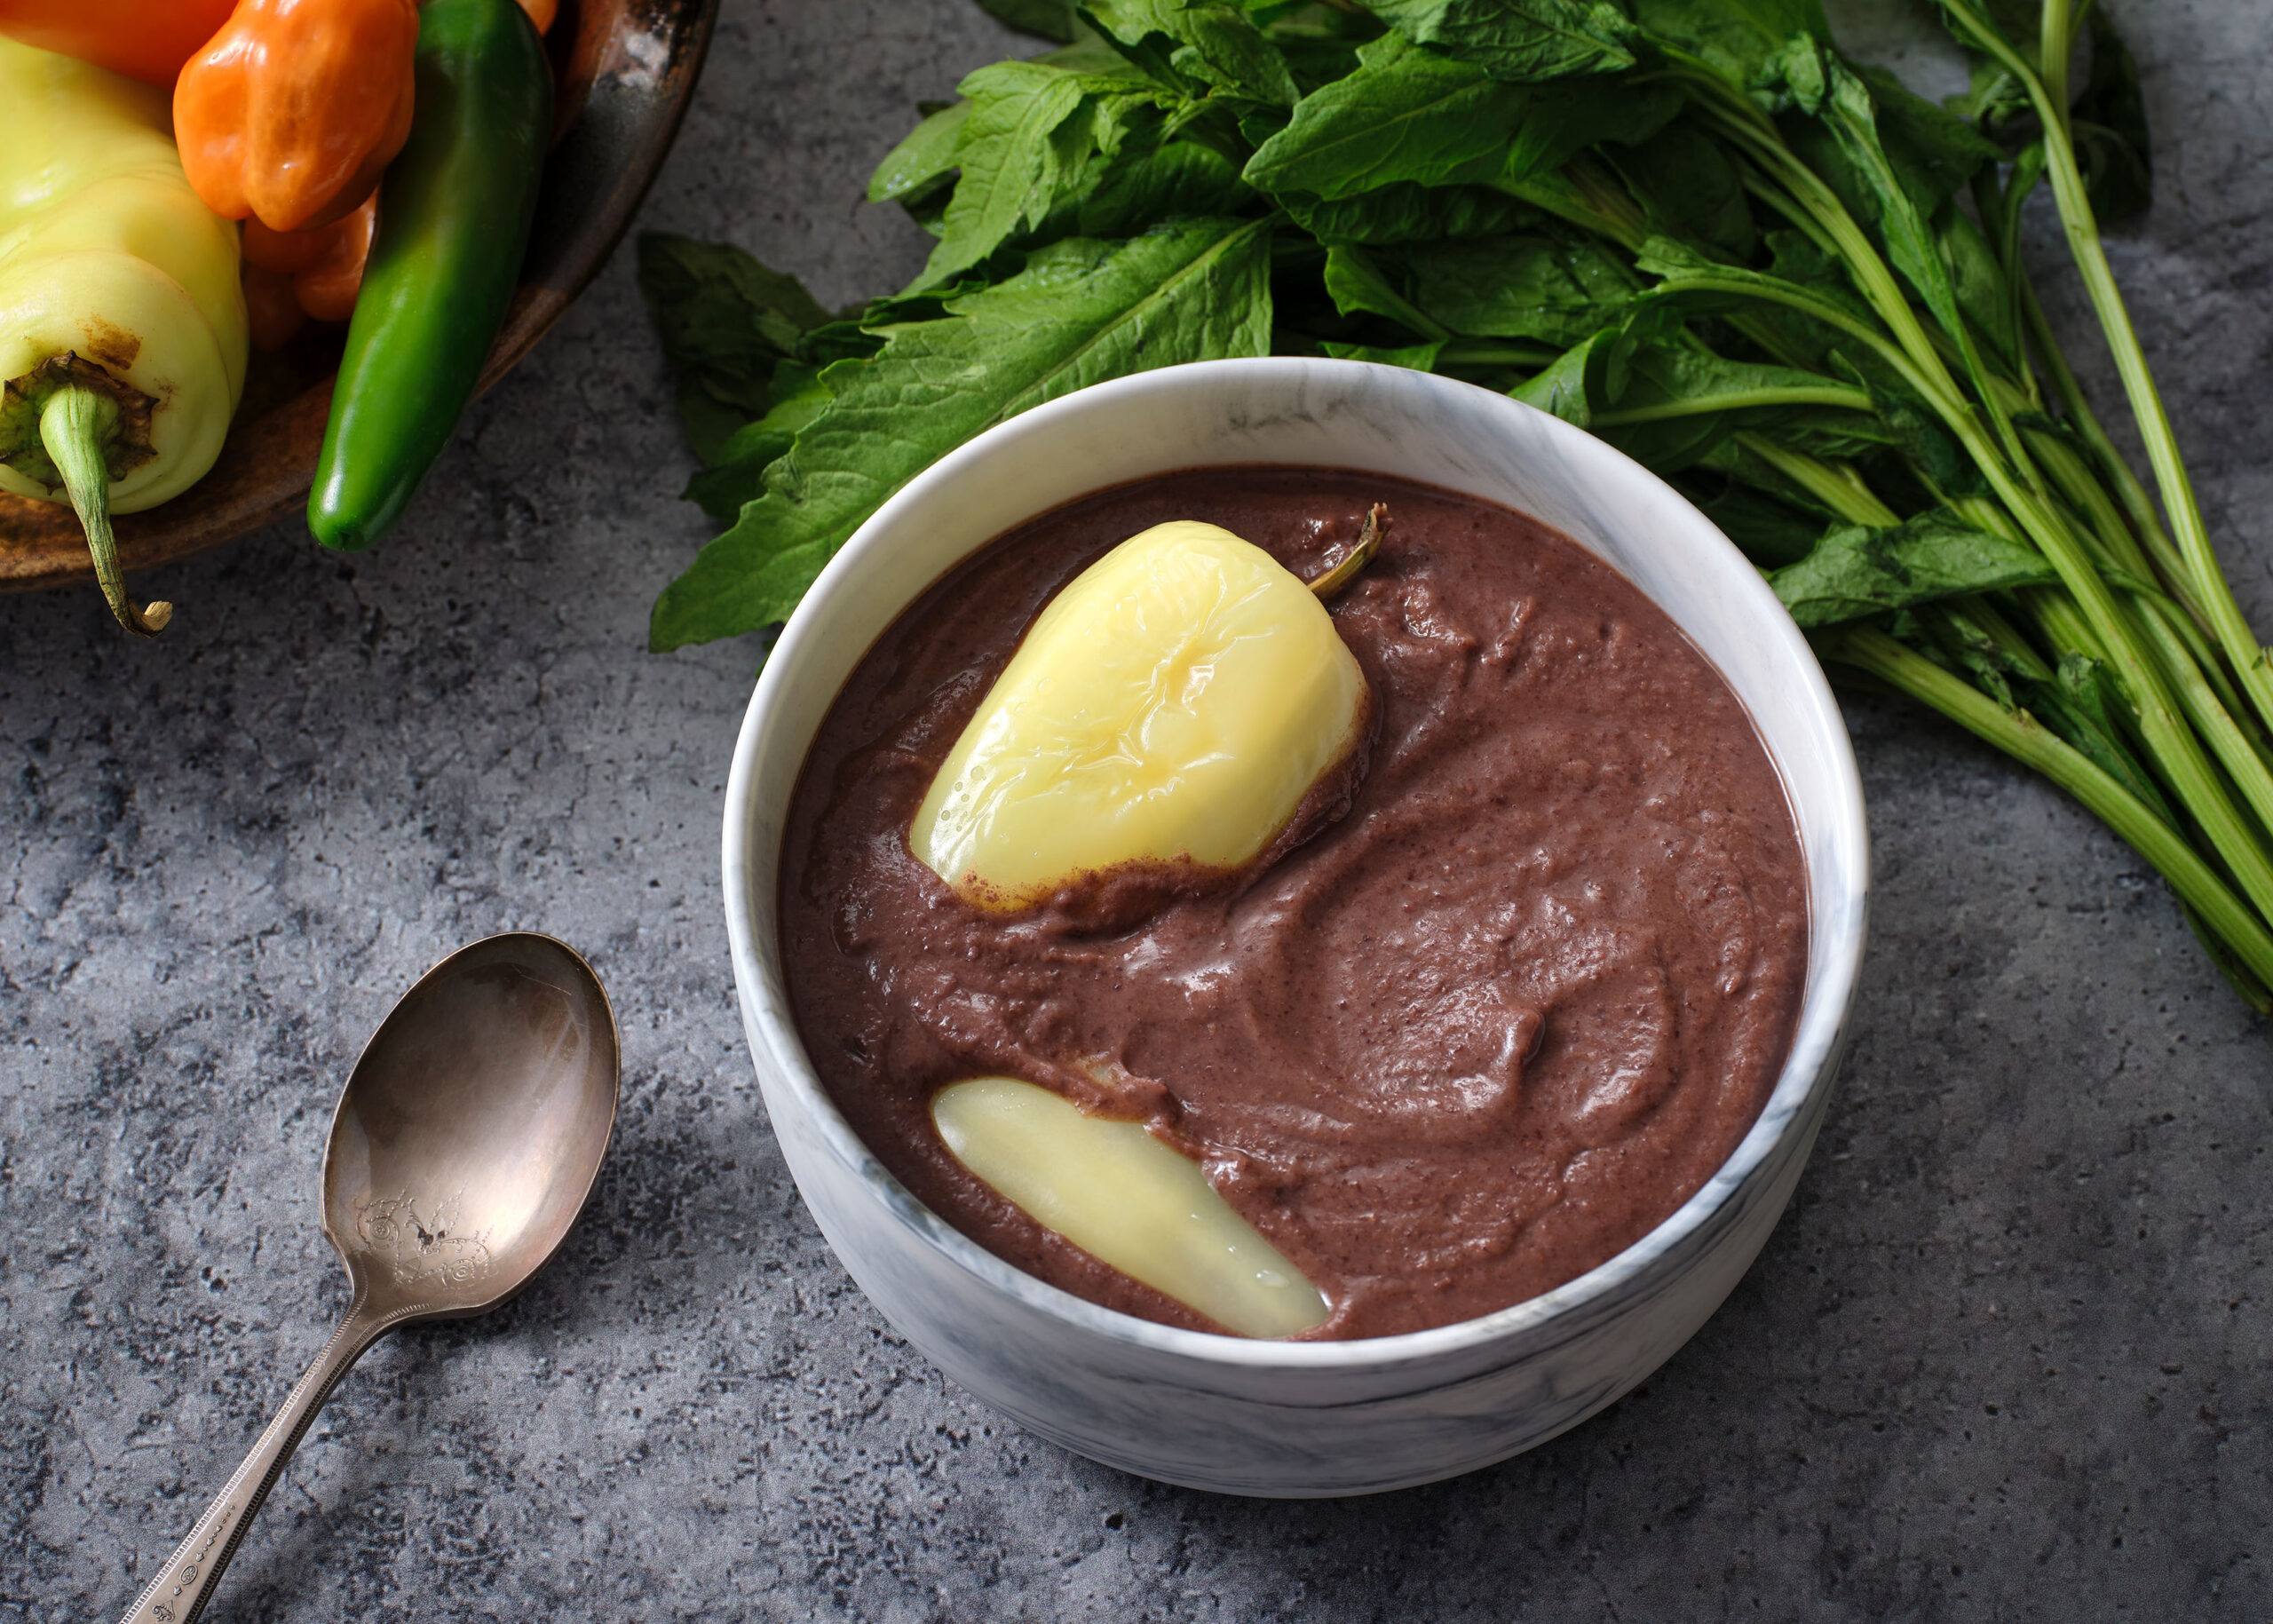
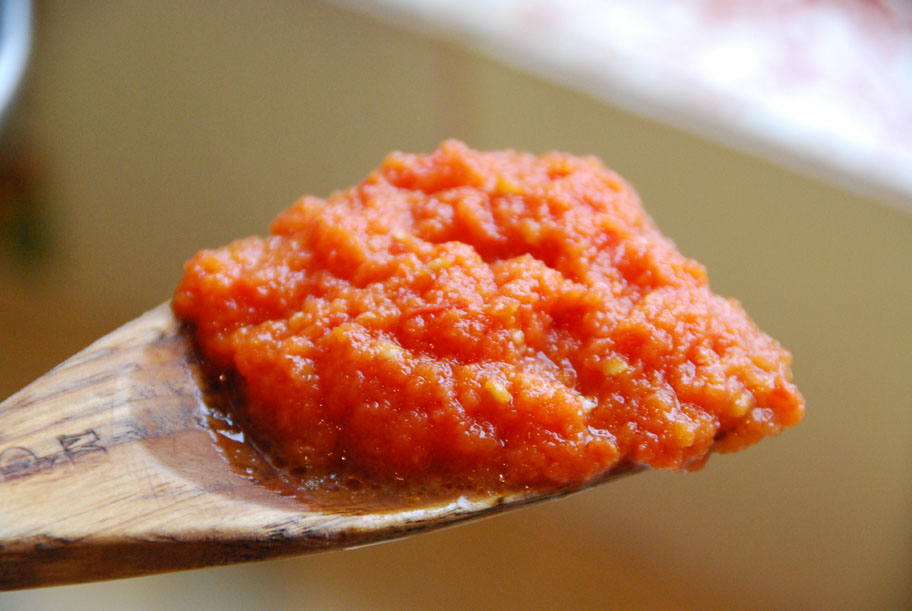
- Roasted Tomato and Habanero Salsa to serve
Instructions
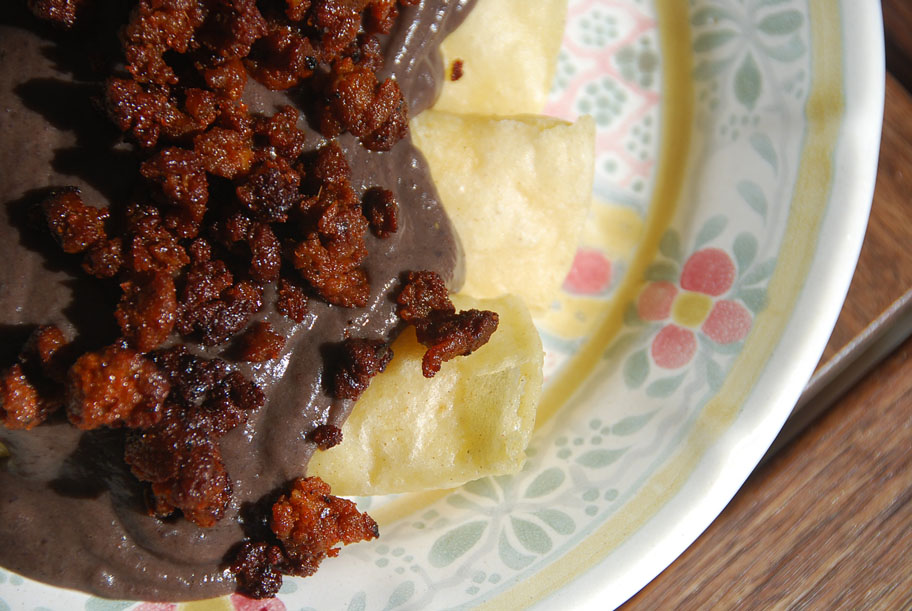
To make the filling:
- In the jar of a blender, add the chicken broth, achiote paste, vinegar, oregano, cumin and allspice, and puree until completely smooth. Set aside.
- Heat the oil in a large deep skillet or casserole over medium-high heat. Once it shimmers, add the pork pieces and season with the salt and pepper. Cook for 5 to 6 minutes, flipping as it browns on all sides and starts letting out its juice. Add the onion, stir, and cook for a minute. Add the habanero and tomato and cook for another 4 to 5 minutes, until vegetables soften.
- Pour in the achiote mixture and stir. Once it comes to a boil, reduce heat to medium-low, place the lid on, and cook for 30 minutes, until the liquid has thickened considerably and darkened. Remove the lid, stir, place the lid ajar, and continue cooking for another 10 to 15 minutes. The mix should still be wet but the sauce should have thickened and darkened a lot more. Remove from the heat. Shred the meat into the sauce with a couple forks. Let it cool down.
To make the masa:
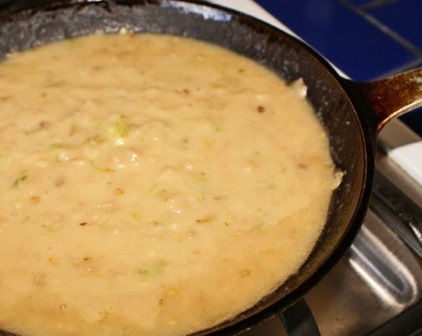
- In a large bowl, combine the masa harina with the chicken broth. Using your hands, knead the dough until thoroughly mixed and very smooth, not “grainy.” Add the lard or vegetable shortening, and work it in, kneading, for a few minutes. Add the salt, black beans and cilantro, and mix until fully incorporated.
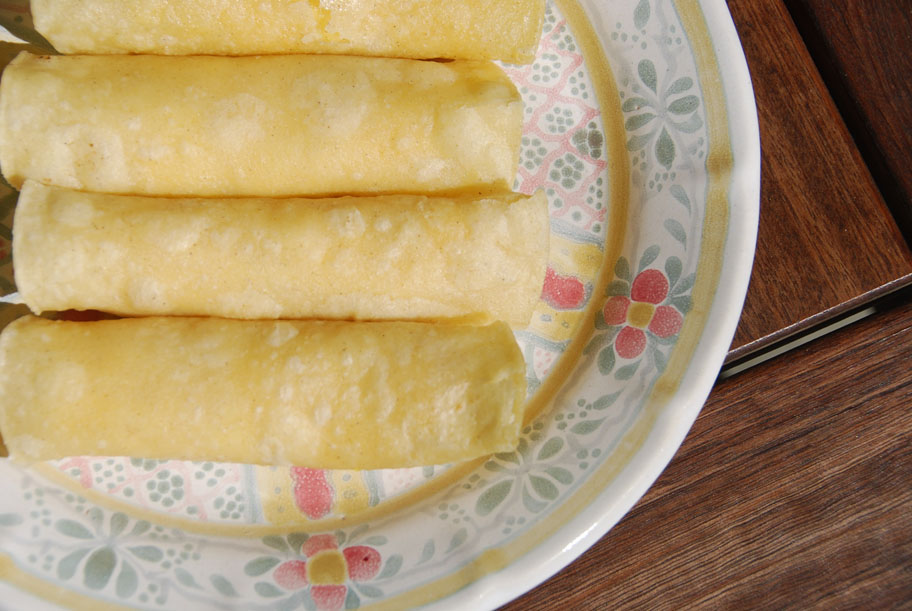
To assemble the tamales:
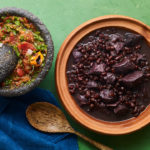
- To prepare the banana leaves, turn a burner on to medium-low heat. Slowly pass each banana-leaf piece over the flame on both sides, until they change color and become fragrant and set aside (so they will be resilient, malleable and not break).
- One by one, set each leaf piece on your counter with the shiny, outer side down. Spoon about 1/3 cup of masa onto the center and spread it to form a rectangle of about 5”x 3.” With the spoon, or your finger, make a shallow channel down the middle, creating a stripe in the masa. Add a couple tablespoons of pibil pork. Gently close each tamal by folding the longer sides first and then the shorter sides, as if making a flat and tight package, but being careful not to press on the tamal too much.
- Prepare your tamalera or steamer by adding just enough water to touch the bottom of the steaming basket. Line the steaming basket with a few banana-leaf pieces to gently cover the base. One by one, add the tamales, stacking them as evenly as you can, staggered in the same position as when you made them: laying them flat. Once you are done, cover with a few more pieces of banana leaves.
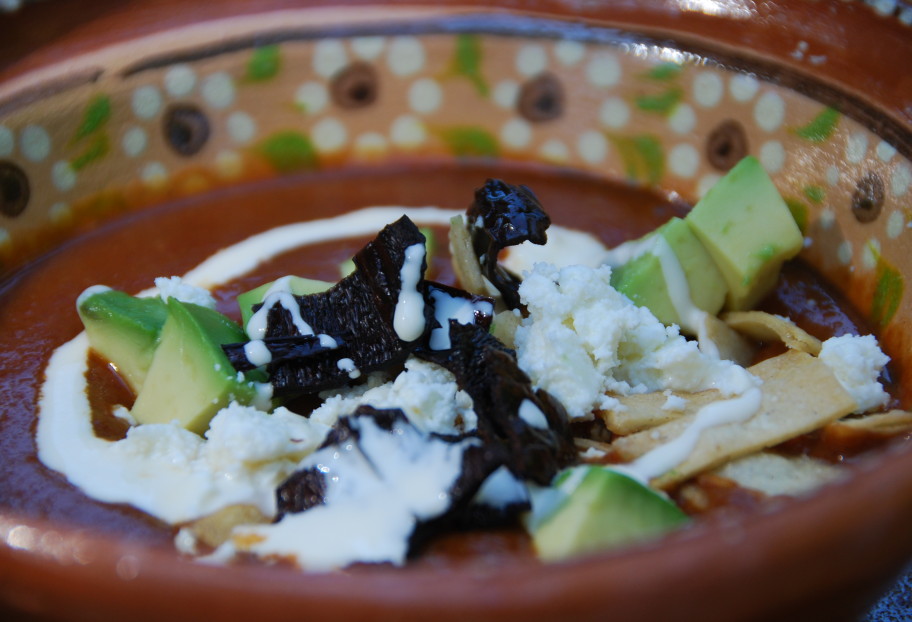
- Set the steamer uncovered over high heat, once there is a bit of steam coming out and the water starts boiling a few minutes later, cover, reduce heat to medium, and cook for an hour. The leaves will have changed to a much darker color and will have completely wilted to wrap themselves as a second skin over the tamales, and the tamales should feel firm. Turn off the heat. Let the tamales sit for at least 15 minutes before serving so they will settle. Serve the tamales with the Roasted Tomato and Habanero Salsa.
Notes
Vaporcitos de Xpelón con Cochinita Pibil


