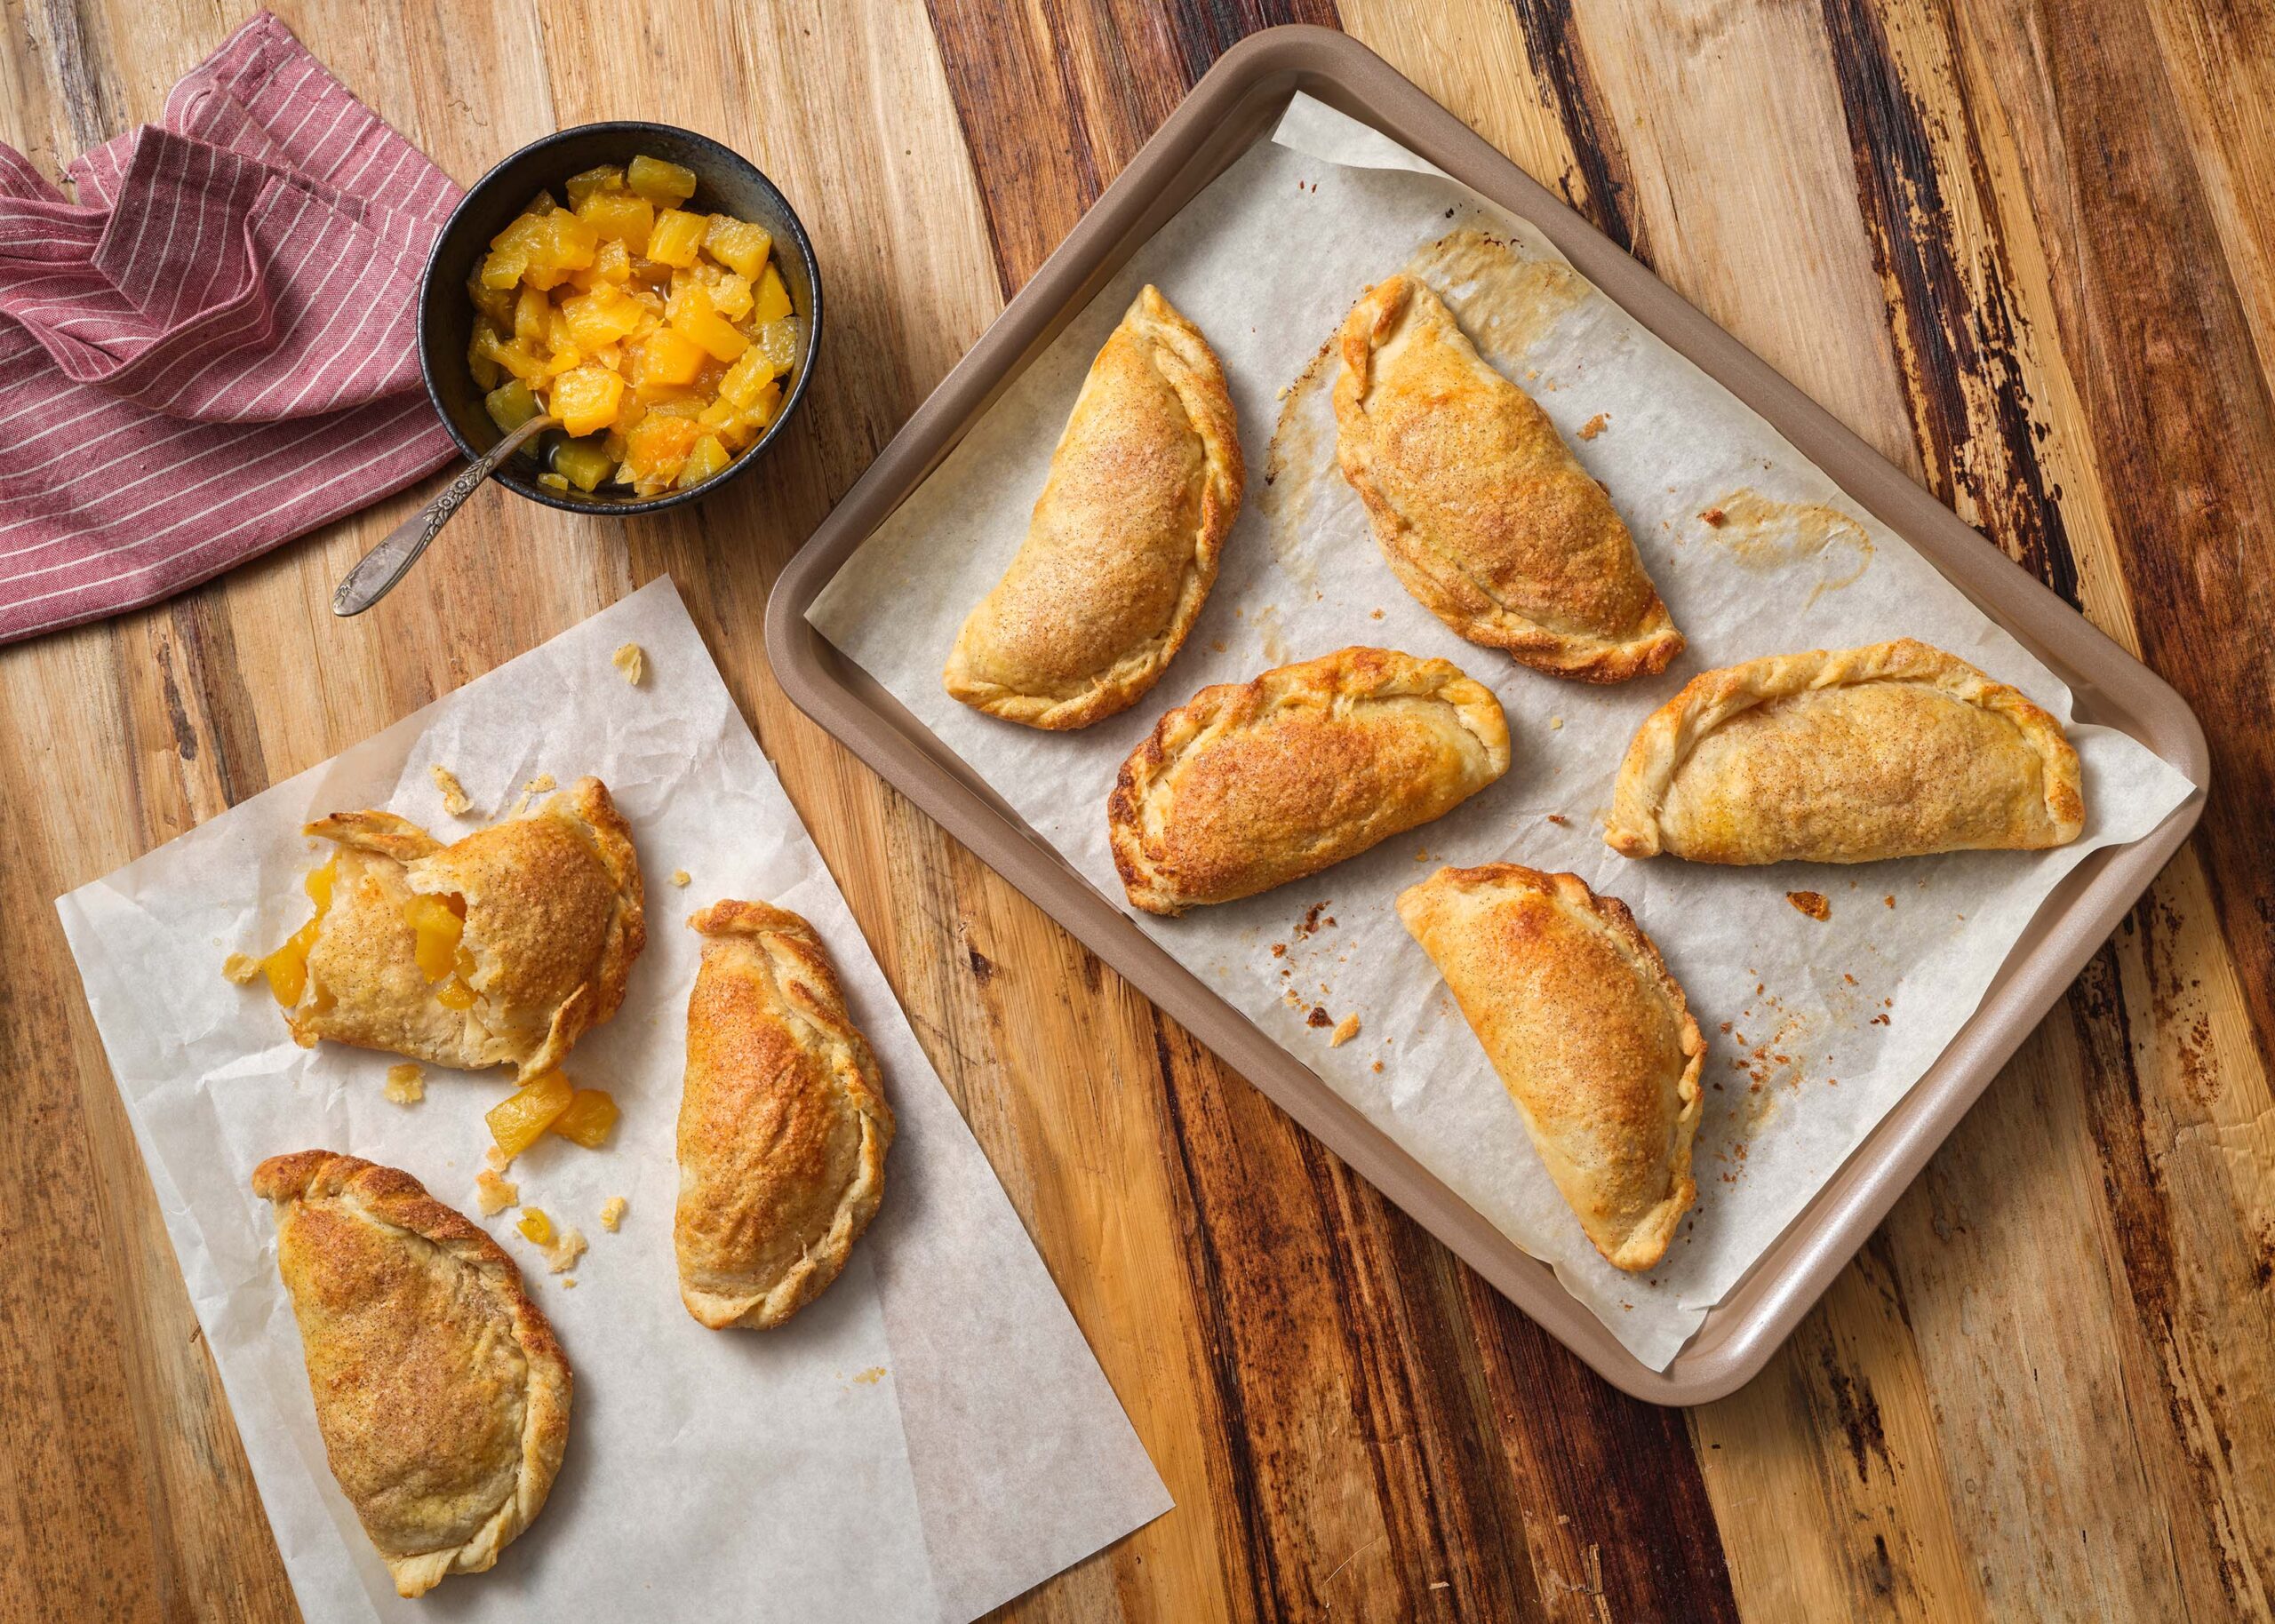

Candied Orange and Pineapple Empanadas
Candied Orange and Pineapple Empanadas from Pati’s Mexican Table Season 11, Episode 4 “Maestros del Pan”
Servings: 18 empanadas
Ingredients
For the dough:
- 1 pound (or 3 ½ cups ) all-purpose flour
- 1 tablespoon grated piloncillo or dark brown sugar
- ½ teaspoon kosher or coarse sea salt
- ½ teaspoon baking powder
- ¼ cup unsalted butter diced
- ¼ cup vegetable shortening diced
- 1 cup light beer
For the filling:
- 1 orange
- 1 lime
- 1 large pineapple peeled, cored and cut into small dice (about 6 cups)
- 1 cup piloncillo about 7 ounces (can be in a chunk or grated), or dark brown sugar
For the topping:
- 1 egg
- ¼ cup granulated sugar
- 1 teaspoon ground canela or true cinnamon
Instructions
To make the dough:
- In a large bowl, combine the flour, sugar, salt, and baking powder. Add the butter and vegetable shortening and mix them with your hands with the flour mixture, you will get a crumbly consistency. Pour the beer into the mixture and knead with the rest of the ingredients, until it is all well incorporated, it may feel a bit lumpy. Shape into a ball, wrap in plastic wrap, and refrigerate anywhere from 30 minutes to overnight.
To make the orange and pineapple filling:
- Peel the rind from the orange and lime. Reserve. Peel the pith from the orange and lime and discard. Cut oranges and limes into segments, removing membranes in between with the help of a paring knife or small sharp knife. Place the rinds and seeds (if any) in a cheesecloth and tie with kitchen twine.
- Place the pineapple, orange and lime segments and piloncillo in a medium saucepan over medium-high heat. Tuck the cheesecloth with the rind and seeds amongst the fruit. Cook until it starts boiling and you see a considerable amount of juices on the bottom of the pan, about 5 to 6 minutes.
- Reduce heat to medium-low and continue cooking for about an hour until the pineapple looks caramelized, and the orange and lime segments have broken down into the mixture and there is very little juice, which will have turned into a runny syrup in the bottom of the pan. Turn off the heat, set aside and let cool.
To make the empanadas:
- Remove the dough from the refrigerator. Divide the dough into 18 portions and shape them into balls placing each one on a baking sheet as you form them. Cover with a kitchen towel and let rest for 10 to 15 minutes.
- Preheat the oven to 350℉ and set racks on the upper and lower thirds. Cover two large baking sheets with parchment paper.
- Flour your countertop and one by one, roll out each ball of dough to about a 5-inch round. Set a small bowl with water on the side. Spoon a very generous tablespoon of the orange and pineapple filling in the center of the round, wet the edges with water using a brush or your fingers. Tightly close the edges and shape the empanada either using the folding method or by pressing the edge with a fork. Place on the parchment-lined baking sheets as you move along.
- In a small bowl, beat an egg. In another bowl, combine the sugar with the cinnamon. Brush the empanadas with the egg wash and sprinkle with the cinnamon sugar mixture. Bake for 35 minutes or until golden brown. Eat solo, or with ice cream!
Notes
Empanadas de Naranja con Piña