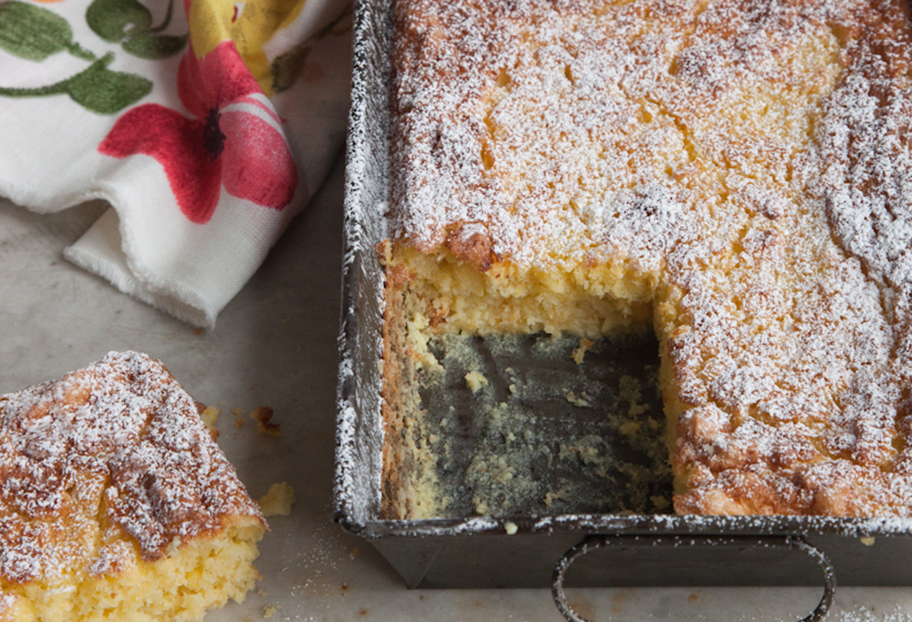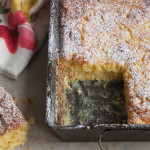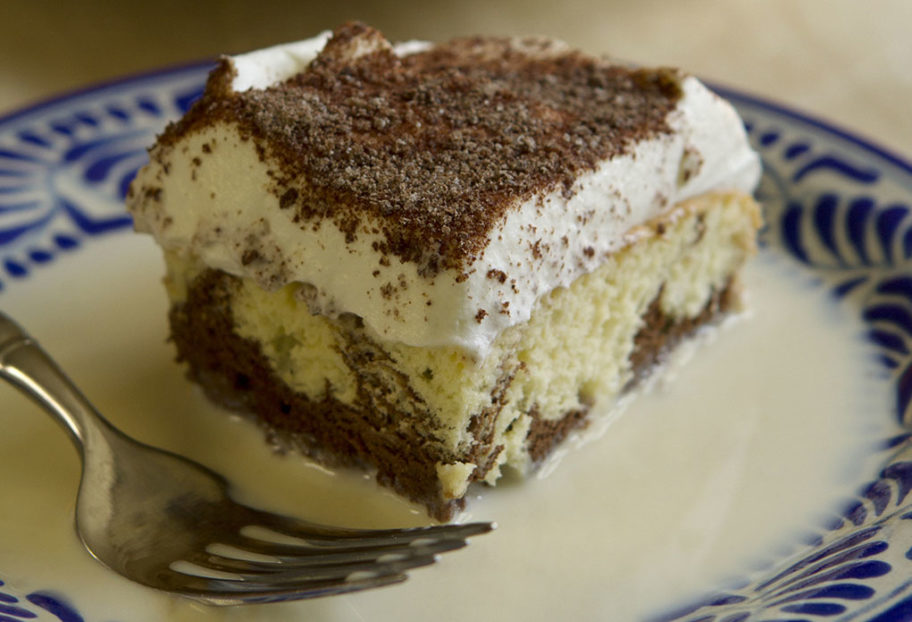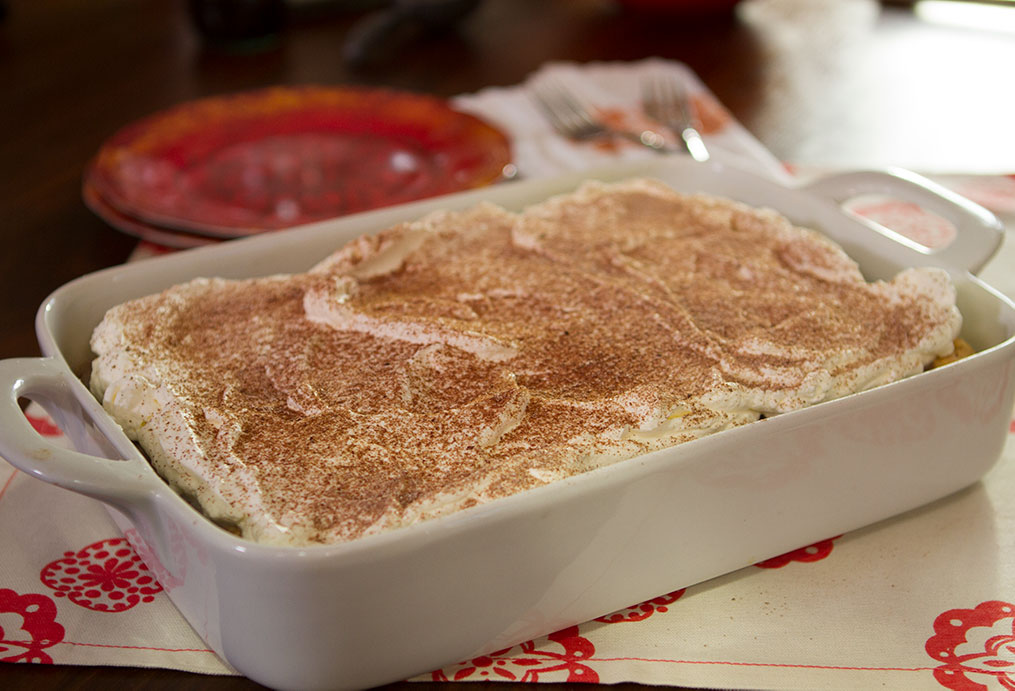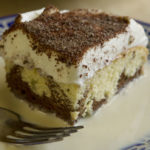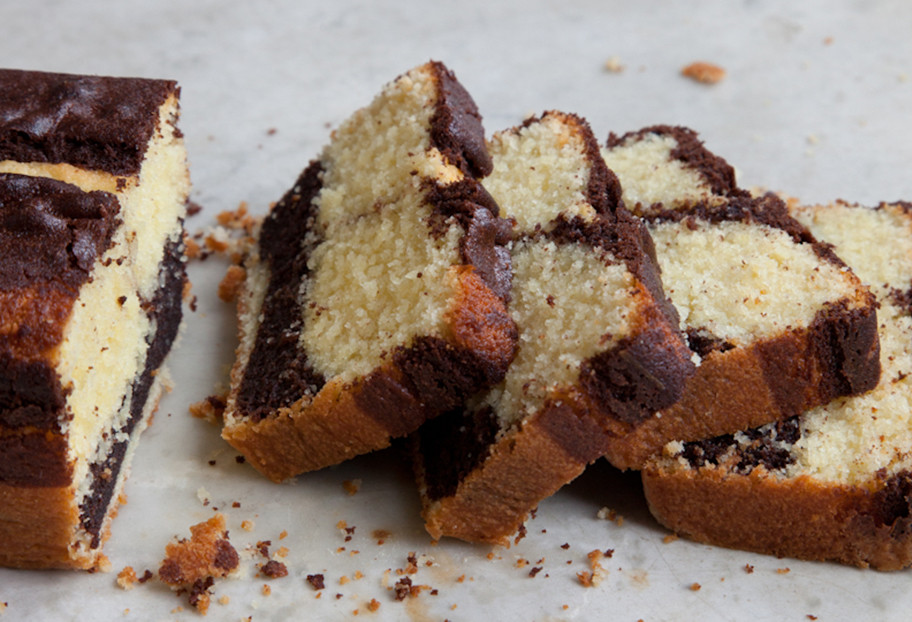
Alisa’s Marbled Pound Cake
Alisa’s Marbled Pound Cake recipe from Pati's Mexican Table Season 2, Episode 7 “Family-Style Breakfast”
Servings: 1 10-inch loaf
Ingredients
- 1/2 pound unsalted butter plus more to butter the pan
- 1 1/4 cups granulated sugar
- 1 teaspoon vanilla extract
- 4 large eggs
- 1 1/2 cups all-purpose flour
- 1 teaspoon baking powder
- 1/4 teaspoon kosher or coarse sea salt
- 1/2 cup sour cream
- 1/4 cup hot water
- 1/4 cup unsweetened cocoa powder
- confectioners' sugar optional
Instructions
- Preheat the oven to 350°F. Butter the sides and bottom of a loaf pan. Line the bottom with parchment paper cut to fit.
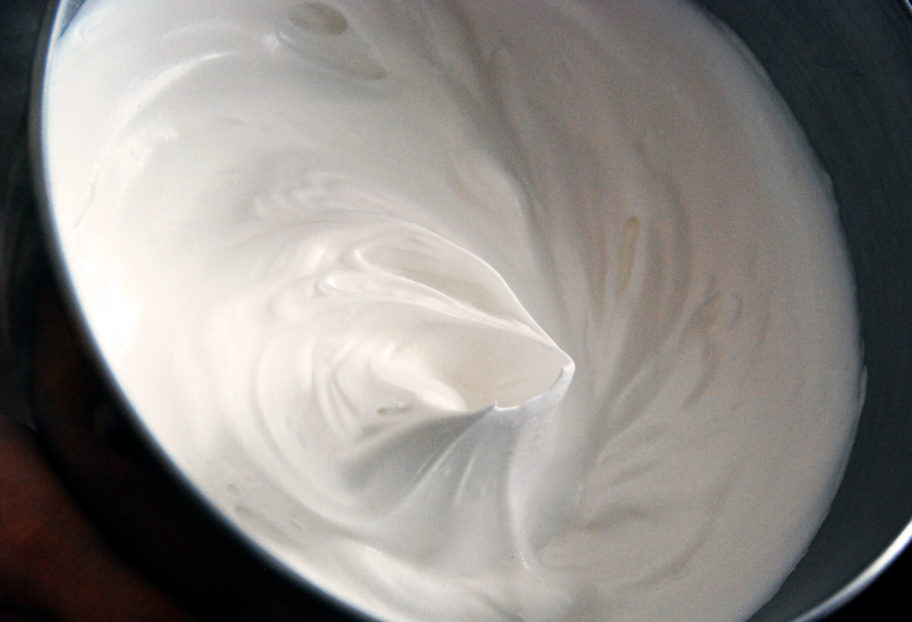
- In the bowl of an electric mixer, using the paddle attachment, beat the butter on medium-high speed until creamy, about 3 minutes. Add the sugar and continue beating until well combined and fluffy, another 2 minutes. Pour in the vanilla and continue beating until well incorporated and smooth, about another minute.
- Combine the flour, baking powder and salt in a bowl. Break the eggs into another bowl. Add half of the eggs and half of the sifted flour mixture to the butter mixture, beating on medium-low speed until well combined, scraping down the side of the bowl with a rubber spatula as needed. Repeat with the remaining eggs and flour.
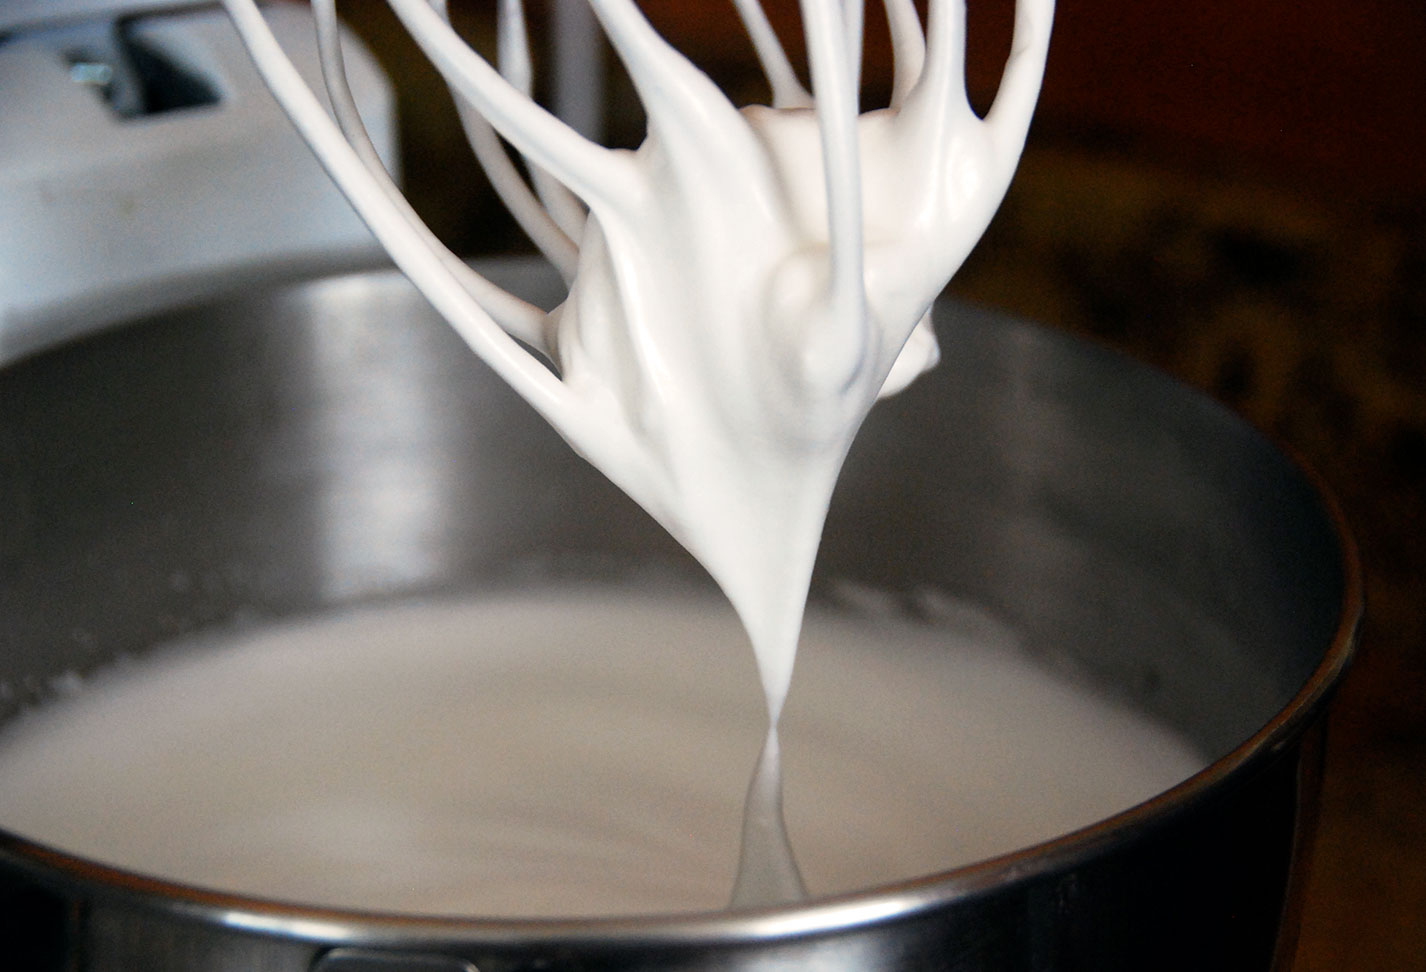
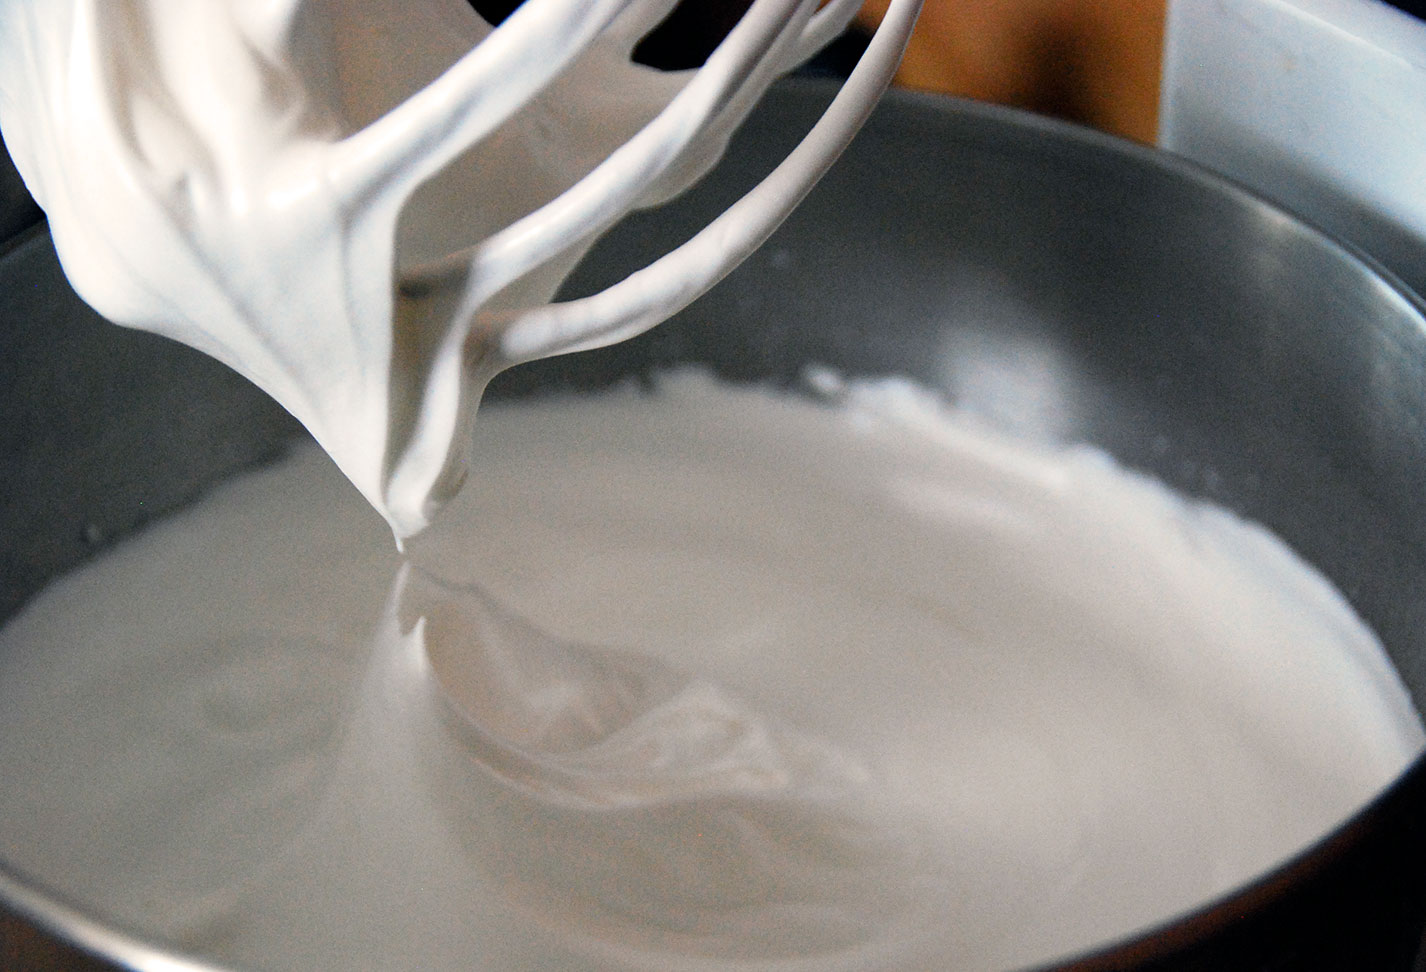
- Add the sour cream and continue beating until the mixture is smooth. Set the batter aside. In a small bowl, combine the hot water with the cocoa powder.
- Pour half the cake batter into another bowl and fold in the cocoa-water mixture with a rubber spatula until thoroughly mixed.
- Spread the “white” batter from the mixer bowl in the bottom of the loaf pan. Pour the chocolate batter on top, in a straight line down the center. Make a design with a knife or fork, so it will look “marbled.”
- Bake the cake for about 1 hour, or until a toothpick inserted into the center comes out clean. Remove the cake from the oven and transfer to a rack to cool. Invert the cooled cake onto a plate, remove the parchment paper, and invert again onto another plate.
- Dust the top of the cake with confectioners’ sugar, and it is ready to slice. To store, keep it covered.
Notes
Panqué Marmoleado de Alisa