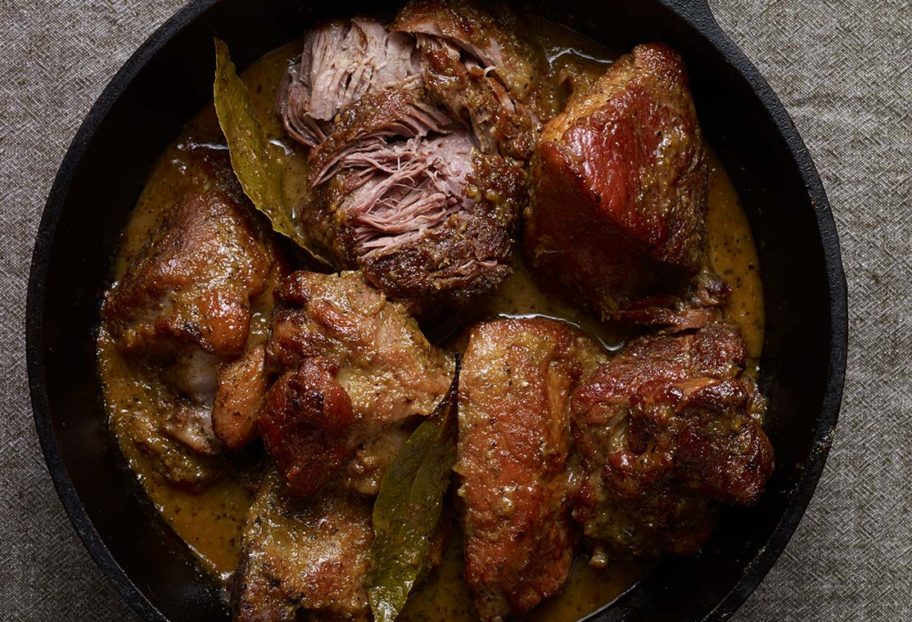
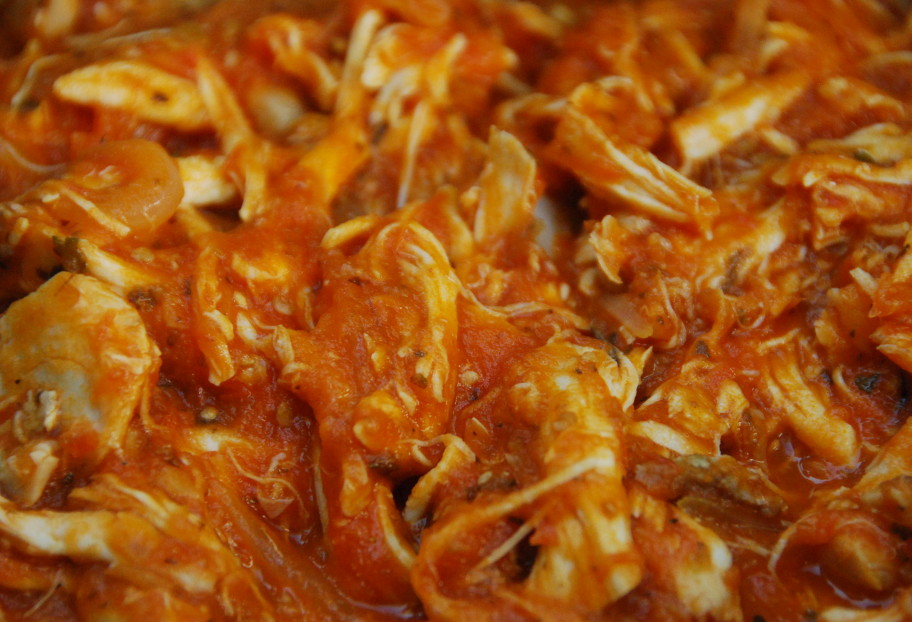
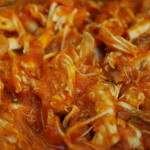
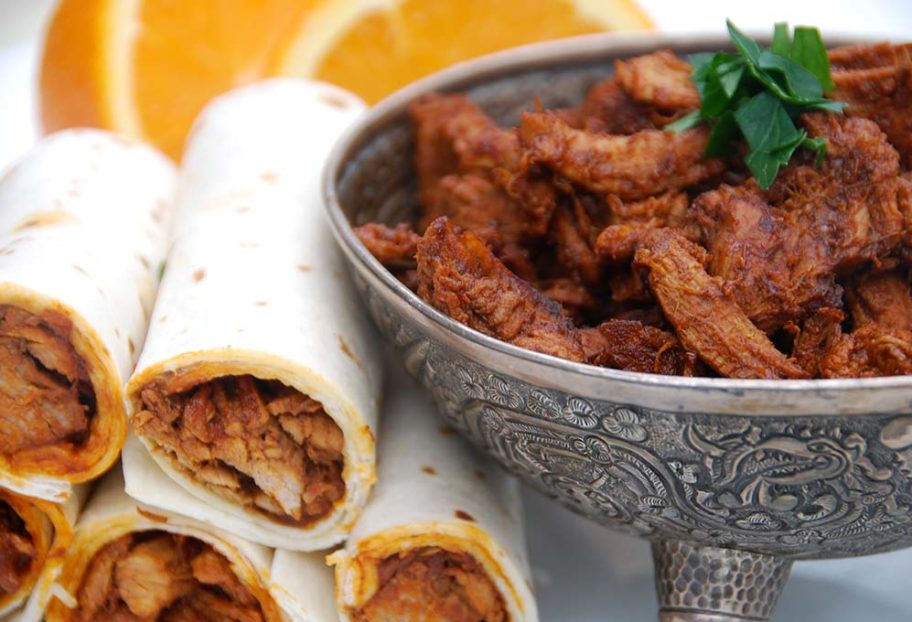
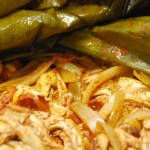
Carnitas
Carnitas recipe from Pati's Mexican Table Season 3, Episode 5 “Family Fiesta”
Servings: 8 servings
Ingredients
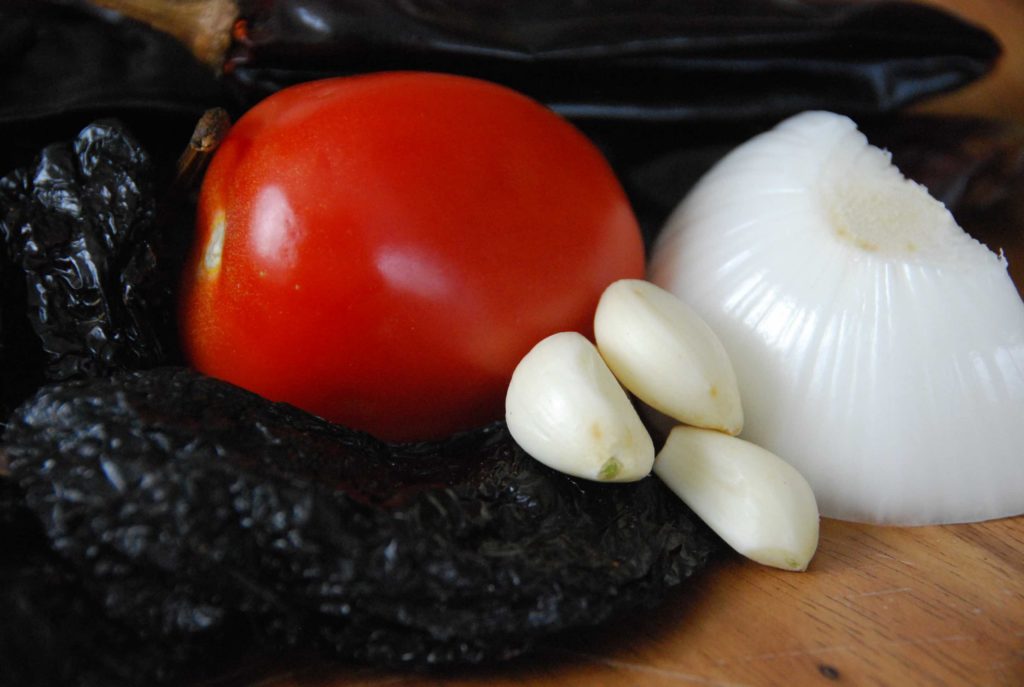
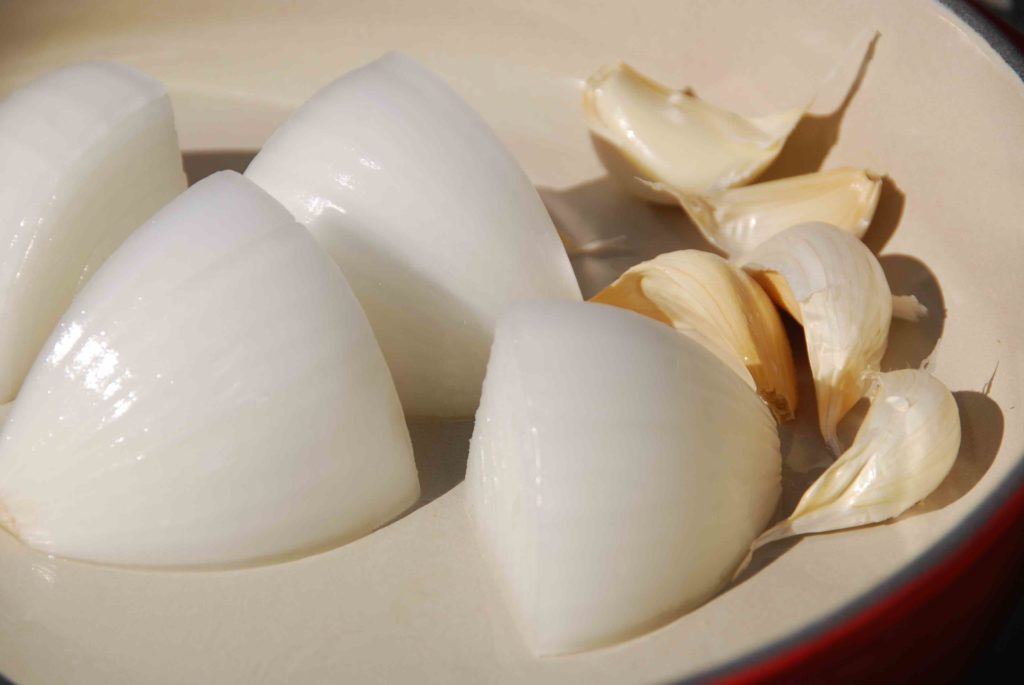
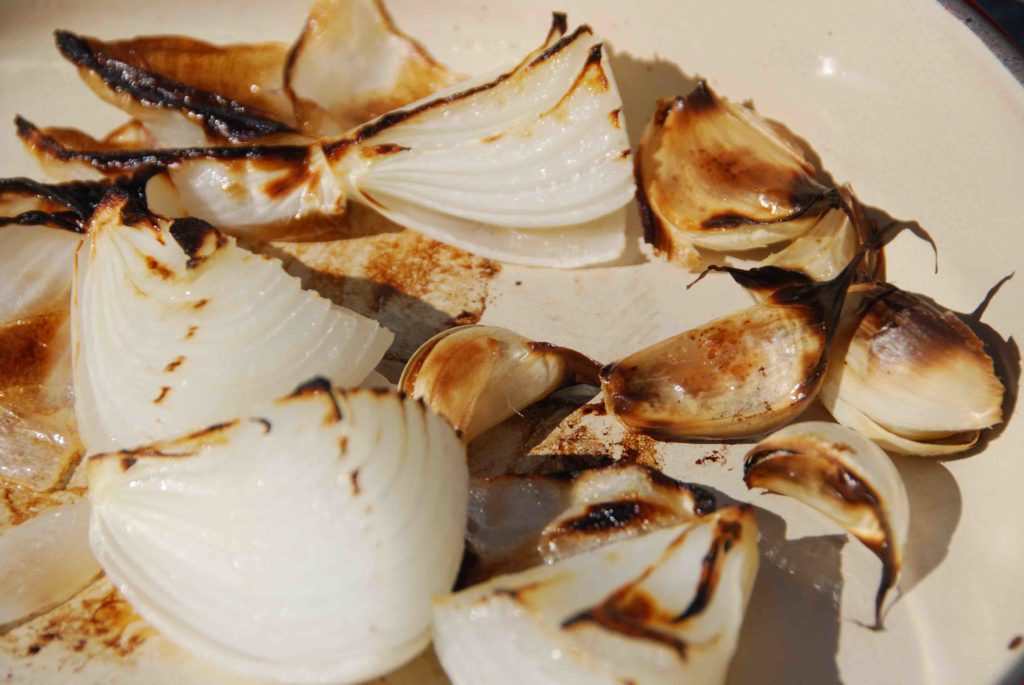
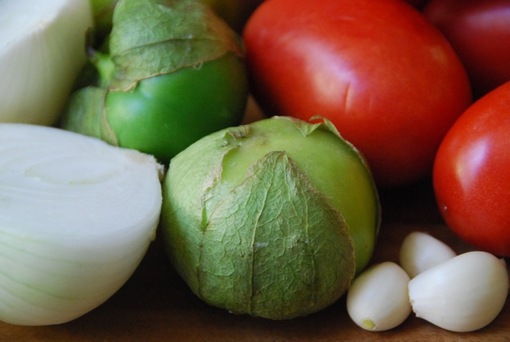
- 1/2 a white onion peeled and coarsely chopped
- 1 1/2 cups water
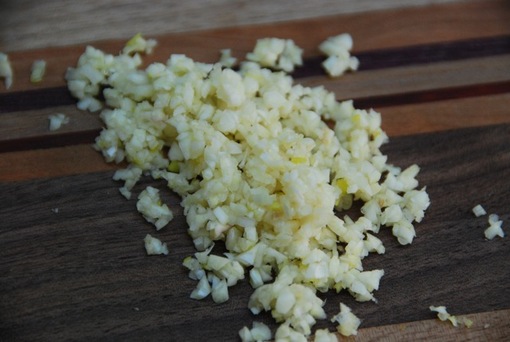
- 6 cloves garlic
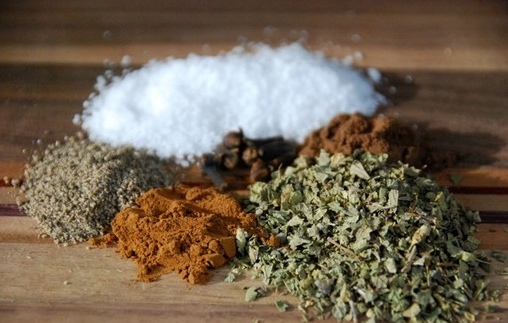
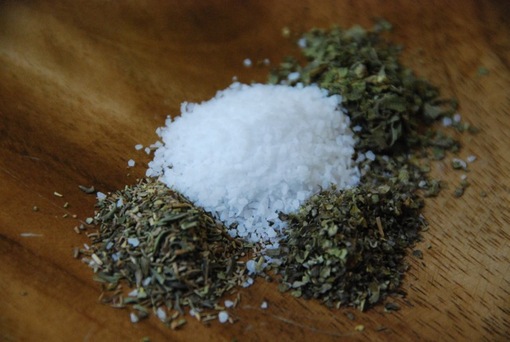
- 1 teaspoon dried marjoram
- 1 teaspoon dried thyme
- 1 teaspoon freshly ground black pepper
- Pinch cumin
- 4 whole cloves stems removed
- 1 tablespoon kosher or coarse sea salt or to taste
- 1 tablespoon lard vegetable shortening or oil
- 4 to 5 pounds boneless pork shoulder or butt cut into 4-inch chunks, fat on!
- 1/2 teaspoon kosher or coarse sea salt
- 2 bay leaves
- 1 cup freshly squeezed orange juice
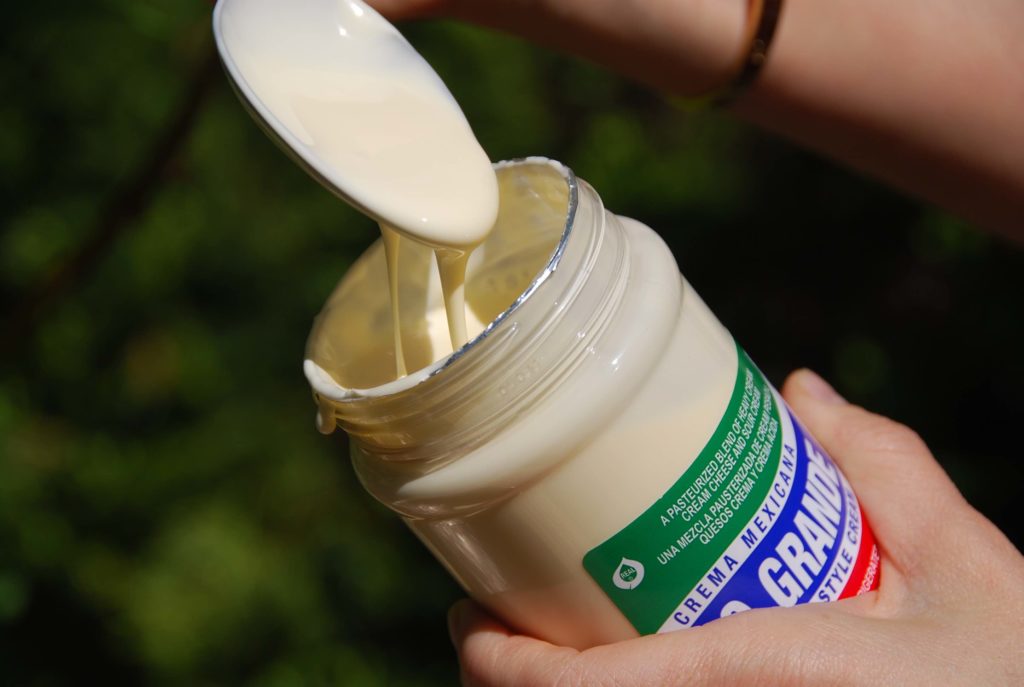
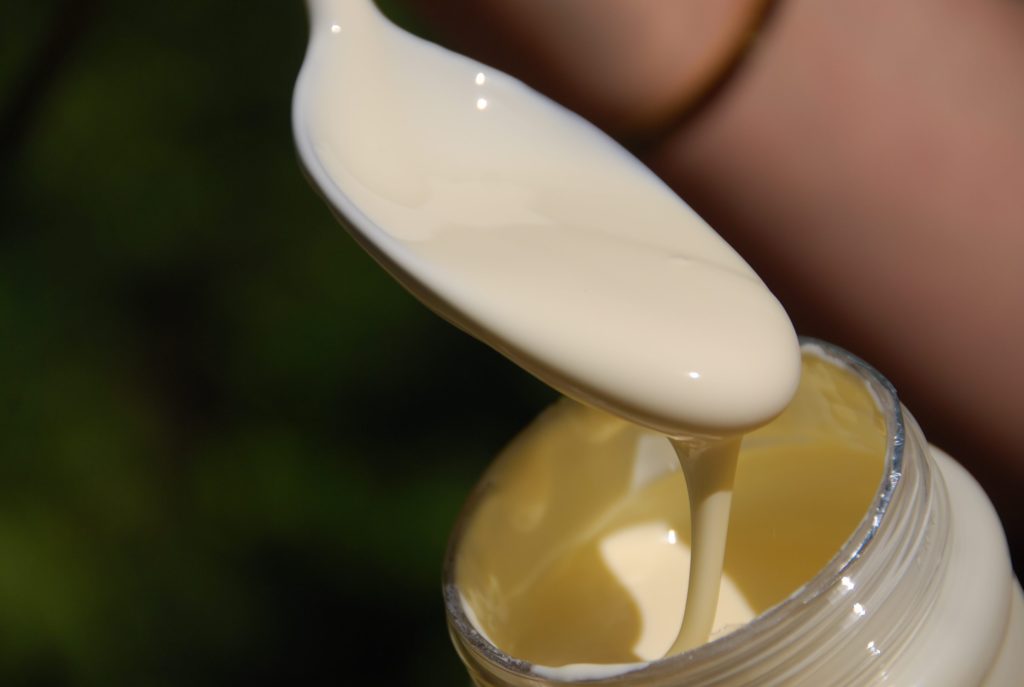
- 2 tablespoons sweetened condensed milk
Instructions
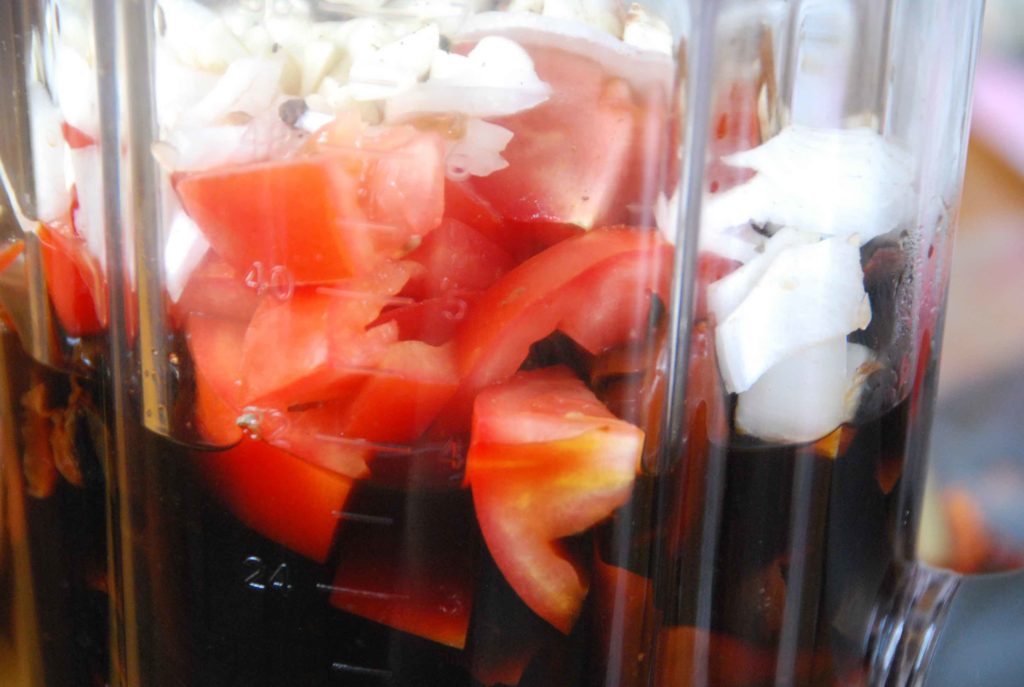
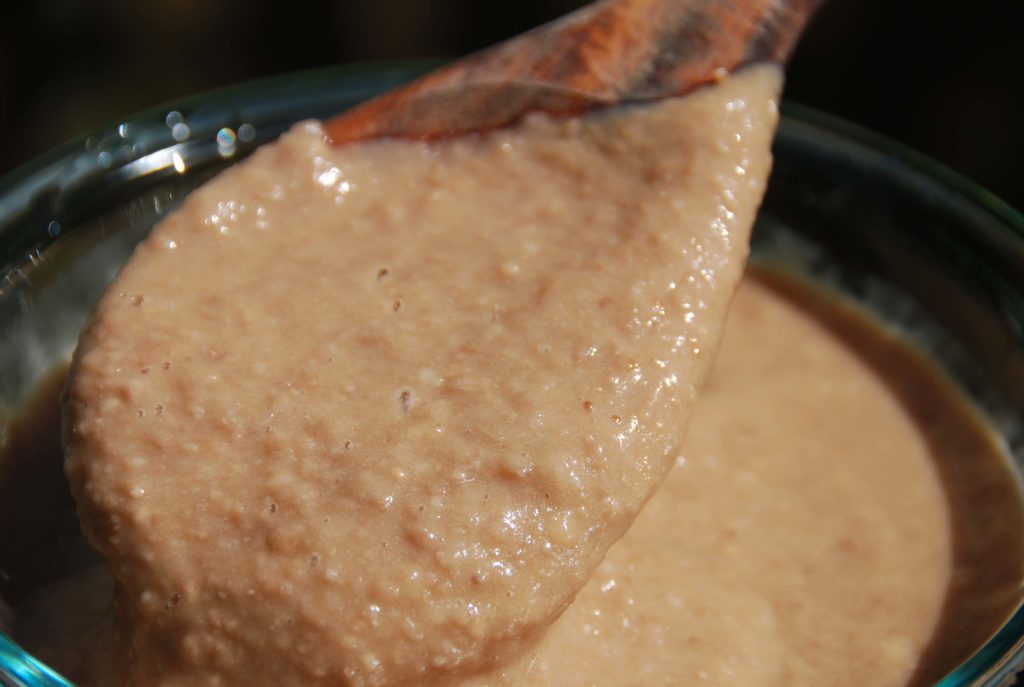
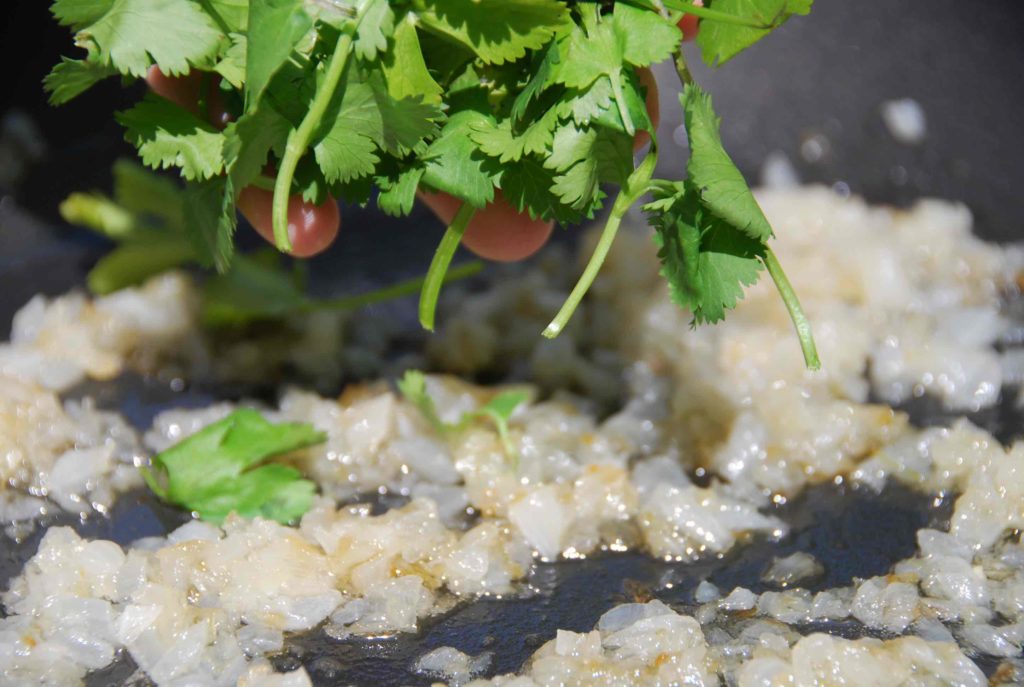
- In the jar of a blender, place the water, onion, garlic cloves, marjoram, thyme, black pepper, cumin, stemmed whole cloves and 1 tablespoon salt. Puree until smooth.
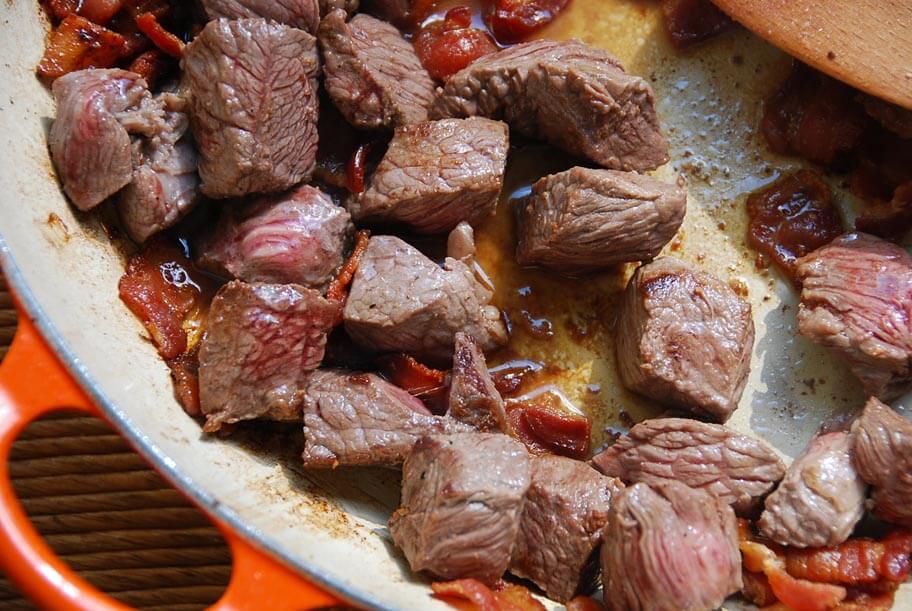
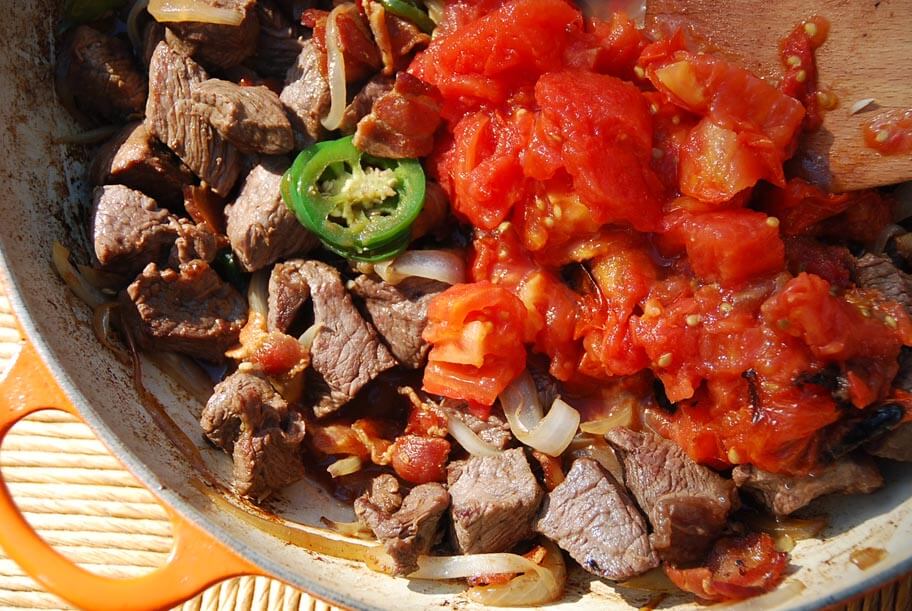
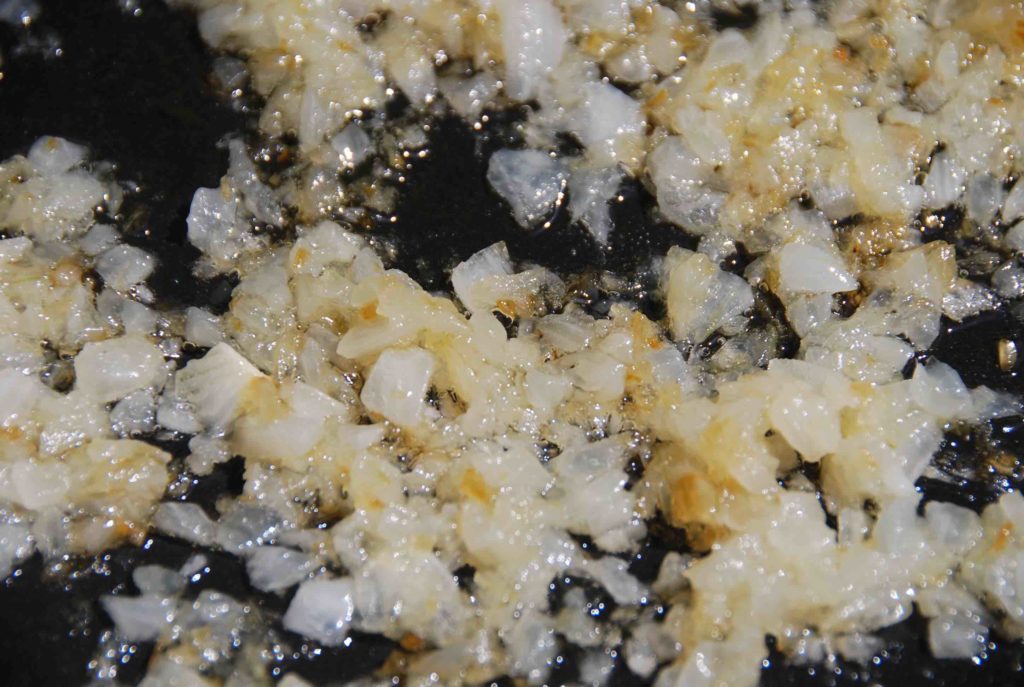
- Set a large Dutch oven or heavy casserole over medium-high heat. Add the lard (or vegetable shortening or oil), and once it has heated up, add the pork chunks and sprinkle in 1/2 teaspoon of salt. Brown the meat on all sides, stirring and flipping as each side browns, about 10 minutes.
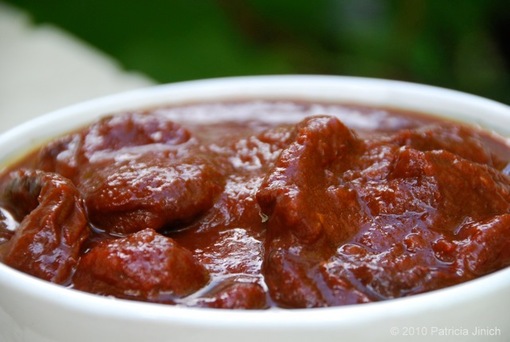
- Pour the onion mixture over the meat, let it come to a simmer and cook for 5 to 6 minutes. Pour in the orange juice and sweetened condensed milk, add the 2 bay leaves, and give it a good stir. Let it come to a simmer, then reduce heat to medium-low to low and cover.
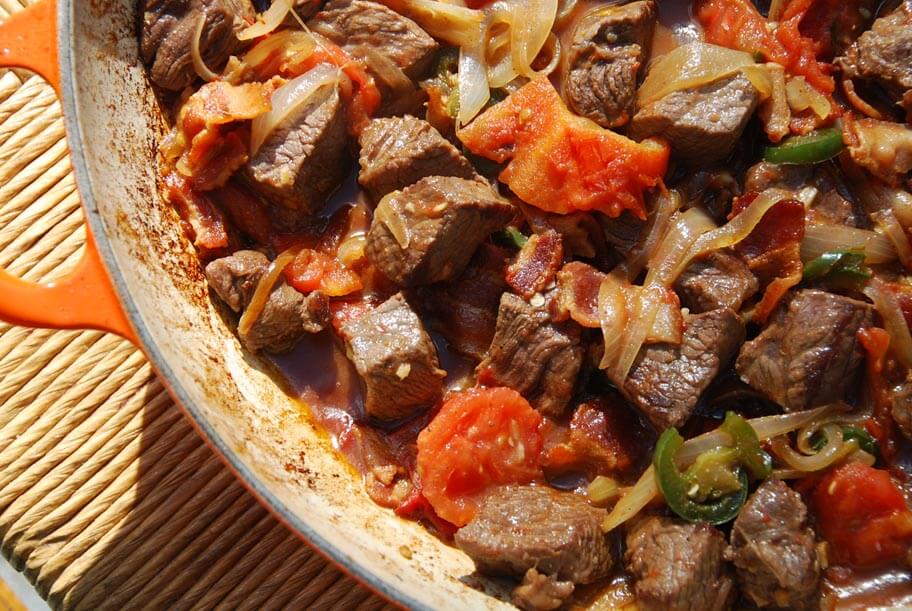
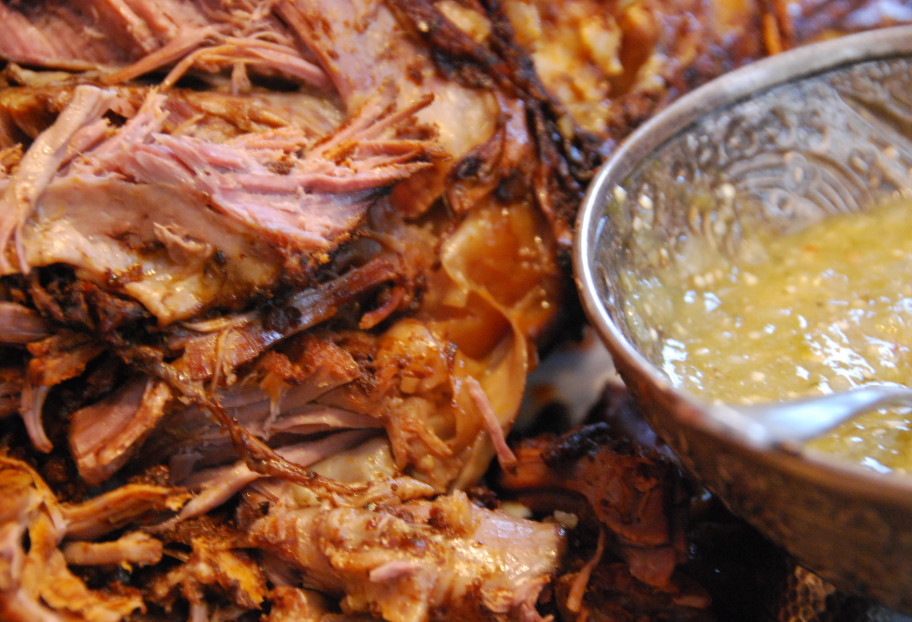
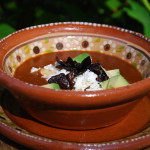
- Cook covered, stirring and scraping the bottom of the casserole 2 to 3 times along the way, until the meat is completely cooked and coming easily apart if you pull one piece, about one hour and a half. Remove the lid, cook for another 4 to 5 minutes. Scoop out the carnitas with a slotted spoon, leaving any fat behind, and serve in a bowl or platter. Shred with a fork, if desired, before tucking into tacos. Or do like we do, serve straight from the pot.
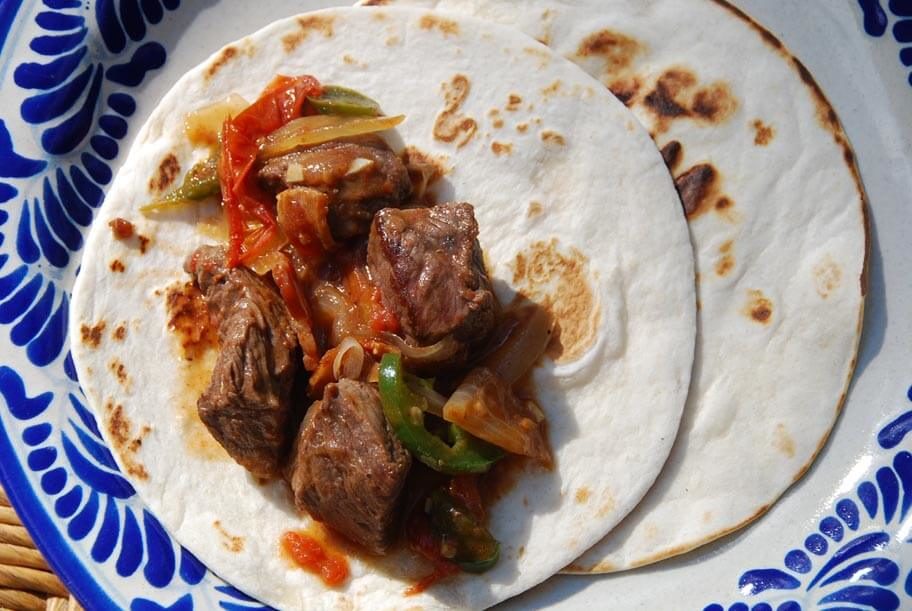
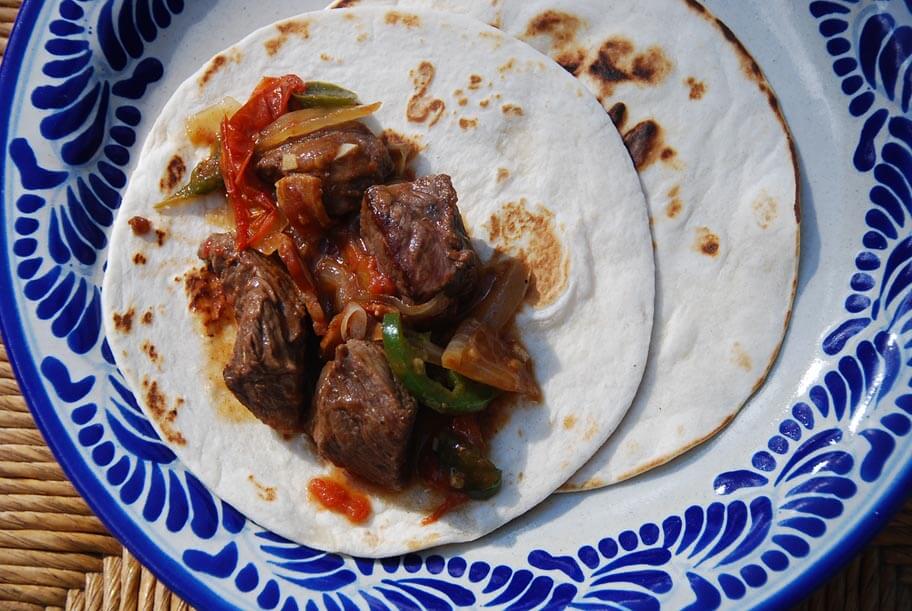
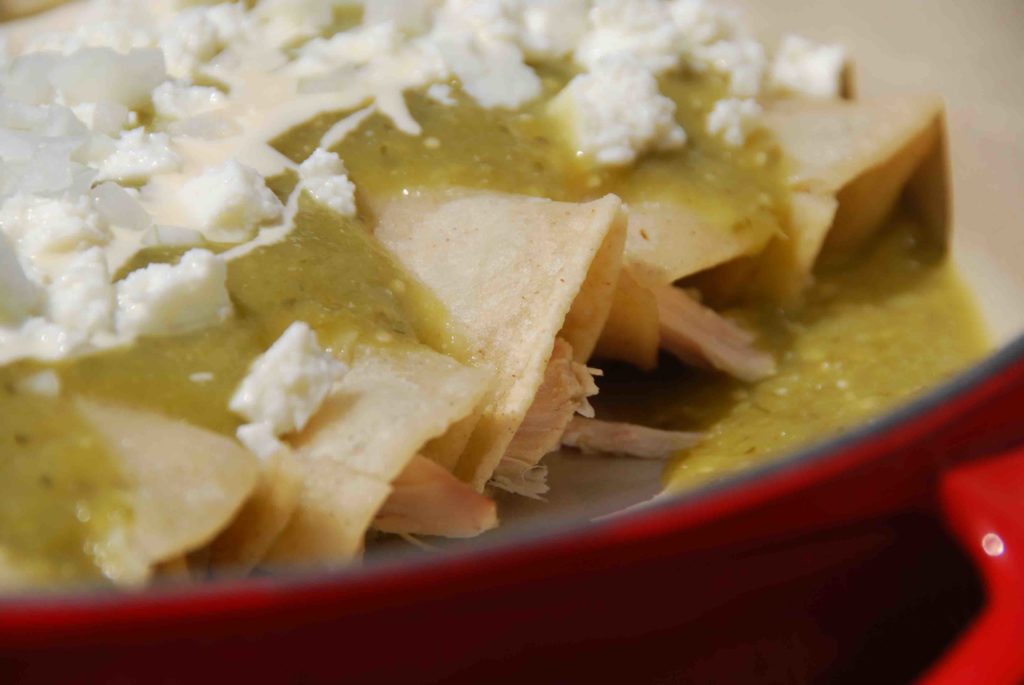
- Serve with warm corn tortillas and pickled jalapeños or salsa verde cruda on the side.


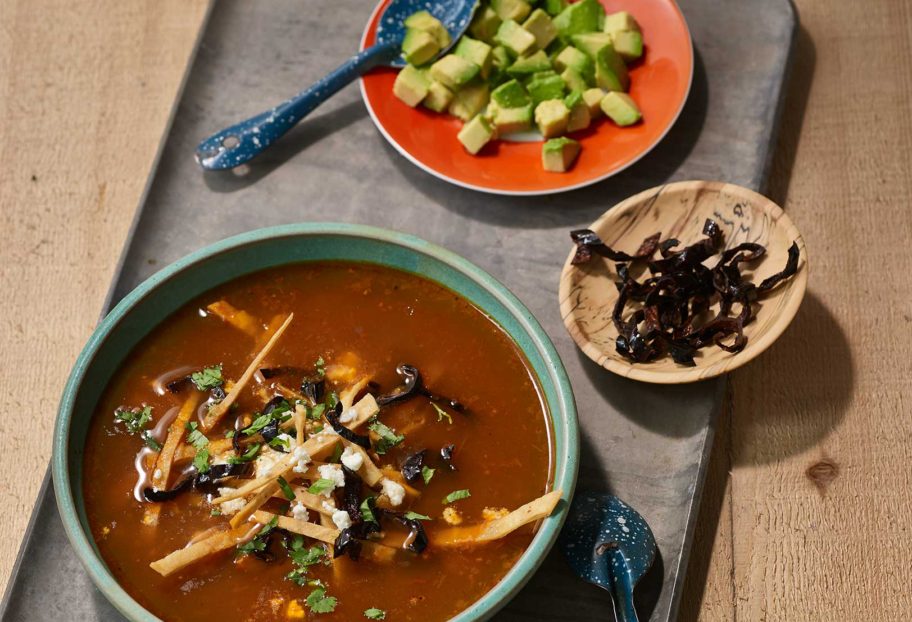


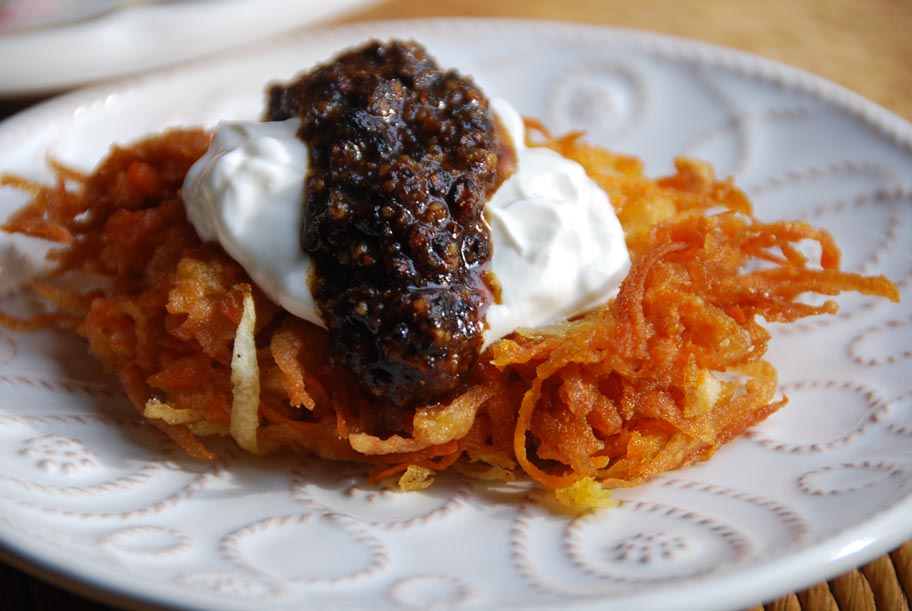


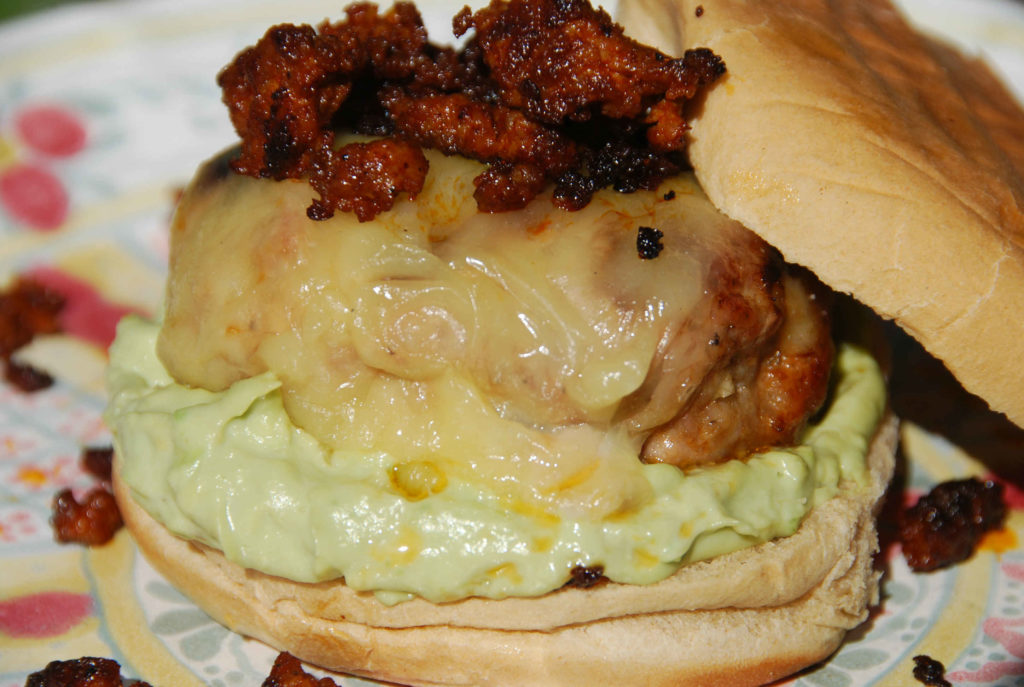


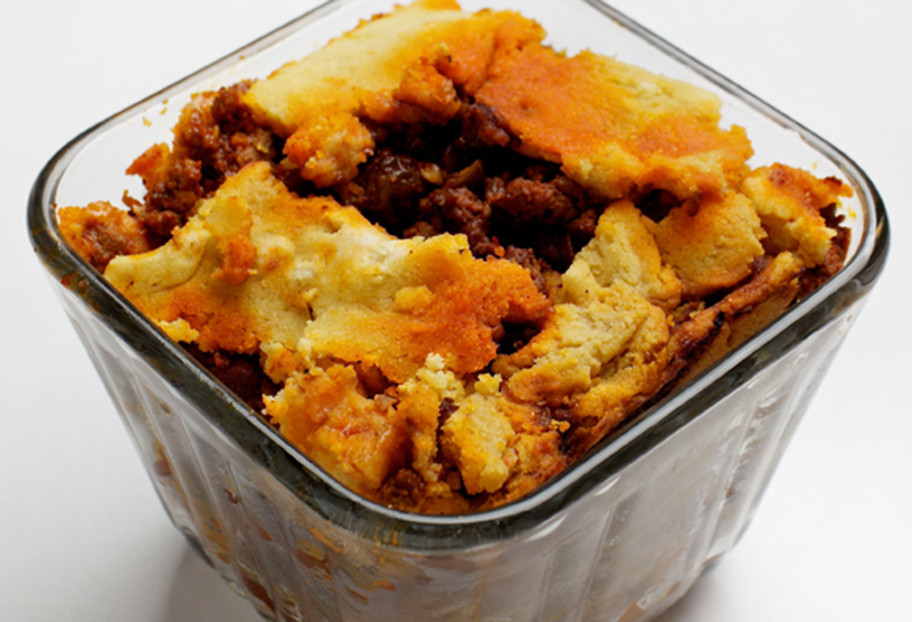
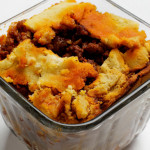

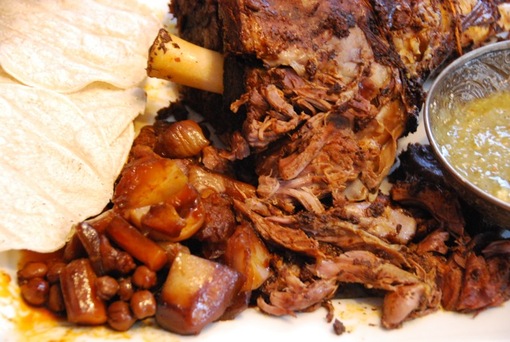


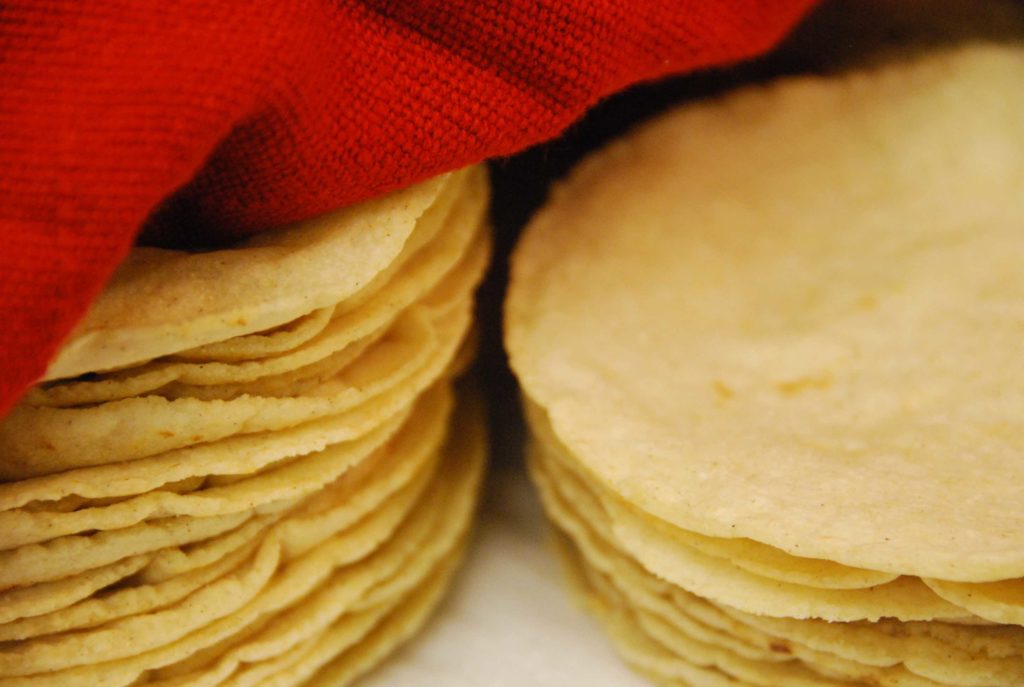
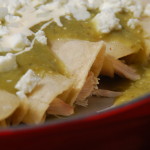


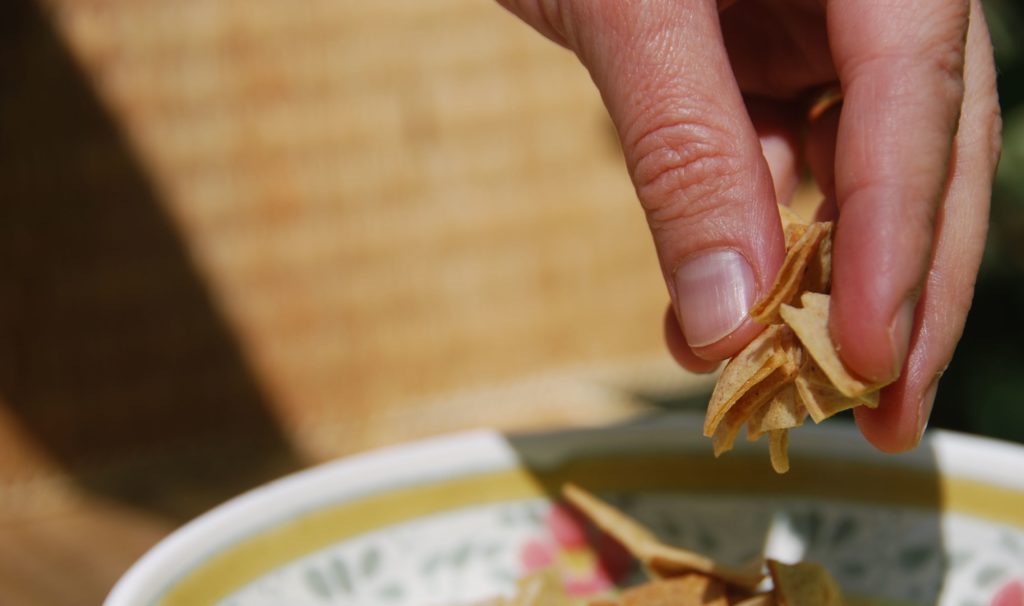

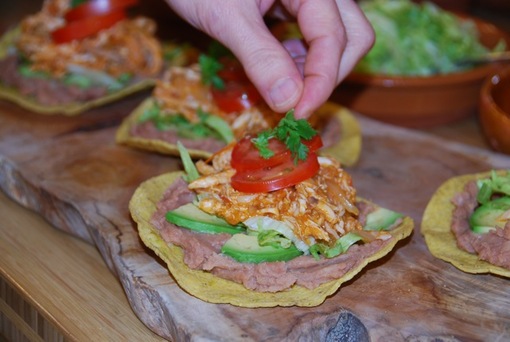


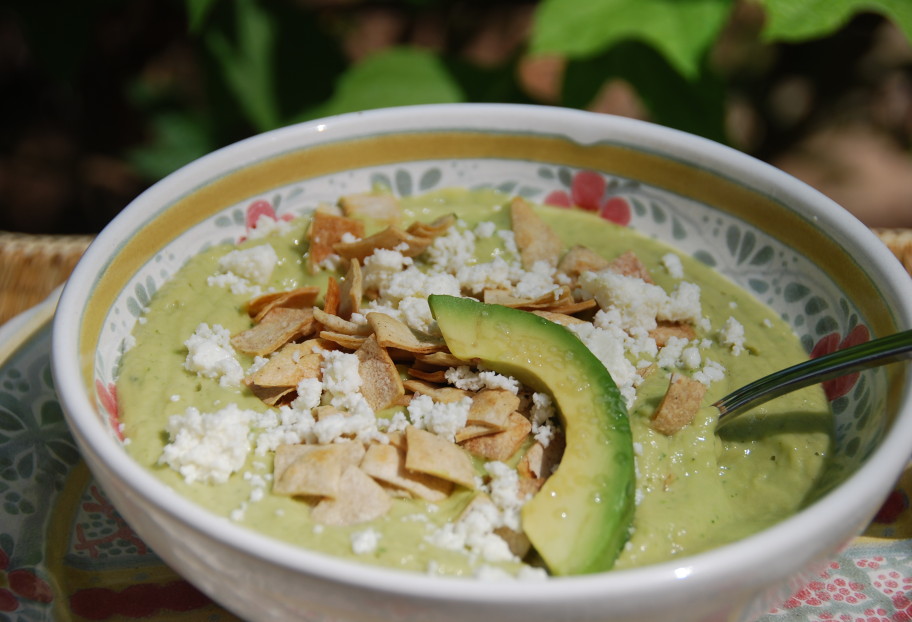

 Sprinkle a few, or a ton, corn tortilla crisps.
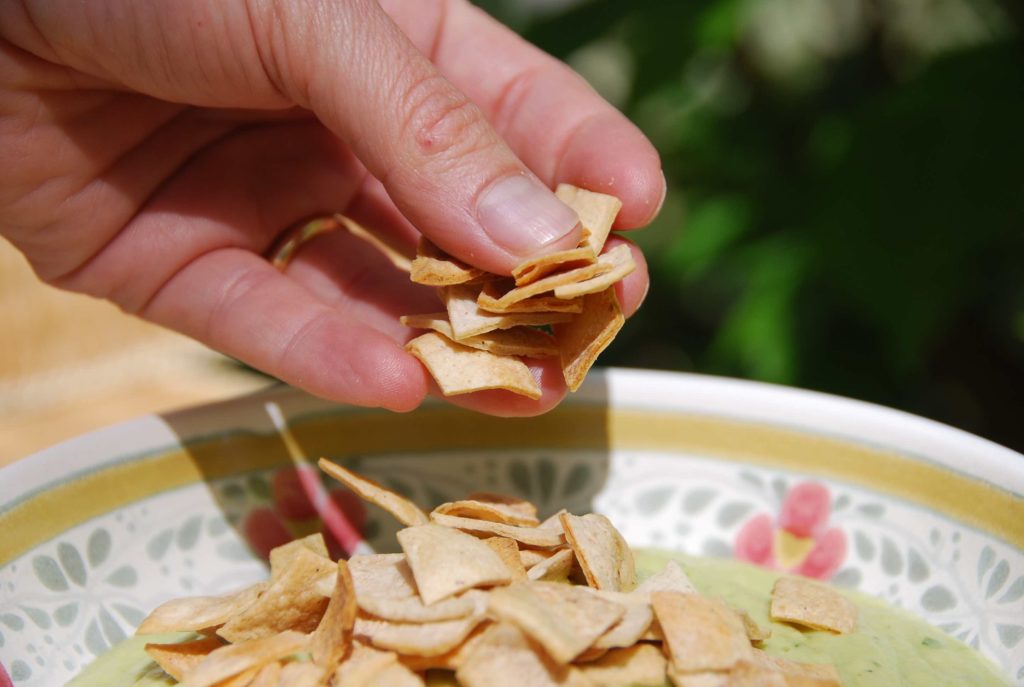 I guess I went for a ton.
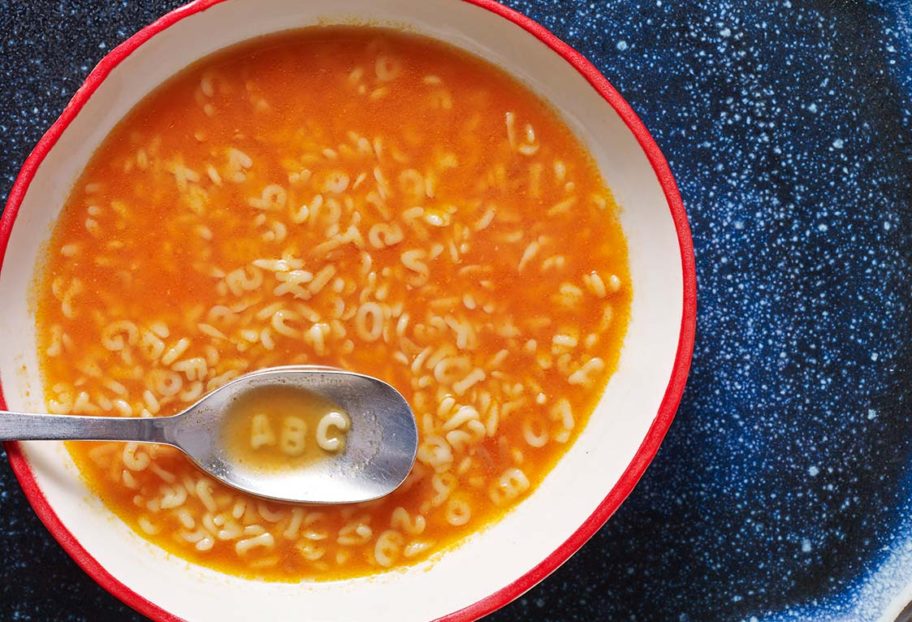
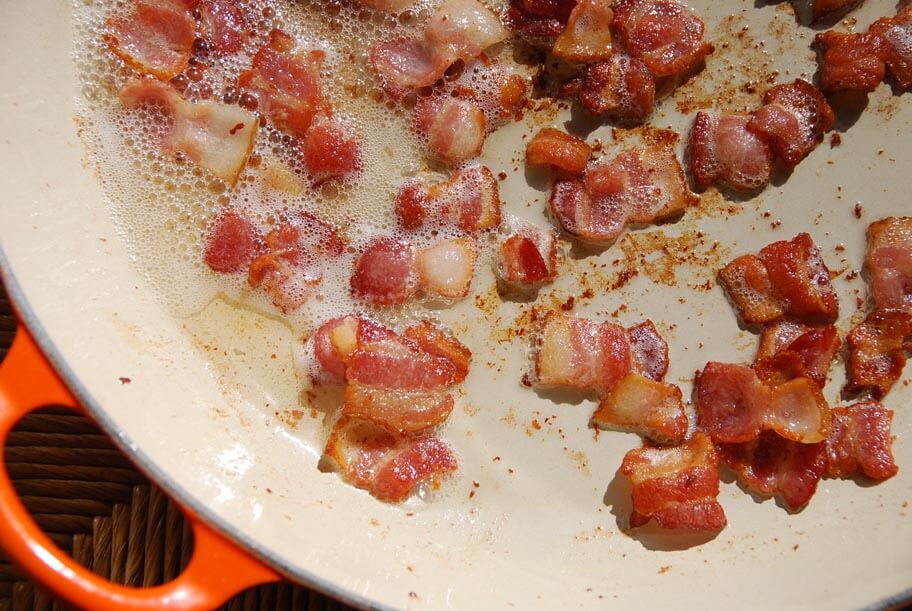
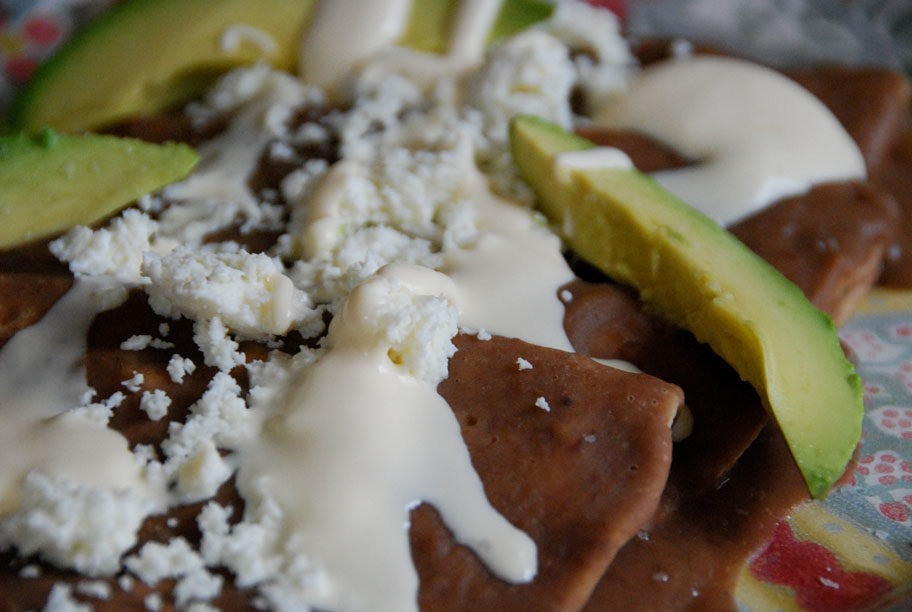
 I already had some.
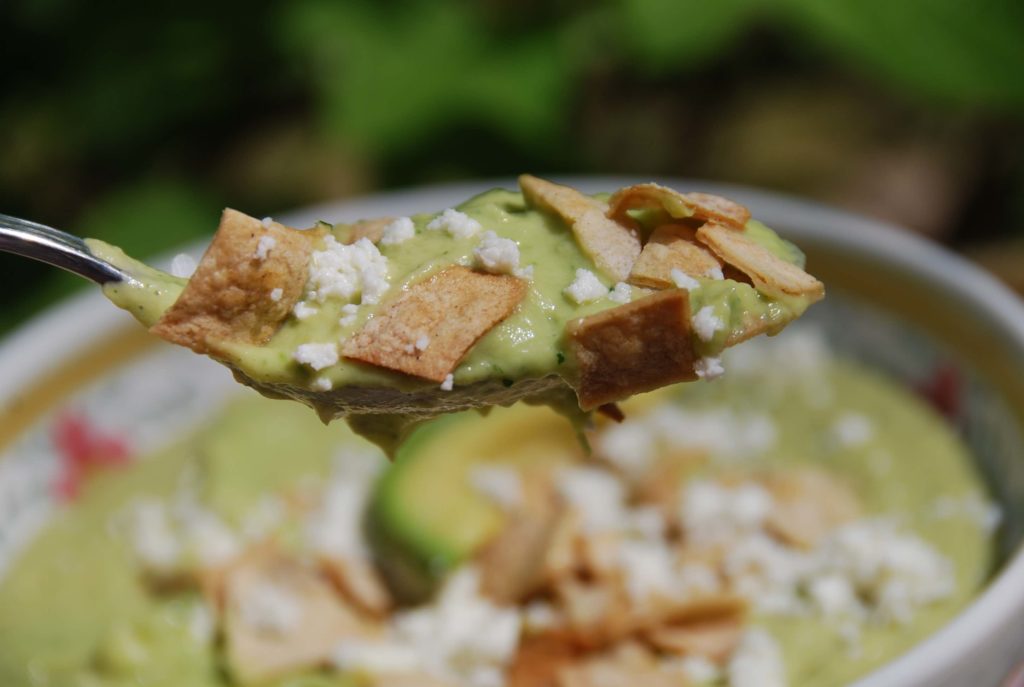


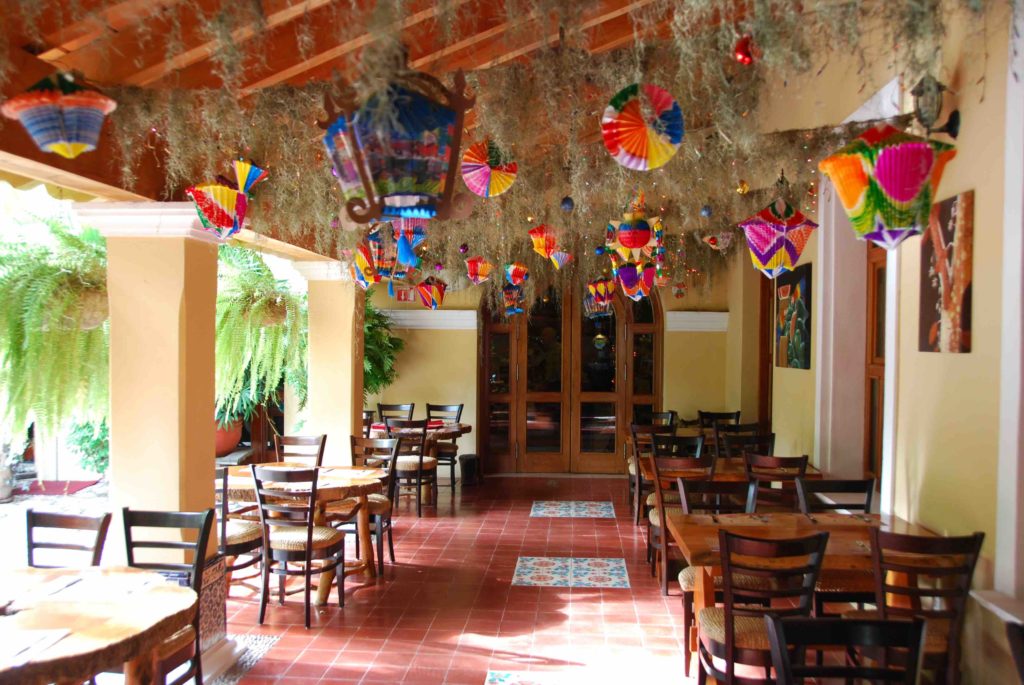
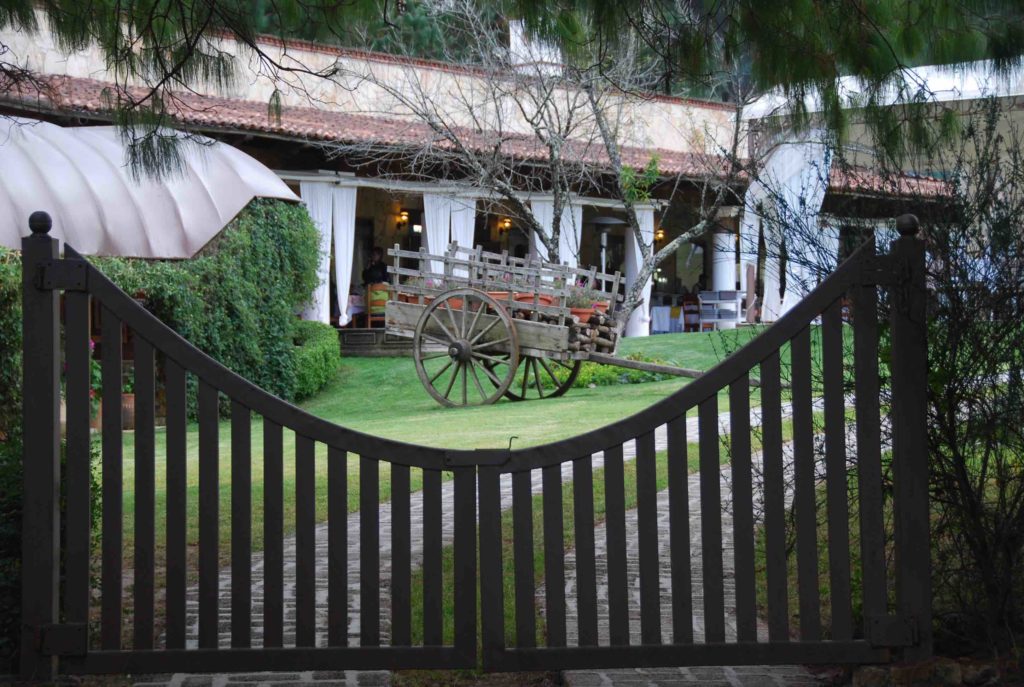
 (One of the views inside of Hacienda San José)
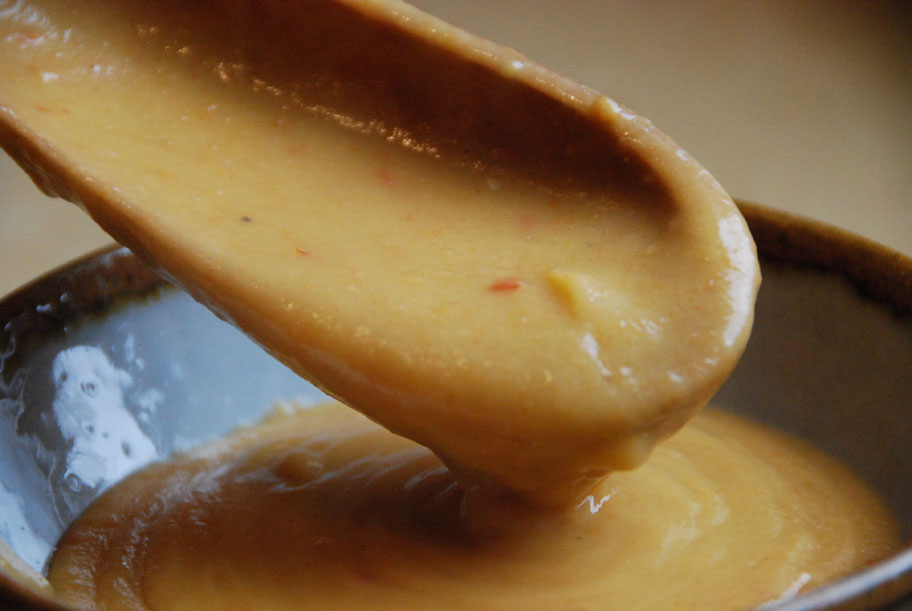
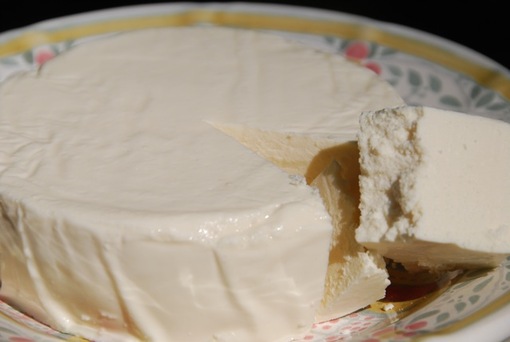
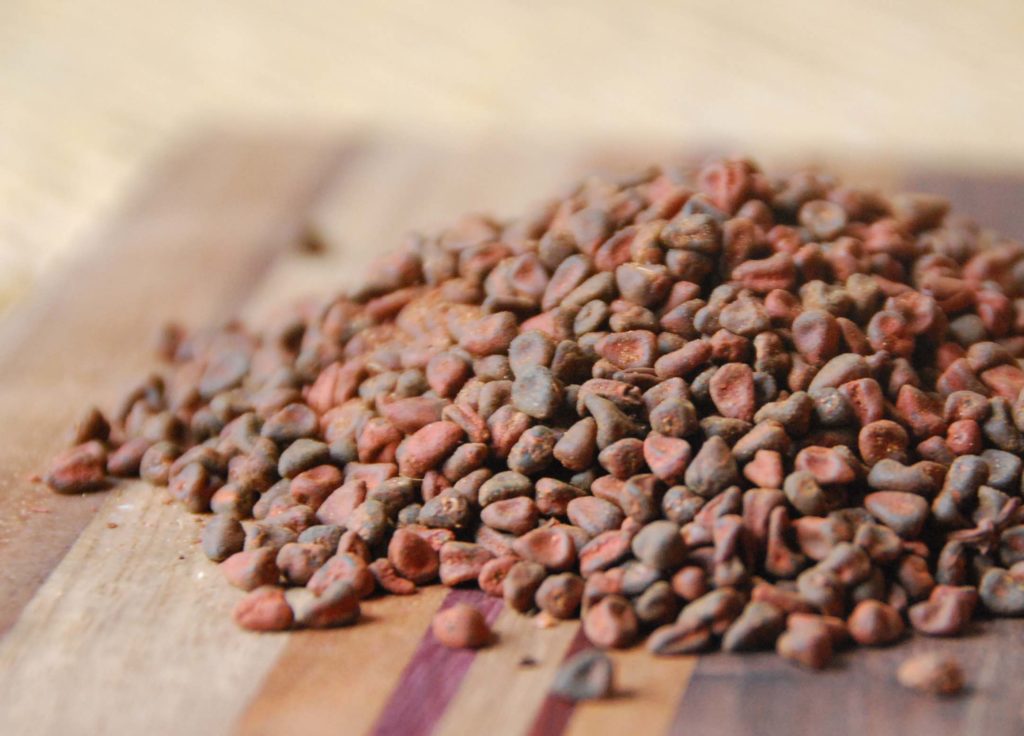
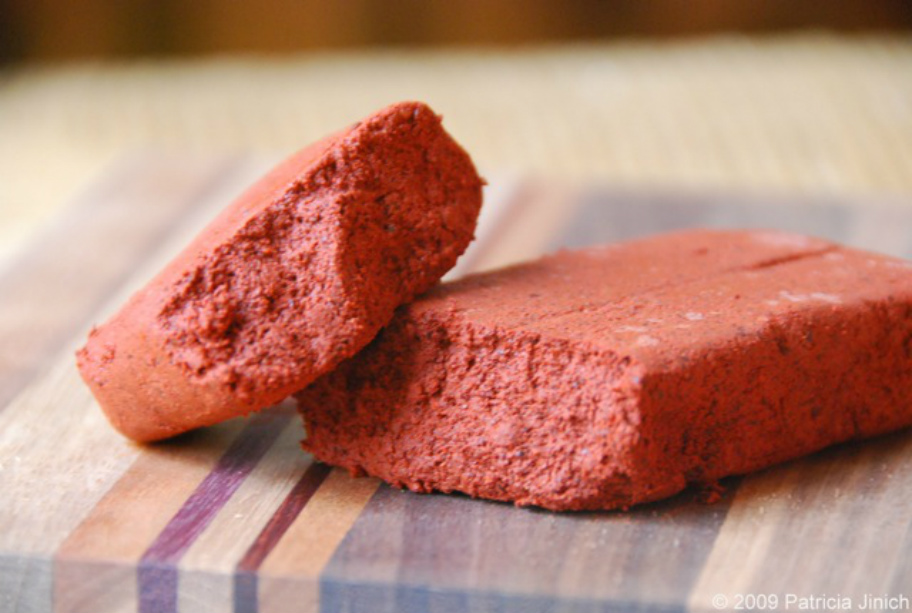 (A freshly opened bar of achiote paste, posing for my camera so you can take a look)