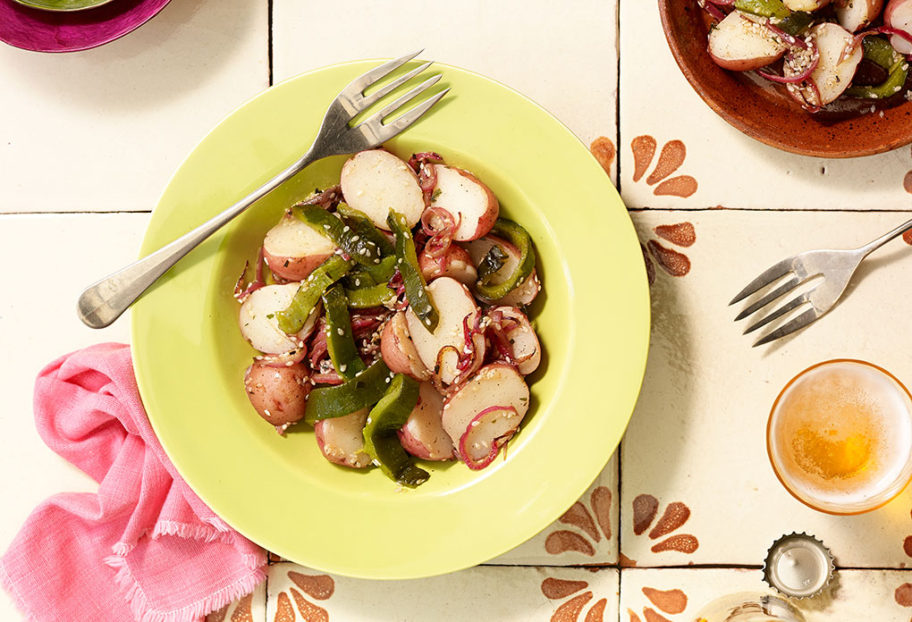

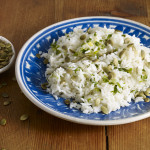
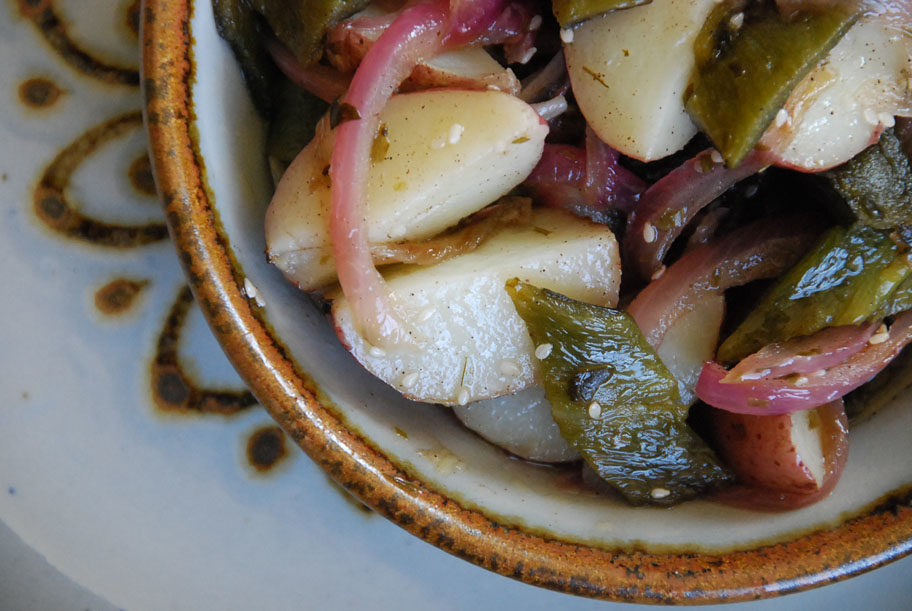
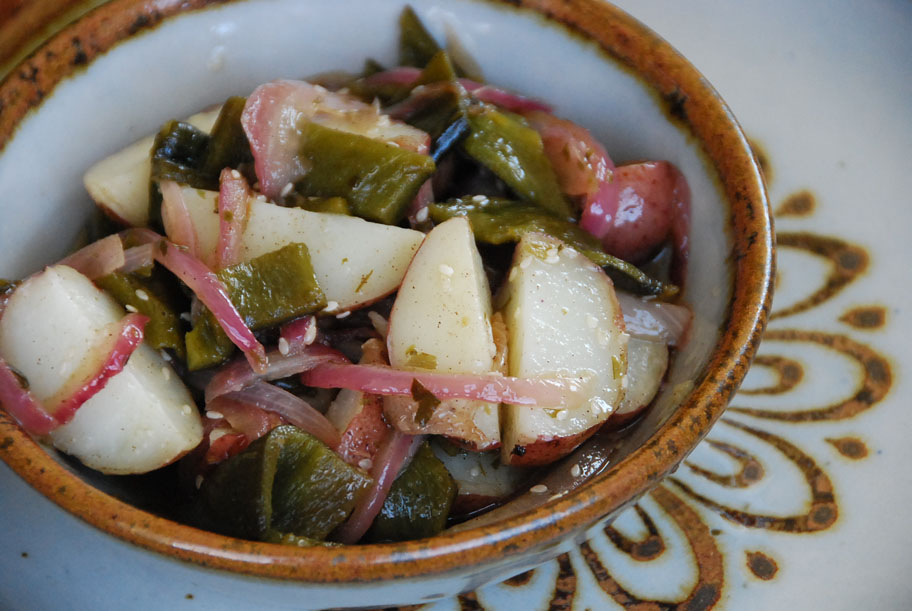
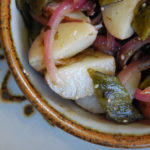
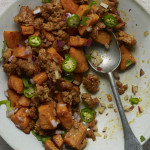
Potato and Poblano Rajas Salad
Potato and Poblano Rajas Salad recipe from Pati's Mexican Table Season 4, Episode 13 “Backyard Picnic”
Servings: 6 servings
Ingredients
- 2 pounds baby red potatoes
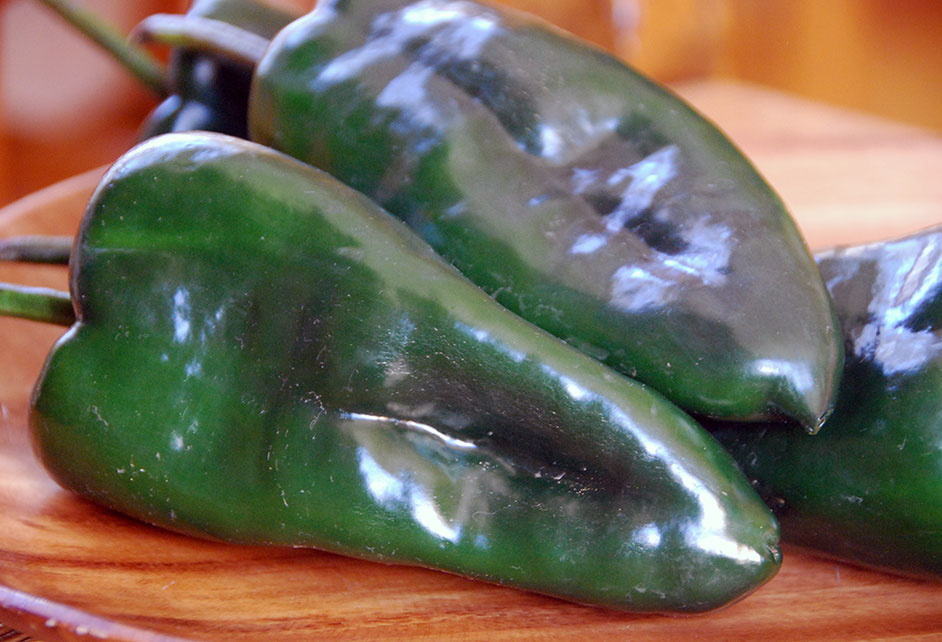
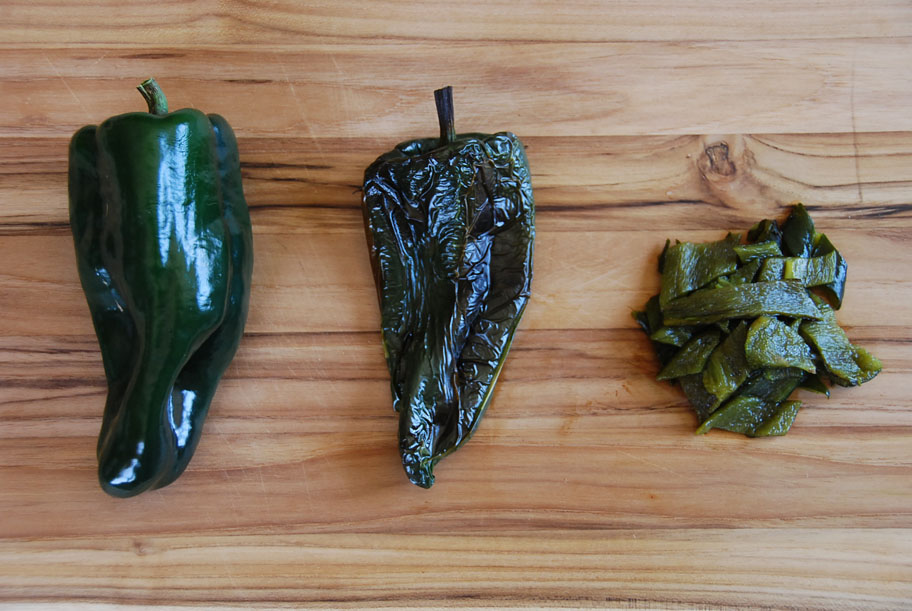
- 3 poblano chiles charred, sweated, peeled and cut into strips
- 1/2 cup olive oil
- 1 tablespoon sesame oil
- 1 1/2 cups halved and thinly sliced red onion
- 1 teaspoon dried tarragon
- 1/4 teaspoon ground allspice
- 1/4 cup sesame seeds
- 2 tablespoons white wine vinegar
- 1 tablespoon unseasoned rice vinegar
- 1/2 teaspoon kosher or coarse sea salt
Instructions
- Bring a large pot of salted water to a rolling boil over medium-high heat. Drop in the red potatoes and cook for about 20 minutes, until they are cooked through and the tip of a knife goes in without much resistance, but the potatoes are not falling apart. When ready, drain into a colander. Once the potatoes are cool enough to handle, cut into halves.
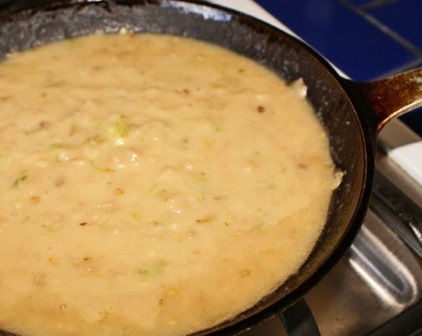
- In a large deep skillet or casserole, heat the olive oil over medium heat. Once it is hot, add the sesame oil. Stir in the red onion and cook for about 12 minutes, stirring once in a while, until they have completely softened and edges have begun to slightly brown. Incorporate the poblano chile rajas (strips), stir, cook for a minute or two.
- Add the tarragon, allspice and sesame seeds and cook for a couple minutes. Pour in the white wine vinegar and rice vinegar, stir, cook for another minute and turn off the heat.
- Place the potatoes in a large bowl, pour the onion, rajas, oil and vinegar mixture on top, and gently toss. Serve warm, at room temperature (how I like them the best) or cold.
Notes
Ensalada de Papitas con Rajas


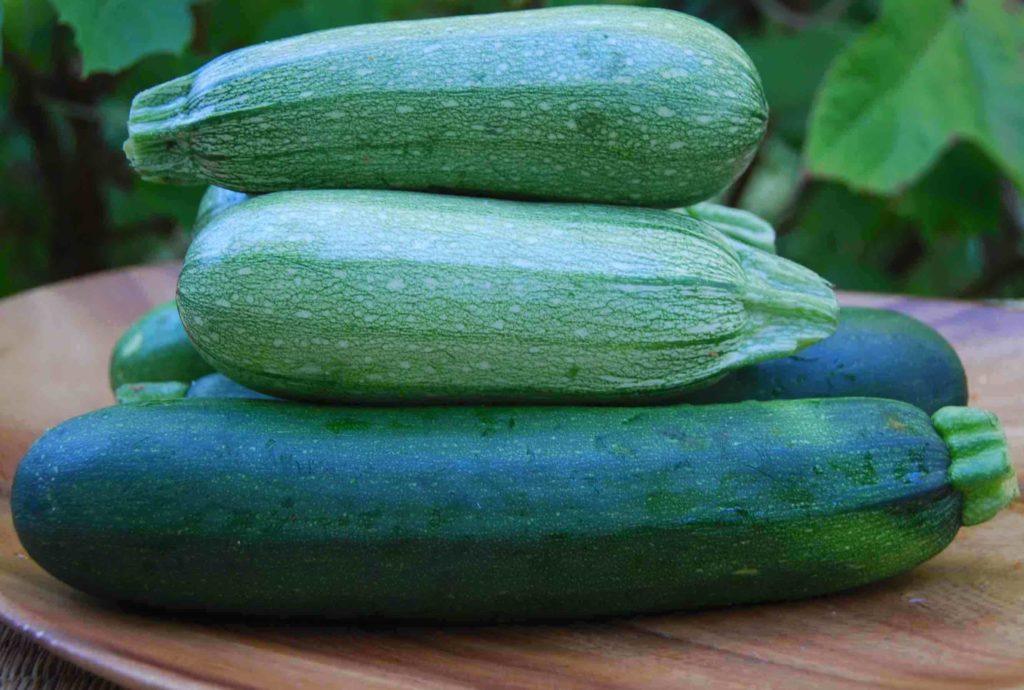
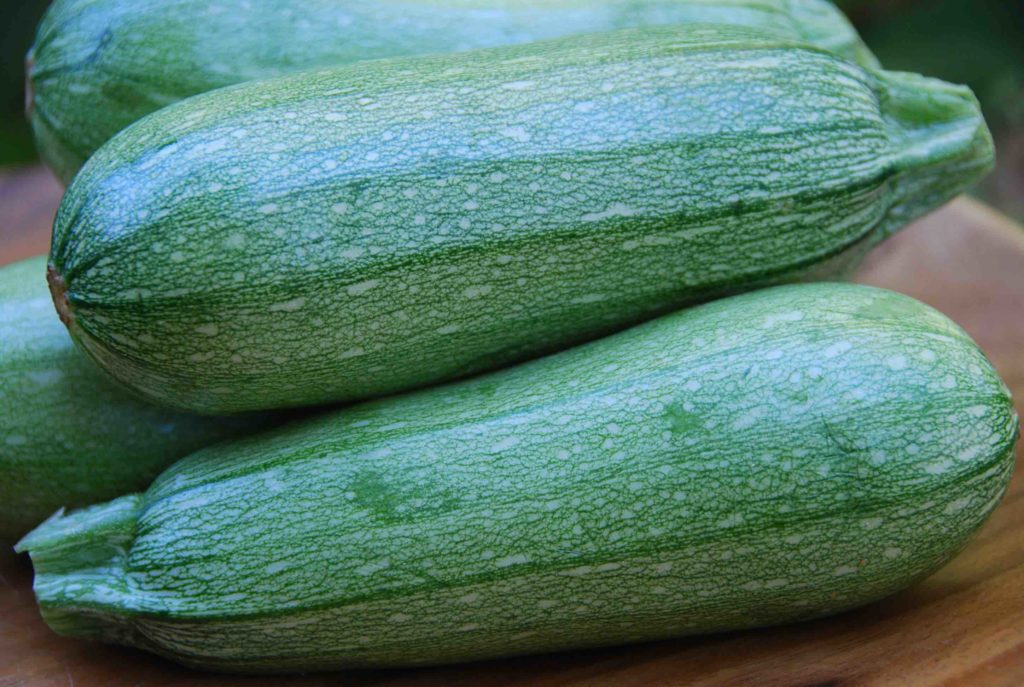 (The zucchini mostly found in Mexican markets, calabacita italiana, sometimes called Pipian in Latin stores throughout the US.)
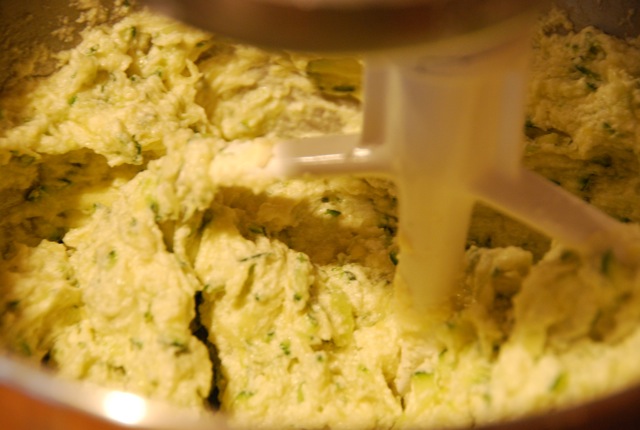
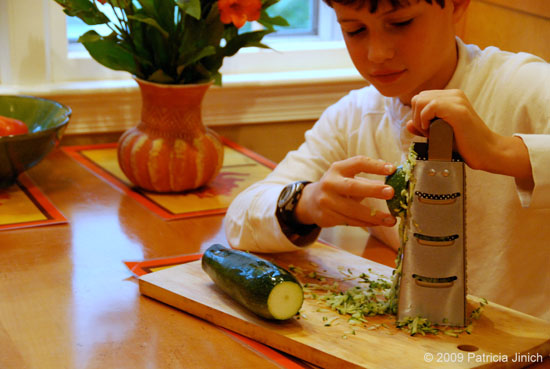 (While my youngest son loves to mash away with the molcajete, or anything else, my oldest has graduated to use the grater, which he does with worldly pride.)
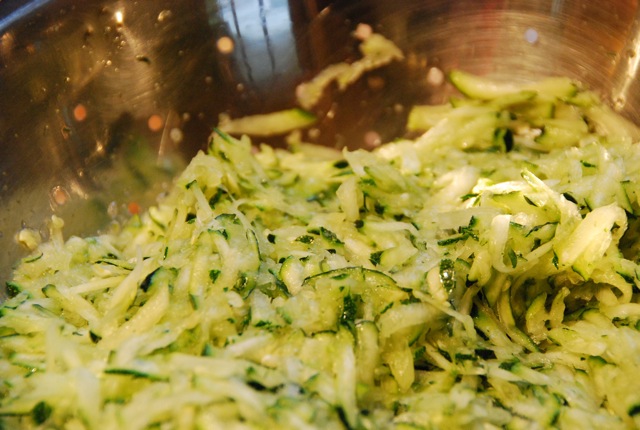

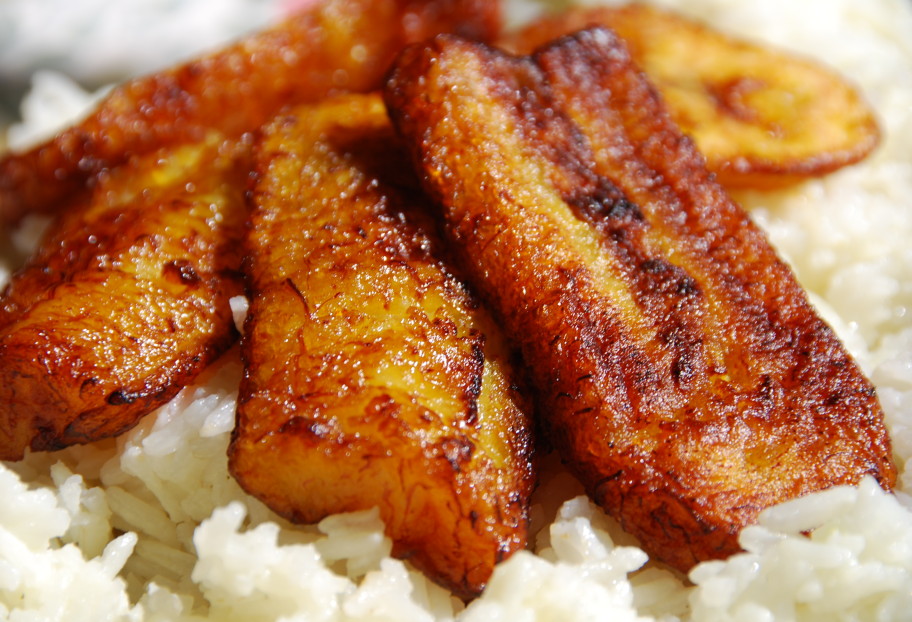
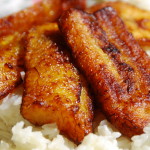
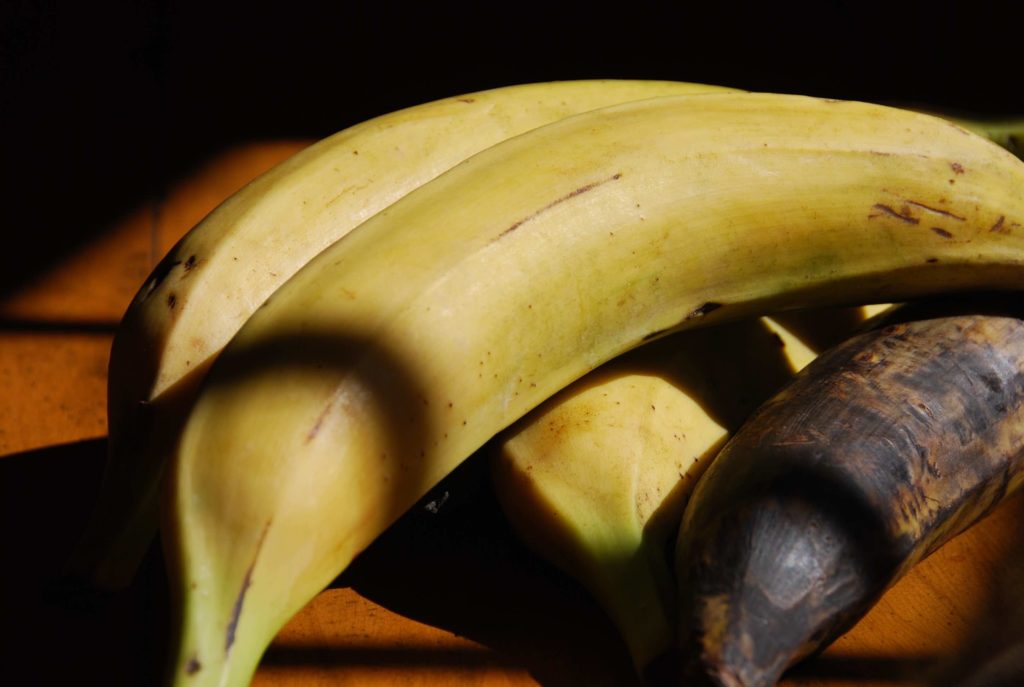 (Plantains on my dining room table, the one covered in black spots is ripe and ready to be cooked)